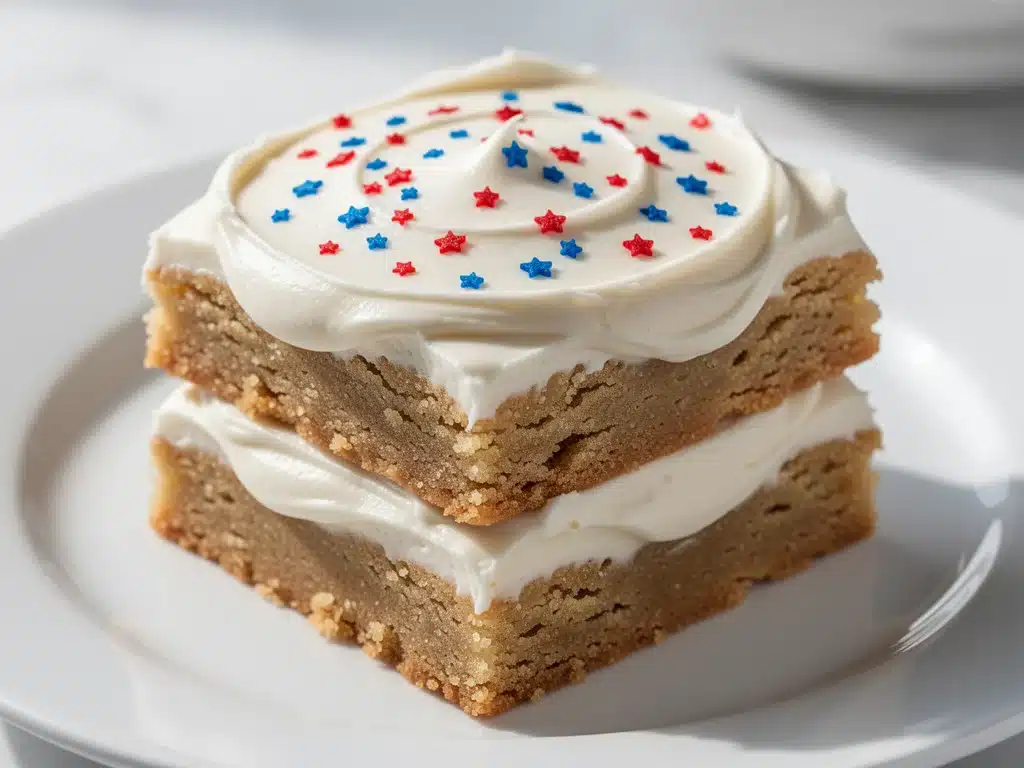
Last November, I was standing in my kitchen at 9:30 PM, staring at a half-empty fridge and a calendar that said “Potluck” in aggressive red marker. My sister-in-law had just texted: “Don’t forget dessert!” as if I’d forgotten. As if I, the self-appointed family chef, hadn’t been planning a dessert since Tuesday.
But here’s the thing: I had nothing. No eggs left. No vanilla extract. No fancy sprinkles. Just a box of sugar cookie mix, a stick of butter, and a desperate need to not look like the crazy aunt who shows up with store-bought brownies.
I threw together what I thought would be a mediocre, rushed compromise. I mixed the dry mix with softened butter, pressed it into a pan, and popped it in the oven. Twenty minutes later, the smell of warm, buttery sugar cookies filled the house. My kids came running. My husband stopped mid-sentence. And when I served it the next morning with coffee, my niece asked, “Is this from the bakery?”
That was the moment I discovered the magic of these Star-Spangled Sugar Cookie Bars. They’re not just easy. They’re not just 4 ingredients. They’re the kind of dessert that makes people stop eating their main course and ask for seconds. And the best part? You probably have everything you need right now.
I’ve made these bars for Thanksgiving, Christmas, New Year’s Eve, and even a random Tuesday in February when I needed a pick-me-up. I’ve tweaked the colors, changed the sprinkles, and tested the timing until I got it perfect. Now, I make them at least once a month. They’re my go-to when I want something that looks impressive but takes almost zero effort. And honestly? They’re better than most bakery cookies.
If you’ve been looking for a holiday dessert that’s foolproof, festive, and actually delicious, you’ve found it. This Star-Spangled Sugar Cookie Bars recipe is about to become your new best friend.
Why You’ll Love This Recipe
There are about ten reasons I keep making these bars, but here are the big ones. These aren’t just “good for a quick dessert.” They’re genuinely exceptional, and here’s why.
- Stupid Simple — Seriously, if you can soften butter and mix batter, you can make this. I’ve walked my teenage son through it over FaceTime while he was stuck in a hotel room. He nailed it on the first try.
- Lightning Fast — 30 minutes from start to finish, and only 10 of those are active mixing. I make these on weeknights when I get home at 7pm and still want something sweet. The oven does the heavy lifting.
- Pantry-Friendly — You probably have 80% of these ingredients already. I keep a box of sugar cookie mix in the cupboard specifically so I can throw these together on a whim. The rest is just butter and sprinkles.
- Crowd-Pleaser — I’ve served these to my vegetarian sister, my gluten-free neighbor (with a GF mix), and my I-only-eat-chocolate dad (who surprisingly loved them). Everyone asks for the recipe. Everyone.
- Makes Amazing Leftovers — Actually tastes better the next day. The flavors meld and soften slightly, making them even more cookie-like. I deliberately make a double batch for lunch throughout the week.
- Budget-Smart — Feeds 12-16 people for under $8. That’s less than one dollar per serving. Compare that to a bakery box that costs $12 and has half the cookies. Do the math.
- Festive Without Effort — The “star-spangled” look comes from sprinkles, not intricate piping or coloring. Red, white, and blue? Done. Gold and silver? Easy. It’s instant holiday vibes with zero skill required.
This is my go-to when I need a dessert to just work. No complicated techniques, no weird ingredients, no stress. Just reliable, delicious, festive food that makes everyone happy. And it looks like you tried way harder than you actually did.
Ingredients You’ll Need
Here’s the best part: you probably have most of this already. This isn’t a recipe that requires a special trip to the grocery store. It’s built for real life, with real pantry items.
For the Bars
Sugar Cookie Mix (1 box, 15-16 oz / 425-450g) — This is the base. I use Betty Crocker or Duncan Hines—both work great. Don’t overthink it. The mix already has the perfect balance of sweet and buttery flavor. If you want to get fancy, you can make your own mix, but why bother? I’ve tried it, and the boxed version is consistent and reliable.
Unsalted Butter (½ cup / 113g, softened) — This is the fat that makes the bars rich and tender. Softened is key. Not melted. Not cold. Softened—like, you can press your finger into it and it leaves a dent. If you’re in a hurry, cut the butter into cubes and microwave for 10-15 seconds. Just don’t melt it. Melted butter makes the dough greasy.
Eggs (2 large / about 100g) — These bind everything together and add structure. Room temperature eggs mix better, but cold ones work fine too. I don’t usually take them out ahead of time. Just crack them in and go.
Milk (2-3 tablespoons / 30-45ml) — This adjusts the consistency. Start with 2 tablespoons, mix, and see how it looks. If it’s too dry and crumbly, add the third tablespoon. You want a soft, scoopable dough, not a stiff ball.
For the Topping
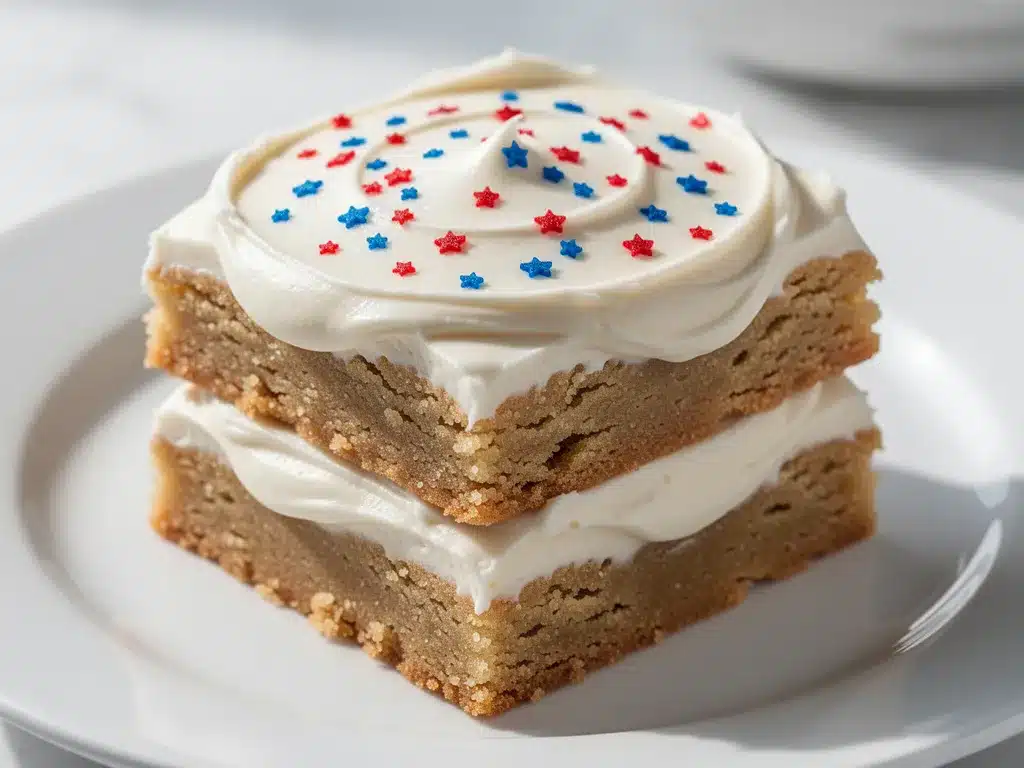
Holiday Sprinkles (½ cup / 50g) — This is where the “star-spangled” magic happens. Use red, white, and blue for the 4th of July or Memorial Day. Gold and silver for New Year’s. Red and green for Christmas. The sprinkles aren’t just decorative—they add a tiny crunch and burst of color that makes the bars look professional. I buy my sprinkles in bulk from Amazon because I go through them fast. King Arthur Baking has good quality, but any brand works.
Optional: White Chocolate Chips (¼ cup / 40g) — I sometimes add these for extra sweetness and a melt-in-your-mouth texture. They’re not necessary, but if you have them, throw them in. My kids go crazy for them.
Optional: Vanilla Extract (1 teaspoon / 5ml) — The mix already has flavor, but a splash of vanilla deepens it. I use it when I’m feeling fancy. It’s not a game-changer, but it’s nice.
Substitutions & Notes
- Gluten-Free? Use a gluten-free sugar cookie mix. I’ve used King Arthur Gluten-Free and it works perfectly. Just follow the same steps.
- Dairy-Free? Use a dairy-free butter substitute (like Miyoko’s or Earth Balance) and check your cookie mix for dairy. Most boxed mixes are dairy-free, but always read the label.
- No Eggs? This is tricky because eggs bind the dough. If you need to skip them, try a flax egg (1 tablespoon ground flaxseed + 3 tablespoons water per egg). It won’t be identical, but it’ll hold together.
- Don’t Have Milk? You can use water, almond milk, or oat milk. Water works fine—it’s just for hydration. Milk adds a tiny bit of richness, but it’s not critical.
I’m particular about one thing here: the butter. Softened butter is non-negotiable. If you use melted butter, the bars will be greasy and dense. If you use cold butter, they’ll be crumbly and dry. Softened is the sweet spot. I know it seems like a small detail, but it makes a huge difference in texture.
Equipment Needed
You don’t need fancy equipment for this. Here’s what I actually use.
- 8×8 Inch Baking Pan — This is the perfect size for these bars. It gives you thick, chewy centers and crispy edges. If you only have a 9×9, double the recipe. If you use a 9×13, halve it. I’ve messed this up before. Don’t be me.
- Mixing Bowl — Any medium-sized bowl works. Glass or ceramic is nice because you can see the consistency. I use a large glass bowl from IKEA—it’s like $3 and has been my best friend for years.
- Fork or Spatula — For mixing. I prefer a fork because it breaks up the butter better. A spatula works too, but you’ll need to work a bit harder to get everything combined.
- Parchment Paper — I line the pan with parchment for easy removal. This is optional, but I highly recommend it. Trying to get sticky cookie bars out of an unlined pan is a nightmare. Trust me.
- Measuring Cups and Spoons — Pretty standard stuff. Dollar store versions work fine. I don’t use a scale for this recipe because the mix is forgiving, but if you like precision, go for it.
- Wire Cooling Rack — For cooling the bars after baking. You can skip this and let them cool in the pan, but a rack prevents condensation and sogginess. I learned this the hard way with a batch of soggy bars.
Don’t have parchment paper? Grease the pan really well with butter or cooking spray. It’ll work, but cleanup will be harder. I’m obsessed with my parchment paper from Amazon—it’s like $5 for a roll and lasts forever.
How to Make It: Step-by-Step
Alright, let’s make this! I’m walking you through exactly how I do it, including the little tricks I’ve picked up over dozens of batches.
Step 1: Prep Your Pan and Oven (2 minutes)
Preheat your oven to 350°F (175°C). Line an 8×8 inch baking pan with parchment paper, leaving a little overhang on the sides. This overhang is your handle for lifting the bars out later. If you don’t have parchment, grease the pan generously with butter. Set aside.
Step 2: Mix the Dough (5 minutes)
In a medium mixing bowl, combine the sugar cookie mix, softened butter, eggs, and milk. Mix with a fork or spatula until a soft dough forms. It should look like thick cookie dough—moist but not sticky. If it’s too dry, add another tablespoon of milk. If it’s too wet, add a tablespoon of cookie mix. You’re aiming for a consistency that holds together when you pinch it.
Sensory cue: The dough should smell sweet and buttery. It should come together in a ball, not crumble apart.
Step 3: Press Into Pan (3 minutes)
Transfer the dough to your prepared pan. Use your hands or the bottom of a measuring cup to press it into an even layer. Don’t worry about perfection—just make sure it covers the bottom evenly. If there are gaps, press them out. If it’s too thick in the middle, flatten it out. Even thickness means even baking.
Pro tip: Wet your hands slightly to prevent sticking. This makes pressing so much easier.
Step 4: Add Toppings (2 minutes)
Immediately after pressing the dough, sprinkle the holiday sprinkles (and optional white chocolate chips) evenly over the top. Press them lightly into the dough so they stick. Don’t just drop them on—they’ll fall off in the oven. Press them in gently with your fingers.
Sensory cue: The sprinkles should be visible and colorful. The white chocolate chips should be slightly embedded, not sitting on top.
Step 5: Bake (20-25 minutes)
Place the pan in the preheated oven and bake for 20-25 minutes. The edges should be lightly golden, and the center should be set but still soft. It will look slightly underbaked when you take it out—that’s good. It will finish setting as it cools. Do not overbake, or they’ll be dry.
Sensory cue: The kitchen will smell like warm sugar cookies. The edges will have a slight crispness, and the center will jiggle just a tiny bit.
Step 6: Cool and Cut (30 minutes)
Let the bars cool in the pan for at least 30 minutes. This is the hardest part, I know. But if you cut them while hot, they’ll fall apart. Use the parchment overhang to lift the whole slab out of the pan, then transfer to a cutting board. Cut into squares or rectangles. I usually cut them into 12-16 pieces, depending on how hungry everyone is.
Troubleshooting: If the bars are too soft to cut, let them cool longer. If they’re cracking, they might be overbaked. Next time, check them at 20 minutes.
Total Time: About 35 minutes (10 minutes active, 25 minutes baking and cooling)
Expert Tips & Tricks
Here’s everything I’ve learned from making these bars dozens of times. These tips will save you from my mistakes.
The Butter Rule
Softened butter is non-negotiable. I’ve tried melted butter, and it makes the dough greasy and dense. I’ve tried cold butter, and it doesn’t mix properly. Softened—like, you can press your finger into it and it leaves a dent—is the only way. If you’re in a hurry, cut the butter into cubes and microwave for 10-15 seconds. Just watch it closely. You want it soft, not liquid.
Don’t Overmix
Mix just until the dough comes together. Overmixing develops gluten, which makes the bars tough. You want tender, chewy bars, not bread. I know it’s tempting to mix it until it’s perfect, but stop as soon as there are no dry streaks left.
Press Evenly
Uneven dough means uneven baking. Thick spots will be undercooked, thin spots will burn. Take the time to press it out evenly. Use the bottom of a measuring cup or your fingers. It takes 3 minutes and makes a huge difference.
Press Sprinkles In
If you just drop sprinkles on top, they’ll fall off in the oven. Press them gently into the dough. This ensures they stay put and add that festive look. I learned this the hard way with a batch of naked, sprinkle-less bars.
Cool Completely
I know it’s hard to wait, but cutting hot bars is a disaster. They’ll crumble and fall apart. Let them cool for at least 30 minutes. If you’re impatient, wait 20 minutes, then check. If they hold their shape, you’re good. If not, wait longer.
Common Mistakes
- Mistake: Bars are too dry — Fix: You overbaked them. Next time, check at 20 minutes. They should look slightly underbaked when you take them out.
- Mistake: Dough won’t come together — Fix: Add another tablespoon of milk. The mix varies by brand, so hydration needs can differ.
- Mistake: Sprinkles fell off — Fix: Press them into the dough before baking. Don’t just drop them on top.
Variations & Substitutions
Once you’ve nailed the basic version, here’s how you can mix it up. I’ve tried all of these, and they all work.
Chocolate Chip Version
Replace the sprinkles with ½ cup semi-sweet chocolate chips. Press them into the dough before baking. My kids prefer this version—it’s like a sugar cookie meets a chocolate chip cookie. Double win.
Red Velvet
Use a red velvet cake mix instead of sugar cookie mix. Add red sprinkles. The result is a festive, red-hued bar that tastes like cake but has the texture of a bar. Perfect for Valentine’s Day.
Lemon Zest
Add the zest of 1 lemon to the dough before mixing. It adds a bright, citrusy note that cuts through the sweetness. Great for spring or summer. I use Meyer lemons when they’re in season.
Peanut Butter
Add 2 tablespoons of peanut butter to the dough. It adds richness and a salty-sweet contrast. My husband loves this version. It’s like a peanut butter cookie bar.
Gluten-Free
Use a gluten-free sugar cookie mix. I’ve used King Arthur Gluten-Free and it works perfectly. Just follow the same steps. The texture is slightly different but still delicious.
Dairy-Free
Use a dairy-free butter substitute and check your cookie mix for dairy. Most boxed mixes are dairy-free, but always read the label. Miyoko’s butter works well here.
Mini M&M’s
Replace sprinkles with mini M&M’s. They add a crunchy shell and burst of color. Great for holidays. I use Hershey’s Kisses M&M’s for the best color retention.
Coconut
Add ½ cup shredded coconut to the dough. It adds chewiness and a tropical flavor. Great for summer parties. I use sweetened coconut for extra sweetness.
Serving & Storage
Here’s how to enjoy and preserve your Star-Spangled Sugar Cookie Bars.
How to Serve
I usually serve these straight from the cutting board at the dinner table—they look rustic and stay warm. But here are other ways I’ve enjoyed them:
- With Coffee — Perfect for morning meetings or afternoon pick-me-ups. The sweetness pairs well with dark roast.
- With Ice Cream — A scoop of vanilla ice cream on top turns these into a dessert that feels fancy. I do this for dinner parties.
- With Milk — Classic combo. My kids always want milk with their cookies, and these bars are no exception.
Storage Instructions
Room Temperature: Store in an airtight container for up to 3 days. They’ll stay soft and chewy. If your kitchen is hot, they might get sticky, so refrigerate instead.
Refrigerator: Store in an airtight container for up to 1 week. They’ll firm up slightly, which some people prefer. Let them come to room temperature before eating for the best texture.
Freezer: These freeze well! Wrap individual bars in plastic wrap, then place in a freezer bag. They’ll last up to 3 months. Thaw at room temperature for 30 minutes before eating. I make a double batch and freeze half for later.
Reheating: These are best eaten at room temperature. If you want them warm, microwave for 10-15 seconds. Don’t overdo it, or they’ll get greasy.
Pro Tip
If the bars are drying out, add a slice of bread to the container. The bread releases moisture and keeps the bars soft. It’s an old trick, but it works.
Nutrition Information
I’m not a nutritionist, but here’s the breakdown if you’re tracking. This is per bar (based on 16 servings).
Calories: 180
Protein: 2g
Carbs: 28g
Fiber: 0g
Sugar: 18g
Fat: 7g
Saturated Fat: 4g
Cholesterol: 25mg
Sodium: 150mg
What’s Good: Decent portion control if you cut them small. Easy to share at parties. Quick to make for last-minute gatherings.
What to Know: Higher in sugar from the cookie mix. Contains gluten and dairy. Moderate calories per bar, but easy to overeat. When I want to make it lighter, I cut them smaller and pair them with fruit.
My Take: Look, these are sugar cookie bars. They’re not a diet recipe. They’re a treat. But they’re way better than store-bought cookies, cost less, and you know exactly what’s in them. When I want to make it lighter, I use a gluten-free mix and cut them into smaller pieces. But usually? I just eat one or two and enjoy them.
Final Thoughts
So that’s my Star-Spangled Sugar Cookie Bars! I’ve probably talked your ear off at this point, but when you make a recipe this often, you have a lot to say about it.
This has saved holiday parties more times than I can count. It’s my answer to “what’s for dessert” when I’m tired, don’t want to bake from scratch, and still want something that tastes really good. My kids are happy, my husband’s happy, and I’m happy because I’m not stressed about cooking.
Make it yours! Try different sprinkles, swap in chocolate chips, adjust the sweetness. The best recipes are the ones you adapt to your family’s tastes. These bars are a canvas for your creativity.
If you make this, drop a comment and let me know what you think! I love hearing how recipes turn out in your kitchen. And if something doesn’t work, tell me that too—I’m here to help troubleshoot.
Happy baking! And I hope your kitchen smells half as good as mine does right now.
Frequently Asked Questions
Can I use a different size pan?
You can, but the baking time will change. If you use a 9×9 pan, the bars will be thinner and bake faster (check at 15-18 minutes). If you use a 9×13 pan, double the recipe and bake for 25-30 minutes. The 8×8 is the sweet spot for thickness and texture.
Why did my bars crumble when I cut them?
Most likely, you cut them while they were still warm. Cookie bars need to cool completely to set. If you cut them hot, the structure hasn’t firmed up yet. Let them cool for at least 30 minutes, preferably an hour. If they’re still crumbly, next time add a tablespoon more milk to the dough.
Can I make these ahead for a party?
Absolutely. These bars actually taste better the next day. Make them 1-2 days ahead and store in an airtight container. They’ll stay soft and flavorful. If you’re freezing them, wrap them tightly and thaw at room temperature before serving.
Can I use melted butter instead of softened?
I don’t recommend it. Melted butter makes the dough greasy and dense. Softened butter creates a tender, chewy texture. If you’re in a hurry, cut the butter into cubes and microwave for 10-15 seconds. Just don’t melt it.
Can I add nuts or other mix-ins?
Yes! Chopped pecans, walnuts, or macadamia nuts work great. Add ½ cup to the dough before pressing into the pan. They add crunch and richness. I’ve also added dried cranberries for a tart contrast. Get creative!
How do I store leftover bars?
Store in an airtight container at room temperature for up to 3 days. For longer storage, refrigerate for up to 1 week or freeze for up to 3 months. Wrap individual bars in plastic wrap before freezing for easy thawing.
Can I make these gluten-free?
Yes! Use a gluten-free sugar cookie mix. I’ve used King Arthur Gluten-Free and it works perfectly. The texture is slightly different but still delicious. Just follow the same steps.
Pin This Recipe!
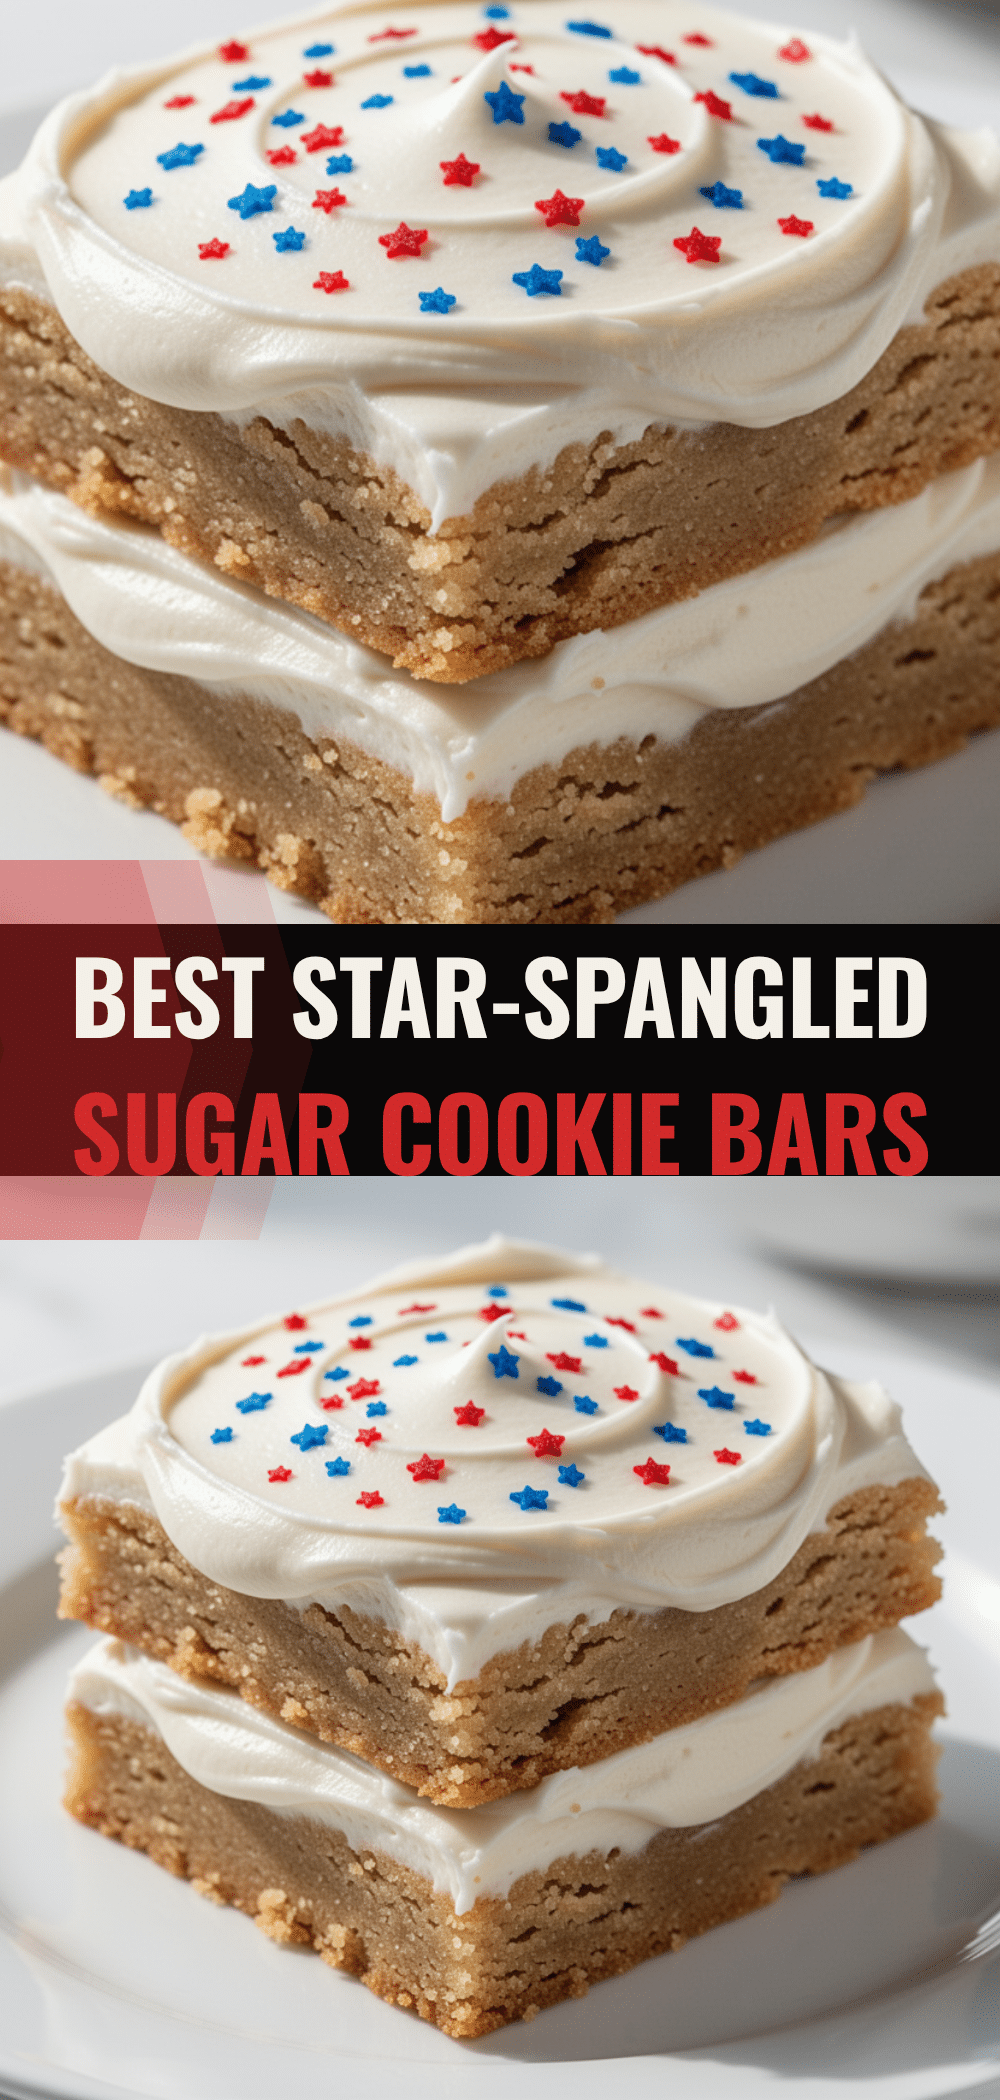
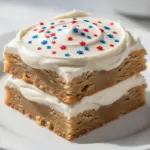
Star-Spangled Sugar Cookie Bars
- Total Time: 35 minutes
- Yield: 16 servings 1x
Description
An easy, festive 4-ingredient holiday dessert that comes together in 30 minutes. These soft, chewy sugar cookie bars are perfect for potlucks and require minimal effort for maximum flavor.
Ingredients
- 1 box (15-16 oz / 425-450g) sugar cookie mix
- ½ cup (113g) unsalted butter, softened
- 2 large eggs
- 2–3 tablespoons milk
- ½ cup (50g) holiday sprinkles
- ¼ cup (40g) white chocolate chips (optional)
- 1 teaspoon vanilla extract (optional)
Instructions
- Preheat oven to 350°F (175°C). Line an 8×8 inch baking pan with parchment paper, leaving an overhang on the sides for easy removal.
- In a medium mixing bowl, combine the sugar cookie mix, softened butter, eggs, and milk.
- Mix with a fork or spatula until a soft, scoopable dough forms. If too dry, add another tablespoon of milk; if too wet, add a tablespoon of cookie mix.
- Transfer the dough to the prepared pan. Press it into an even layer using your hands or the bottom of a measuring cup.
- Sprinkle holiday sprinkles and optional white chocolate chips evenly over the top. Press them gently into the dough so they adhere.
- Bake for 20-25 minutes, or until the edges are lightly golden and the center is set but still soft.
- Let the bars cool in the pan for at least 30 minutes to allow them to set completely.
- Use the parchment overhang to lift the slab out of the pan. Cut into 12-16 squares or rectangles.
Notes
Softened butter is crucial; do not use melted butter as it makes the bars greasy. Ensure the bars cool completely before cutting to prevent crumbling. For gluten-free, use a gluten-free sugar cookie mix. For dairy-free, use a dairy-free butter substitute.
- Prep Time: 10 minutes
- Cook Time: 25 minutes
- Category: Dessert
- Cuisine: American
Nutrition
- Serving Size: 1 bar
- Calories: 180
- Sugar: 18
- Sodium: 150
- Fat: 7
- Saturated Fat: 4
- Carbohydrates: 28
- Protein: 2
Keywords: sugar cookie bars, holiday dessert, easy dessert, 4 ingredient recipe, potluck dessert, festive cookies, quick baking