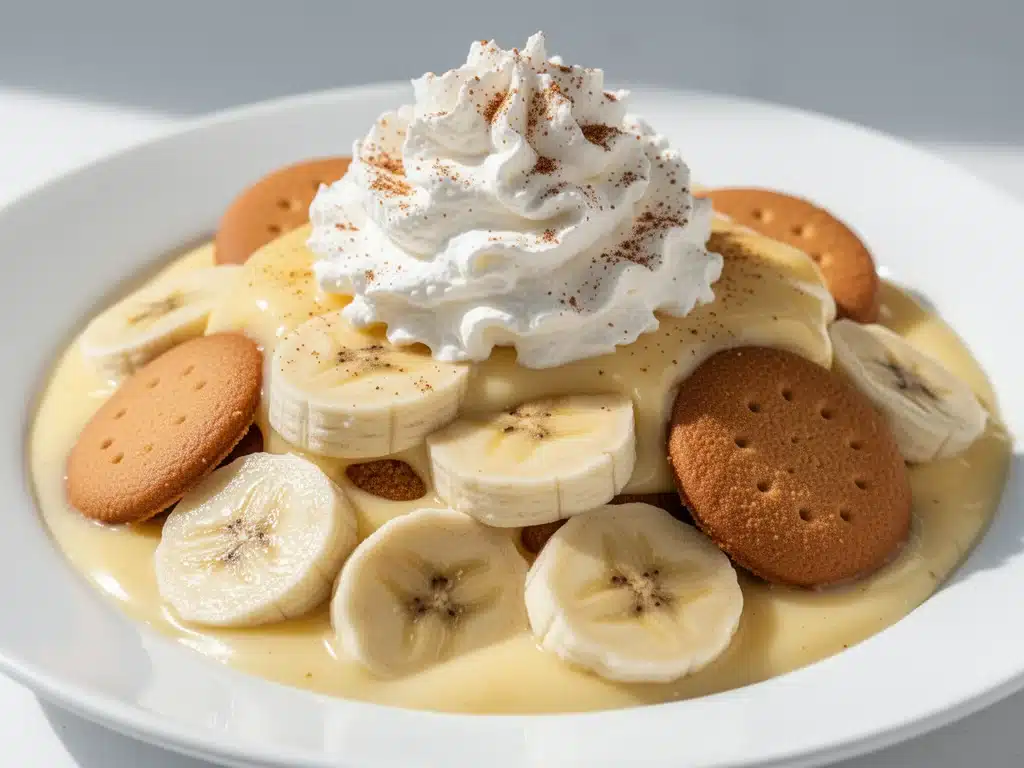
There’s a specific kind of panic that hits me when I walk into a potluck and see an empty spot where the dessert table should be. It’s not just about hunger; it’s about the sudden realization that there’s no comfort food available to save the evening. That’s exactly what happened last summer at my cousin’s barbecue. I arrived with a Tupperware container, hoping to blend in, only to realize I’d left my banana pudding in the fridge. I spent the next hour watching people wander back from the grill, looking hopeful, only to be disappointed. I ended up handing out single cookies and offering vague promises of “something sweet later.” It was a disaster. I felt like I’d failed the most basic rule of being a good guest.
That night, I went home and made a batch of banana pudding so good that my cousin’s husband, who claims he “doesn’t really like desserts,” asked for the recipe. He didn’t just ask for it once. He asked three times. That’s when I knew I had something special. Since then, this classic homemade banana pudding has become my go-to for every family gathering, holiday, and impromptu dinner party. It’s the dessert that stops conversations. It’s the reason people text me a week later saying, “I had a dream about your pudding.”
I’ve tested this recipe at least twenty times over the last few years. I’ve tried using boxed mix (don’t). I’ve tried skipping the vanilla wafers (huge mistake). I’ve tried using bananas that were too green and bananas that were brown sludge. Through all those experiments, I’ve landed on the perfect balance of creamy, tangy, sweet, and crunchy. This isn’t just a recipe; it’s a hug in a bowl. And it’s easier to make than you think. Once you master this method, you’ll never buy the stuff in the plastic tub at the grocery store again.
Why You’ll Love This Banana Pudding Recipe
I know what you’re thinking. “I can make banana pudding in my sleep.” But can you make it with layers that don’t get soggy by noon? Can you make it with a custard that’s rich enough to be indulgent but light enough to eat three servings of? This version checks every box. Here’s why this classic homemade banana pudding is the one everyone always asks for:
- It’s Actually Creamy, Not Watery — The secret is in how you temper the eggs and cook the custard. I’ve seen so many recipes end up with a thin, milky mess. This one sets up perfectly. It’s thick, luscious, and coats the spoon in the best way possible.
- Perfectly Ripe Bananas Every Time — I’ve developed a method for slicing and layering bananas that prevents them from turning brown and mushy before you even serve it. They stay firm but soft, adding that fresh fruity contrast to the sweet cream.
- Crunchy Vanilla Wafer Layers — This is the texture game-changer. Most people over-soak their wafers. I layer them so they absorb just enough custard to soften slightly but still hold their shape. You get that satisfying crunch in every bite.
- Make-Ahead Friendly — This pudding actually gets better the next day. The flavors meld together, the custard sets further, and it’s even easier to slice and serve. It’s the ultimate stress-free dessert for hosting.
- Uses Simple Ingredients — You don’t need fancy equipment or obscure ingredients. Just eggs, sugar, milk, cream, vanilla, bananas, and vanilla wafers. If you can boil water, you can make this.
This is the dessert that brings people together. It’s nostalgic without being boring. It’s classic without being stiff. And it’s guaranteed to disappear fast.
Ingredients You’ll Need
Here’s the best part: you probably have most of this already in your kitchen. This classic homemade banana pudding relies on quality basics rather than complex techniques. I’m particular about a few things, so pay attention to those details.
For the Vanilla Custard
Egg yolks (6 large, separated) — These are the backbone of the custard. Use fresh eggs. If your yolks are broken, it’s fine, but you want them to be vibrant orange. I save the whites for meringue or another project.
Granulated sugar (1 cup / 200g) — Don’t reduce this. The sugar balances the tartness of the cream and the bananas. I use regular white sugar for a clean flavor. Brown sugar makes it too molasses-heavy.
All-purpose flour (¼ cup / 30g) — This thickens the custard. Some people skip it and use just cornstarch, but I find flour gives a more traditional, “old-fashioned” texture. Whisk it with the sugar first to avoid lumps.
Milk (3 cups / 720ml) — Whole milk is non-negotiable here. Skim milk will make this taste watery and sad. You want that rich dairy flavor.
Heavy cream (1 cup / 240ml) — This adds the luxurious mouthfeel. Don’t substitute with half-and-half unless you’re desperate. You want it to be decadent.
Vanilla extract (2 teaspoons) — Use real vanilla. I prefer pure extract over imitation. If you have vanilla bean paste, use 1 tablespoon—it looks gorgeous and tastes amazing.
Salt (¼ teaspoon) — Just a pinch to bring out all the sweet flavors. Don’t skip it.
For the Assembly
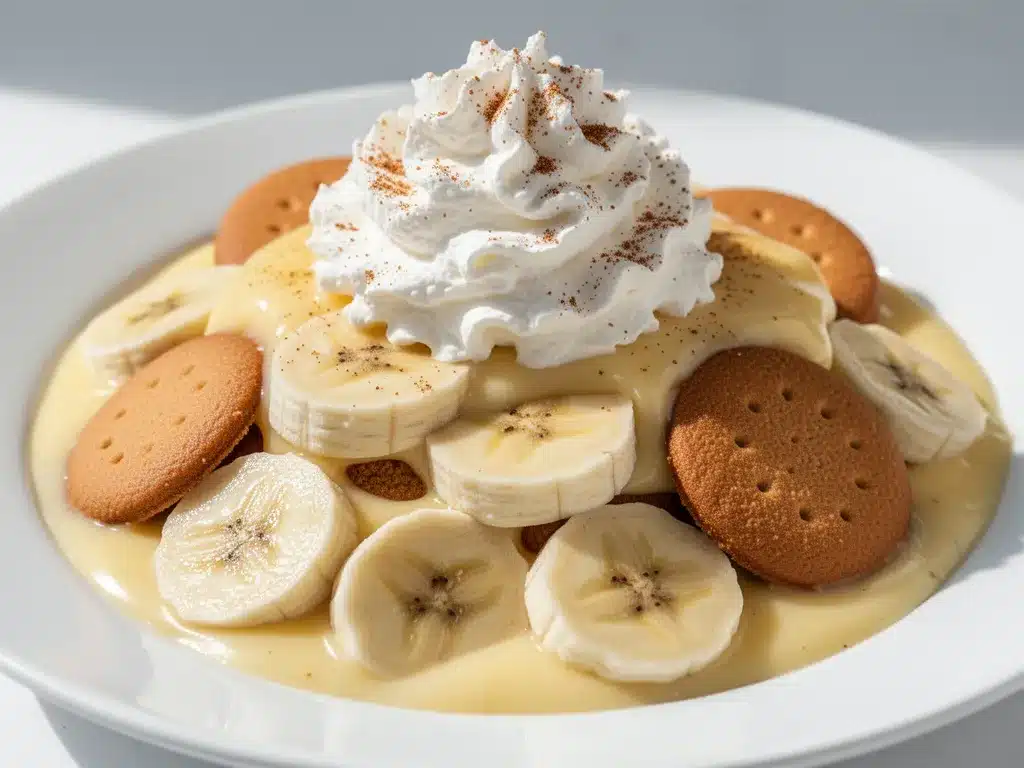
Ripe bananas (6 medium) — This is critical. They should be yellow with some brown spots. If they’re too green, they’re starchy and bland. If they’re black, they’ll turn to mush. Look for the “perfectly ripe” stage.
Vanilla wafers (2 packages / 16 oz) — Nilla Wafers are the gold standard. I’ve tried generic brands, and they just don’t hold up. You need the sturdy, buttery crunch of the real thing.
Optional: Fresh whipped cream — For serving. I like a dollop on top for extra fluffiness.
Equipment Needed
You don’t need anything fancy for this. Here’s what I actually use:
Large saucepan — I use a 3-quart stainless steel pot. It needs to be heavy-bottomed so the custard doesn’t scorch. If your pot is thin, you’ll get hot spots and burnt milk at the bottom. Learn from my mistakes.
Whisk — A good silicone or balloon whisk. You need to whisk constantly, so make sure your handle is comfortable.
Measuring cups and spoons — Standard stuff. I keep a set on my counter.
Spatula — For scraping the bowl. You want every bit of that custard.
Serving dish — A 9×13 glass baking dish or a large ceramic trifle bowl. Glass is nice because you can see the beautiful layers.
Knife — For slicing bananas. I use a serrated knife for cleaner cuts.
How to Make It: Step-by-Step
Alright, let’s make this! I’m walking you through exactly how I do it. It sounds like a lot of steps, but it’s mostly passive cooking. You’ll be amazed at how little active effort it takes.
Step 1: Prep Your Bananas
Peel your bananas and slice them into ½-inch rounds. If they’re very ripe, handle them gently so they don’t break. Toss them with 1 teaspoon of lemon juice. This is a pro tip—it prevents browning without making them taste like lemon. It keeps them bright yellow and fresh-looking for hours.
Step 2: Make the Custard Base
In your large saucepan, whisk together the sugar, flour, and salt. Gradually whisk in the milk. Make sure you whisk until there are no lumps of flour. This is crucial. Place the pot over medium heat and cook, whisking constantly. This will take about 10-15 minutes. The mixture will start to thicken. Keep whisking! Don’t walk away. If you stop, it’ll boil over or burn.
Step 3: Temper the Egg Yolks
Once the custard is thick and bubbling, remove the pot from the heat. In a separate bowl, whisk the egg yolks. Slowly, while whisking the yolks constantly, pour about 1 cup of the hot custard into the yolks. This is called tempering. It raises the temperature of the eggs slowly so they don’t scramble into little yellow curds. Once mixed, pour the egg mixture back into the saucepan with the rest of the custard.
Step 4: Finish Cooking the Custard
Return the pot to medium-low heat. Whisk constantly for another 2-3 minutes until the custard is very thick and glossy. It should coat the back of a spoon heavily. Remove from heat immediately. Stir in the vanilla extract and salt. If you have vanilla bean paste, add it now for those pretty black specks.
Step 5: Cool the Custard
Transfer the custard to a clean bowl. Place a piece of plastic wrap directly on the surface of the custard. This prevents a skin from forming. Let it cool to room temperature, then refrigerate for at least 1 hour. You want it cold before you assemble. This step is important because if you use warm custard, it will melt the wafers and bananas too quickly.
Step 6: Assemble the Layers
Take your serving dish. Start with a layer of vanilla wafers at the bottom. It’s okay if they overlap a little. Next, add a layer of banana slices. Then, spoon a generous amount of custard over the bananas. Use the back of the spoon to spread it evenly. Repeat the layers: wafers, bananas, custard. Continue until you’ve used all the ingredients, finishing with a layer of custard on top.
Step 7: Chill and Serve
Cover the dish with plastic wrap or a lid. Refrigerate for at least 4 hours, but ideally overnight. This allows the wafers to soften and the flavors to meld. When you’re ready to serve, you can top it with whipped cream or extra vanilla wafers. Slice it with a sharp knife and dig in.
Expert Tips & Tricks
Here’s everything I’ve learned from making this dozens of times. These tips will save you from my mistakes.
Don’t Skip the Tempering — I know it’s an extra step, but if you just dump the eggs into the hot milk, you’ll end up with egg drop soup. Take the time to temper them. It ensures a silky, smooth custard.
Custard Thickness Matters — The custard should be thicker than pudding but looser than frosting. If it’s too thin, your layers will slide apart. If it’s too thick, it’ll be gummy. Aim for a consistency similar to heavy cream.
Use Room Temperature Ingredients — If your eggs are straight from the fridge, tempering takes longer. Let them sit out for 15 minutes before you start. It makes the process smoother.
Layering Technique — Don’t just pile the bananas on top. Spread them out. And don’t skimp on the custard between layers. You want every bite to have a bit of everything. The ratio should be roughly equal parts wafer, banana, and custard.
Chill Time is Non-Negotiable — I’ve been tempted to serve it immediately, but it’s not worth it. The wafers need time to absorb the custard. If you serve it right away, you’ll have a dry wafer layer and a pool of liquid at the bottom. Patience pays off.
Common Mistakes (and how to avoid them)
Mistake: The custard is lumpy. Fix: You didn’t whisk enough during the cooking phase. Whisk constantly over medium heat. If lumps form, strain the custard through a fine-mesh sieve.
Mistake: The bananas are brown. Fix: You used underripe bananas or didn’t use the lemon juice. Always use bananas with brown spots and toss them with acid.
Mistake: The wafers are soggy. Fix: You used warm custard or didn’t let it chill long enough. Always use cold custard and let the pudding chill for at least 4 hours.
Variations & Substitutions
Once you’ve nailed the basic version, here’s how you can mix it up. I’ve tried all of these.
Chocolate Banana Pudding — Add ¼ cup of unsweetened cocoa powder to the sugar/flour mixture in Step 2. It turns this into a chocolate delight. My kids love this version.
Peanut Butter Banana Pudding — Swirl ½ cup of peanut butter into the custard before chilling. It adds a salty-sweet contrast that’s incredible.
Coconut Banana Pudding — Substitute half the milk with coconut milk. Use toasted coconut flakes as a topping. It’s tropical and delicious.
Gluten-Free — Use gluten-free vanilla wafers. Most brands work well, but check the texture. Some are more crumbly than others. The custard is naturally gluten-free.
Dairy-Free — Use coconut cream instead of heavy cream and dairy-free milk. Use dairy-free vanilla wafers. It’s not quite the same, but it’s still tasty.
Dietary Modifications
Lower Sugar — Reduce the sugar to ¾ cup. It’s still sweet enough from the bananas and wafers. Use a sugar substitute if you prefer, but note that some substitutes don’t behave the same way in cooking.
Lighter Version — Use 2% milk instead of whole milk and reduce the heavy cream to ½ cup. It’s lighter but still creamy.
Serving & Storage
How to Serve: I usually serve this straight from the dish with a large spoon. It looks rustic and homemade. But here are other ways I’ve enjoyed it:
- Top with a dollop of freshly whipped cream and a sprinkle of crushed vanilla wafers.
- Serve with a side of fresh berries for a color contrast.
- Offer it in individual glasses for a fancy presentation.
Storage Instructions:
Refrigerator: Store in an airtight container or covered with plastic wrap for up to 3 days. The custard will thicken as it sits, which is normal. It actually tastes better on day two.
Freezing: Honestly, this doesn’t freeze well. The custard separates when thawed, and the bananas turn mushy. Make it fresh or store in the fridge for up to 3 days.
Pro tip: If you’re serving a crowd, make two smaller dishes instead of one big one. It’s easier to control portions and you won’t have to dig all the way to the bottom.
Nutrition Information
I’m not a nutritionist, but here’s the breakdown if you’re tracking. This is a rich dessert, so enjoy in moderation.
Per Serving (based on 12 servings):
- Calories: 320
- Protein: 6g
- Carbs: 42g
- Fiber: 2g
- Sugar: 28g
- Fat: 14g
- Saturated Fat: 7g
- Cholesterol: 85mg
- Sodium: 180mg
What’s Good: It provides calcium from the dairy and potassium from the bananas. It’s a good source of energy.
What to Know: It’s high in sugar and calories due to the cream, sugar, and wafers. If you’re watching your intake, stick to one serving. Use the lighter version if you’re concerned.
Final Thoughts
So that’s my go-to classic homemade banana pudding! I’ve probably talked your ear off at this point, but when you make a recipe this often, you have a lot to say about it. This has saved potlucks more times than I can count. It’s my answer to “what’s for dessert?” when I want something that feels special but doesn’t require a ton of effort. My family is happy, my guests are happy, and I’m happy because I’m not stressed about cooking.
Make it yours! Try different toppings, swap in your favorite cookies (though I don’t recommend it), or adjust the sweetness to your taste. The best recipes are the ones you adapt to your family’s tastes.
If you make this, drop a comment and let me know what you think! I love hearing how recipes turn out in your kitchen. And if something doesn’t work, tell me that too—I’m here to help troubleshoot.
Happy cooking! And I hope your kitchen smells half as good as mine does right now.
Frequently Asked Questions
Can I use instant pudding mix instead of making custard from scratch?
You can, but I don’t recommend it. Instant pudding mix tends to be grainy and lacks the depth of flavor that homemade custard has. It’s also full of preservatives. If you’re short on time, you can use a mix, but try to add some real vanilla and heavy cream to improve the texture. But honestly, making custard from scratch is worth the extra 20 minutes.
Why did my custard turn into scrambled eggs?
This happens if you didn’t temper the eggs properly. You added the hot custard to the eggs too quickly, raising their temperature too fast and cooking them instantly. Next time, whisk the hot custard into the eggs very slowly, drop by drop at first, then in a thin stream. If your custard is already scrambled, you can try blending it with an immersion blender to smooth it out, but it won’t be perfect.
Can I make this ahead of time?
Yes! In fact, it’s better made ahead. You can assemble it up to 24 hours in advance. Just keep it covered in the fridge. The flavors will meld and the wafers will soften perfectly. It’s the ultimate make-ahead dessert.
How do I prevent the bananas from turning brown?
Toss the sliced bananas with a little lemon juice or pineapple juice. The acid slows down the oxidation process. I also make sure to layer the bananas under the custard, which acts as a barrier against air. And always use ripe bananas—they’re less prone to browning than underripe ones.
Can I use a different cookie instead of vanilla wafers?
You can try shortbread cookies or vanilla cookies, but they might be too soft or too dry. Vanilla wafers have the perfect balance of sweetness and crunch. If you must substitute, try ginger snaps for a spicier twist, but know that it will change the flavor profile significantly.
How long does banana pudding last in the fridge?
It lasts for up to 3 days. After that, the wafers may become too soggy, and the bananas may start to break down. For best quality, eat it within 2 days. Don’t freeze it, as the texture will suffer.
Pin This Recipe!
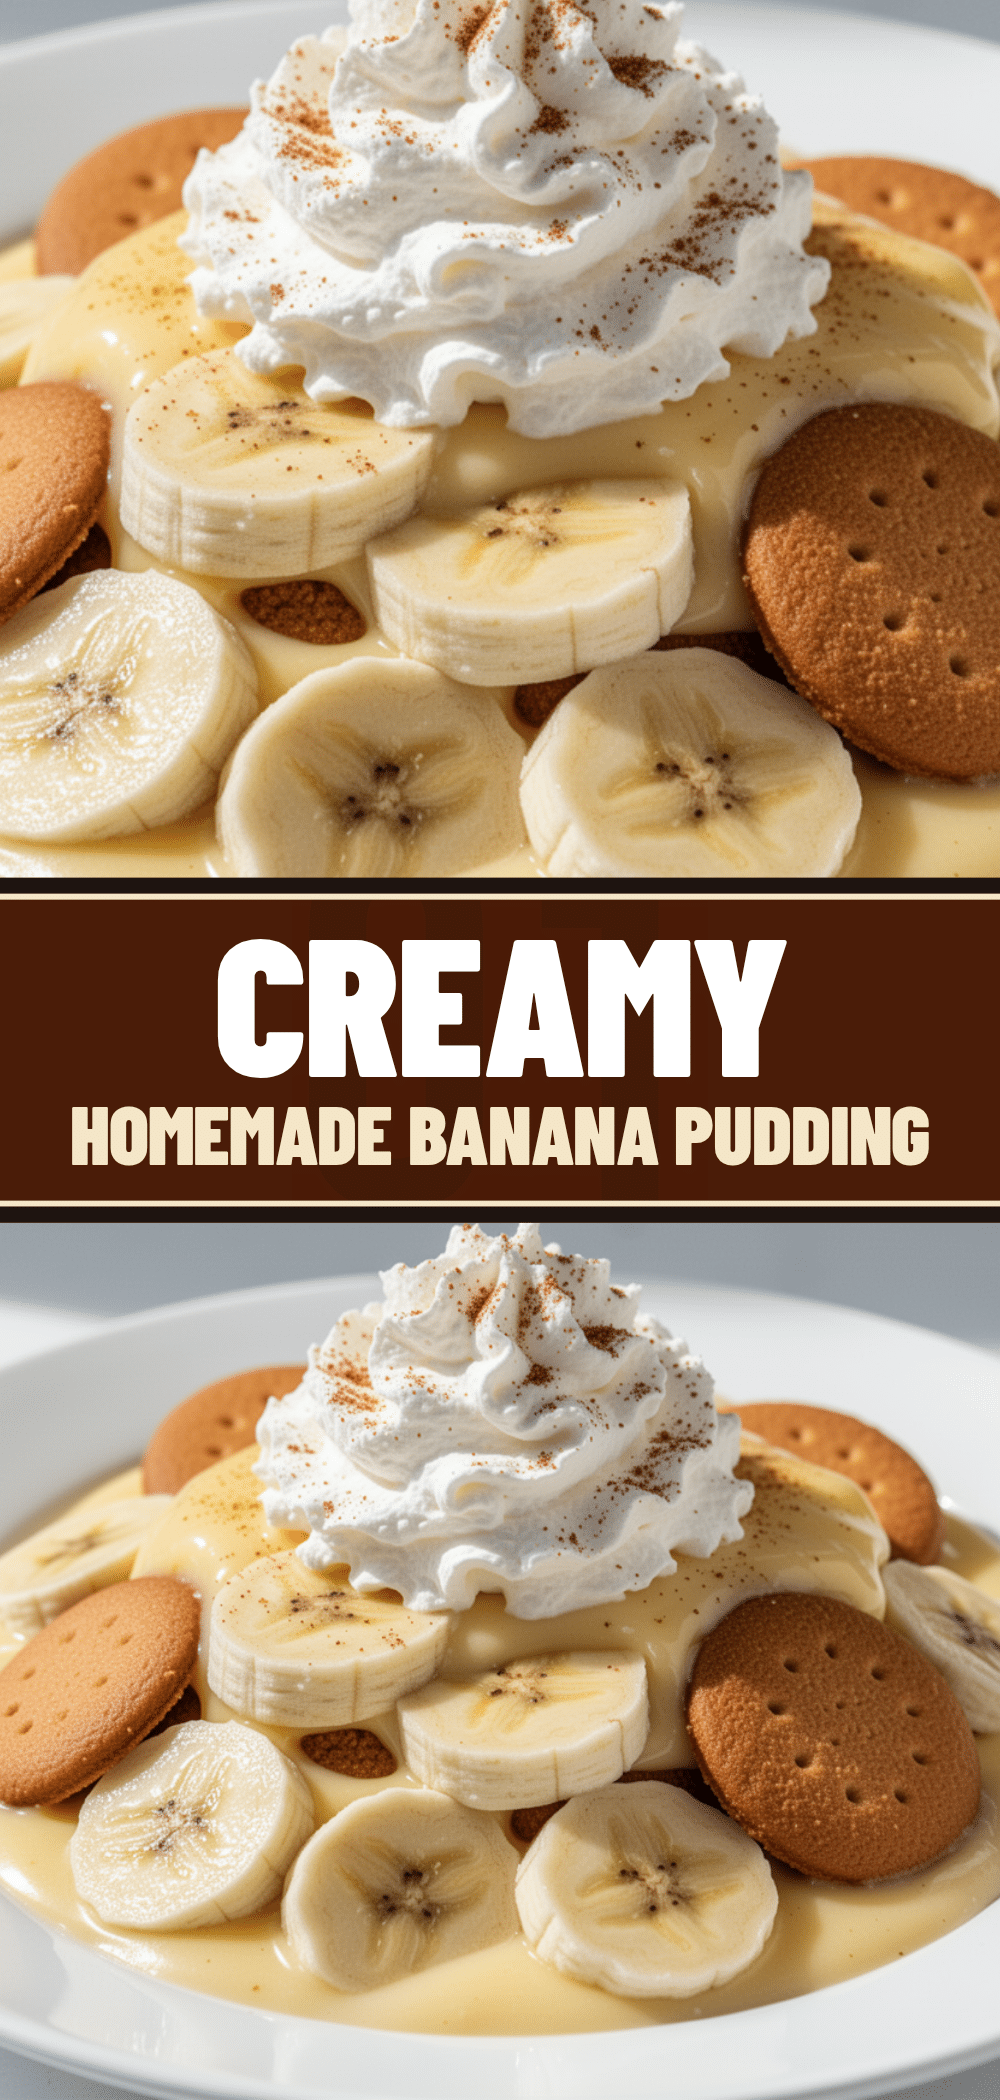
Classic Homemade Banana Pudding: Best Easy Recipe
- Total Time: 5 hours 50 minutes
- Yield: 12 servings 1x
Description
A rich, creamy, and crunchy homemade banana pudding with a traditional custard base, perfectly ripe bananas, and vanilla wafers. This make-ahead dessert is easier to make than you think and guarantees to disappear fast.
Ingredients
- 6 large egg yolks
- 1 cup (200g) granulated sugar
- 1/4 cup (30g) all-purpose flour
- 3 cups (720ml) whole milk
- 1 cup (240ml) heavy cream
- 2 teaspoons vanilla extract (or 1 tablespoon vanilla bean paste)
- 1/4 teaspoon salt
- 6 medium ripe bananas
- 1 teaspoon lemon juice
- 2 packages (16 oz) vanilla wafers
- Fresh whipped cream (optional, for serving)
Instructions
- Peel bananas and slice into 1/2-inch rounds. Toss with 1 teaspoon of lemon juice to prevent browning.
- In a large saucepan, whisk together sugar, flour, and salt. Gradually whisk in milk until no lumps remain.
- Place pot over medium heat and cook, whisking constantly for 10-15 minutes until the mixture thickens and bubbles.
- Remove pot from heat. In a separate bowl, whisk egg yolks. Slowly temper the yolks by whisking in about 1 cup of the hot custard.
- Pour the tempered egg mixture back into the saucepan. Return to medium-low heat and whisk constantly for 2-3 minutes until very thick and glossy.
- Remove from heat. Stir in vanilla extract and salt.
- Transfer custard to a clean bowl. Place plastic wrap directly on the surface to prevent a skin from forming. Cool to room temperature, then refrigerate for at least 1 hour until cold.
- In a 9×13 glass baking dish or trifle bowl, create layers: start with vanilla wafers, then banana slices, then a generous layer of cold custard. Repeat layers, finishing with custard on top.
- Cover and refrigerate for at least 4 hours, ideally overnight, to allow wafers to soften and flavors to meld.
- Serve topped with fresh whipped cream or extra vanilla wafers if desired.
Notes
Do not skip tempering the eggs to avoid scrambling. Use ripe bananas with brown spots for best flavor and texture. The pudding must be chilled for at least 4 hours to allow the wafers to soften properly. It does not freeze well. For a gluten-free version, use gluten-free vanilla wafers. For a dairy-free version, substitute coconut cream and dairy-free milk/wafers.
- Prep Time: 30 minutes
- Cook Time: 20 minutes
- Category: Dessert
- Cuisine: American
Nutrition
- Serving Size: 1 slice or scoop
- Calories: 320
- Sugar: 28
- Sodium: 180
- Fat: 14
- Saturated Fat: 7
- Carbohydrates: 42
- Fiber: 2
- Protein: 6
Keywords: banana pudding, homemade banana pudding, classic dessert, custard recipe, vanilla wafers, make ahead dessert, southern dessert


