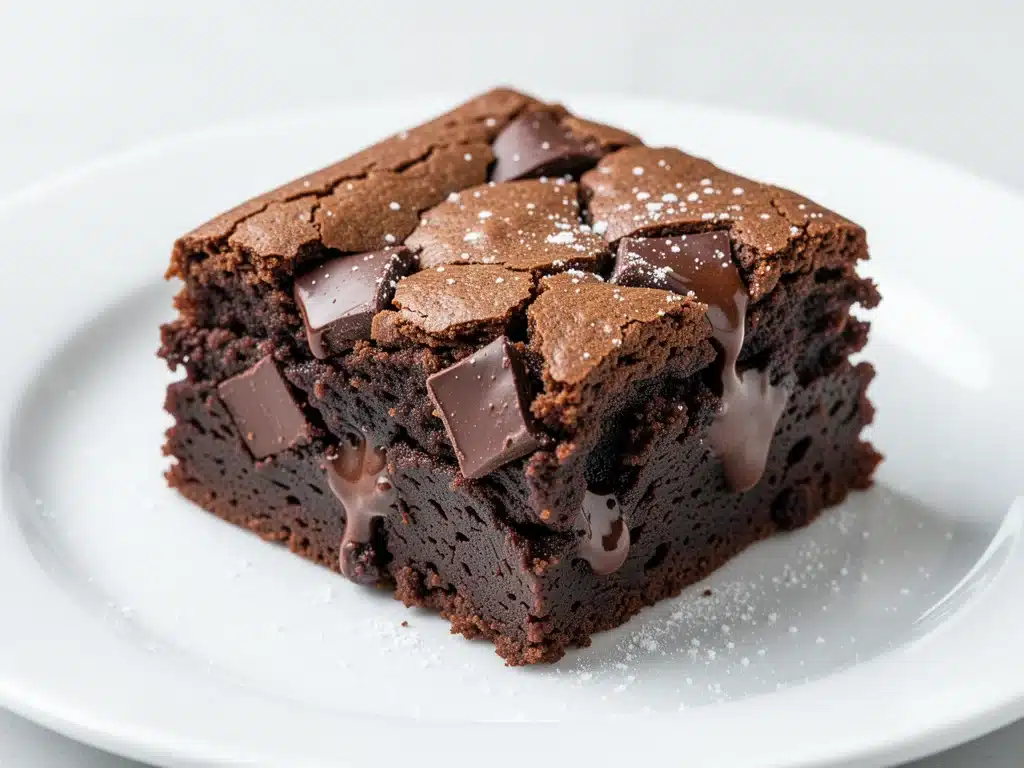
There is a specific kind of magic that happens when you’re standing in your kitchen at 9 PM, the house is finally quiet, and you realize you’re out of dessert. I used to hate this moment. I’d either cave and order overpriced delivery or just eat a spoonful of peanut butter straight from the jar (no judgment). But then I discovered these ultra-fudgy one-bowl brownies, and everything changed.
This isn’t just another chocolate cake recipe disguised as brownies. These are the dense, crackly-topped, gooey-centered brownies that make you stop mid-bite and close your eyes. I’ve made this recipe dozens of times over the last year—sometimes for dinner parties, sometimes because I had a bad day, and usually just because I wanted to feel like the best baker in the room. And the best part? It’s all done in one bowl. No fancy mixers, no complicated tempering, no separate bowls for eggs and sugar.
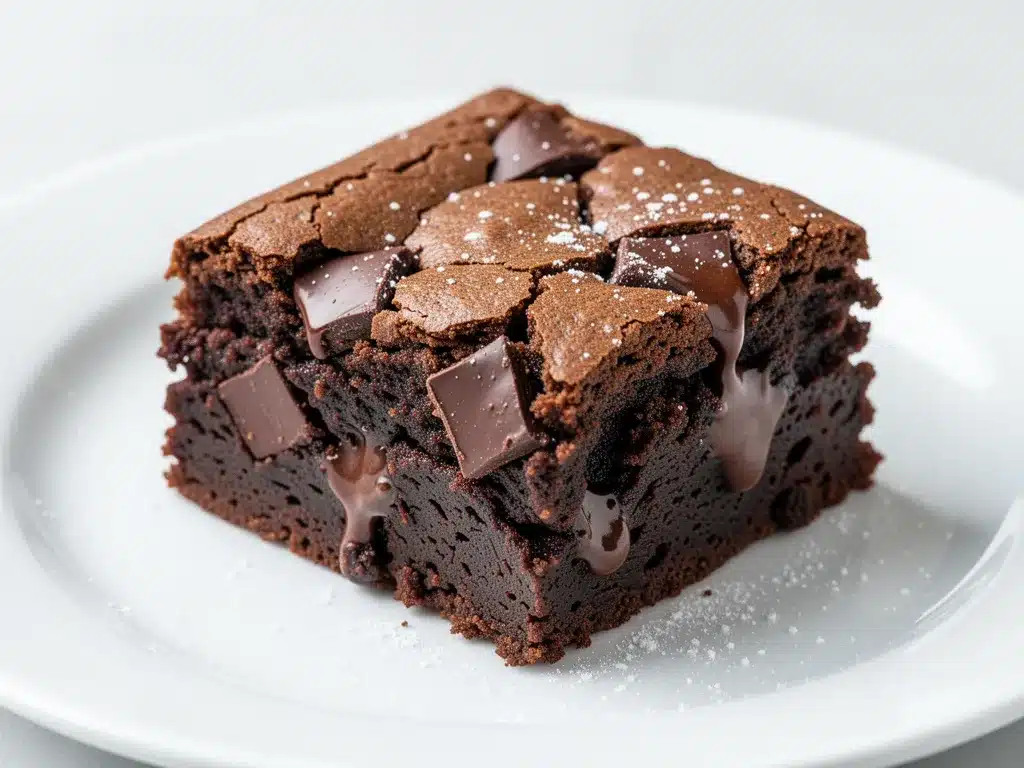
When I first pulled this batch out of the oven, I let them cool for exactly five minutes (which, for a brownie lover, is an eternity). The top was already cracking like a fine porcelain plate. I broke off a corner, felt the heat burn my fingertips slightly, and took that first bite. It was pure chocolate heaven. Dense, rich, and packed with actual dark chocolate chunks that melted into pockets of gooey goodness. Since then, this one-bowl brownie recipe has become my go-to comfort food. It’s the dessert I make when I want something indulgent but don’t want to spend an hour cleaning up a mountain of dishes.
If you’ve been searching for the best easy recipe that actually delivers on the “fudgy” promise without requiring a culinary degree, you’ve found it. These brownies are stubbornly delicious, incredibly easy to make, and they taste like they came from a high-end bakery. Trust me, once you try these, you’ll never go back to box mixes or complicated multi-bowl recipes again.
Why You’ll Love This Recipe
I’ve tested my share of brownie recipes, and most fall into one of two camps: cakey and dry, or greasy and sad. These ultra-fudgy one-bowl brownies with dark chocolate chunks hit that rare sweet spot in the middle. They are dense enough to hold their shape but soft enough to melt in your mouth. Here’s why this recipe has earned a permanent spot in my weekly rotation:
- One Bowl, Zero Stress — Seriously, one bowl. I dump the butter, sugar, eggs, cocoa powder, flour, and chocolate chunks into a single mixing bowl and stir. That’s it. No standing over a mixer, no washing three separate bowls. It’s perfect for when you’re tired or just want dessert without the drama.
- Actually Fudgy, Not Cakey — I’ve always hated brownies that taste like chocolate cake. These are dense, moist, and rich. The ratio of butter and chocolate to flour is carefully balanced to create that signature chewy texture. They stay soft for days (which is great for leftovers, bad for my waistline).
- Pocket-Sized Chocolate Goo — Using actual dark chocolate chunks instead of chips makes a world of difference. Chips have stabilizers that keep them from melting completely. Real chocolate chunks melt into irregular, gooey pockets throughout the brownie. It’s not uniform, and that’s exactly why it’s better.
- Ready in Under 45 Minutes — From start to finish, including cooling time, this takes less than an hour. Active prep is only about 10 minutes. You can start making these after you put the kids to bed and have a warm brownie ready by the time you’re done with your show.
- Gluten-Free Friendly (If Needed) — While I use all-purpose flour for the best texture, you can easily swap in a 1:1 gluten-free flour blend if you’re cooking for gluten-sensitive friends. They still turn out fudgy and delicious.
- Freezer-Friendly — I often double this recipe and freeze half the batter (or baked and cooled brownies) for later. They thaw beautifully. It’s like having homemade dessert on standby for unexpected guests or midnight cravings.
- Calories: 280
- Protein: 4g
- Carbs: 32g
- Fiber: 2g
- Sugar: 22g
- Fat: 16g
- Saturated Fat: 9g
- Cholesterol: 45mg
- Sodium: 120mg
These brownies are my answer to “what should I bring to the potluck?” or “I need a pick-me-up.” They’re reliable, impressive, and ridiculously easy. Once you make them, you’ll understand why I say you’ll make them on repeat.
Ingredients You’ll Need
Here’s the best part: you probably have most of this already in your pantry. This recipe relies on simple, high-quality ingredients. There are no weird additives or hard-to-find items. I’m particular about a few things here, and I’ll tell you exactly why.
For the Base
Unsalted Butter (1 cup / 226g) — This provides the richness and moisture. I use unsalted so I can control the saltiness. Melt it in the microwave or on the stove. It needs to be completely liquid but not piping hot.
Granulated Sugar (1 ½ cups / 300g) — This is key for that crackly top. The sugar dissolves into the melted butter, creating a thin layer on top as it bakes. Don’t swap this for brown sugar if you want that specific crackly texture, though you can mix them if you prefer a chewier top.
Eggs (3 large) — Room temperature eggs mix in more easily. Don’t skip this step; cold eggs can seize the melted butter. Crack them directly into the bowl.
Vanilla Extract (2 teaspoons) — Good quality vanilla enhances the chocolate flavor. If you’re out of vanilla, it’s okay, but it won’t taste as deep. I use pure extract, not imitation.
For the Chocolate Flavor
Unsweetened Cocoa Powder (½ cup / 45g) — This is the backbone of the flavor. I use natural cocoa powder (like Hershey’s or Ghiradelli). Dutch-processed cocoa works too but will make the brownies slightly darker and less chewy. Avoid “sweetened” cocoa mix.
All-Purpose Flour (¾ cup / 95g) — Just enough flour to hold the brownies together. Too much flour makes them cakey. Measure carefully! Scoop and level, don’t pack it down.
Salt (½ teaspoon) — Salt is crucial. It makes the chocolate taste more like chocolate. Don’t skip it, even if you’re watching sodium.
For the Gooey Goodness
Dark Chocolate Chunks (1 ½ cups / 250g) — This is the star. I chop up bars of 60-70% dark chocolate. You can use chunks from a bar or buy high-quality baking chunks. Avoid semi-sweet chips if you want that true fudgy melt. The bigger the chunks, the better the pockets of goo.
Optional: Flakey Sea Salt — For sprinkling on top right after baking. It adds a gorgeous contrast to the sweetness.
Substitutions: If you don’t have dark chocolate chunks, you can use semi-sweet, but I recommend chopping up a bar to ensure irregular shapes. For a nutty version, add 1 cup of chopped walnuts or pecans with the chocolate chunks.
Equipment Needed
You don’t need fancy equipment for this. Here’s what I actually use:
Large Mixing Bowl — A bowl big enough to hold all the ingredients without spilling when you stir. I use a 4-quart ceramic bowl. It’s sturdy and easy to clean.
Whisk — A simple wire whisk works best for combining the eggs and sugar until the mixture looks shiny. I don’t use a mixer for this; a whisk gives you better control and less cleanup.
9×9 Inch Baking Pan — This is the standard size for this recipe. Line it with parchment paper for easy removal. If you only have an 8×8 pan, the brownies will be thicker and might need 2-3 extra minutes in the oven. If you have a 9×13 pan, the batter will be thin, and they’ll bake faster—keep a close eye on them.
Parchment Paper — I can’t stress this enough. Lining the pan with parchment paper, leaving an overhang on the sides, makes lifting the brownies out a breeze. No more scraping stuck bits out of the pan.
Microwave-Safe Bowl — For melting the butter. I just microwave it in 30-second intervals, stirring in between.
Knife or Chocolate Chopper — If you’re chopping your own chocolate bars, a sharp chef’s knife works perfectly. It’s faster than buying pre-chopped chunks and gives you better control over the size.
Cooling Rack — Essential for letting the brownies set. If you cut them while they’re too hot, they’ll be a mushy mess.
How to Make It: Step-by-Step
Alright, let’s make these! I’m walking you through exactly how I do it, including the little tricks I’ve picked up over time. This process is straightforward, but attention to detail makes the difference between good and great.
Step 1: Prep Your Pan and Oven (2 minutes)
Preheat your oven to 350°F (175°C). Line a 9×9 inch baking pan with parchment paper, leaving a slight overhang on the long sides. This overhang acts as a handle to lift the brownies out later. Lightly grease the parchment with a little butter or cooking spray to prevent sticking.
Step 2: Melt the Butter (1 minute)
In a microwave-safe bowl, melt the butter. I do this in 30-second bursts, stirring in between, until it’s completely liquid. Be careful not to let it boil. Let it cool for a minute so it’s warm but not hot enough to cook the eggs.
Step 3: Mix Wet Ingredients (3 minutes)
In your large mixing bowl, whisk the melted butter and granulated sugar together vigorously. This step is important! You want the sugar to dissolve slightly into the butter. Add the eggs and vanilla extract. Whisk again until the mixture is smooth, glossy, and slightly thickened. It should look like a shiny chocolate milk.
Step 4: Add Dry Ingredients (2 minutes)
Add the cocoa powder, flour, and salt to the wet mixture. Switch to a spatula or wooden spoon. Fold the ingredients together gently. Stop as soon as the flour disappears. Overmixing at this stage can make the brownies tough. The batter will be thick and dark.
Step 5: Fold in Chocolate Chunks (1 minute)
Stir in the dark chocolate chunks. Reserve a small handful (about ¼ cup) to sprinkle on top later. Fold the rest into the batter until evenly distributed. The batter should be heavy and rich.
Step 6: Bake (25-30 minutes)
Pour the batter into the prepared pan and spread it evenly. Sprinkle the reserved chocolate chunks on top. Bake for 25-30 minutes. The key to fudgy brownies is underbaking slightly. The edges should be set, but the center should still look slightly soft and jiggly when you shake the pan. A toothpick inserted into the center should come out with moist crumbs, not clean.
Step 7: Cool and Cut (30 minutes)
Let the brownies cool in the pan on a wire rack for at least 30 minutes. This is the hardest part, but it’s crucial. If you cut them too soon, they’ll fall apart. Once cooled, use the parchment overhang to lift them out of the pan. Cut into squares or bars. Sprinkle with flaky sea salt if desired.
Total Time: About 45 minutes (10 minutes prep, 30 minutes bake, 30 minutes cool).
Troubleshooting: If the center is too wet, bake for 2-3 more minutes. If the top is too dry, check your oven temperature; it might be running hot. Remember, carryover cooking will continue as they cool.
Expert Tips & Tricks
Here’s everything I’ve learned from making this dozens of times. These tips will save you from my mistakes and guarantee success.
Don’t Overbake — This is the #1 mistake people make. Brownies continue to cook as they cool in the hot pan. If you wait until a toothpick comes out clean, they’ll be cakey. Aim for moist crumbs. I usually pull them out when the center still looks slightly underdone.
Whisk the Eggs and Sugar Well — I know it seems tedious, but whisking the eggs and sugar until the mixture is glossy and shiny incorporates air and helps create that crackly top. It’s a small step that makes a big difference.
Chop Your Own Chocolate — Pre-chopped chips are convenient, but they don’t melt the same way. Chopping a bar of dark chocolate gives you irregular chunks that melt into those beautiful, gooey pockets. It’s worth the extra two minutes.
Use Quality Chocolate — Since chocolate is the main flavor, use good quality. I like 60-70% dark chocolate. If you use cheap chocolate, the brownies will taste flat. Look for bars with simple ingredients: cocoa mass, cocoa butter, sugar, vanilla.
Room Temperature Eggs — Cold eggs can cause the melted butter to seize up or not incorporate evenly. Take your eggs out of the fridge 15 minutes before you start. If you forget, you can warm them in a bowl of warm water for a few minutes.
Rest the Batter (Optional) — For even deeper flavor, let the batter rest in the fridge for 30 minutes before baking. This allows the flour to hydrate fully and the flavors to meld. I don’t always do this, but when I do, the brownies taste richer.
Storage Hack — Store brownies in an airtight container at room temperature for up to 4 days. Add a slice of bread to the container to keep them soft. The bread absorbs moisture from the air and keeps the brownies fudgy.
Variations & Substitutions
Once you’ve nailed the basic version, here’s how you can mix it up. I’ve tried all of these, and they all work.
Nutty Brownies — Add 1 cup of chopped walnuts or pecans with the chocolate chunks. Toast the nuts in a dry pan for 2-3 minutes before adding for extra flavor. This is my husband’s favorite version.
Red Velvet Brownies — Swap 2 tablespoons of cocoa powder for 1 tablespoon of cocoa powder and 1 tablespoon of red food coloring paste. Add ½ teaspoon of red velvet extract if you have it. They’re stunning for holidays.
Mint Chocolate Brownies — Add 1 teaspoon of peppermint extract to the wet ingredients. Sprinkle crushed peppermint candies on top before baking. Perfect for Christmas.
Espresso Brownies — Add 1 teaspoon of instant espresso powder to the dry ingredients. It doesn’t make them taste like coffee; it just intensifies the chocolate flavor. I do this every time.
Gluten-Free Version — Use a 1:1 gluten-free flour blend. Make sure it contains xanthan gum, or add ½ teaspoon. The texture will be slightly more delicate but still fudgy.
Dairy-Free Option — Swap butter for coconut oil (melted). The brownies will have a slight coconut flavor, which pairs well with dark chocolate. Use dairy-free chocolate chunks.
Vegan Version — This is trickier with a one-bowl recipe, but you can substitute the eggs with 3 flax eggs (3 tablespoons ground flaxseed + 9 tablespoons water, rested for 5 minutes). The texture will be denser, but still delicious.
Serving & Storage
How to Serve: I usually serve these plain, but they’re great with a scoop of vanilla ice cream or a dollop of whipped cream. The contrast of hot brownie and cold ice cream is unbeatable. For a fancy touch, serve with a drizzle of salted caramel sauce.
Side Dishes: These are dessert on their own, but they pair well with coffee or milk. For a dessert platter, add fresh berries to cut the richness.
Storage Instructions:
Room Temperature: Store in an airtight container for up to 4 days. Keep them in a cool, dry place. They actually get fudgier after a day!
Refrigerator: You can refrigerate them for up to a week, but they’ll firm up. Let them come to room temperature before eating for the best texture.
Freezer: These freeze beautifully. Wrap individual brownies in plastic wrap, then place them in a freezer bag. They’ll last for 3 months. Thaw at room temperature for 30 minutes.
Reheating: For a warm brownie, microwave a single serving for 10-15 seconds. It brings back that fresh-baked gooeyness. Or bake a batch at 350°F for 5 minutes.
Nutrition Information
I’m not a nutritionist, but here’s the breakdown if you’re tracking. Keep in mind that nutrition can vary based on the specific brands and chocolate used.
Per Serving (based on 16 brownies):
What’s Good: Dark chocolate is rich in antioxidants. These brownies are relatively low in carbs compared to cake. They’re satisfying, so you don’t need to eat many.
What to Know: They are high in sugar and saturated fat, as expected for a fudgy brownie. Enjoy in moderation. If you’re watching sugar, reduce the granulated sugar by ¼ cup, though the texture will be slightly less crackly.
Final Thoughts
So that’s my ultra-fudgy one-bowl brownie recipe! I’ve probably talked your ear off at this point, but when you make a recipe this often, you have a lot to say about it. These brownies have saved my dessert game more times than I can count. They’re my answer to “I need something sweet” when I’m tired, don’t want takeout, and still want something that tastes really good. My kids are happy, my husband’s happy, and I’m happy because I’m not stressed about cooking.
Make it yours! Try different add-ins, swap in your favorite chocolate, adjust the salt. The best recipes are the ones you adapt to your family’s tastes. If you make this, drop a comment and let me know what you think! I love hearing how recipes turn out in your kitchen. And if something doesn’t work, tell me that too—I’m here to help troubleshoot.
Happy baking! And I hope your kitchen smells half as good as mine does right now.
Frequently Asked Questions
Can I use milk chocolate instead of dark chocolate?
You can, but the brownies will be sweeter and less intense. Dark chocolate (60-70%) provides the best balance of sweetness and richness. If you use milk chocolate, consider reducing the granulated sugar by ¼ cup to avoid overly sweet brownies.
Why did my brownies turn out cakey?
This usually happens from overmixing the flour or overbaking. Make sure you stop mixing as soon as the flour disappears. Also, check your oven temperature with a thermometer; many ovens run hot. Pull the brownies out when the center still looks slightly underdone.
Can I double this recipe?
Yes, but you’ll need a larger baking pan (like a 9×13) or two 9×9 pans. If using a 9×13, the baking time will be shorter (around 20-25 minutes). Keep a close eye on them to prevent overbaking.
How do I get that crackly top?
The crackly top comes from whisking the eggs and sugar vigorously until the mixture is glossy and thick. This incorporates air and dissolves the sugar. Don’t skip this step! Also, using granulated sugar (not brown sugar) helps create the crust.
Can I make these ahead of time?
Absolutely. You can bake them up to 2 days in advance and store them in an airtight container. They actually taste better after a day as the flavors meld. You can also freeze the baked brownies for up to 3 months.
Why are my brownies dry?
They were likely overbaked. Brownies continue to cook in the hot pan after you take them out of the oven. Pull them out when the edges are set but the center is still soft. Also, make sure you’re measuring your flour correctly. Scoop and level, don’t pack it down.
Can I use oil instead of butter?
You can, but butter provides better flavor and texture. If you need to use oil, use a neutral oil like vegetable or canola oil. Use the same amount (1 cup). The brownies will be slightly less rich but still fudgy.
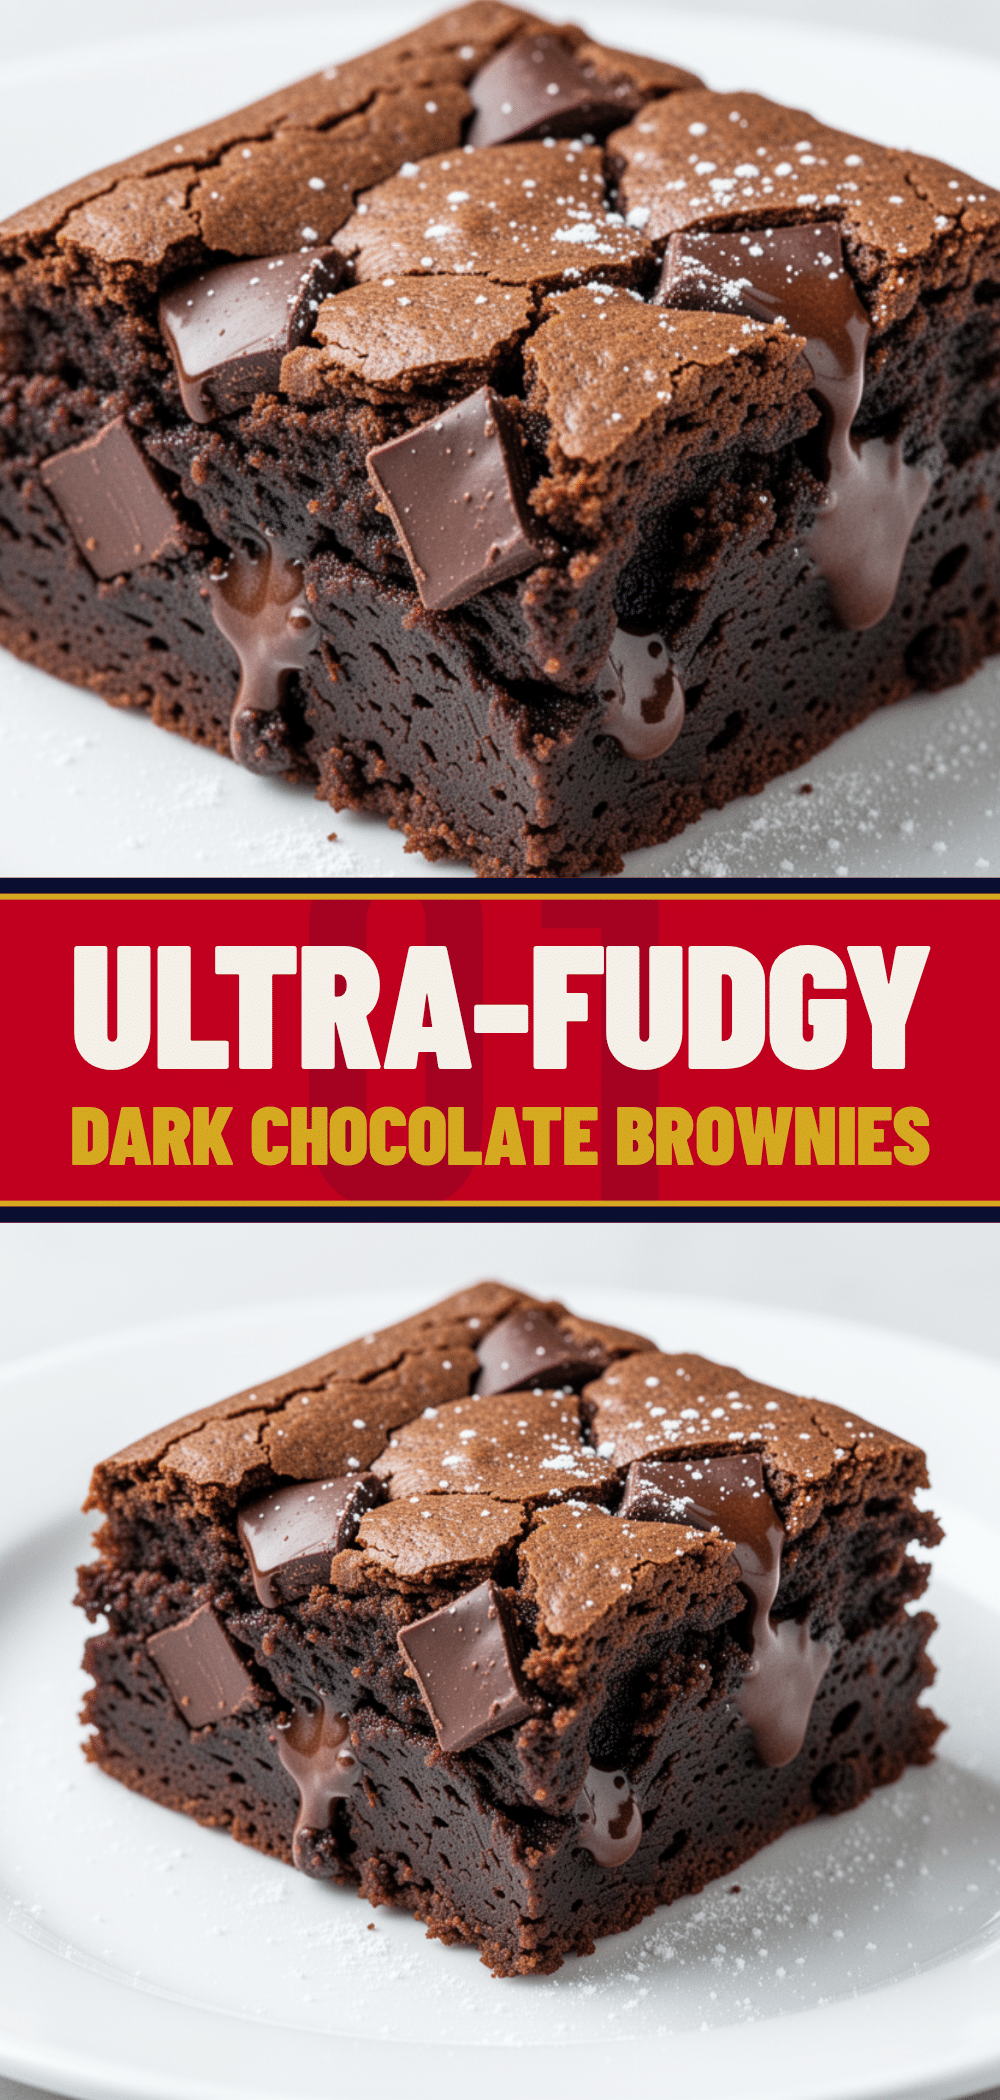
Pin This Recipe!
Ultra-Fudgy One-Bowl Brownies: Best Easy Recipe
- Total Time: 45 minutes
- Yield: 16 servings 1x
Description
Dense, crackly-topped, and gooey-centered brownies made in a single bowl with simple ingredients. This easy recipe delivers bakery-quality fudgy brownies in under 45 minutes.
Ingredients
- 1 cup (226g) unsalted butter
- 1 ½ cups (300g) granulated sugar
- 3 large eggs, room temperature
- 2 teaspoons vanilla extract
- ½ cup (45g) unsweetened cocoa powder
- ¾ cup (95g) all-purpose flour
- ½ teaspoon salt
- 1 ½ cups (250g) dark chocolate chunks
- Flaky sea salt, optional for topping
Instructions
- Preheat oven to 350°F (175°C). Line a 9×9 inch baking pan with parchment paper, leaving an overhang on the sides, and lightly grease.
- Melt the butter in a microwave-safe bowl in 30-second intervals, stirring until liquid but not hot. Let cool slightly.
- In a large mixing bowl, whisk the melted butter and granulated sugar vigorously until the mixture is glossy and slightly thickened.
- Add the eggs and vanilla extract to the butter mixture. Whisk until smooth and shiny.
- Add the cocoa powder, flour, and salt. Switch to a spatula or wooden spoon and fold gently until the flour just disappears. Do not overmix.
- Fold in the dark chocolate chunks, reserving about ¼ cup to sprinkle on top later.
- Pour the batter into the prepared pan and spread evenly. Sprinkle the reserved chocolate chunks on top.
- Bake for 25-30 minutes. The edges should be set, but the center should still look slightly soft and jiggly. A toothpick should come out with moist crumbs.
- Let the brownies cool in the pan on a wire rack for at least 30 minutes before lifting them out and cutting into squares.
- Sprinkle with flaky sea salt if desired.
Notes
Do not overbake; brownies continue to cook in the hot pan. For a crackly top, whisk eggs and sugar vigorously. Use room temperature eggs to prevent seizing the butter. Store in an airtight container at room temperature for up to 4 days. Add a slice of bread to the container to keep them soft.
- Prep Time: 10 minutes
- Cook Time: 30 minutes
- Category: Dessert
- Cuisine: American
Nutrition
- Serving Size: 1 brownie square
- Calories: 280
- Sugar: 22
- Sodium: 120
- Fat: 16
- Saturated Fat: 9
- Carbohydrates: 32
- Fiber: 2
- Protein: 4
Keywords: brownies, fudgy brownies, one bowl brownies, easy dessert, chocolate brownies, homemade brownies, gluten-free option


