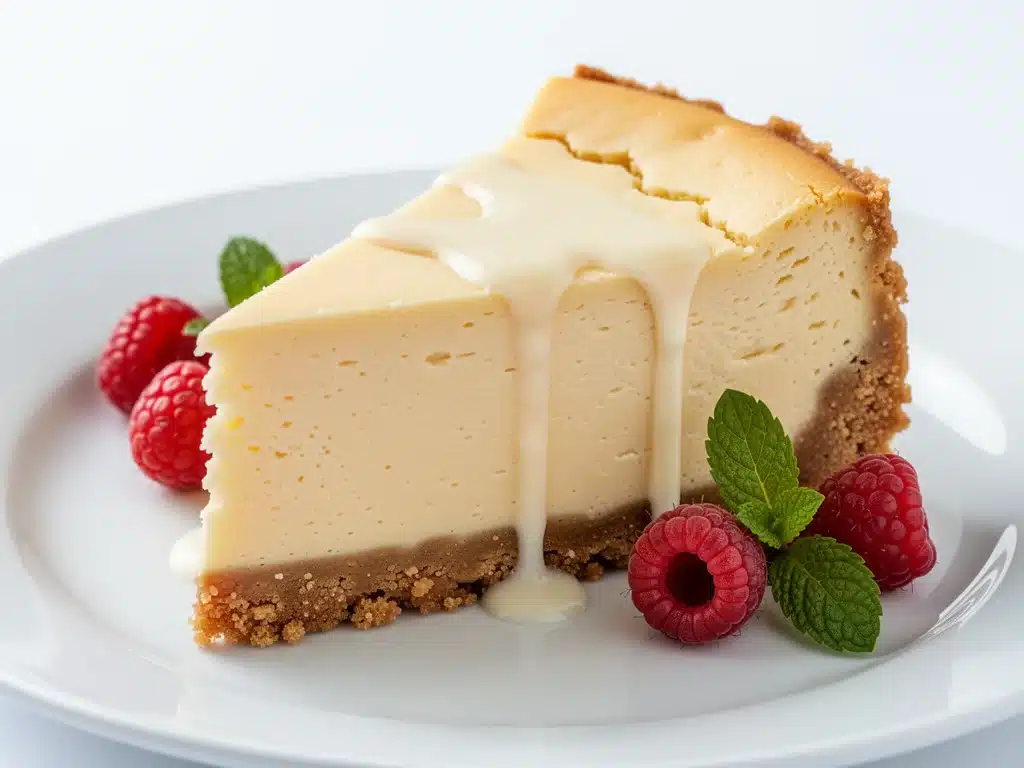
I still remember the exact moment I decided homemade was the only way forward. It was three years ago, on a rainy Sunday, and I had walked into that famous cheesecake place in Manhattan (yes, that place, the one with the line around the block). I ordered a slice of their classic New York style, paid twelve dollars for a piece of cake that was barely four inches wide, and took a bite. It was… fine. Dense, yes. Creamy, sure. But it tasted like sweetened cheese. There was no depth, no tang, no soul. Just a heavy, sugary brick that left me feeling full but unsatisfied.
I went home and looked at my empty fridge, then at the recipe book on my counter, and I realized I’d been doing it wrong for years. I’d been trying to make cheesecake like a light sponge cake, worrying too much about fluffiness and not enough about density and texture. I’d been adding too much flour, overmixing the batter, and baking it at temperatures that cracked the surface faster than I could say “disappointment.”
So, I started over. I stopped looking at fancy French dessert recipes and started studying the mechanics of a true New York cheesecake. I wanted that heavy, luxurious mouthfeel. I wanted the tang that makes you close your eyes. I wanted a crust that actually held up to the weight of the filling without getting soggy. It took me seven attempts. Seven. I cracked three in the oven. I made one that was so watery I could have spooned it into a bowl like pudding. But on the eighth try, I got it. The slice slid off the knife cleanly. The texture was impossibly smooth. The crust crunched.
This ultra-creamy New York cheesecake with graham cracker crust is the result of those eight tries. It’s not just a recipe; it’s my peace offering to my inner food snob. It’s the dessert I make when I need to impress in-laws, when I want to celebrate a promotion, or when I just need to sit down with a fork and a quiet evening because life has been loud all day. And the best part? It’s easier than you think. You don’t need a degree in pastry arts. You just need patience and the right technique. Once you taste this, you’ll never go back to the bakery slice again. You’ll make this cheesecake on repeat, and your friends will beg you for the secret.
Why You’ll Love This Cheesecake Recipe
There are a hundred cheesecake recipes out there. Most of them are variations on the same theme: cream cheese, sugar, eggs, and hope. But this one is different. It’s built for texture. It’s built for flavor. It’s built for people who want a dessert that feels like a hug from the inside out.
That Impossibly Smooth Texture — This isn’t fluffy. It’s dense. Like, rich, luxurious, heavy-on-the-tongue dense. I’ve tested this recipe with different mixing methods, and the key is beating the cream cheese until it’s completely smooth before adding anything else. No lumps. No air bubbles. Just a silky, velvet-like filling that melts in your mouth. When you cut it, it should look like a mirror. If your slice looks grainy, you haven’t beaten it long enough.
The Tangy Depth — Too many homemade cheesecakes taste like sweetened cottage cheese. This one has bite. I use both sour cream and lemon juice to create that classic New York tang. It cuts through the richness and keeps every bite from feeling cloying. It’s the difference between a dessert that’s just “sweet” and one that’s complex and satisfying. My dad, who claims he hates cheesecake because it’s “too sweet,” asks for seconds of this version.
The Crust That Actually Works — A soggy bottom is the cheesecake killer. I’ve spent hours scraping burnt, mushy graham cracker crust off the pan in frustration. Not anymore. This recipe uses a specific ratio of butter to crumbs and a blind-baking step that ensures the crust stays crisp, even after sitting in the fridge for days. It provides a sturdy, buttery foundation that contrasts perfectly with the soft filling.
It’s Forgiving — I know what you’re thinking. “But what if I crack it?” Here’s the thing: this recipe is designed to be baked in a water bath, which prevents cracking. But even if you do get a tiny crack, the sheer creaminess of the filling makes it unnoticeable. Plus, it’s dressed up with a simple berry compote or fresh fruit, so nobody is looking at the top of the cake anyway. It’s resilient. It’s reliable. It just works.
Budget-Friendly Luxury — Ordering a whole cheesecake from a bakery costs $40-$60. Making this one at home costs about $15. And it tastes better. You’re using real cream cheese, real butter, real graham crackers. No stabilizers, no preservatives, no mystery ingredients. It’s honest food. It’s worth every penny.
This is my go-to when I want to feel fancy without spending a fortune. It’s the dessert that turns a regular Tuesday into a celebration. And once you make it, you’ll understand why I say you’ll make it on repeat.
Ingredients You’ll Need
Let’s talk about what goes into this ultra-creamy New York cheesecake with graham cracker crust. I’m being specific here because in cheesecake, the quality of your ingredients matters more than in almost any other recipe. You can’t hide bad cream cheese in a fluffy sponge, but in this dense, rich cake, it’s the star. So, let’s get it right.
For the Graham Cracker Crust
Graham cracker crumbs (1 ½ cups / 150g) — Don’t buy the pre-made crumbs if you can avoid it. They’re often too dry and lack flavor. I crush whole graham crackers in a food processor. It takes two minutes and tastes infinitely better. If you’re lazy, the pre-made stuff works, but you’ll miss out on that fresh, toasty note.
Granulated sugar (2 tablespoons / 25g) — Just a little bit to sweeten the crust. It helps it brown and crisp up. Don’t skip it; it adds structure.
Unsalted butter (6 tablespoons / 85g, melted) — This is the binder. Use real butter, not margarine. Margarine has water content that can make the crust soggy. Melt it completely before mixing with the crumbs.
Pinch of salt — Just a tiny pinch to balance the sweetness. It makes the graham cracker flavor pop.
For the Ultra-Creamy Filling
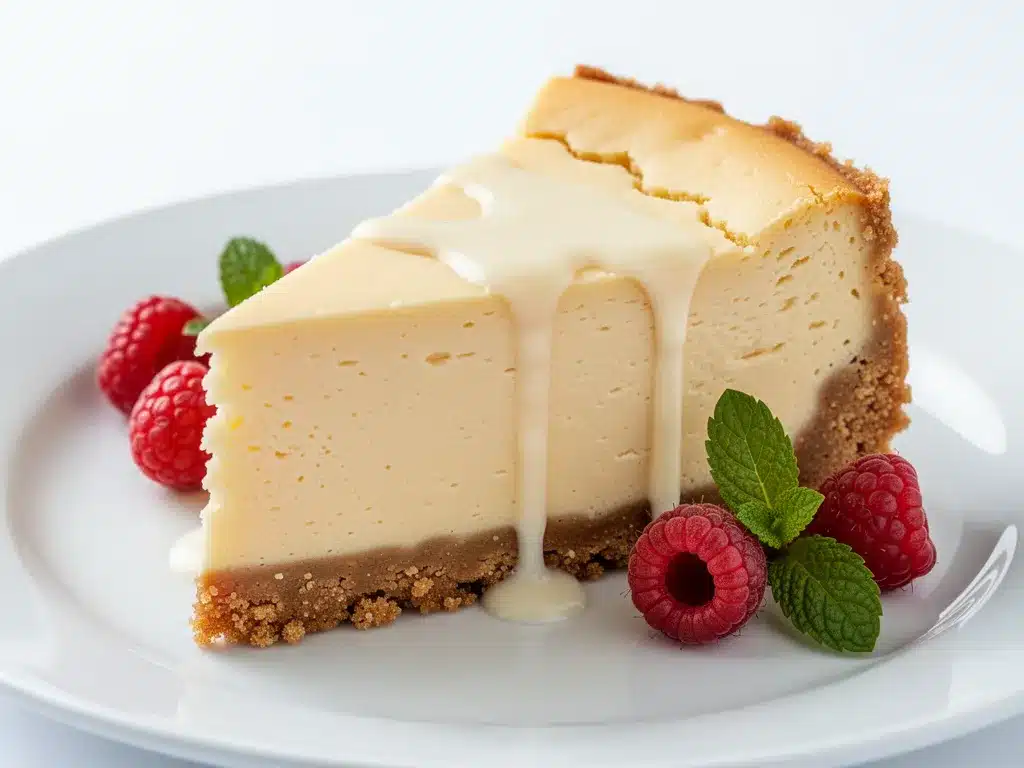
Full-fat cream cheese (32 ounces / 900g, 4 blocks) — This is non-negotiable. Do not use low-fat. Do not use light. Full-fat cream cheese is what gives you that dense, rich texture. I use Philadelphia brand because it’s consistent, but any high-quality full-fat block works. Make sure it’s softened to room temperature. Cold cream cheese creates lumps that you can’t beat out.
Granulated sugar (1 cup / 200g) — The standard amount for sweetness. If you prefer less sweet, reduce to ¾ cup, but don’t go much lower, or the texture suffers.
Sour cream (1 cup / 240g) — This is the secret weapon for creaminess. It adds fat and tang. Use full-fat sour cream. Greek yogurt works in a pinch, but it’s thinner and can make the filling slightly loose.
Vanilla extract (2 teaspoons) — Use real vanilla. Not vanilla flavoring. Not imitation. Real vanilla adds a floral depth that elevates the whole cake. I use Nielsen-Massey because it’s potent and pure.
Lemon juice (1 tablespoon) — Freshly squeezed. This brightens the flavor and adds the classic tang. Don’t use bottled lemon juice; it has a chemical taste that ruins the balance.
Eggs (4 large, room temperature) — Room temperature eggs incorporate better into the batter. Cold eggs can cause the mixture to break. Crack them into a bowl first, then add them one at a time.
All-purpose flour (2 tablespoons / 15g) — A small amount of flour stabilizes the cheesecake, preventing cracks and ensuring a firm set. Don’t skip it, but don’t add more. Too much flour makes it cakey.
Equipment Needed
You don’t need a fancy kitchen to make this ultra-creamy New York cheesecake with graham cracker crust. Here’s what I actually use, and what you can substitute if you’re missing something.
9-inch springform pan — This is essential. The springform allows you to release the sides without damaging the delicate cake. If you don’t have one, you can use a regular round cake pan, but you’ll need to line it with parchment and invert the cake to serve, which is risky for cheesecake. I use a 9-inch pan because it gives the right height and ratio. A 10-inch pan will make a thinner cake that bakes faster.
Food processor — For crushing the graham crackers evenly. A rolling pin and a zip-top bag work if you’re short on space, but the processor gives you a fine, uniform crumb that binds better.
Electric mixer — Hand mixer or stand mixer. You need to beat the cream cheese until it’s smooth, which is hard to do by hand. A hand mixer is fine, but a stand mixer with the paddle attachment is easier and more consistent.
Rimmed baking sheet — For the water bath. You need something large enough to hold the springform pan and have water poured around it. A rimmed baking sheet is perfect. Make sure it’s large enough so the water doesn’t splash into the pan.
Aluminum foil — Heavy-duty foil. You’ll wrap the bottom of the springform pan to prevent water from seeping in during the water bath. This is crucial. If water gets in, your crust gets soggy and your cake gets waterlogged.
Whisk — For gently incorporating the eggs. Overmixing after adding eggs introduces air, which causes cracks. Use a whisk to fold them in gently.
Offset spatula — For smoothing the top of the batter. A regular spatula works, but an offset gives you better control for a perfectly flat surface.
How to Make It: Step-by-Step
Alright, let’s make this. I’m walking you through exactly how I do it, including the little tricks I’ve picked up over eight tries. This process takes about 15 minutes of active work, plus baking and cooling time. Don’t rush the cooling. That’s where the magic happens.
Step 1: Prep Your Pan and Oven (5 minutes)
Preheat your oven to 325°F (160°C). This is a low temperature, which is key for even, slow baking. High heat causes cracking. While the oven heats, take your cream cheese and eggs out of the fridge. They need to be room temperature. Wrap the bottom and sides of your 9-inch springform pan tightly with two layers of heavy-duty aluminum foil. This seals it against the water bath. Place the wrapped pan on a rimmed baking sheet.
Step 2: Make the Crust (5 minutes)
In a medium bowl, mix the graham cracker crumbs, 2 tablespoons of sugar, and a pinch of salt. Pour in the melted butter and stir until the mixture looks like wet sand. Press this mixture firmly into the bottom of the prepared springform pan. Use the bottom of a measuring cup to pack it down evenly. Bake for 10 minutes. Remove and let it cool while you make the filling. This pre-bakes the crust so it stays crisp.
Step 3: Beat the Cream Cheese (3-4 minutes)
In a large mixing bowl, add the softened cream cheese and 1 cup of sugar. Beat on medium-low speed until completely smooth and creamy. This is the most important step. Scrape down the sides of the bowl. You should not see any lumps. If you’re using a stand mixer, this takes about 3 minutes. If you’re using a hand mixer, it might take 5. Be patient. Smooth cheese equals smooth cake.
Step 4: Add Flavor and Fat (2 minutes)
Add the sour cream, vanilla extract, and lemon juice to the cream cheese mixture. Beat on low until just combined. Scrape the bowl again. The mixture should be thick and creamy. Don’t overbeat here; you just want it incorporated.
Step 5: Incorporate the Eggs (3 minutes)
Add the flour and mix on low until dissolved. Now, add the eggs one at a time, beating on low speed after each addition. Stop as soon as the yellow disappears. Do not overmix. Overmixing adds air, which leads to cracks. If you feel tempted to beat it longer, stop. The batter will be thick and rich.
Step 6: The Water Bath and Bake (1 hour 15 minutes)
Pour the batter over the cooled crust. Smooth the top with an offset spatula. Place the baking sheet with the pan into the oven. Carefully pour hot water into the baking sheet until it reaches about an inch up the side of the springform pan. This creates a steamy environment that prevents cracking. Bake at 325°F for 1 hour and 15 minutes. The edges should be set, but the center should still jiggle slightly like Jell-O when you shake the pan. It will continue to set as it cools.
Step 7: Cool Down (4 hours)
Turn off the oven and crack the door open. Let the cheesecake sit in the oven for 1 hour. This gradual cooling prevents thermal shock, which causes cracks. After an hour, remove it from the oven and the water bath. Let it cool on a wire rack at room temperature for another hour. Then, cover it loosely with plastic wrap and refrigerate for at least 4 hours, preferably overnight. This chilling step is non-negotiable. It firms up the texture and allows the flavors to meld.
Step 8: Serve
Run a thin knife around the edge of the pan to loosen the cake. Release the springform ring. Slice with a warm, clean knife for perfect cuts. Top with fresh berries, a dollop of whipped cream, or a drizzle of chocolate sauce. Enjoy.
Expert Tips & Tricks
Here’s everything I’ve learned from making this dozens of times. These tips will save you from my mistakes.
Room Temperature is Everything
I can’t stress this enough. Cold cream cheese and cold eggs are the enemy of smooth cheesecake. If you forget to take them out, microwave the cream cheese blocks for 15-20 seconds each, and microwave the eggs in their shells for 10 seconds. It’s worth the effort.
Don’t Overmix the Eggs
Once the eggs are in, the game changes. You’re no longer trying to aerate the batter; you’re trying to incorporate without adding air. Use the lowest speed setting on your mixer. If you see bubbles, you’ve gone too far. Fold them out gently with a spatula if needed.
The Water Bath is Your Friend
I know it sounds messy. It’s not. It’s the best way to ensure even cooking. The steam keeps the top from drying out and cracking. If you’re worried about water seeping in, wrap the pan in foil twice. It works.
Patience with Cooling
Don’t rush the cooling. The gradual cool in the turned-off oven is crucial. And don’t skip the fridge time. A warm cheesecake is a loose cheesecake. It needs to set completely to get that sliceable, dense texture.
Warm Knife for Slicing
Run your knife under hot water and dry it before each cut. This gives you clean, sharp slices without dragging the creamy filling. It makes a huge difference in presentation.
Variations & Substitutions
Once you’ve nailed the basic version, here’s how you can mix it up. I’ve tried all of these.
Berry Swirl
Before baking, dollop ½ cup of berry compote (strawberry, raspberry, or blueberry) on top of the batter. Use a knife to swirl it in gently. Creates beautiful marbled patterns and bursts of flavor.
Chocolate Chip
Fold ½ cup of semi-sweet chocolate chips into the batter after adding the eggs. Rich and decadent. My kids love this version.
Gluten-Free
Use gluten-free graham crackers for the crust. The rest of the recipe is naturally gluten-free (just check your vanilla extract). Works perfectly.
Dairy-Free
Use dairy-free cream cheese (like Kite Hill), dairy-free sour cream, and dairy-free butter. The texture will be slightly different but still creamy. I’ve made this for friends with allergies, and they loved it.
Low-Sugar
Reduce sugar to ¾ cup. Use a sugar substitute like erythritol if needed. Note: sugar affects texture, so the cake may be slightly less dense.
Serving & Storage
How to Serve
I usually serve this straight from the fridge. It’s best cold. Pair it with fresh berries, a dusting of powdered sugar, or a drizzle of caramel. It’s elegant enough for dinner parties but simple enough for a Tuesday night.
Storage
Keep the cheesecake covered in the refrigerator for up to 5 days. It actually tastes better on day 2 and 3 as the flavors meld. Don’t freeze it whole; it doesn’t freeze well due to the dairy. You can freeze slices for up to 2 months, but thaw in the fridge overnight.
Reheating
Don’t reheat it. Cheesecake is best served cold or room temperature. If you must, let it sit on the counter for 20 minutes to take the chill off.
Nutrition Information
I’m not a nutritionist, but here’s the breakdown if you’re tracking. This is a rich dessert, so portion control is key.
Per Serving (1/12th of cake):
- Calories: 380
- Protein: 6g
- Carbs: 32g
- Fat: 26g
- Sugar: 24g
This is indulgent food. It’s not a diet recipe. But it’s made with real ingredients, and it’s far better than store-bought versions loaded with preservatives. Enjoy it mindfully.
Final Thoughts
So that’s my ultra-creamy New York cheesecake with graham cracker crust. It’s taken me years to get here, but I’m so glad I did. This cake has become a staple in my home. It’s the dessert I make when I want to feel like I’m in a fancy New York bakery, but I’m actually in my kitchen in pajamas.
It’s forgiving, it’s delicious, and it’s absolutely worth the effort. Once you make it, you’ll understand why I say you’ll make it on repeat. Your family will thank you. Your friends will beg for the recipe. And you’ll feel like a pastry chef.
If you make this, drop a comment and let me know how it turned out! I love hearing how recipes work in your kitchen. And if something doesn’t work, tell me that too—I’m here to help troubleshoot.
Happy baking! And I hope your kitchen smells as good as mine does right now.
Frequently Asked Questions
Why did my cheesecake crack?
Cracking is usually caused by overmixing (which adds air), baking at too high a temperature, or cooling too quickly. To prevent cracks, beat the cream cheese until smooth but don’t overmix after adding eggs. Bake at 325°F, and use the water bath. Most importantly, let it cool gradually in the turned-off oven.
Can I use a different pan size?
You can, but the baking time will change. A 10-inch pan will bake faster (about 50-60 minutes) and result in a thinner cake. A 8-inch pan will take longer (about 1.5 hours) and be taller. Keep an eye on the jiggle test rather than strictly following the time.
Can I make this ahead of time?
Yes! This cheesecake actually improves after a day in the fridge. Make it 1-2 days ahead for the best flavor. It stores well in the fridge for up to 5 days.
Why is my cheesecake watery?
A watery center usually means it wasn’t baked long enough. The center should still jiggle slightly, but it shouldn’t be liquid. If it’s watery on top, it might be underbaked. If it’s runny throughout, you might have overmixed the eggs, causing separation. Next time, bake a few minutes longer and mix less after adding eggs.
Can I use low-fat cream cheese?
I don’t recommend it. Low-fat cream cheese has more water and less fat, which results in a loose, grainy texture that doesn’t set properly. For the best ultra-creamy texture, use full-fat cream cheese.
How do I get clean slices?
Use a sharp knife. Dip it in hot water and dry it thoroughly before each cut. This prevents the knife from dragging the creamy filling. Wipe the knife clean between cuts for the neatest slices.
Pin This Recipe!
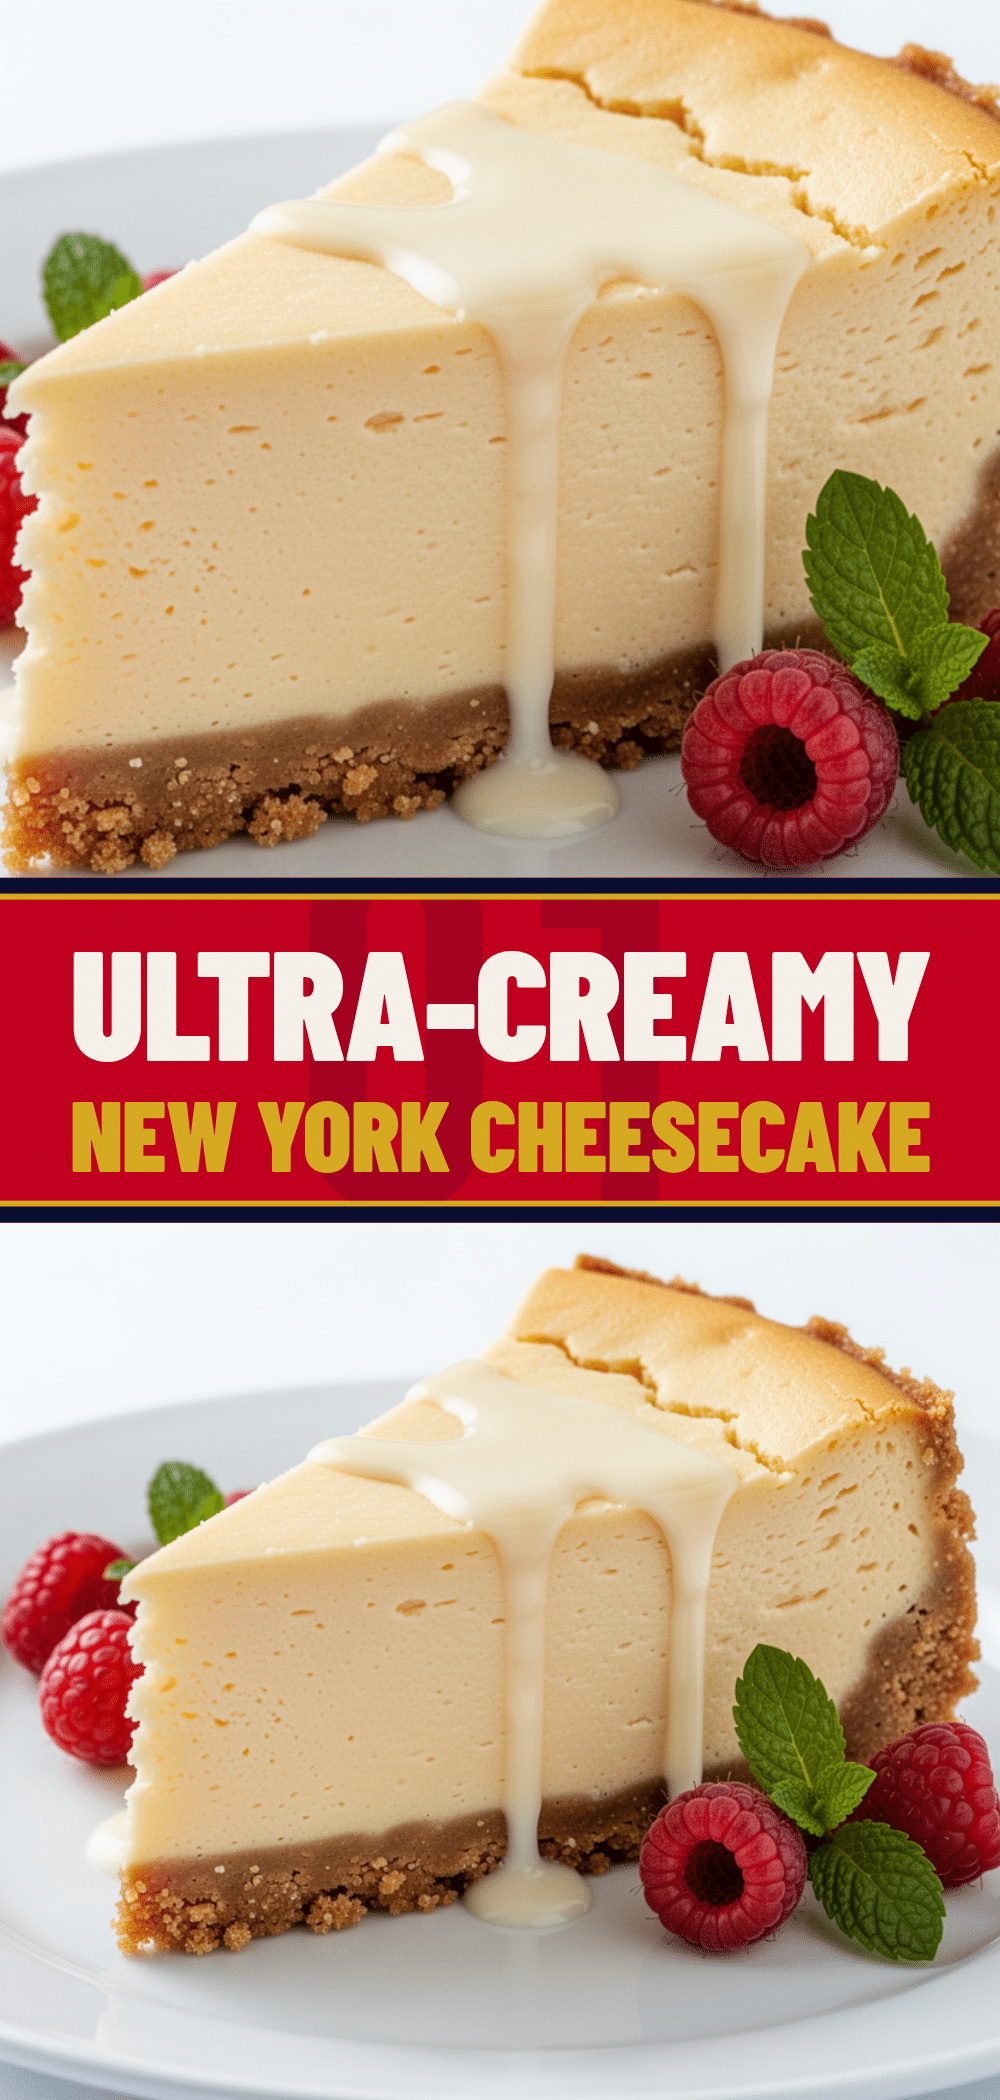
Ultra-Creamy New York Cheesecake: The Best Easy Dessert
- Total Time: 5 hours 30 minutes
- Yield: 12 servings 1x
Description
An ultra-creamy, dense New York-style cheesecake with a crisp graham cracker crust. This recipe uses a water bath and specific techniques to ensure a smooth, tangy, and luxurious texture without cracking.
Ingredients
- For the Graham Cracker Crust:
- 1 ½ cups (150g) graham cracker crumbs
- 2 tablespoons (25g) granulated sugar
- 6 tablespoons (85g) unsalted butter, melted
- Pinch of salt
- For the Ultra-Creamy Filling:
- 32 ounces (900g) full-fat cream cheese, softened to room temperature
- 1 cup (200g) granulated sugar
- 1 cup (240g) full-fat sour cream
- 2 teaspoons vanilla extract
- 1 tablespoon fresh lemon juice
- 4 large eggs, room temperature
- 2 tablespoons (15g) all-purpose flour
Instructions
- Preheat oven to 325°F (160°C). Wrap the bottom and sides of a 9-inch springform pan tightly with two layers of heavy-duty aluminum foil to prevent water seepage. Place the wrapped pan on a rimmed baking sheet.
- In a medium bowl, mix graham cracker crumbs, 2 tablespoons sugar, and a pinch of salt. Stir in melted butter until the mixture resembles wet sand. Press firmly into the bottom of the prepared pan. Bake for 10 minutes, then remove and let cool.
- In a large mixing bowl, beat the softened cream cheese and 1 cup sugar on medium-low speed until completely smooth and creamy, scraping down the sides as needed. This should take 3-5 minutes.
- Add sour cream, vanilla extract, and lemon juice. Beat on low until just combined.
- Add flour and mix on low until dissolved. Add eggs one at a time, beating on low speed after each addition just until the yellow disappears. Do not overmix.
- Pour batter over the cooled crust and smooth the top with an offset spatula.
- Place the baking sheet in the oven. Carefully pour hot water into the baking sheet until it reaches about an inch up the side of the springform pan.
- Bake at 325°F for 1 hour and 15 minutes. The edges should be set, but the center should still jiggle slightly like Jell-O.
- Turn off the oven and crack the door open. Let the cheesecake sit in the oven for 1 hour to cool gradually.
- Remove from the oven and water bath. Let cool on a wire rack at room temperature for another hour.
- Cover loosely with plastic wrap and refrigerate for at least 4 hours, preferably overnight.
- To serve, run a thin knife around the edge to loosen, release the springform ring, and slice with a warm, clean knife.
Notes
Ensure all dairy ingredients are at room temperature for a smooth batter. Do not overmix after adding eggs to prevent cracks. The water bath is crucial for even cooking and preventing surface cracks. For clean slices, dip a sharp knife in hot water and dry it before each cut.
- Prep Time: 15 minutes
- Cook Time: 1 hour 15 minutes
- Category: Dessert
- Cuisine: American
Nutrition
- Serving Size: 1/12th of cake
- Calories: 380
- Sugar: 24
- Sodium: 250
- Fat: 26
- Saturated Fat: 15
- Carbohydrates: 32
- Fiber: 1
- Protein: 6
Keywords: New York cheesecake, creamy cheesecake, graham cracker crust, dessert, baking, easy cheesecake, homemade cheesecake


