Last year, I was standing in my kitchen at 8:00 PM on Labor Day, staring at a half-empty fridge and a growing crowd of people waiting for dessert. We had just finished a barbecue that involved more charcoal smoke than actual food, and my stomach was full, but my guests were asking for something sweet. I didn’t have time to bake a cake. I didn’t have the energy to whip cream from scratch. And I certainly didn’t want to haul out a mixing bowl for a complicated mousse.
So I did what I always do when I’m stressed and hungry: I looked at what was already there. There was a bag of frozen mixed berries, a carton of heavy cream, a box of vanilla wafers, and a tub of instant vanilla pudding mix. I threw it all together in a glass bowl, popped it in the fridge for an hour, and watched what happened.
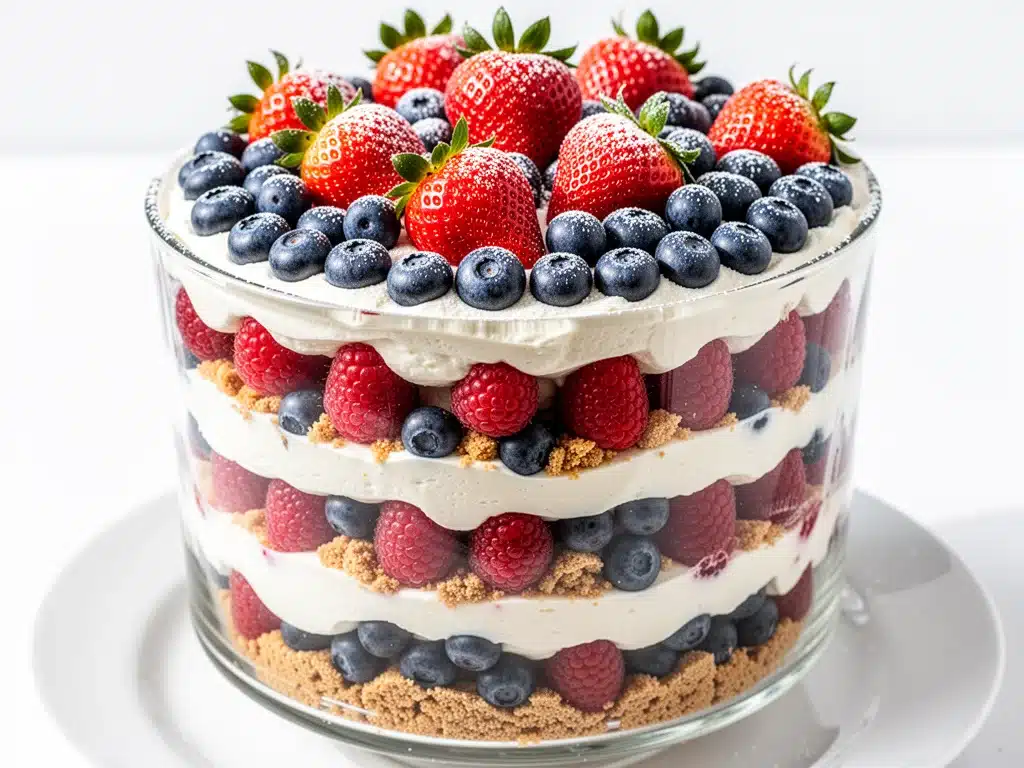
What came out wasn’t just “good for a last-minute dessert.” It was actually the star of the night. It was vibrant, it was creamy, and that red, white, and blue layering looked like something you’d see in a high-end bakery window, even though it took me twenty minutes to assemble. That was the moment the Labor Day Red White and Blue Berry Trifle was born. Not in a cookbook, but in a moment of pure kitchen panic.
Since then, I’ve made this trifle at least a dozen times. For Fourth of July. For Memorial Day. For random Tuesdays when I want something pretty without the work. It has become my secret weapon for holiday entertaining. It’s the dessert that says, “I put thought into this,” while actually requiring almost zero effort. If you’re looking for a show-stopping dessert that feeds a crowd and fits the patriotic theme perfectly, you need to try this. It’s easy, it’s delicious, and it’s going to save your holiday dinner.
Why You’ll Love This 5-Ingredient Holiday Dessert
I know what you’re thinking. “Another trifle? I can make that myself.” And you’re right, you can. But this specific combination of flavors and textures is different. It’s not just fruit and cake. It’s a balance of creamy, crunchy, tart, and sweet that hits every note. Here’s why this recipe has earned a permanent spot in my holiday rotation.
It’s Stupid Simple — Seriously, if you can layer ingredients in a bowl, you can make this. There’s no baking, no boiling, no tempering eggs. I’ve walked my teenage nephew through assembling this over a video call while he was home alone. He didn’t burn the house down, and the trifle turned out beautiful. That’s how easy it is.
It’s a Visual Crowd-Pleaser — The red, white, and blue layers are striking. When you set this on the table, people stop. They take photos. They ask, “What is this?” It feels fancy, like a layered parfait from a café, but it’s actually homey and comforting. The contrast of the bright berries against the white cream and golden wafers is pure summer vibes.
It’s Make-Ahead Friendly — This is the biggest reason I love it. You can assemble this the night before. In fact, it’s better the next day because the flavors meld together. The berries release their juice, the wafers soften just enough to be cake-like but not mushy, and the cream sets slightly. I often make this on Saturday night for a Sunday holiday. It saves me so much stress.
It Uses Pantry Staples — You probably have most of these ingredients already. Vanilla wafers? Check. Heavy cream? Check. Instant pudding? Check. Berries? Check. You don’t need to run to the store for obscure ingredients. It’s budget-friendly and accessible.
It’s Customizable — Hate vanilla wafers? Use pound cake. Don’t like raspberries? Use blueberries. Want to make it boozy? Add a splash of Grand Marnier to the cream. This recipe is a canvas. I’ve made it with strawberries for Christmas (red and white) and it was just as good. But for Labor Day, the classic trio is unbeatable.
This is my go-to when I need a dessert that just works. No complicated techniques, no weird ingredients, just reliable, delicious food that makes everyone happy. It’s the perfect end to a long day of grilling and relaxing.
Ingredients You’ll Need
Here’s the best part: this recipe relies on simplicity. You don’t need fancy equipment or hard-to-find items. I’m particular about a few things here, and I’ll tell you exactly why. Quality matters, especially when you have so few ingredients.
Heavy Cream (1 cup / 240ml) — You need full-fat heavy cream here. Half-and-half won’t whip up properly, and skim milk will result in a runny, sad dessert. I buy the big carton because I use it for coffee sometimes, but make sure it’s cold. Cold cream whips faster and holds its shape better. If your cream isn’t cold, put it in the fridge for 15 minutes before starting.
Instant Vanilla Pudding Mix (1 package / 3.4 oz) — I use the dry mix, not the “quick set” version. The quick set version has thickeners that change the texture. The classic instant pudding mix creates that rich, custard-like layer that mimics homemade pastry cream. Jell-O is the standard brand, but any store brand works fine. Don’t overthink this.
Milk (2 cups / 480ml) — Whole milk is best for richness, but 2% works if that’s all you have. I don’t recommend skim milk because the pudding won’t set as firmly. Make sure the milk is cold too. It helps the pudding thicken faster.
Vanilla Wafers (1 package / 30-40 cookies) — These are your “cake” layer. I use Nabisco Nilla Wafers because they have the right size and texture. They’re slightly buttery and crisp. Don’t substitute with vanilla ice cream cones unless you’re in a pinch—they’re too thin and will disintegrate. If you can’t find vanilla wafers, pound cake cubes work, but you’ll need to toast them slightly to keep them from getting soggy.
Mixed Berries (3 cups total, divided) — This is where the color comes from. I use a mix of raspberries (red), blueberries (blue), and blackberries (dark red/purple). Raspberries are essential for that bright red pop. Blueberries provide the blue. Blackberries add depth. You can use fresh or frozen. If using frozen, thaw them slightly so they’re not ice-cold, but don’t cook them down. I buy fresh when they’re in season because they’re cheaper and taste better. In winter, frozen is fine.
Optional: Lemon Zest (1 teaspoon) — I always add a little lemon zest to the cream. It cuts through the richness of the cream and pudding and makes the berries taste brighter. It’s a small detail, but it elevates the whole dessert. If you don’t have lemon, skip it, but I highly recommend it.
Optional: Grand Marnier or Triple Sec (2 tablespoons) — For an adult twist, I add a splash of orange liqueur to the cream. It pairs beautifully with berries. If you’re making this for kids, leave it out.
Substitutions:
- Gluten-Free: Use gluten-free vanilla wafers (like Kinnikinnick or store brand) and check your pudding mix for gluten-free certification.
- Dairy-Free: Use coconut cream (the thick part from a can of full-fat coconut milk) instead of heavy cream, and dairy-free milk for the pudding. The flavor will be coconut-forward, which is still good.
- Lower Sugar: Use sugar-free instant pudding mix and unsweetened whipped cream. It’s not as sweet, but it’s still delicious.
Equipment Needed
You don’t need fancy equipment for this. Here’s what I actually use.
Large Glass Trifle Bowl or Glass Pitchers — I love using a large glass bowl because you can see all the layers. It looks beautiful on the table. If you don’t have a trifle bowl, use a large glass pitcher or even individual glass jars for a cute presentation. Glass is key because it shows off the colors.
Mixing Bowls — You’ll need two medium bowls. One for whipping the cream, one for mixing the pudding. I use stainless steel because they’re easy to clean.
Electric Hand Mixer or Stand Mixer — You can whip cream by hand, but it takes forever and your arm will hurt. I use my hand mixer. It takes about 3-4 minutes to get stiff peaks. If you don’t have a mixer, you can use a whisk, but you’ll need serious arm strength.
Measuring Cups and Spoons — Standard stuff. Dollar store versions work fine.
Spatula — For folding the cream and spreading the pudding. A silicone spatula is best because it scrapes the bowl clean.
Knife and Cutting Board — For slicing berries if they’re large. I usually leave raspberries and blueberries whole, but I slice blackberries in half for better distribution.
Zester or Microplane — For the lemon zest. Optional but nice.
Optional: Piping Bag — If you want to get fancy, you can pipe the whipped cream instead of spreading it. It looks professional. But honestly, a spoon works just as well.
How to Make It: Step-by-Step
Alright, let’s make this! I’m walking you through exactly how I do it, including the little tricks I’ve picked up. This takes about 20 minutes of active time, plus chilling time.
Step 1: Prep Your Berries (5 minutes)
Wash your berries thoroughly. If using fresh, pat them dry with paper towels. Wet berries will make the trifle soggy. If using frozen, let them thaw just enough so they’re not frozen solid, but don’t let them turn into mush. Slice blackberries in half. Leave raspberries and blueberries whole. Measure out 1 cup of berries for garnish and set aside. You’ll use the rest for layering.
Step 2: Make the Pudding Layer (5 minutes)
In a medium bowl, whisk together the instant vanilla pudding mix and cold milk. Use a whisk, not a spoon. Whisk vigorously for about 2 minutes until the pudding thickens and starts to pull away from the sides of the bowl. It should look like thick custard. Don’t skip the whisking—it ensures there are no lumps. Set the pudding aside. It will continue to thicken as it sits.
Step 3: Whip the Cream (3-4 minutes)
In a large, cold bowl, pour the cold heavy cream. If you’re using lemon zest or liqueur, add it now. Whip with an electric mixer on medium-high speed until stiff peaks form. This means when you lift the beaters, the cream stands up straight and doesn’t droop. Be careful not to over-whip, or it’ll turn into butter. It should take about 3-4 minutes. The cream should be smooth and glossy.
Step 4: Assemble the Trifle (10 minutes)
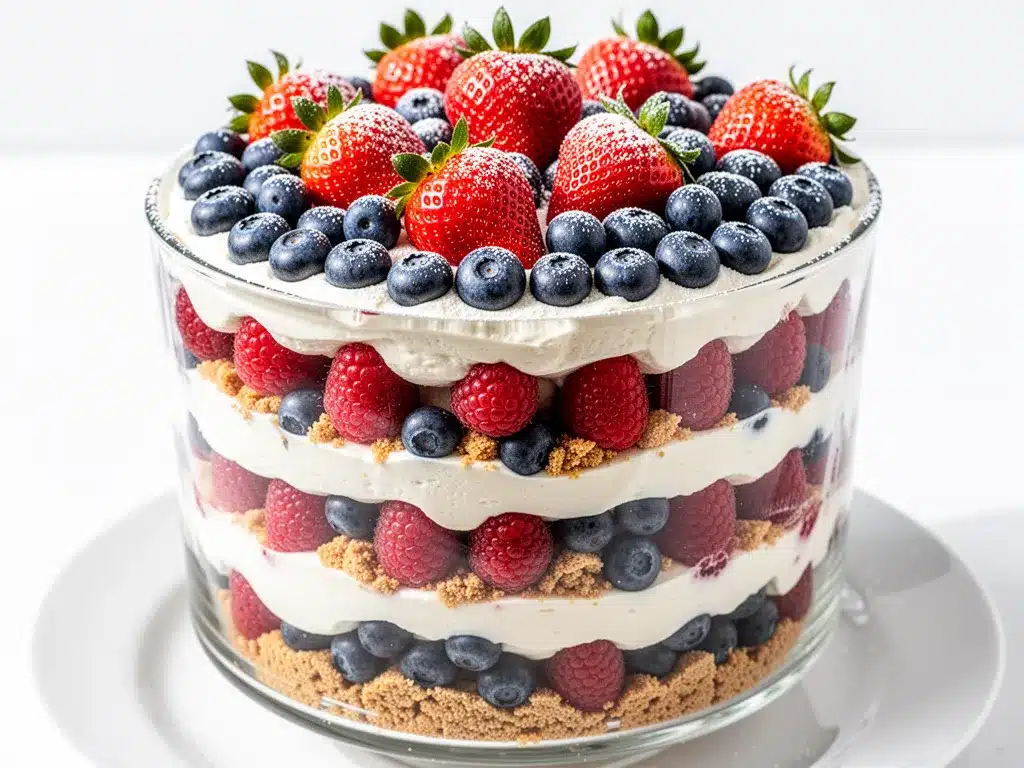
This is the fun part. Start with a layer of vanilla wafers at the bottom of your trifle bowl. Break them if needed to fit. Don’t worry about making them perfectly flat—it’s rustic.
Next, spread half of the pudding mixture over the wafers. Use a spatula to smooth it out.
Then, scatter half of the mixed berries over the pudding. Aim for even distribution.
Repeat the layers: another layer of wafers, the rest of the pudding, and the rest of the berries.
Top with a final layer of wafers, or leave them exposed for a crunchy top. If you want a smoother look, cover the top with the remaining whipped cream.
Step 5: Add the Whipped Cream Topping (2 minutes)
If you saved whipped cream, spread it over the top layer. You can smooth it out with a spatula or leave it rustic with peaks. If you used all the cream in the layers, just top with the remaining berries and a dusting of powdered sugar.
Step 6: Chill and Serve
Cover the trifle with plastic wrap and refrigerate for at least 2 hours, preferably overnight. This allows the wafers to soften and the flavors to meld. Before serving, garnish with the reserved berries and a sprinkle of lemon zest or powdered sugar. Slice or scoop with a large spoon.
Total Time: About 20 minutes active, plus 2+ hours chilling.
Expert Tips & Tricks
Here’s everything I’ve learned from making this dozens of times. These tips will save you from my mistakes.
Keep Everything Cold
The key to good whipped cream is temperature. Make sure your bowl and beaters are cold. I put them in the freezer for 15 minutes before whipping. Cold cream whips faster and holds its shape better. If your kitchen is hot, work quickly.
Don’t Skip the Whisking
When making the pudding, don’t just stir it. Whisk it. You need to incorporate air and ensure the thickeners are fully dissolved. Lumpy pudding is a texture nightmare. Take the extra 30 seconds to whisk it smooth.
Layer Evenly
Try to keep your layers even. It’s not just about looks—it’s about balance. You want a bite that has cream, pudding, fruit, and wafer in every spoonful. If one layer is too thick, you’ll get a mouthful of just pudding. Aim for uniformity.
Use a Glass Bowl
I can’t stress this enough. A glass bowl lets you see the layers. It’s part of the appeal. If you use an opaque bowl, you’re hiding the best part of this dessert. Plus, glass doesn’t absorb odors.
Chill Overnight
I know you want to eat it now. But trust me, let it chill. The wafers need time to soften. If you eat it immediately, the wafers will be hard and crunchy, and the flavors won’t be blended. Overnight is best. If you’re short on time, 2 hours is the minimum.
Common Mistakes (and how to avoid them):
- Mistake: Cream is runny — Fix: Your cream wasn’t cold enough, or you didn’t whip it long enough. Make sure you hit stiff peaks.
- Mistake: Pudding is lumpy — Fix: You didn’t whisk it enough. Whisk vigorously until smooth.
- Mistake: Trifle is too sweet — Fix: Use less sugar in the garnish, or use sugar-free pudding mix. Berries are naturally tart, which helps balance the sweetness.
Variations & Substitutions
Once you’ve nailed the basic version, here’s how you can mix it up. I’ve tried all of these.
Strawberry Shortcake Trifle
Replace the mixed berries with sliced strawberries and add a layer of strawberry jam between the wafers. It’s like a deconstructed strawberry shortcake. My kids love this version.
Chocolate Berry Trifle
Replace the vanilla pudding with chocolate pudding. The contrast of chocolate and berries is amazing. It looks like a sundae in a bowl. Use chocolate wafers instead of vanilla for extra chocolate flavor.
Lemon Blueberry Trifle
Use only blueberries and add lemon zest to the cream. It’s bright and tangy. Great for spring. Add a layer of lemon curd for extra zing.
Boozy Adult Version
Add 2 tablespoons of Grand Marnier or Chambord to the whipped cream. Or brush the wafers with a simple syrup mixed with liqueur. It adds a sophisticated twist.
Gluten-Free
Use gluten-free vanilla wafers and check your pudding mix. Most instant pudding mixes are naturally gluten-free, but always check the label. The rest of the recipe is naturally gluten-free.
Dairy-Free
Use coconut cream (the thick part from a can of full-fat coconut milk) instead of heavy cream. Use coconut milk for the pudding. The flavor will be coconut-forward, which is still delicious. Use dairy-free wafers.
Lower Sugar
Use sugar-free instant pudding mix and unsweetened whipped cream. It’s not as sweet, but it’s still satisfying. Add fresh berries for natural sweetness.
Serving & Storage
How to Serve:
I usually serve this straight from the bowl with a large spoon. It’s rustic and inviting. But here are other ways I’ve enjoyed it:
- Individual Jars: Layer the ingredients in mason jars for a cute party favor. It’s easier to serve and looks adorable.
- With a Side: Serve with a dollop of extra whipped cream and a mint leaf for garnish. It’s pretty and refreshing.
- With Coffee: This pairs well with coffee or tea. It’s not too heavy, so it’s a good end to a meal.
Storage Instructions:
Refrigerator: Store in an airtight container or covered with plastic wrap for up to 3 days. The wafers will continue to soften, which is good. The berries will release more juice, which is also good. It gets better with time.
Freezing: I don’t recommend freezing this. The whipped cream will separate and become grainy when thawed. The berries will get mushy. It’s best fresh or chilled.
Reheating: No reheating needed. Serve cold. If it’s been in the fridge for a few days, give it a gentle stir before serving to redistribute the juices.
Nutrition Information
I’m not a nutritionist, but here’s the breakdown if you’re tracking. This is a dessert, so enjoy it in moderation.
Per Serving (based on 8 servings):
- Calories: 320
- Protein: 4g
- Carbs: 42g
- Fiber: 2g
- Sugar: 28g
- Fat: 16g
- Saturated Fat: 10g
- Cholesterol: 50mg
- Sodium: 180mg
What’s Good:
– Berries provide antioxidants and vitamins.
– It’s easy to control portions by serving in small glasses.
– You can adjust sugar by using sugar-free pudding.
What to Know:
– Higher in sugar from the pudding and wafers.
– Contains dairy and gluten.
– Moderate fat from the cream.
My Take:
Look, this is a dessert with cream and sugar. It’s not a health food. But it’s way better than store-bought cake, and I know exactly what’s in it. When I want to make it lighter, I use the sugar-free pudding and half-and-half. But usually? I just enjoy a small slice and savor it.
Final Thoughts
So that’s my Labor Day Red White and Blue Berry Trifle! I’ve probably talked your ear off at this point, but when you make a recipe this often, you have a lot to say about it. It’s simple, it’s beautiful, and it’s reliable.
This has saved holiday dinners more times than I can count. It’s my answer to “what’s for dessert” when I’m tired, don’t want takeout, and still want something that tastes really good. My family is happy, my guests are happy, and I’m happy because I’m not stressed about cooking.
Make it yours! Try different berries, swap in your favorite wafers, adjust the sweetness. The best recipes are the ones you adapt to your family’s tastes. If you make this, drop a comment and let me know what you think! I love hearing how recipes turn out in your kitchen. And if something doesn’t work, tell me that too—I’m here to help troubleshoot.
Happy cooking! And I hope your kitchen smells half as good as mine does right now.
Frequently Asked Questions
Can I use fresh berries instead of frozen?
Absolutely. Fresh berries are actually better if they’re in season. They have more flavor and better texture. If you’re using frozen berries, thaw them slightly so they’re not ice-cold, but don’t let them turn into mush. Pat them dry with paper towels to remove excess moisture.
Can I make this ahead of time?
Yes! This is one of the best things about this recipe. You can assemble it the night before and let it chill overnight. The flavors meld together, and the wafers soften perfectly. It’s even better the next day. Just add the garnish right before serving.
Why did my whipped cream separate?
Usually, this happens if the cream wasn’t cold enough, or if you over-whipped it. Make sure your bowl and beaters are cold. Whip until stiff peaks form, but stop before it looks grainy. If it separates, you can try adding a little more cold cream and whipping gently to bring it back together, but it’s tricky.
Can I use pound cake instead of vanilla wafers?
Yes, you can. Cube the pound cake and layer it like the wafers. Pound cake is softer, so it will absorb the pudding and cream faster. You might want to toast the cubes slightly to give them some structure. It’s a delicious variation.
How long does this trifle last in the fridge?
It lasts for up to 3 days in the fridge. After that, the wafers might get too soggy, and the berries might lose their texture. It’s best eaten within 2 days for optimal quality.
Can I freeze this trifle?
I don’t recommend freezing this trifle. The whipped cream will separate and become grainy when thawed. The berries will get mushy. It’s best made fresh or chilled. If you have leftovers, eat them within 3 days.
What kind of berries work best?
I recommend a mix of raspberries, blueberries, and blackberries for the classic red, white, and blue look. Raspberries provide the red, blueberries provide the blue, and blackberries add depth. You can use strawberries instead of raspberries if you prefer, but they’re sweeter and less tart.
Pin This Recipe!
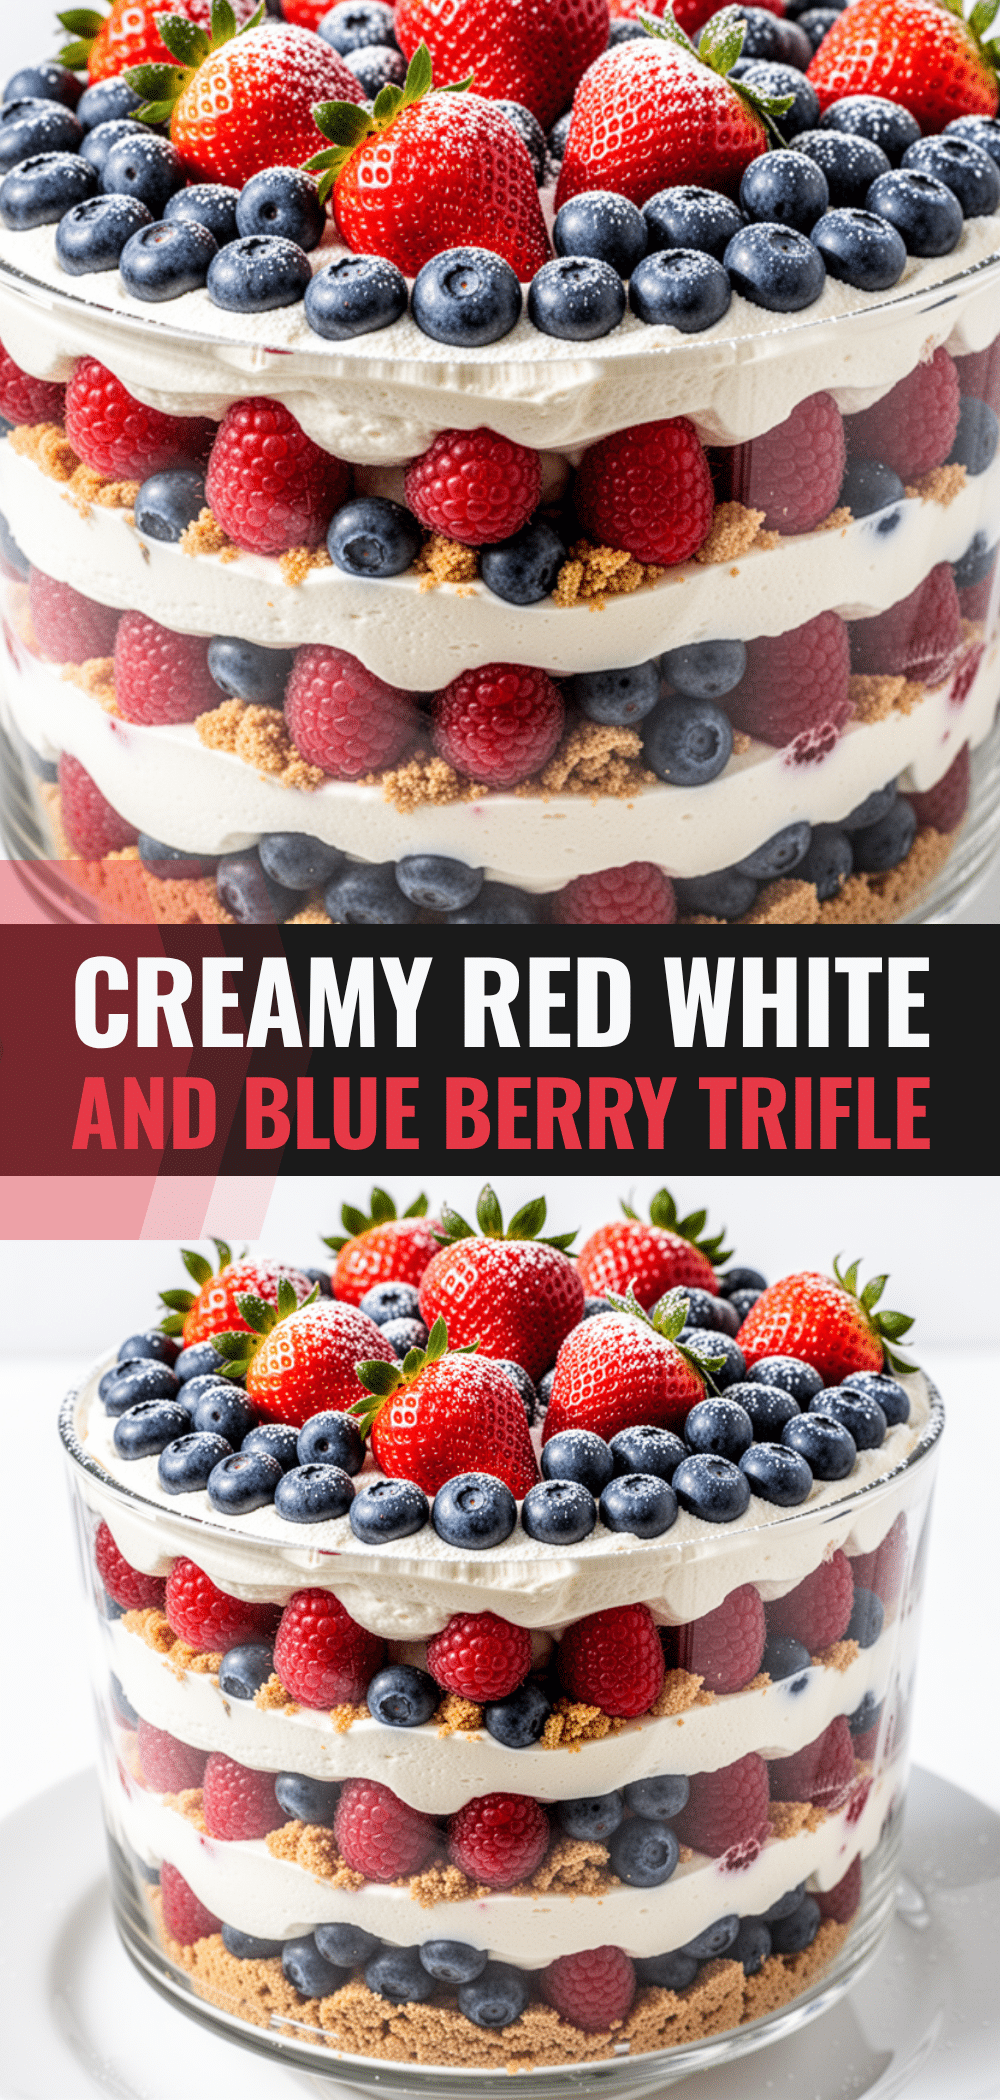
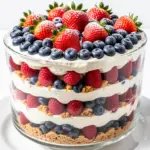
Labor Day Red White and Blue Berry Trifle: Easy 5-Ingredient Holiday Dessert
- Total Time: 2 hours 20 minutes
- Yield: 8 servings 1x
Description
A vibrant, no-bake holiday dessert featuring layers of vanilla wafers, instant vanilla pudding, whipped cream, and mixed berries. This easy, make-ahead trifle is perfect for patriotic celebrations and requires minimal effort for a stunning presentation.
Ingredients
- 1 cup (240ml) heavy cream, cold
- 1 package (3.4 oz) instant vanilla pudding mix
- 2 cups (480ml) cold milk
- 1 package (30-40 cookies) vanilla wafers
- 3 cups mixed berries (raspberries, blueberries, blackberries), divided
- 1 teaspoon lemon zest (optional)
- 2 tablespoons Grand Marnier or Triple Sec (optional)
Instructions
- Wash and dry berries. Slice blackberries in half, leaving raspberries and blueberries whole. Measure out 1 cup for garnish and set aside.
- In a medium bowl, whisk instant vanilla pudding mix and cold milk vigorously for 2 minutes until thickened. Set aside.
- In a large, cold bowl, whip cold heavy cream (with lemon zest or liqueur if using) with an electric mixer until stiff peaks form.
- Create the first layer by placing vanilla wafers at the bottom of a glass trifle bowl.
- Spread half of the pudding mixture over the wafers.
- Scatter half of the mixed berries over the pudding.
- Repeat layers: add remaining wafers, rest of pudding, and rest of berries.
- Top with remaining whipped cream or additional berries.
- Cover and refrigerate for at least 2 hours, preferably overnight, to allow flavors to meld and wafers to soften.
- Garnish with reserved berries and lemon zest or powdered sugar before serving.
Notes
Keep all ingredients cold, especially the cream and bowl, to ensure the whipped cream holds its shape. The trifle is best made ahead and chilled overnight. Do not freeze, as the whipped cream will separate. For a gluten-free version, use gluten-free vanilla wafers and check pudding mix certification. For dairy-free, substitute with coconut cream and coconut milk.
- Prep Time: 20 minutes
- Cook Time: 0 minutes
- Category: Dessert
- Cuisine: American
Nutrition
- Serving Size: 1/8 of the trifle
- Calories: 320
- Sugar: 28
- Sodium: 180
- Fat: 16
- Saturated Fat: 10
- Carbohydrates: 42
- Fiber: 2
- Protein: 4
Keywords: Labor Day dessert, berry trifle, no-bake dessert, holiday recipe, easy trifle, patriotic dessert, 5-ingredient dessert