I have a confession to make. For the longest time, I thought “keto dessert” was just a polite way of saying “sad, dry, chalky puck that tastes like regret.” You know the kind. You eat it because you’re trying to be good, and you chew it with a grimace, hoping the chocolate flavor will mask the texture of ground-up cardboard. I was ready to give up. I was ready to accept that if I wanted chocolate, I had to eat it and deal with the carb crash later.
Then, last month, I was scrolling through my phone at 10 PM, feeling that specific kind of desperate hunger that only strikes after the kids are finally asleep. I didn’t want a snack. I wanted a dessert that felt like a treat. I wanted something warm, gooey, and decadent. I stumbled across a recipe for a keto chocolate lava cake using almond flour, and I was skeptical. Really skeptical. I figured it would take forever to cook or require twenty ingredients I didn’t have.
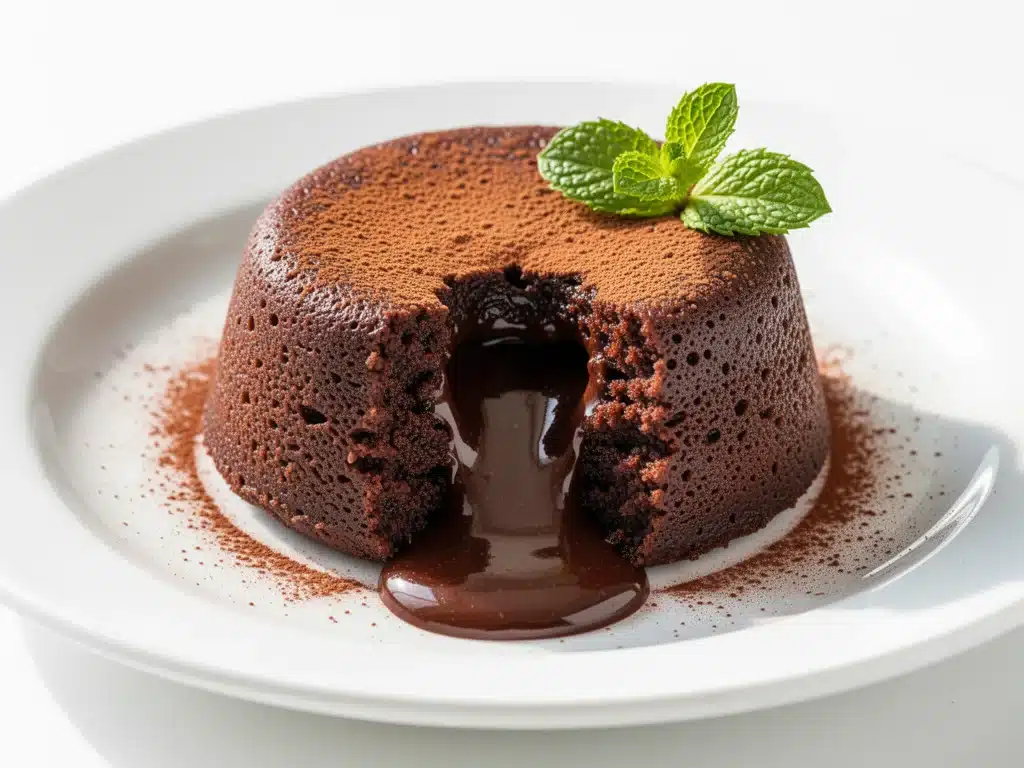
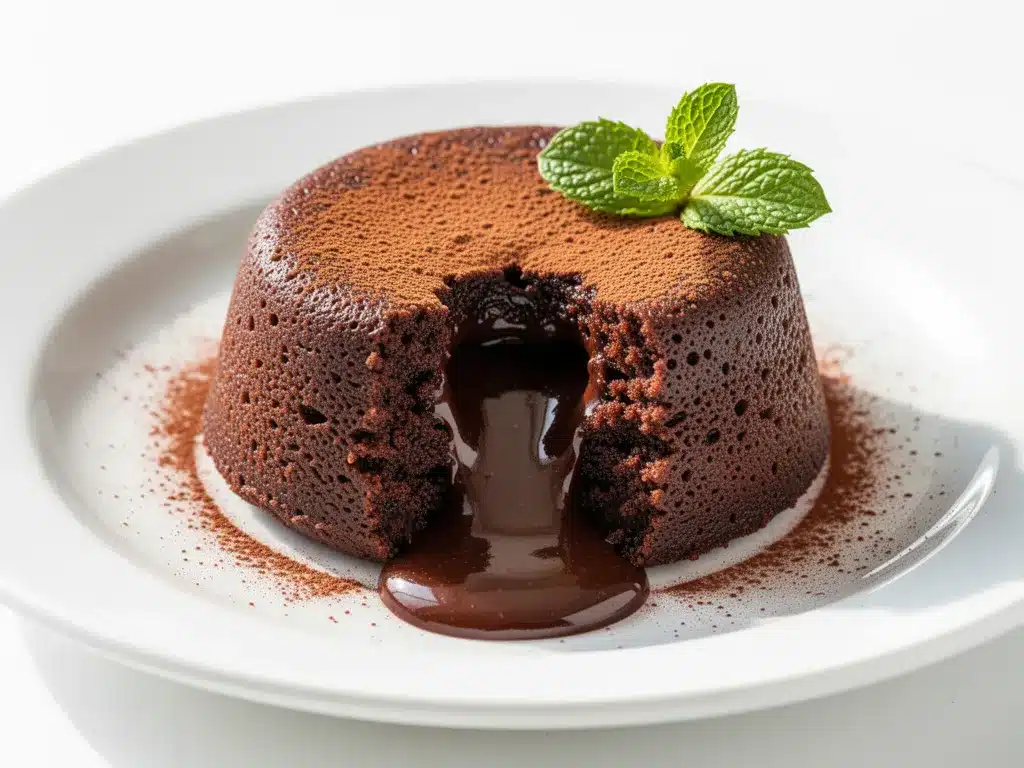
But it didn’t. It took five ingredients. And it took about 15 minutes in the oven. When I pulled that ramekin out of the oven, the top looked set, but when I stabbed it with a spoon? It just… melted. A rich, dark, molten center oozed out onto my plate. I took a bite, and honestly, I almost cried. It tasted like a high-end French restaurant dessert, not a “diet” food. It was warm, fudgy, and incredibly satisfying without the guilt or the sugar crash.
That was three months ago. Since then, I’ve made this keto chocolate lava cake with almond flour at least a dozen times. I’ve made it for dinner parties where people couldn’t believe it was keto. I’ve made it for myself when I just needed comfort. It has become my absolute go-to for any time I need a quick, impressive, and genuinely delicious chocolate fix. If you’ve been avoiding desserts on keto because you think they’re boring, you need to stop reading and start cooking. This is the one you’ll make on repeat. I promise.
Why You’ll Love This Recipe
There are a lot of keto desserts out there, but most of them fall into the “mug cake” category or require expensive ingredients like erythritol blends that leave a weird cooling sensation in your mouth. This recipe is different. It’s not a compromise; it’s an upgrade. Here’s why this keto chocolate lava cake has completely taken over my weeknight routine:
It’s Actually Fast — Seriously. From mixing bowl to oven to your mouth is about 20 minutes. The active prep time is maybe 5 minutes. I make this on nights when I’m exhausted, when I just want to sit on the couch and not think about cooking. It doesn’t require creaming butter, whipping eggs, or waiting for dough to rise. You whisk, you bake, you eat.
Zero Chalky Aftertaste — I’ve tried so many almond flour recipes that leave that distinct, nutty-dry texture in the back of your throat. This one? The almond flour is finely ground and mixed with butter and chocolate, so it bakes up moist and dense, like a brownie. No one can tell it’s keto. I’ve served this to my non-keto friends, and they always ask for the recipe, thinking it’s a regular chocolate cake.
Only Five Ingredients — You don’t need a specialty grocery store run for this. You probably have most of these in your kitchen already. Dark chocolate, butter, eggs, almond flour, and a sweetener. That’s it. If you can melt chocolate and whisk eggs, you can make this. It’s foolproof.
It Feels Indulgent — This isn’t a “light” dessert. It’s rich, heavy, and deeply chocolatey. It satisfies that serious chocolate craving that hits you when you’re stressed or tired. It’s comfort food in its purest form. I make this when I need a hug from my plate.
Perfect for One (or Two) — Most cakes are too much for a single serving. This recipe makes individual portions in ramekins. I can make just one for myself, or I can make four if my husband wants one too. No leftovers to fight over in the fridge, and no huge cake sitting there tempting me for days.
Ingredients You’ll Need
Here’s the best part: this recipe is incredibly simple. You don’t need fancy equipment or obscure ingredients. I’m particular about three things here, but the rest is pretty standard. Let’s break down what you need and why it matters.
Dark Chocolate (70% cocoa or higher) (6 ounces / 170g) — This is the star of the show. Do not use chocolate chips. Chips have stabilizers that prevent them from melting smoothly, and you want that smooth, lava-like texture. Use a high-quality bar of dark chocolate. I love Ghirardelli 70% or Lindt. The higher the cocoa percentage, the more intense the chocolate flavor, but 70% is the sweet spot for sweetness without being too bitter. If you’re sensitive to bitterness, go for 60%. If you love dark chocolate, go for 85%. Just keep it consistent.
Unsalted Butter (4 tablespoons / 56g) — Butter adds richness and helps create that gooey center. Use real butter, not margarine. Margarine has water content that can throw off the texture. I use salted butter sometimes, but if you do, just skip the extra pinch of salt in the recipe. The butter also helps emulsify the chocolate, making it silky.
Large Eggs (2 large eggs) — These provide structure and lift. Don’t skip them or try to substitute with flax eggs; this needs the protein from the eggs to rise and then fall into that lava state. Room temperature eggs are best because they whisk together more easily and create a smoother batter. If you’re in a rush, just put them in a bowl of warm water for 5 minutes.
Almond Flour (½ cup / 50g) — This is the keto-friendly flour that gives the cake its structure. Make sure you use fine almond flour, not almond meal. Almond meal is coarser and will make the cake gritty. I buy Bob’s Red Mill or Honeyville. If your almond flour is old, it can taste rancid. Smell it before you use it—it should smell nutty and sweet, not sour.
Your Favorite Keto Sweetener (¼ cup / 30g) — This is where you can customize. I use monk fruit sweetener (like Lakanto) because it measures 1:1 like sugar and doesn’t have that weird erythritol aftertaste. But you can use erythritol, stevia, or allulose. Just make sure it’s a granulated sweetener, not a powdered one (unless you adjust for volume). If you use a very sweet sweetener like pure stevia, use much less—check the package conversion.
Pinch of Salt — Just a tiny pinch. It enhances the chocolate flavor and balances the sweetness. Don’t skip it. Salt makes chocolate taste like chocolate.
Optional: Vanilla Extract (½ teaspoon) — I usually add this for a hint of warmth. It’s not traditional for lava cakes, but it adds depth. Use real vanilla, not imitation.
Optional: Cocoa Powder (1 tablespoon) — If you want an extra chocolate kick, add a tablespoon of unsweetened cocoa powder. It intensifies the flavor without adding carbs.
Equipment Needed
You don’t need anything fancy for this. Here’s what I actually use:
Ramekins — I use 6-ounce ramekins. You can make this in a muffin tin if you don’t have ramekins, but ramekins give you that classic individual lava cake look. I have a set of ceramic ones from IKEA that are cheap and work perfectly. Glass ramekins work too, but they take a bit longer to heat up.
Microwave-Safe Bowl or Double Boiler — For melting the chocolate and butter. I use a microwave because I’m impatient. Put it in for 30 seconds, stir, repeat. Or use a double boiler if you’re nervous about burning the chocolate. Either way works.
Mixing Bowl — A medium-sized bowl for whisking the eggs and sweetener. Any bowl will do.
Fork or Whisk — You don’t need an electric mixer. A simple fork or small whisk is enough to beat the eggs and incorporate the dry ingredients. This is a hand-whisked recipe.
Measuring Cups and Spoons — Standard stuff. I use metal measuring spoons for dry ingredients and a liquid measuring cup for eggs if I’m being precise, but honestly, eyeballing it works fine here.
Cookie Sheet — Place your ramekins on a baking sheet before putting them in the oven. It makes them easier to take out and catches any potential spills. I’ve learned this the hard way after cleaning chocolate off my oven floor.
How to Make It: Step-by-Step
Alright, let’s make this! I’m walking you through exactly how I do it, including the little tricks I’ve picked up over time.
Step 1: Prep Your Ramekins (2 minutes)
Preheat your oven to 375°F (190°C). While it heats, butter your ramekins generously. Use softened butter and coat the inside of each ramekin, including the rim. Then, dust them with a little almond flour or cocoa powder. Tap out the excess. This step is crucial—it prevents the cakes from sticking and helps them rise nicely. If you skip this, you’ll be scraping chocolate cake out of ceramic with a knife, and nobody wants that.
Step 2: Melt the Chocolate and Butter (2-3 minutes)
Break your dark chocolate into chunks and put it in a microwave-safe bowl with the butter. Microwave in 30-second intervals, stirring between each, until completely smooth. If you’re using a double boiler, melt it over low heat, stirring constantly. The mixture should be glossy and fluid. If there are lumps, keep stirring. Don’t let it boil. Set it aside to cool slightly for a minute.
Step 3: Whisk the Eggs and Sweetener (1 minute)
In your mixing bowl, crack the eggs and add the sweetener and salt (and vanilla if you’re using it). Whisk vigorously for about a minute. You want the mixture to become slightly pale and frothy. This incorporates air, which helps the cakes rise. It doesn’t need to be stiff peaks, just well-combined and airy.
Step 4: Combine the Mixtures (1 minute)
Pour the melted chocolate mixture into the egg mixture. Whisk gently until combined. Then, add the almond flour. Stir until just incorporated. Don’t overmix. The batter will be thick and gooey, like brownie batter. If it looks too dry, add a splash of milk (dairy or almond). If it’s too wet, add a teaspoon more almond flour. It should be thick enough to hold its shape but loose enough to pour.
Step 5: Fill the Ramekins (1 minute)
Divide the batter evenly among your prepared ramekins. Use a spoon or a small ice cream scoop for even portions. Smooth the tops with the back of a spoon. If you want, you can drop a small piece of dark chocolate or a dollop of sugar-free peanut butter in the center of each for an extra surprise.
Step 6: Bake (12-14 minutes)
Place the ramekins on a baking sheet and put them in the preheated oven. Bake for 12-14 minutes. This is the most critical step. You want the edges to be set and the top to look dry, but the center should still be jiggly when you shake the ramekin. If you bake them too long, the lava won’t be liquid. If you bake them too short, they’ll be raw. At 12 minutes, check one. If the center jiggles like Jell-O, they’re done. If it’s still liquidy, give them another minute.
Step 7: Cool and Serve (2 minutes)
Let the ramekins cool for 1-2 minutes. This allows the center to set slightly so it’s not scalding hot when you dig in. To serve, run a knife around the edge to loosen, then invert onto a plate. Or, just eat straight from the ramekin with a spoon (I don’t judge). The lava should ooze out when you break the top. Serve immediately with a dollop of sugar-free whipped cream or a scoop of keto ice cream if you’re feeling fancy.
Expert Tips & Tricks
Here’s everything I’ve learned from making this dozens of times. These tips will save you from my mistakes.
Don’t Overbake — This is the #1 mistake. Lava cakes are supposed to be underbaked in the center. If you want a solid cake, bake them for 18-20 minutes. But for lava, 12-14 minutes is the sweet spot. I set a timer for 12 minutes and then check every 30 seconds after that.
Use Good Chocolate — I can’t stress this enough. Cheap chocolate chips or low-quality chocolate will make the cake grainy and waxy. Spend the extra dollar on good dark chocolate. It makes a world of difference in the texture and flavor.
Room Temperature Eggs — Cold eggs can cause the melted chocolate to seize up when you mix them. Let your eggs sit out for 15 minutes before you start. It’s a small step that prevents a big problem.
Make Ahead Option — You can prep the batter and fill the ramekins up to 24 hours ahead. Cover them tightly with plastic wrap and refrigerate. When you’re ready to eat, bake them directly from the fridge, adding 2-3 minutes to the baking time. This is great for dinner parties.
Test with One — If you’re nervous, make one ramekin first to test your oven’s timing. Ovens vary wildly. What takes 12 minutes in my oven might take 15 in yours. Use the first cake as a guide.
Add a Surprise Center — For an extra decadent touch, drop a piece of sugar-free dark chocolate or a teaspoon of almond butter in the center of the batter before baking. It creates an even more gooey center.
Variations & Substitutions
Once you’ve nailed the basic version, here’s how you can mix it up. I’ve tried all of these.
Peanut Butter Lava — Swirl a tablespoon of sugar-free peanut butter into the batter before baking. It adds protein and a salty-sweet flavor that pairs perfectly with chocolate.
Mocha Lava — Add 1 teaspoon of instant espresso powder to the melted chocolate mixture. It intensifies the chocolate flavor without making it taste like coffee. Perfect for coffee lovers.
Coconut Version — Swap the almond flour for coconut flour, but reduce the amount to ¼ cup because coconut flour absorbs more liquid. You might need an extra egg. Add shredded coconut to the ramekins before pouring the batter.
Gluten-Free — This recipe is already gluten-free because it uses almond flour. Just make sure your chocolate and sweetener are certified gluten-free if you have celiac disease.
Dairy-Free — Use dairy-free dark chocolate and coconut oil instead of butter. The texture will be slightly different, but still delicious. Use coconut cream instead of heavy cream if you want to add a topping.
Vegan — This is harder because of the eggs and dairy. You can try using flax eggs (1 tbsp ground flax + 3 tbsp water per egg) and coconut oil, but the texture will be denser. It won’t be exactly the same, but it’s worth a try.
Serving & Storage
How to serve:
I usually serve this straight from the ramekin at the dinner table—it looks rustic and stays warm. But here are other ways I’ve enjoyed it:
- With Whipped Cream — A dollop of sugar-free whipped cream (like Reddi-wip keto version or homemade) adds a nice contrast to the warm cake.
- With Keto Ice Cream — Vanilla bean keto ice cream is classic. The cold ice cream against the hot lava is amazing.
- With Berries — Fresh raspberries or strawberries add acidity and cut through the richness. I love this combination.
- With a Drizzle — A drizzle of sugar-free caramel or chocolate sauce on top is extra indulgent.
Storage instructions:
Refrigerator: Leftover batter can be stored in an airtight container for up to 2 days. Cooked cakes are best eaten fresh, but you can store them in the fridge for up to 3 days. Reheat in the microwave for 30 seconds to restore the lava texture.
Freezing: You can freeze the batter in the ramekins. Thaw in the fridge overnight and bake as directed. Or freeze the baked cakes and reheat later. The texture might be slightly less gooey, but it’s still good.
Pro tip: If you’re making these for a dinner party, prep the batter and fill the ramekins the day before. Cover and refrigerate. When guests arrive, pop them in the oven. You’ll have fresh lava cakes in 15 minutes, and you can relax.
Nutrition Information
I’m not a nutritionist, but here’s the breakdown if you’re tracking. Please note that nutrition values can vary based on the specific brands of ingredients you use, especially chocolate and sweeteners.
Per Serving (1 cake, based on 4 servings):
- Calories: 280
- Protein: 8g
- Net Carbs: 4g
- Total Carbs: 6g
- Fiber: 2g
- Sugar: 2g (from chocolate)
- Fat: 26g
- Saturated Fat: 12g
- Cholesterol: 90mg
- Sodium: 50mg
What’s Good: High in healthy fats from almonds and chocolate, low in net carbs, decent protein. It’s a satisfying dessert that won’t spike your blood sugar.
What to Know: High in calories due to the fat content. This is a rich dessert, so a little goes a long way. If you’re watching calories, enjoy one cake and save the rest for another day.
Final Thoughts
So that’s my go-to keto chocolate lava cake! I’ve probably talked your ear off at this point, but when you make a recipe this often, you have a lot to say about it. This has saved my sweet tooth more times than I can count. It’s my answer to “what’s for dessert” when I’m tired, don’t want to order takeout, and still want something that tastes really good. My kids are happy, my husband’s happy, and I’m happy because I’m not stressed about cooking.
Make it yours! Try different add-ins, swap in your favorite chocolate, adjust the sweetness. The best recipes are the ones you adapt to your family’s tastes. If you make this, drop a comment and let me know what you think! I love hearing how recipes turn out in your kitchen. And if something doesn’t work, tell me that too—I’m here to help troubleshoot.
Happy cooking! And I hope your kitchen smells half as good as mine does right now.
Frequently Asked Questions
Q: Can I use chocolate chips instead of a chocolate bar?
A: You can, but I don’t recommend it. Chocolate chips contain stabilizers that prevent them from melting smoothly. This will result in a cake that’s more dense and less gooey. If you must use chips, melt them slowly and add a tablespoon of butter to help emulsify. But a real bar of chocolate is best.
Q: Why did my lava cake come out solid instead of liquid?
A: You likely baked it too long. Lava cakes are all about timing. Check them at 12 minutes. If the center is still jiggly, they’re done. If you wait until the center is firm, it’s a brownie, not a lava cake. Also, make sure your oven is properly preheated.
Q: Can I make this in a muffin tin?
A: Yes! Grease the muffin tin wells and fill them ¾ full. Bake for 10-12 minutes. The cooking time might be slightly shorter because the batter is thinner. Keep an eye on them.
Q: Is almond flour high in carbs?
A: Almond flour is low in net carbs. It has about 3g net carbs per ounce. In this recipe, you’re using ½ cup, which is about 4g net carbs per serving. It’s keto-friendly in moderation.
Q: Can I use coconut flour instead?
A: You can, but you need to adjust the recipe. Coconut flour absorbs much more liquid. Use ¼ cup coconut flour instead of ½ cup almond flour, and consider adding an extra egg or a splash of milk. The texture will be different, but still good.
Q: How do I reheat leftovers?
A: Microwave for 30-60 seconds. This will restore the gooey texture. If you use a toaster oven, bake at 350°F for 5-7 minutes. Avoid the stovetop, as it can burn the bottom.
Q: Can I double this recipe?
A: Absolutely! Double all ingredients and use more ramekins. The baking time stays the same, but you might need to bake in two batches if your oven doesn’t fit all the ramekins at once.
Pin This Recipe!
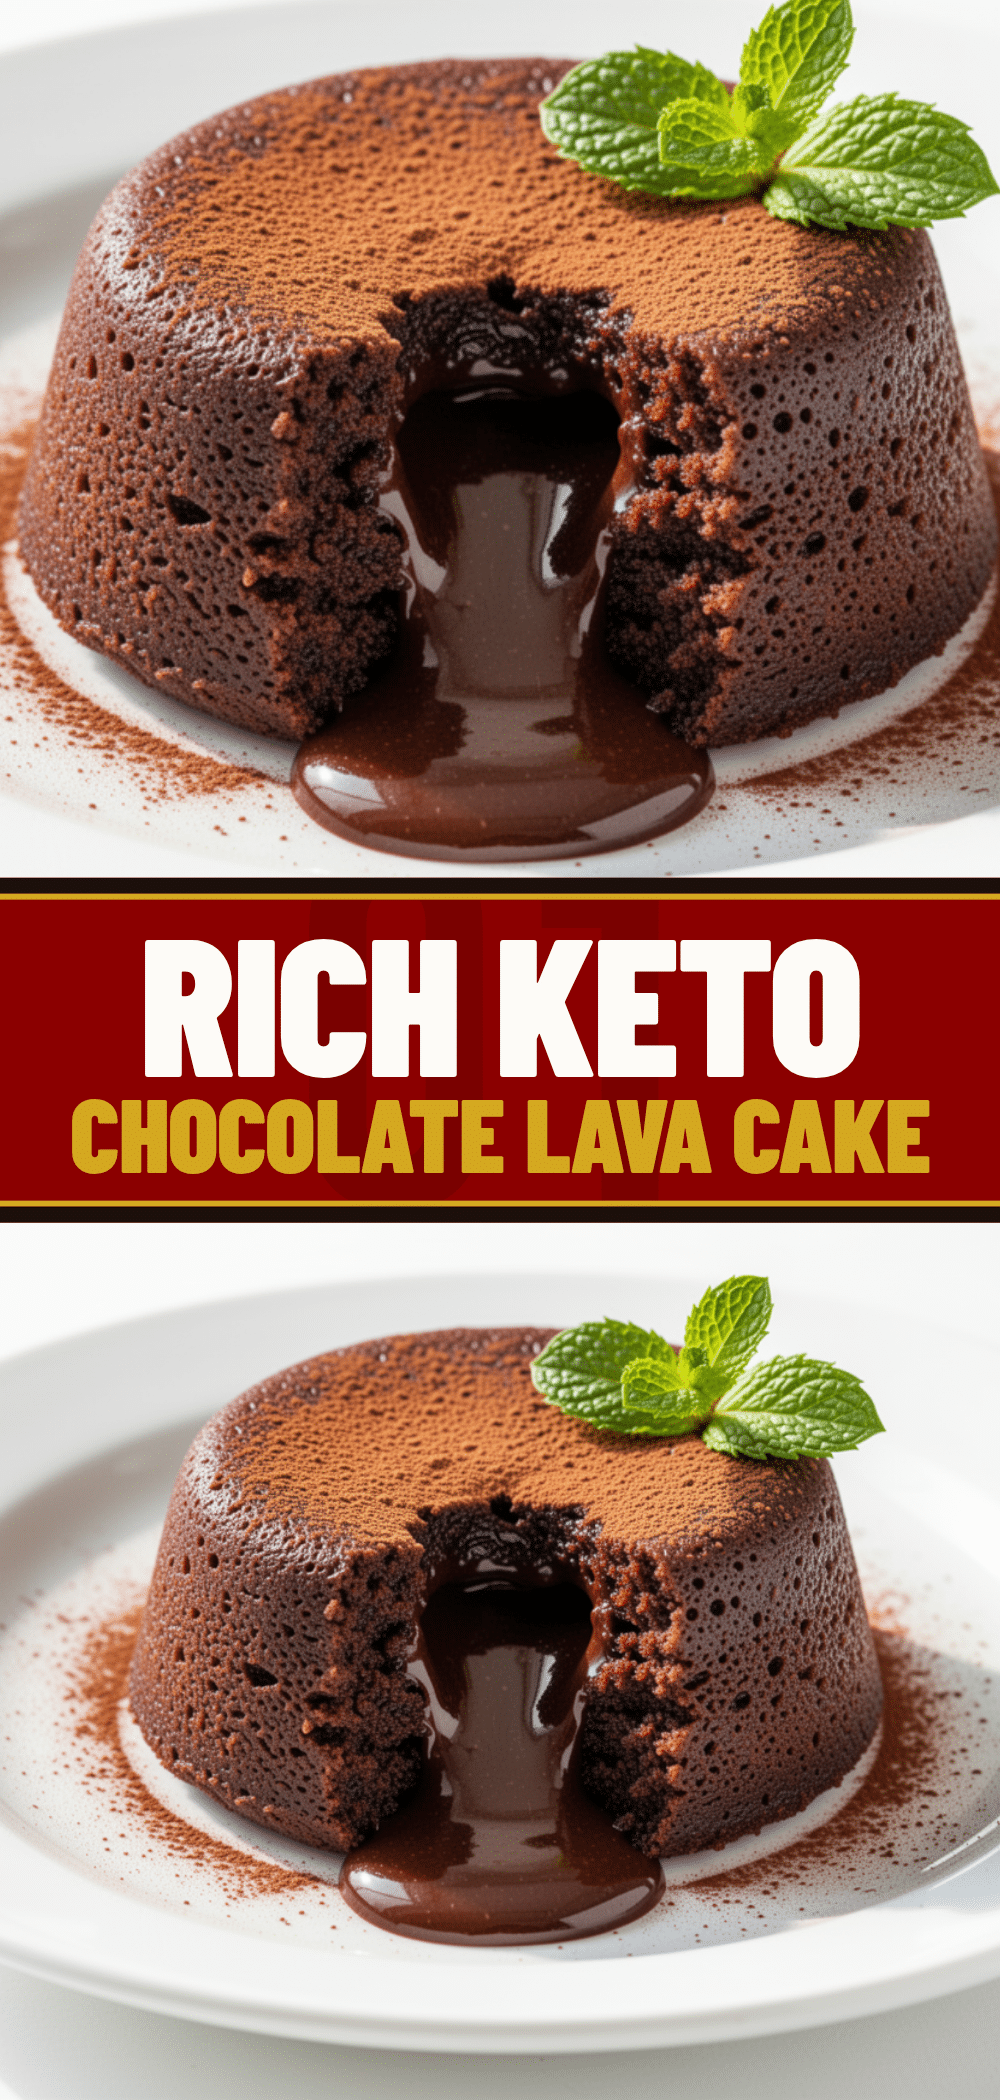
Keto Chocolate Lava Cake: Easy 5-Ingredient Almond Flour Dessert
- Total Time: 20 minutes
- Yield: 4 servings 1x
Description
A rich, decadent, and gooey keto chocolate lava cake made with just five simple ingredients. This low-carb dessert is ready in 20 minutes and features a molten center that satisfies chocolate cravings without the sugar crash.
Ingredients
- 6 ounces (170g) high-quality dark chocolate (70% cocoa or higher)
- 4 tablespoons (56g) unsalted butter
- 2 large eggs, room temperature
- ½ cup (50g) fine almond flour
- ¼ cup (30g) granulated keto sweetener (e.g., monk fruit or erythritol)
- Pinch of salt
- Optional: ½ teaspoon vanilla extract
- Optional: 1 tablespoon unsweetened cocoa powder
Instructions
- Preheat oven to 375°F (190°C). Generously butter 6-ounce ramekins and dust with almond flour or cocoa powder, tapping out excess.
- Break dark chocolate into chunks and place in a microwave-safe bowl with butter. Microwave in 30-second intervals, stirring until smooth. Set aside to cool slightly.
- In a mixing bowl, whisk eggs, sweetener, salt, and vanilla (if using) vigorously for about a minute until pale and frothy.
- Pour the melted chocolate mixture into the egg mixture and whisk gently to combine. Add almond flour and stir until just incorporated. The batter should be thick and gooey.
- Divide batter evenly among prepared ramekins. Optionally, drop a small piece of chocolate or almond butter in the center.
- Place ramekins on a baking sheet and bake for 12-14 minutes. Edges should be set, but the center must remain jiggly.
- Let cool for 1-2 minutes. Run a knife around the edge to loosen, then invert onto a plate or serve directly from the ramekin. Serve immediately.
Notes
Do not overbake; the center must remain jiggly for the lava effect. Use high-quality dark chocolate bars, not chips, for smooth texture. Room temperature eggs prevent the chocolate from seizing. Batter can be prepped 24 hours ahead and refrigerated; add 2-3 minutes to baking time if baking from cold.
- Prep Time: 5 minutes
- Cook Time: 12-14 minutes
- Category: Dessert
- Cuisine: American
Nutrition
- Serving Size: 1 individual cake
- Calories: 280
- Sugar: 2
- Sodium: 50
- Fat: 26
- Saturated Fat: 12
- Carbohydrates: 6
- Fiber: 2
- Protein: 8
Keywords: keto, low carb, chocolate lava cake, almond flour, gluten free, dairy free option, quick dessert, 5 ingredient recipe


