There’s a specific kind of panic that sets in when you realize you need dessert for a gathering of thirty people, and it’s happening forty minutes before guests arrive. That was me last spring. I had baked a batch of lemon bars using a recipe I’d pinned from a trendy food blog, convinced that “just whisk it all together” was a sound strategy. It wasn’t. The crust was raw in the middle. The filling was soupy, like lemon soup rather than lemon bars. When I served them, people politely took one bite and then wandered off to the potato salad. It was a quiet, crumbly humiliation.
That failure haunted me. I’m a baker, but I’m also a realist. I know that lemon bars are deceptively tricky. You need that perfect balance of tart and sweet, and a crust that holds up without turning into soggy bread. For months, I avoided lemon bars entirely. I stuck to brownies or cookies—safe bets. But my sister-in-law kept asking, “When are you making those lemon bars again?” She’d had them once at a potluck years ago and never forgot them. So, I went back to the drawing board.
I spent six weekends testing. I tried graham cracker crusts (too crumbly). I tried shortbread with powdered sugar (too sweet). I tried adding cornstarch to the filling (gelatinous texture disaster). I burned three batches of lemon curd because I was too impatient to let it thicken. But on the seventh attempt, something clicked. I realized the secret wasn’t in complex techniques; it was in the ratio of butter to flour for the crust and the temperature control for the filling. This version—the one I’m sharing now—is the foolproof lemon bars with buttery shortbread crust that everyone always asks for. It’s not just good. It’s the kind of dessert that makes people close their eyes and sigh. It’s tangy, rich, and has a texture that feels like it came from a high-end bakery, but it’s actually simple enough to make on a Tuesday night.
Why You’ll Love This Foolproof Lemon Bars Recipe
I’ve served these bars at bridal showers, office holiday parties, and impromptu Sunday dinners. The reaction is always the same: “How did you make these?” Here’s why this recipe has earned a permanent spot in my rotation.
- That Crust is Non-Negotiable — Most lemon bar recipes use a graham cracker base. I hate that. It’s too sweet and too dry. This recipe uses a true buttery shortbread crust. It’s crisp, sandy, and rich. It provides the perfect structural support for the filling without overpowering the lemon flavor. Once you try a shortbread crust, you’ll never go back.
- Perfect Texture, Every Time — The biggest fear with lemon bars is a runny center or a rubbery top. This recipe uses a specific baking sequence: bake the crust first, then add the filling. This ensures the bottom is set and crisp. The filling bakes until it’s just set—jiggly in the center but firm enough to slice. No more guessing.
- Make-Ahead Friendly — These bars actually improve with age. I make them two days before an event. They sit in the fridge, the flavors meld, and the crust firms up. They’re easier to cut, taste better, and look more professional. This is the ultimate stress-buster for hosts.
- Simple Ingredients — You don’t need fancy extracts or hard-to-find items. Just butter, flour, sugar, eggs, and fresh lemons. The flavor comes from real citrus juice, not bottled concentrate. And honestly? That’s why they taste so bright and authentic.
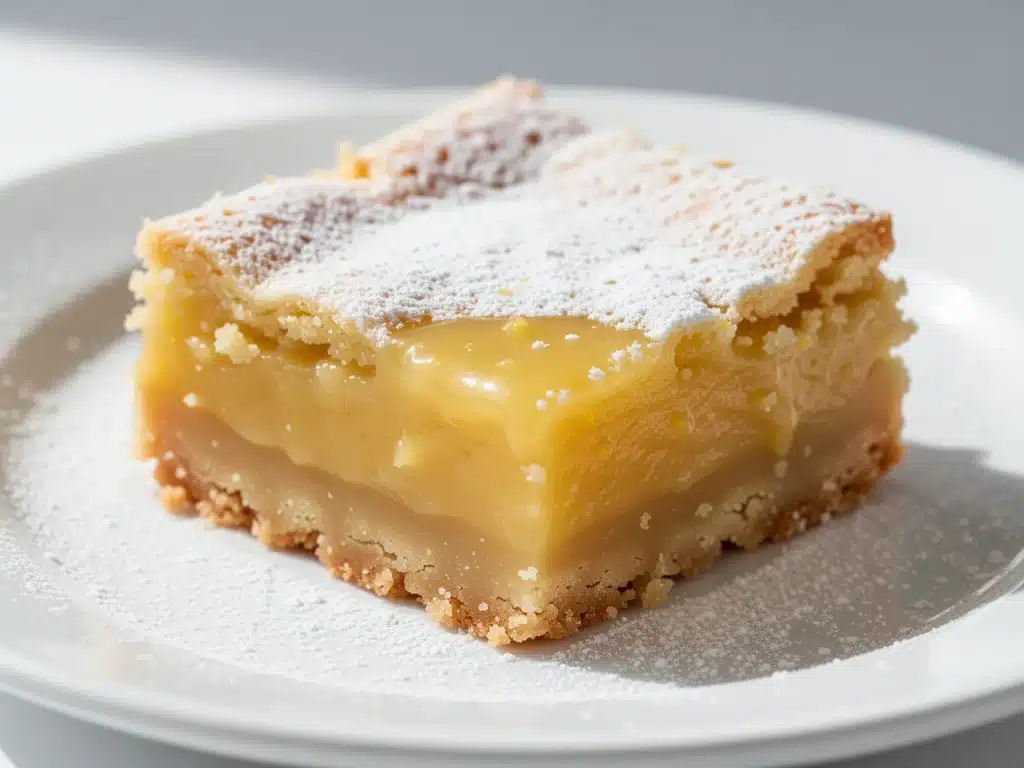
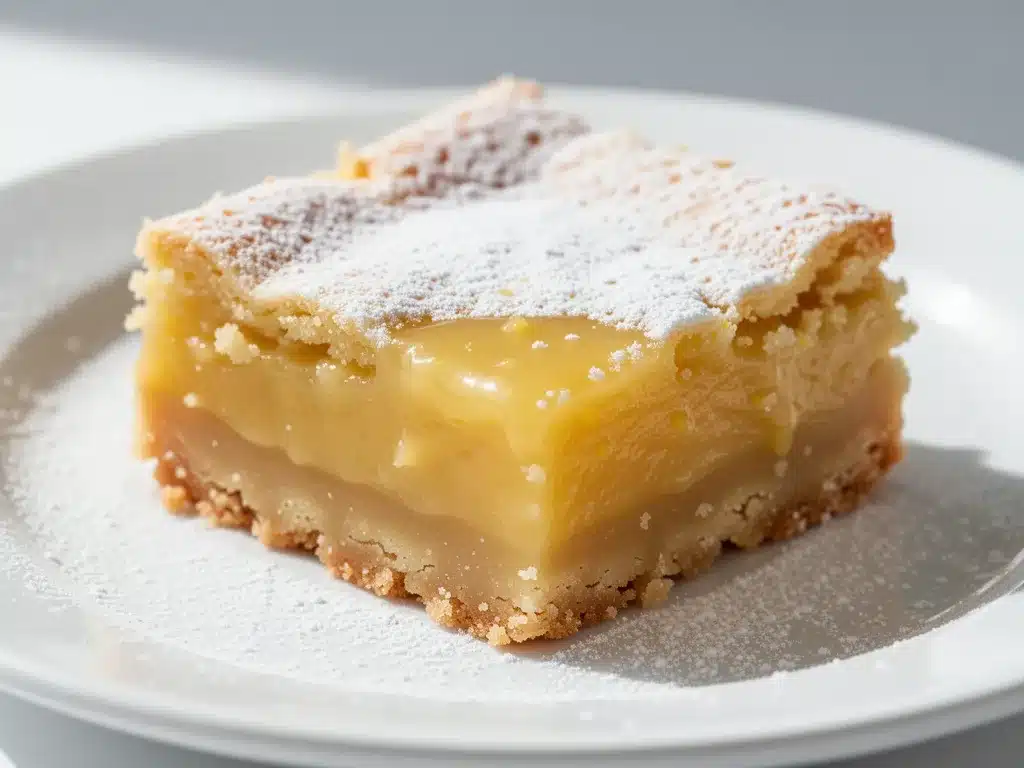
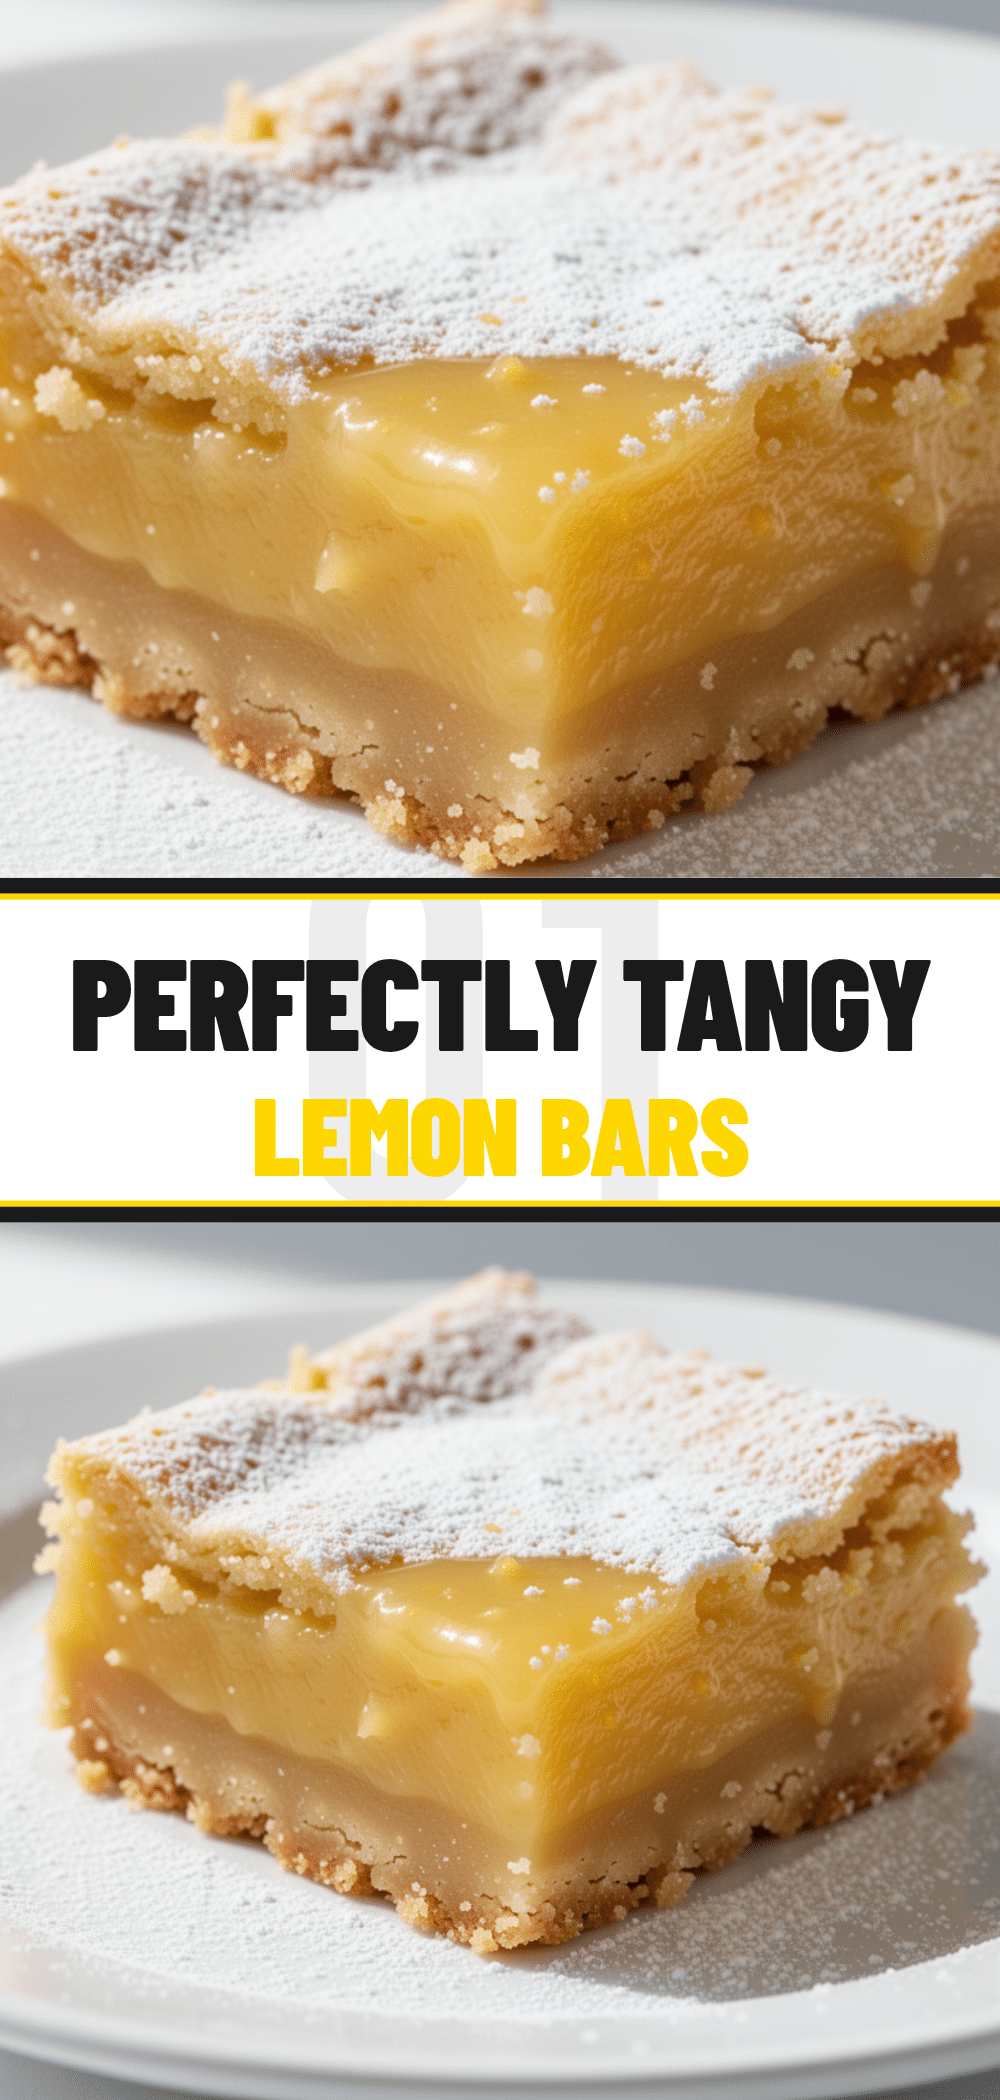
- Visually Stunning — There’s nothing quite like the contrast of the golden shortbread crust, the vibrant yellow filling, and the dusting of powdered sugar. They look elegant on a platter, which makes them perfect for Pinterest-worthy photos or impressing guests who don’t know you baked.
I’ve made these at least twenty times since that humiliating potluck. My family has requested them so often that I now keep a mental tally. If you’re looking for a dessert that feels sophisticated but is actually easy to execute, this is it.
Ingredients You’ll Need
Here’s the thing about lemon bars: the quality of your ingredients matters more than you think. You don’t need expensive stuff, but you do need fresh, real ingredients. I’m particular about a few of these, so pay attention.
For the Buttery Shortbread Crust
Unsalted butter (1 cup / 226g, softened) — This is crucial. Use real butter, not margarine. Softened means it should be cool to the touch but yield to pressure. If it’s melted, your crust will be greasy. If it’s cold, it won’t mix evenly. Room temperature is the sweet spot.
Confectioners’ (powdered) sugar (½ cup / 60g) — Don’t substitute granulated sugar here. Powdered sugar dissolves into the butter, creating that sandy, shortbread texture. If your powdered sugar is clumpy, sift it first. I do this out of habit, but it really helps.
All-purpose flour (1 ½ cups / 190g) — Standard flour works perfectly. Don’t use cake flour (too tender) or bread flour (too chewy). Spoon and level your flour for accuracy. I use a scale when I can, but the cup method works fine if you’re careful.
Salt (¼ teaspoon) — Just a pinch to balance the sweetness. Don’t skip it. It makes the butter taste more like butter.
Lemon zest (1 teaspoon) — Optional, but I highly recommend it. Adding zest to the crust gives a subtle lemon aroma that ties the whole bar together. Use the yellow part only, no white pith.
For the Tangy Lemon Filling
Granulated sugar (1 ½ cups / 300g) — This is the sweetener for the filling. It balances the acidity of the lemons. Measure it accurately.
Fresh lemon juice (½ cup / 120ml) — This is the most important ingredient. You will need about 4-6 large lemons. Do not use bottled lemon juice. It has a preservative taste that ruins the bars. Freshly squeezed is non-negotiable for this foolproof lemon bars recipe.
Eggs (4 large) — Room temperature eggs mix more evenly and bake more consistently. If you’re rushing, drop them in a bowl of warm water for 5 minutes.
All-purpose flour (⅓ cup / 45g) — This is the thickener. It’s a small amount, but it’s what gives the filling structure. Without it, you’d have lemon soup.
Confectioners’ sugar (2 cups / 240g) — This adds sweetness and helps stabilize the filling. Sift it if you have time.
For the Finish
Confectioners’ sugar (extra, for dusting) — This is what makes them look fancy. A light dusting is all you need.
Equipment Needed
You don’t need a fancy kitchen to make these. Here’s what I actually use.
9×13 inch baking pan — Light-colored metal is best. Dark pans can over-bake the crust. Line it with parchment paper, leaving an overhang on the sides. This is the #1 trick for getting the bars out in one piece. I can’t stress this enough.
Mixer — A stand mixer or hand mixer makes mixing the crust and filling easy. But you can do it by hand with a sturdy spoon or your clean hands for the crust.
Microplane or fine grater — For zesting the lemons. A standard box grater works, but a microplane gives you the finest zest, which distributes better.
Measuring cups and spoons — Accuracy is key in baking. Especially with the flour.
Whisk — For blending the eggs and lemon juice smoothly. No lumps allowed.
Strainer (optional) — I like to strain the lemon juice to remove pulp and seeds. It makes the filling smoother. If you don’t mind a bit of texture, skip it.
How to Make It: Step-by-Step
Alright, let’s make these foolproof lemon bars with buttery shortbread crust. I’m going to walk you through exactly how I do it, including the little tricks that prevent disaster.
Step 1: Prep Your Pan and Oven (5 minutes)
Preheat your oven to 350°F (175°C). Line your 9×13 inch pan with parchment paper. Leave a generous overhang on the long sides—this is your handle for lifting the bars out later. Spray the parchment lightly with non-stick spray, just to be safe.
Step 2: Make the Shortbread Crust (5 minutes)
In a large bowl, mix the softened butter and confectioners’ sugar. Use a mixer on low speed or your hands to combine until it looks like wet sand. Add the flour, salt, and lemon zest. Mix until just combined. Don’t overmix; you want a crumbly texture. Press this mixture firmly and evenly into the bottom of your prepared pan. Use the bottom of a measuring cup to pack it down tight. This ensures a crisp crust that won’t fall apart.
Step 3: Blind Bake the Crust (15-18 minutes)
This is the step most people skip, but it’s vital. Bake the crust alone for 15-18 minutes, or until the edges are lightly golden. Remove from the oven and let it cool slightly while you make the filling. This pre-baking sets the structure so it doesn’t get soggy when the wet filling is added.
Step 4: Make the Lemon Filling (5 minutes)
In a large bowl, whisk the granulated sugar and fresh lemon juice until the sugar is mostly dissolved. Whisk in the eggs one at a time, then add the all-purpose flour and confectioners’ sugar. Whisk vigorously until the mixture is smooth and uniform. If you strained your juice, do it now. The batter should be thin and bright yellow.
Step 5: Assemble and Bake (25-30 minutes)
Pour the lemon filling over the warm crust. Smooth the top with a spatula. Return to the oven and bake for 25-30 minutes. The bars are done when the edges are set and puffed, but the center still has a slight jiggle when you shake the pan. It should look like lemon curd, not custard. If the top starts browning too quickly, tent it with foil after 20 minutes.
Step 6: Cool Completely (Crucial Step!)
This is where patience pays off. Remove the pan from the oven and place it on a wire rack. Let it cool at room temperature for 1 hour. Then, refrigerate for at least 2 hours, preferably 4. The bars need to set completely. If you cut them warm, they will be a mess. Cold bars slice cleanly. This is the secret to that professional look.
Step 7: Slice and Serve
Once fully chilled, lift the entire block out of the pan using the parchment overhang. Place on a cutting board. Use a sharp knife to cut into squares. Wipe the knife clean between cuts for sharp edges. Dust generously with confectioners’ sugar. Serve cold.
Expert Tips & Tricks
Here’s everything I’ve learned from making these dozens of times. These tips will save you from my mistakes.
Use Real Lemons
I can’t say this enough. Bottled lemon juice tastes like cleaning fluid in baked goods. You need about 4-6 large lemons to get ½ cup of juice. Roll them on the counter before juicing to get more juice out. Warm lemons yield more juice too.
Don’t Skip the Crust Bake
If you skip blind baking, the bottom will be doughy. The crust needs to set before it meets the wet filling. It takes an extra 15 minutes, but it’s worth it for the texture.
The Jiggle Test
When the filling is done, the center should jiggle like Jell-O, not slosh like water. If it’s still very liquid, bake longer. If it’s firm, you’ve overbaked it. It continues to set as it cools.
Chill, Chill, Chill
These bars are hard to cut warm. I know it’s tempting, but wait. The longer they chill, the better they taste. The flavors meld and the texture firms up. I usually make them the night before.
Sharp Knife is Key
Use a sharp chef’s knife. Dull knives crush the crust. Dip the knife in hot water and wipe it dry between cuts for pristine edges.
Variations & Substitutions
Once you’ve nailed the basic version, here’s how you can mix it up. I’ve tried all of these.
Blueberry Lemon Bars
After baking the crust, sprinkle 1 cup of fresh or frozen blueberries over it. Then add the lemon filling. The berries burst and create beautiful pockets of purple. It’s a summer favorite.
Lavender Lemon Bars
Add 1 teaspoon of culinary lavender to the crust mixture. It gives a floral, sophisticated aroma. Great for spring events.
Gluten-Free Version
Use a 1:1 gluten-free flour blend for both the crust and filling. The texture is nearly identical. I’ve used King Arthur Measure for Measure and it works great.
Vegan Option
This is trickier. Use vegan butter and flax eggs (1 tbsp ground flax + 3 tbsp water per egg). The texture will be slightly denser, but still delicious. Use agave instead of sugar if needed.
Key Lime Version
Swap lemon juice for key lime juice. Use key lime zest. It’s tangier and more aromatic. A classic Florida twist.
Serving & Storage
How to Serve
I serve these straight from the fridge. They’re best cold. Pair with a cup of black coffee or tea. The bitterness cuts through the sweetness perfectly. I also like them with a dollop of whipped cream, but that’s optional.
Storage
Store in an airtight container in the fridge for up to 5 days. They get firmer as they sit. If you’re bringing them to a party, take them out 15 minutes before serving to let them soften slightly.
Freezing
Yes, you can freeze them! Cut into squares, wrap each one in plastic wrap, then place in a freezer bag. They freeze well for up to 3 months. Thaw in the fridge overnight. Don’t dust with powdered sugar until after thawing, or it will dissolve.
Nutrition Information
I’m not a nutritionist, but here’s the breakdown if you’re tracking. This is a rich dessert, so portion control is key.
Per bar (based on 16 bars):
- Calories: 220
- Carbs: 32g
- Sugar: 24g
- Fat: 10g
- Protein: 3g
It’s a sweet treat, so enjoy it in moderation. But honestly? The taste is worth it.
Final Thoughts
So, that’s my foolproof lemon bars recipe. I’ve probably talked your ear off, but when you make a recipe this often, you have a lot to say about it. These bars have saved me more times than I can count. They’re my go-to when I need to impress but don’t have time for a complicated cake. They’re tangy, sweet, and have that perfect shortbread crust that keeps me coming back.
Make it yours! Try different variations, adjust the lemon to your taste, or just enjoy them as they are. The best recipes are the ones you adapt to your family’s tastes. If you make these, drop a comment and let me know how they turned out! I love hearing how recipes work in your kitchen.
Happy baking! And I hope your kitchen smells like fresh lemons and butter soon.
Frequently Asked Questions
Why are my lemon bars runny?
Usually, this means they weren’t baked long enough or didn’t chill long enough. The filling needs to set completely. If you cut them warm, they’ll be soft. Let them chill in the fridge for at least 2 hours. Also, ensure you measured the flour correctly—too little flour means no structure.
Can I use bottled lemon juice?
I strongly advise against it. Bottled juice has preservatives and a metallic taste that ruins the fresh flavor. Fresh lemons are cheap and easy to juice. The difference in taste is night and day.
How do I get clean cuts?
Chill the bars completely. Use a sharp knife. Dip the knife in hot water and wipe it dry between each cut. This prevents the filling from sticking and tearing the crust.
Can I make these ahead?
Yes! They actually taste better the next day. Make them 1-2 days ahead. Store in the fridge. Dust with powdered sugar right before serving.
Why is my crust too hard?
You might have overbaked it or packed it too tightly. The crust should be crisp but tender, like a shortbread cookie. If it’s rock hard, next time reduce the bake time by 2-3 minutes or press it less firmly.
Pin This Recipe!

Foolproof Lemon Bars: Easy Shortbread Crust Recipe
- Total Time: 60 minutes
- Yield: 16 servings 1x
Description
A foolproof lemon bar recipe featuring a buttery shortbread crust and a tangy, perfectly set lemon filling. This dessert is make-ahead friendly, visually stunning, and uses simple, fresh ingredients for a high-end bakery taste.
Ingredients
- 1 cup (226g) unsalted butter, softened
- ½ cup (60g) confectioners’ (powdered) sugar
- 1 ½ cups (190g) all-purpose flour
- ¼ teaspoon salt
- 1 teaspoon lemon zest
- 1 ½ cups (300g) granulated sugar
- ½ cup (120ml) fresh lemon juice
- 4 large eggs, room temperature
- ⅓ cup (45g) all-purpose flour
- 2 cups (240g) confectioners’ sugar
- Extra confectioners’ sugar for dusting
Instructions
- Preheat oven to 350°F (175°C). Line a 9×13 inch baking pan with parchment paper, leaving an overhang on the sides, and spray lightly with non-stick spray.
- In a large bowl, mix softened butter and confectioners’ sugar until it resembles wet sand. Add flour, salt, and lemon zest; mix until just combined. Press mixture firmly and evenly into the bottom of the prepared pan.
- Blind bake the crust for 15-18 minutes until edges are lightly golden. Remove from oven and let cool slightly.
- In a large bowl, whisk granulated sugar and fresh lemon juice until sugar is mostly dissolved. Whisk in eggs one at a time, then add flour and confectioners’ sugar. Whisk vigorously until smooth.
- Pour lemon filling over the warm crust. Bake for 25-30 minutes until edges are set and the center has a slight jiggle. Tent with foil if browning too quickly.
- Cool at room temperature for 1 hour, then refrigerate for at least 2 hours (preferably 4) until completely set.
- Lift bars out of the pan using parchment overhang. Cut into squares with a sharp knife, wiping the knife between cuts. Dust generously with confectioners’ sugar and serve cold.
Notes
Use real fresh lemons, not bottled juice, for the best flavor. The crust must be blind-baked to prevent sogginess. Chill bars completely before cutting for clean slices. The bars improve in flavor after sitting in the fridge for a day.
- Prep Time: 15 minutes
- Cook Time: 45 minutes
- Category: Dessert
- Cuisine: American
Nutrition
- Serving Size: 1 bar
- Calories: 220
- Sugar: 24
- Sodium: 120
- Fat: 10
- Saturated Fat: 6
- Carbohydrates: 32
- Protein: 3
Keywords: lemon bars, shortbread crust, foolproof dessert, easy baking, make-ahead dessert, citrus bars, buttery crust


