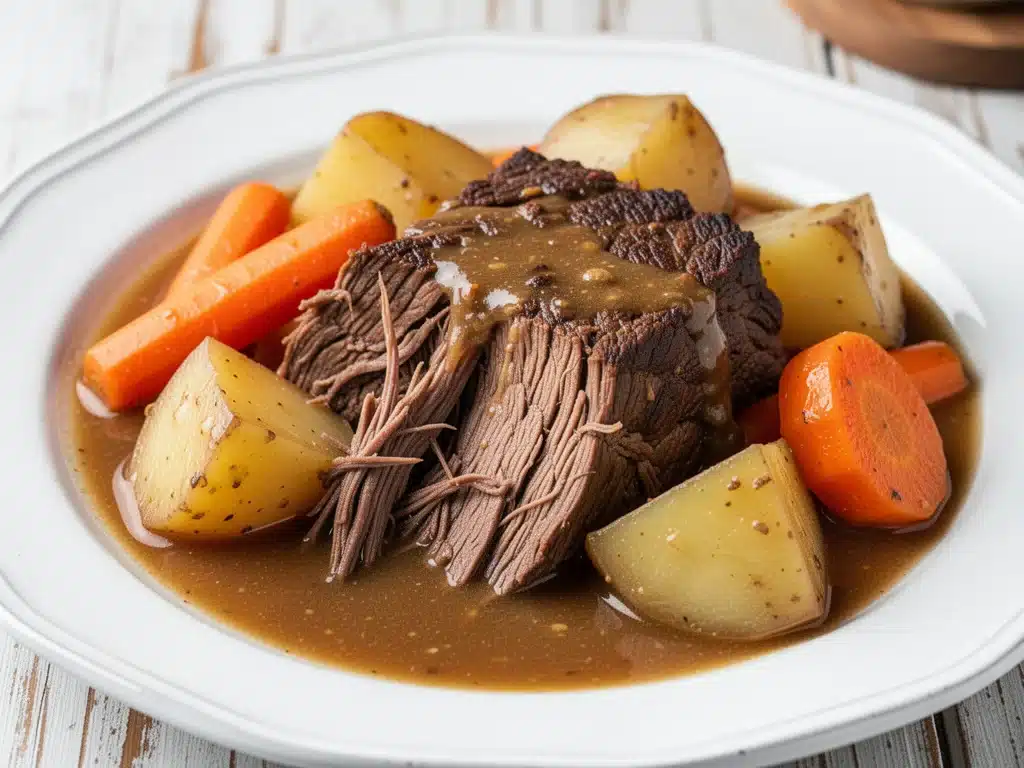
I still remember the exact moment I knew I had finally “cracked” the code on pot roast. I was standing in my kitchen on a rainy November Sunday, watching a cloud of steam rise from the slow cooker, and the smell hit me. It wasn’t just the smell of beef; it was the smell of my childhood, but better. Richer. Deeper.
For years, my pot roast was a disaster. It was either dry as leather or so mushy it fell apart before it hit the plate. My husband would politely pick at it, and I’d feel that familiar pang of disappointment. I wanted to serve something that felt like a hug—something warm, comforting, and hearty that would stick to your ribs and make the kids forget about their iPads for an hour.
Then I stopped overthinking it. I stopped trying to sear it for twenty minutes (who has time?) and started respecting the meat. I started using a simple five-step method that doesn’t require a culinary degree. This classic beef pot roast with carrots and potatoes became our Sunday tradition. It’s the kind of meal where everyone sits down, takes one bite, and goes silent. Then they ask for seconds. That silence? That’s the best compliment a cook can get.
There’s something magical about throwing ingredients into a pot and letting time do the heavy lifting. It’s low-stress cooking at its finest. You don’t need to babysit the stove. You don’t need fancy techniques. You just need good beef, some root vegetables, and the patience to let it simmer. Once you try this version, you’ll never go back to the dry, flavorless versions from the grocery store freezer aisle.
Why You’ll Love This Classic Beef Pot Roast
I’ve made this recipe at least fifty times over the last three years. It’s not just a recipe; it’s a lifeline on busy weeks. Here’s why it has earned a permanent spot in our weekly rotation:
Set It and Forget It Magic — Seriously. I can throw this together in the morning, go to work, run errands, and come home to a kitchen that smells like heaven. It’s the ultimate stress-free dinner. My husband loves that he doesn’t have to help with prep because I’ve already done the hard part.
Infallible Tender Meat — The secret isn’t a secret at all: it’s about using the right cut and letting it break down. This method guarantees beef that falls apart with a fork. No chewing required. It’s literally melt-in-your-mouth tender every single time.
Vegetables That Actually Taste Good — I know, I know. People think pot roast veggies are mushy. Not here. The carrots stay slightly sweet, and the potatoes soak up that incredible beefy gravy without turning into paste. My picky eaters, who usually pick out the carrots, actually ask for more this time.
Leftovers That Beat Takeout — This tastes even better the next day. The flavors meld together overnight, making the meat even more flavorful. I love packing this for lunch. It reheats beautifully in the microwave, and the gravy thickens up just right.
Budget-Friendly Feeding — Feeding a family of four for under $20? Yes, please. Beef chuck is affordable if you buy it smartly, and potatoes and carrots are pennies. This is a high-value meal that makes you feel like a genius for cooking at home instead of ordering pizza.
One-Pot Wonder — Cleanup is a breeze. I use my Dutch oven or slow cooker, and there’s barely a pan to wash. If you’re tired of a kitchen covered in dirty dishes after dinner, this is your hero.
This recipe is my go-to when I want to feel like a good hostess without the stress. It’s reliable, delicious, and makes your whole house smell amazing. It’s the kind of dinner that brings people together.
Ingredients You’ll Need
Here’s the best part: you probably have most of these ingredients already. This is pantry-friendly cooking at its core. I’m particular about three things here, and I’ll tell you exactly why.
For the Beef Base
Beef Chuck Roast (3-4 pounds / 1.4-1.8 kg) — This is non-negotiable. You need a cut with good marbling. Look for “beef chuck roast” or “pot roast cut.” Lean cuts like sirloin will be dry. You want that intramuscular fat to melt away and keep the meat juicy. If your butcher suggests a “pot roast” cut, that’s usually chuck, so you’re good.
Salt and Black Pepper (1 tablespoon kosher salt, 1 teaspoon black pepper) — Season the meat generously. I use a mix of salt and pepper before searing. This creates a flavorful crust. Don’t be shy with the salt; the meat needs it to taste good.
Vegetable Oil (2 tablespoons) — I use a neutral oil with a high smoke point. Canola or avocado oil works great. Olive oil can burn at high searing temps, so I skip it here.
For the Flavor Base
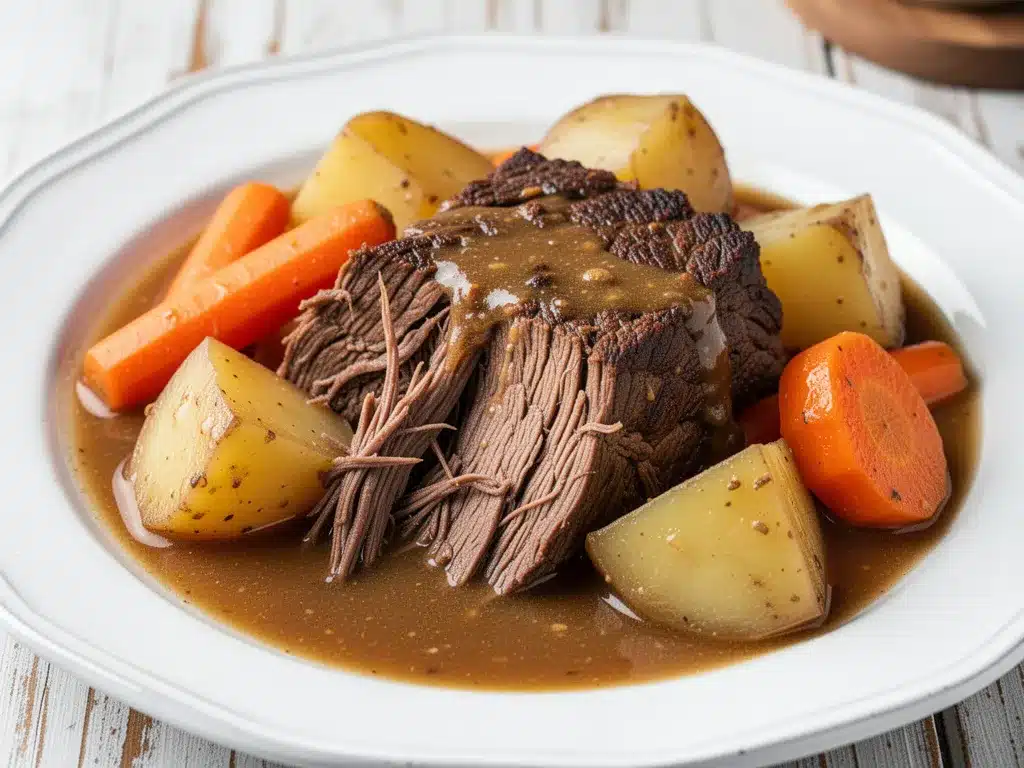
Yellow Onions (2 large, sliced) — Onions are the backbone of the gravy. Slice them thickly so they don’t disappear. They’ll caramelize slightly and add sweetness to the savory broth.
Garlic (6 cloves, minced) — Yes, six cloves. Fresh garlic is key. I mince it by hand because I trust my knife skills more than a jar. Jarred garlic has a metallic taste that ruins the subtle sweetness of this dish. If you’re in a rush, pre-peeled cloves are fine, but mince them yourself.
Tomato Paste (2 tablespoons) — This adds depth and richness. It’s not about tasting like tomatoes; it’s about adding umami. Cook it with the onions for a minute to remove the raw metallic taste.
Red Wine (1 cup / 240ml) — Dry red wine like Cabernet Sauvignon or Merlot. I use a bottle I’d actually drink. Cooking wine is terrible—skip it. The alcohol cooks off, leaving behind complex flavors. If you don’t drink wine, use extra beef broth.
For the Broth and Veggies
Beef Broth (2 cups / 480ml) — Low-sodium is best so you can control the saltiness. Use a good quality broth. If you can’t find it, bouillon cubes work in a pinch, but the flavor won’t be as deep.
Carrots (1 pound / 450g, peeled and cut into chunks) — Don’t use matchsticks. Use thick chunks, about 1-inch pieces. They hold their shape better during long cooking. I buy them pre-peeled to save time.
Potatoes (1.5 pounds / 680g, quartered) — Yukon Golds are my favorite because they stay creamy and don’t fall apart. Russets work too, but they can get mealy. Cut them into large chunks so they don’t dissolve into the gravy.
Fresh Thyme (4-5 sprigs) — Fresh herbs make a huge difference. Dried thyme is okay, but fresh is aromatic and bright. I throw the whole sprigs in and pull them out before serving.
Bay Leaves (2 leaves) — A classic addition. Remove them before eating! I always forget and nearly bite into one once. Learn from my mistake.
For Thickening the Gravy
Flour (2 tablespoons) — I use this to thicken the gravy at the end. It’s a simple slurry or dusting that turns thin broth into rich, velvety sauce.
Butter (1 tablespoon, optional) — A knob of cold butter stirred in at the very end makes the gravy glossy and rich. It’s a chef’s trick that’s easy to pull off.
Equipment Needed
You don’t need fancy equipment for this. Here’s what I actually use:
Dutch Oven (6-quart) — I use my heavy enameled cast iron Dutch oven. It distributes heat evenly and goes from stovetop to oven. If you don’t have one, a heavy pot with a tight-fitting lid works too. Just make sure it’s big enough to hold the roast and veggies.
Slow Cooker (6-quart) — Alternatively, I often use my slow cooker for set-it-and-forget-it convenience. It’s perfect for busy days. Just adjust the cooking times accordingly.
Sharp Knife — For slicing onions and cutting meat. A dull knife is dangerous and makes prep harder. My chef’s knife is my best friend.
Wooden Spoon — For stirring. It won’t scratch your pot like metal utensils might.
Measuring Cups and Spoons — Standard stuff. I keep them on the counter for easy access.
Aluminum Foil — For covering the pot if you’re using the oven and want to trap steam.
Cutting Board — Any size works. I use a large one for veggies and a smaller one for meat to avoid cross-contamination.
Colander — For rinsing veggies if needed. I usually skip this for carrots and potatoes, but it’s good to have.
Ladle — For serving the gravy and meat. A nice ladle makes serving easier and less messy.
How to Make It: Step-by-Step
Alright, let’s make this! I’m walking you through exactly how I do it, including the little tricks I’ve picked up over the years.
Step 1: Prep the Meat (5 minutes)
Take your beef chuck roast out of the fridge and pat it dry with paper towels. This is crucial—dry meat sears better. Moisture creates steam, and we want a crust, not steam. Season all sides generously with salt and pepper. Don’t rush this step. Good seasoning is half the battle.
Step 2: Sear the Beef (5-7 minutes)
Heat your Dutch oven or slow cooker insert over medium-high heat. Add the vegetable oil. Once the oil shimmers, add the roast. Sear it on all sides until it’s deeply browned, about 2-3 minutes per side. You want a dark, crusty exterior. This Maillard reaction is where all the flavor lives. Don’t move it around too much; let it develop that crust. Remove the meat and set it aside on a plate.
Step 3: Sauté the Aromatics (5 minutes)
Reduce heat to medium. Add the sliced onions to the same pot. Cook for 3-4 minutes until they start to soften. Add the minced garlic and tomato paste. Stir constantly for 1 minute. The tomato paste should darken slightly and smell sweet. This step builds the flavor base. Scrape up any browned bits from the bottom of the pot—those are flavor gold.
Step 4: Deglaze and Combine (2 minutes)
Pour in the red wine (or extra broth). Let it simmer for 1-2 minutes to cook off the alcohol. Scrape the bottom of the pot again to release all those flavorful bits. Place the seared roast back into the pot, on top of the onions. Add the beef broth, thyme sprigs, and bay leaves. The liquid should come about halfway up the meat. It doesn’t need to be fully submerged.
Step 5: The Long Cook (3-4 hours or 8 hours)
If using an oven: Preheat to 325°F (165°C). Cover the pot with a tight-fitting lid or foil. Place in the oven and cook for 3-4 hours. Check at 3 hours. The meat should be fork-tender.
If using a slow cooker: Cover and cook on low for 8 hours or high for 4-5 hours. Low and slow is best for tender meat.
Add the carrots and potatoes during the last hour of cooking. If you add them too early, they’ll turn to mush. Place them around the meat so they cook in the broth.
Step 6: Thicken the Gravy (5 minutes)
Remove the roast and veggies to a serving platter. Keep them warm. If you want a thicker gravy, mix 2 tablespoons of flour with ¼ cup of cold water to make a slurry. Stir this into the simmering broth in the pot. Cook for 2-3 minutes until thickened. Stir in the butter for extra richness.
Step 7: Serve
Slice the roast against the grain. This makes each bite more tender. Pour the gravy over the meat and veggies. Serve immediately with crusty bread to soak up the sauce. Garnish with fresh parsley if you have it.
Expert Tips & Tricks
Here’s everything I’ve learned from making this dozens of times. These tips will save you from my mistakes.
Sear It Well — Don’t skip the sear. It’s not just for looks; it adds a layer of flavor that boiling alone can’t achieve. If your pot isn’t hot enough, the meat will steam instead of sear. Wait for the oil to shimmer.
Don’t Overcrowd the Pot — If you have a huge roast, don’t try to fit too many veggies in at once. They need space to cook evenly. If you’re using a slow cooker, layer them carefully.
Use the Right Veggies — Carrots and potatoes are classic, but you can add parsnips or turnips for variety. Just cut them to the same size as the potatoes so they cook evenly.
Check for Tenderness — The meat is done when a fork slides in and out with no resistance. If it’s still tough, keep cooking. It’s better to undercook slightly and add time than to serve chewy meat.
Rest the Meat — Let the roast rest for 10 minutes after cooking before slicing. This allows the juices to redistribute. If you cut it immediately, the juices run out, and the meat dries out.
Adjust Seasoning — Taste the gravy before serving. It might need more salt or pepper. Add it gradually. Remember, the meat has already absorbed some salt, so be careful.
Make a Slurry — If your gravy is too thin, don’t worry. A cornstarch or flour slurry is your friend. Mix it with cold water first to avoid lumps, then stir it in.
Use Fresh Herbs — Fresh thyme is aromatic and bright. If you only have dried, use half the amount. Dried herbs can be potent and bitter if overused.
Don’t Stir Too Much — Once you add the meat and liquid, try not to stir it too much. Let it simmer gently. Aggressive stirring can break down the meat and make it mushy.
Save the Broth — If you have leftover gravy, freeze it in ice cube trays. It’s perfect for adding flavor to soups or stews later.
Variations & Substitutions
Once you’ve nailed the basic version, here’s how you can mix it up. I’ve tried all of these.
Gluten-Free Version — Skip the flour thickener. Use a cornstarch slurry instead. Everything else is naturally gluten-free.
Low-Carb Option — Skip the potatoes. Add more carrots or swap them for turnips or radishes. They have a lower glycemic index and hold up well in stew.
Wine Substitution — If you don’t drink wine, use extra beef broth. Add a splash of balsamic vinegar for depth. It mimics the acidity of wine.
Slow Cooker Only — You can skip the searing step if you’re short on time, but the flavor won’t be as deep. I recommend searing if you can.
Instant Pot Version — Use the sauté function to sear meat and onions. Add liquid, seal, and cook on high pressure for 60 minutes. Quick release.
Add More Veggies — Peas, green beans, or celery can be added in the last 30 minutes. They cook quickly and add freshness.
Spicy Twist — Add a teaspoon of red pepper flakes or a dash of hot sauce. It adds a kick that balances the richness.
Herb Swap — Rosemary or sage can replace thyme. They have a stronger flavor, so use sparingly.
Serving & Storage
How to Serve: — I usually serve this straight from the pot at the dinner table. It looks rustic and stays warm. Pair it with crusty bread, mashed potatoes (ironic, I know), or a simple green salad.
Side Dishes: — Garlic bread, roasted asparagus, or steamed green beans work well. A simple vinaigrette salad cuts through the richness.
Storage: — Store leftovers in an airtight container in the fridge for up to 4 days. The flavors improve overnight.
Reheating: — Reheat gently on the stovetop over low heat, adding a splash of broth if it’s too thick. Microwave in short bursts, stirring in between. Don’t boil it, or the meat will toughen.
Freezing: — You can freeze this dish, but the potatoes may become grainy. Freeze the meat and gravy separately for best results. Thaw in the fridge overnight.
Nutrition Information
I’m not a nutritionist, but here’s the breakdown if you’re tracking. This is per serving (based on 6 servings).
Calories: 450 | Protein: 35g | Carbs: 25g | Fiber: 4g | Sugar: 6g | Fat: 20g | Saturated Fat: 7g | Cholesterol: 95mg | Sodium: 650mg
What’s Good: — High protein, good source of iron and potassium from veggies. Satiating and filling.
What to Know: — Higher in calories due to beef and gravy. Sodium can be high if you use salty broth. Use low-sodium broth to reduce.
My Take: — This is comfort food. It’s hearty and satisfying. Enjoy it as part of a balanced diet. The veggies add nutrients, and the protein keeps you full.
Final Thoughts
So that’s my classic beef pot roast with carrots and potatoes! I’ve probably talked your ear off at this point, but when you make a recipe this often, you have a lot to say about it.
This has saved weeknight dinners more times than I can count. It’s my answer to “what’s for dinner” when I’m tired, don’t want takeout, and still want something that tastes really good. My kids are happy, my husband’s happy, and I’m happy because I’m not stressed about cooking.
Make it yours! Try different add-ins, swap in your favorite vegetables, adjust the spices. The best recipes are the ones you adapt to your family’s tastes.
If you make this, drop a comment and let me know what you think! I love hearing how recipes turn out in your kitchen. And if something doesn’t work, tell me that too—I’m here to help troubleshoot.
Happy cooking! And I hope your kitchen smells half as good as mine does right now.
Frequently Asked Questions
Q: Can I use a different cut of meat?
A: You can, but chuck roast is best for its marbling. Sirloin or round roast will be leaner and drier. If you use those, reduce cooking time slightly and be careful not to overcook.
Q: Why is my pot roast tough?
A: It likely wasn’t cooked long enough. Tough cuts need long, slow cooking to break down connective tissue. Keep cooking until fork-tender. It should take 3-4 hours in the oven.
Q: Can I make this ahead of time?
A: Absolutely! Make it a day ahead. The flavors meld together overnight. Reheat gently before serving. It often tastes better the next day.
Q: How do I thicken the gravy?
A: Mix flour or cornstarch with cold water to make a slurry. Stir it into the simmering broth. Cook for 2-3 minutes until thickened. Avoid adding dry flour directly to the pot.
Q: Can I freeze leftovers?
A: Yes, but potatoes may become grainy. Freeze the meat and gravy separately for best results. Thaw in the fridge overnight and reheat gently.
Q: What wine should I use?
A: Use a dry red wine like Cabernet, Merlot, or Pinot Noir. Avoid cooking wine. If you don’t drink wine, use extra broth and a splash of vinegar.
Q: Can I use sweet potatoes?
A: Yes, but they cook faster and can fall apart. Add them in the last 30 minutes of cooking to maintain their shape.
Pin This Recipe!
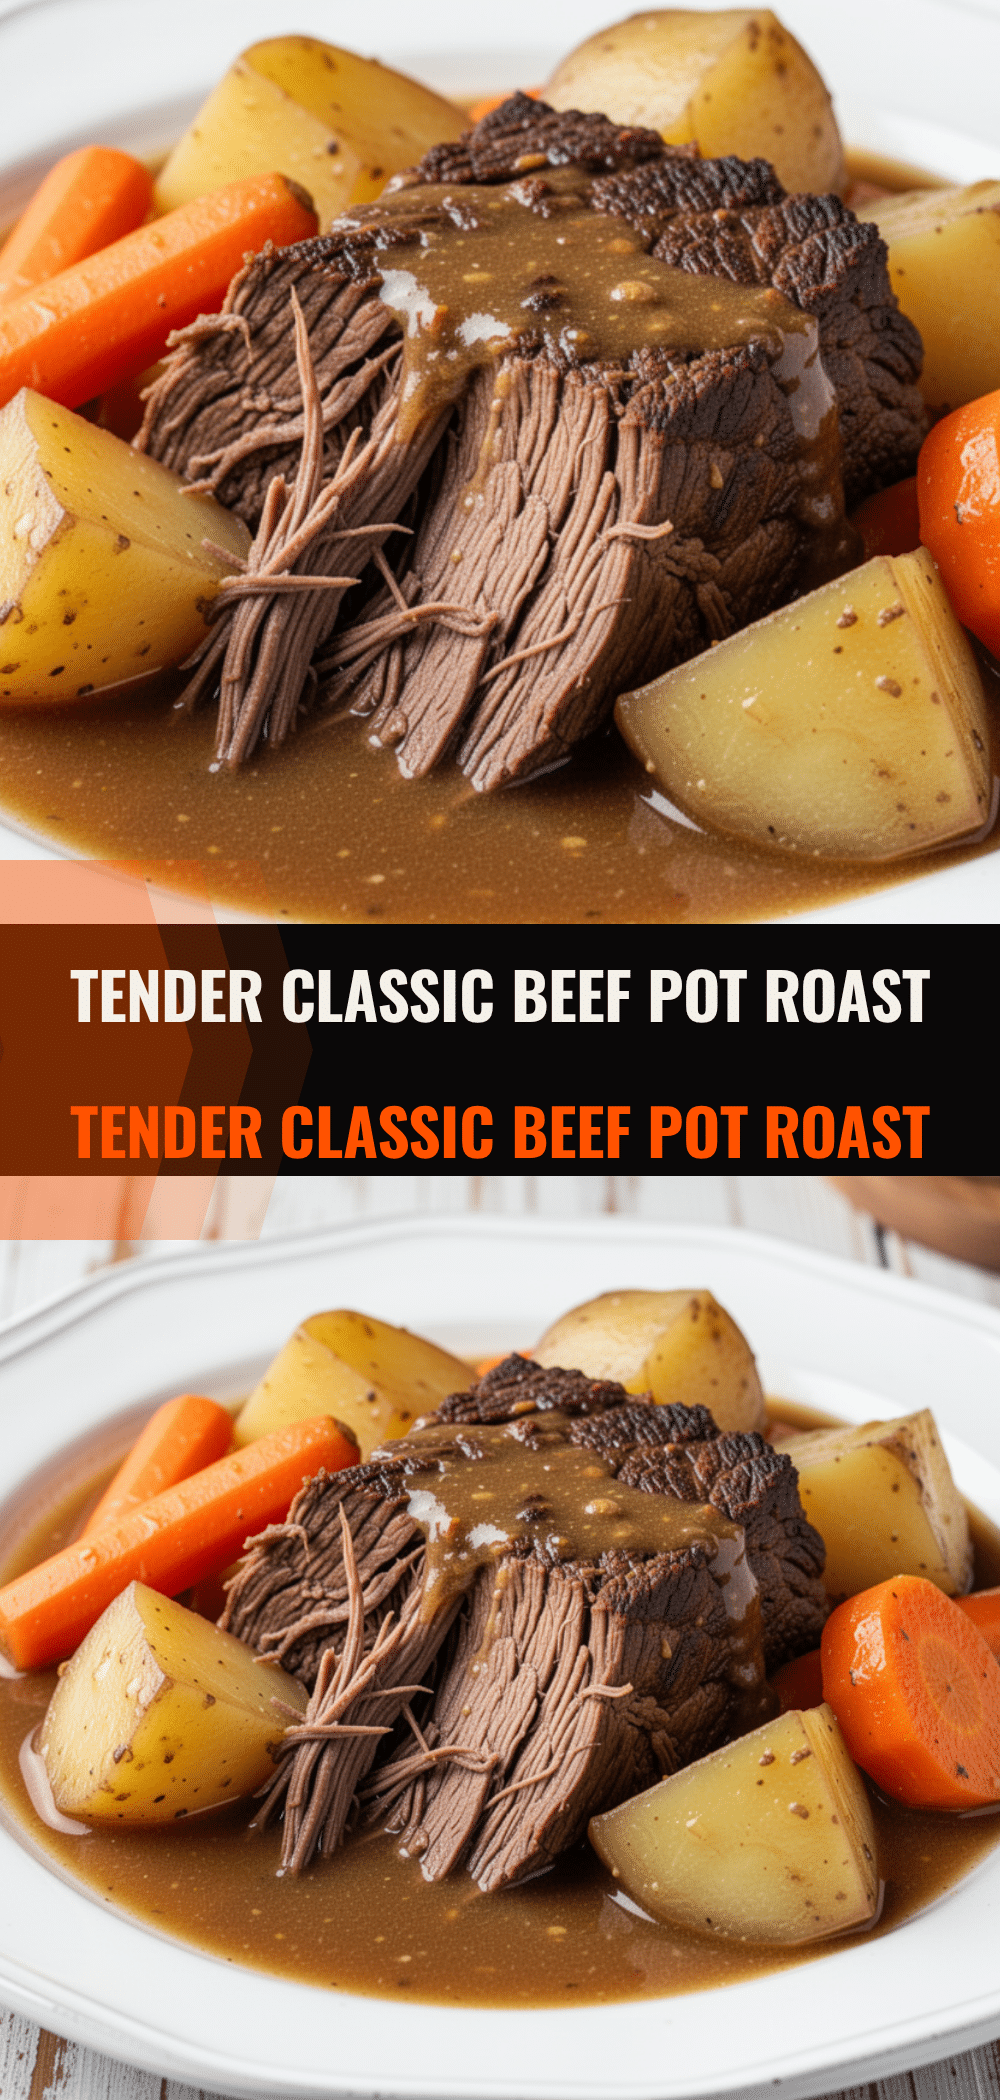
Classic Beef Pot Roast: 5-Step Easy Dinner
- Total Time: 4 hours
- Yield: 6 servings 1x
Description
A stress-free, melt-in-your-mouth beef pot roast with carrots and potatoes. This slow-cooked dish is tender, flavorful, and perfect for busy weeknights or Sunday traditions.
Ingredients
- 3–4 pounds beef chuck roast
- 1 tablespoon kosher salt
- 1 teaspoon black pepper
- 2 tablespoons vegetable oil
- 2 large yellow onions, sliced
- 6 cloves garlic, minced
- 2 tablespoons tomato paste
- 1 cup dry red wine (Cabernet Sauvignon or Merlot)
- 2 cups low-sodium beef broth
- 1 pound carrots, peeled and cut into 1-inch chunks
- 1.5 pounds potatoes (Yukon Gold or Russet), quartered
- 4–5 sprigs fresh thyme
- 2 bay leaves
- 2 tablespoons flour (for thickening)
- 1 tablespoon butter (optional, for finishing gravy)
Instructions
- Pat the beef chuck roast dry with paper towels and season all sides generously with salt and pepper.
- Heat vegetable oil in a Dutch oven or slow cooker insert over medium-high heat. Sear the roast on all sides until deeply browned (2-3 minutes per side). Remove meat and set aside.
- Reduce heat to medium. Add sliced onions to the pot and cook until softened (3-4 minutes). Add minced garlic and tomato paste, stirring constantly for 1 minute until the paste darkens slightly.
- Pour in the red wine (or extra broth) and simmer for 1-2 minutes to cook off the alcohol, scraping up browned bits from the bottom of the pot.
- Return the seared roast to the pot. Add beef broth, thyme sprigs, and bay leaves. The liquid should come about halfway up the meat.
- If using an oven: Preheat to 325°F (165°C). Cover with a tight-fitting lid or foil and cook for 3-4 hours until fork-tender.
- If using a slow cooker: Cover and cook on low for 8 hours or high for 4-5 hours.
- Add carrots and potatoes during the last hour of cooking.
- Remove meat and veggies to a serving platter. If desired, mix flour with cold water to make a slurry and stir into the simmering broth to thicken the gravy. Stir in butter if using.
- Slice the roast against the grain and serve with the gravy and vegetables.
Notes
Searing the meat is crucial for flavor development. Do not overcrowd the pot. Let the meat rest for 10 minutes before slicing to retain juices. Potatoes may become grainy if frozen; freeze meat and gravy separately for best results.
- Prep Time: 15 minutes
- Cook Time: 3 hours 45 minutes
- Category: Main Course
- Cuisine: American
Nutrition
- Serving Size: 1 slice of roast wit
- Calories: 450
- Sugar: 6
- Sodium: 650
- Fat: 20
- Saturated Fat: 7
- Carbohydrates: 25
- Fiber: 4
- Protein: 35
Keywords: beef pot roast, slow cooker recipe, comfort food, easy dinner, chuck roast, one-pot meal, family dinner


