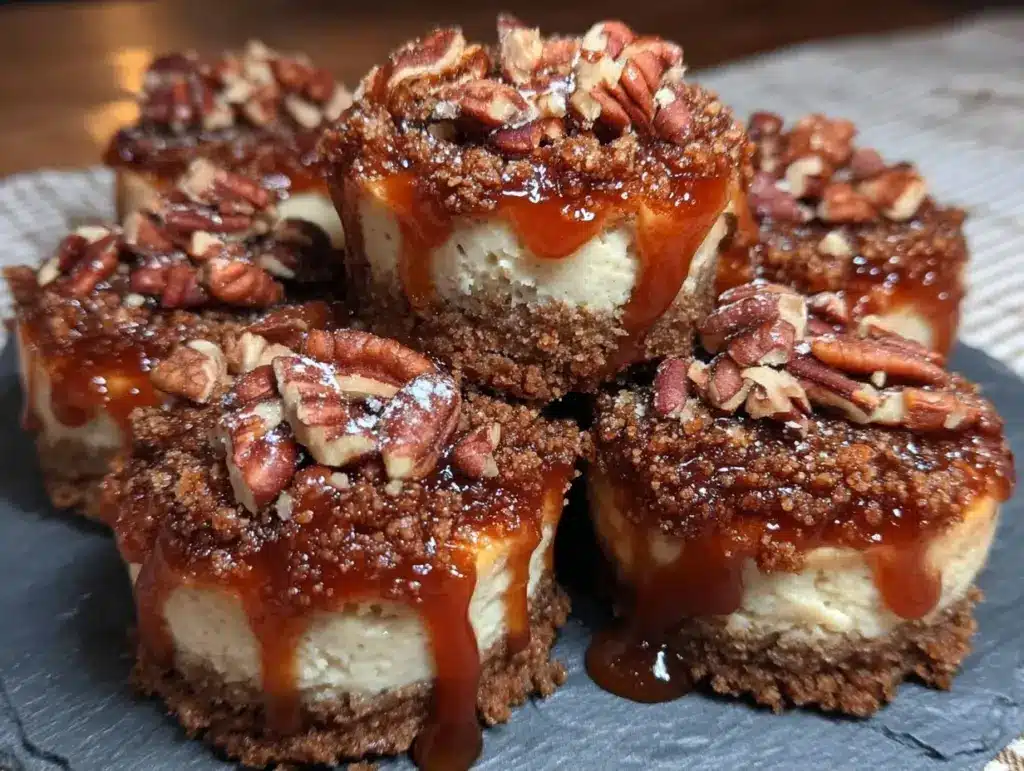
Last October, I found myself standing in the aisle of a grocery store at 8 PM, staring at a single, sad-looking graham cracker box. My friend Sarah was having her first baby, and I had promised to bring dessert to her intimate shower. The problem? I was between jobs. My bank account was hovering around forty dollars, and I needed that money to last me until payday in three days. I didn’t want to buy expensive store-bought cupcakes that would sit in a plastic tub and taste like wax. I wanted to give her something that felt personal, something that tasted like autumn, and something that wouldn’t leave me eating ramen for a week.
I went home and raided my pantry. I had half a tub of cream cheese, a bag of graham crackers that were slightly stale, some apples, and a few spices. I threw together what I thought would be a mediocre, quick fix. I didn’t have a food processor, so I used a ziplock bag and a rolling pin for the crust. I didn’t have fresh vanilla bean, so I used the cheap extract. But when I cut into those little bites the next morning, the smell of cinnamon and baked apple filled my tiny kitchen, and I realized I had accidentally created something magical. They were creamy, spiced, and perfectly portable.
That experiment turned into a tradition. Now, every time I need to stretch a dollar for a gathering, I make my Budget-Friendly Fall Baby Shower Cheesecake Bites. I’ve made this recipe dozens of times since that first panic-buy night. It’s become my go-to for any occasion where I need to look like I spent more time and money than I actually did. The best part? Each bite costs less than forty cents. Yes, you read that right. Forty cents for a dessert that tastes like it came from a high-end bakery.
These Budget-Friendly Fall Baby Shower Cheesecake Bites are perfect for anyone watching their wallet but not their taste buds. They’re small, so they feel fancy, but they’re made from cheap, accessible ingredients. You get the rich texture of cream cheese without the cost of a whole cheesecake, and you get the warmth of fall spices without buying a dozen different jars. If you’re looking for a way to feed a crowd on a shoestring budget, this is the answer. It’s practical, it’s delicious, and it’s proof that you don’t need to be wealthy to throw a beautiful party.
Why You’ll Love This Recipe
Let’s be real for a second. Most “budget” recipes end up tasting like cardboard or require ingredients you have to drive to three different stores to find. This is not that. This recipe works because it uses what you likely already have. Here’s why these bites have earned a permanent spot in my rotation:
- Cost Per Bite is Insane — I calculated this last week. Using store-brand cream cheese and generic spices, each bite comes out to about $0.38. That’s cheaper than a single potato chip. For a party of twenty, you’re spending less than $8 on dessert.
- No-Bake Simplicity — I don’t own an oven that doesn’t have a sticky thermostat. These bites require zero baking. You mix, you chill, you eat. It saves on electricity and keeps my apartment from turning into a sauna during those last warm fall days.
- Uses Leftover Ingredients — That half-eaten box of graham crackers? The bruised apple in the fruit bowl? The open jar of cinnamon? This recipe is the hero of leftovers. It turns “almost gone” items into a polished dessert.
- Perfectly Portable — Unlike a whole cheesecake that needs a knife and a plate, these are bite-sized. Guests can grab one and mingle. No messy slices, no dripping frosting, no cleanup nightmare. I love that they’re easy to eat while holding a glass of wine.
- Make-Ahead Friendly — You can make these three days in advance. In fact, they taste better after chilling overnight because the flavors meld together. This means I can prep on Friday and just drop them off on Saturday morning without stress.
This is my go-to when I need to impress people without impressing my bank statement. It’s reliable, it’s cheap, and it’s genuinely good.
Key Ingredients
Here is exactly what you need. I’ve broken it down with precise measurements so you don’t have to guess. Remember, precision matters more than fancy brands here.
Graham Crackers (150g / 1.5 cups crumbs) — You don’t need the honey-sweetened kind. The plain or cinnamon ones work best and are usually cheaper. If you buy a huge box and only need this much, save the rest for a no-bake peanut butter cheesecake bars later. Pulse them in a blender or crush them in a bag with a rolling pin until they’re fine sand. Don’t leave chunks; it ruins the texture.
Unsalted Butter (57g / 4 tbsp) — This binds the crust. You need it melted. Salted butter works, but you’d have to adjust the salt elsewhere, and since we’re keeping it simple, stick to unsalted. Use real butter, not margarine, if you can. The flavor difference is huge in a no-bake crust.
Granulated Sugar (50g / 0.25 cups) — Standard white sugar. It dissolves easily into the cream cheese mixture. Brown sugar can be used for a deeper molasses flavor, but it makes the filling slightly denser. I stick to white for that light, airy bite.
Cream Cheese (226g / 8 oz block) — This is the star. Use full-fat block cream cheese. The tub stuff is whipped and has air in it; it won’t set properly and tastes rubbery. Let it sit on the counter for 20 minutes before mixing. If it’s cold and hard, you’ll get lumps. Lumps are the enemy of smooth cheesecake bites.
Heavy Cream (120ml / 0.5 cups) — You need this to whip up and give the filling volume. Without it, the filling is dense and heavy. Half-and-half won’t whip, so don’t substitute. If you don’t have heavy cream, you can use Greek yogurt for a tangier, lighter version, but the texture will change.
Cinnamon (2 tsp) — This is what makes it “fall.” Don’t skimp. If your cinnamon is old and dusty, buy a new jar. The smell of fresh cinnamon hitting the warm butter is the best part of this process.
Nutmeg (0.5 tsp) — Just a pinch. It adds depth. Too much nutmeg tastes medicinal. A little grating of fresh nutmeg is nice, but ground is fine and cheaper.
Apples (1 medium / 150g diced) — Use a crisp apple like Gala or Fuji. Avoid Red Delicious; they get mushy. Dice them into tiny 1/4 inch cubes. They add a fresh crunch that cuts through the rich cream cheese.
Lemon Juice (1 tsp) — Just a splash. It brightens the flavor so it doesn’t taste too sweet or flat. It’s a secret ingredient that makes the dessert taste more professional.
Tools Needed
You don’t need fancy equipment. Here’s what I use, and what you can swap:
Food Processor or Blender — For the crust. If you don’t have one, put crackers in a heavy ziplock bag and smash them with a rolling pin, a wine bottle, or a heavy pan. It takes effort, but it works.
Mixing Bowls — Two medium bowls. One for the crust, one for the filling. I use glass bowls because I can see the consistency better than in opaque plastic.
Hand Mixer or Whisk — A hand mixer makes quick work of the cream cheese. If you’re doing this by hand, bring the cream cheese to room temperature and be prepared to arm-wrestle the bowl for a few minutes. It’s good cardio.
Mini Muffin Tin — This is crucial. You need a mini muffin tin to get those cute, bite-sized shapes. Standard muffin tins will make these too big. If you don’t have a mini tin, use silicone cupcake liners in a regular tin, but the baking time will vary.
Paring Knife — For dicing the apples. Keep the blade sharp; it makes the cubes uniform.
Cooking Instructions
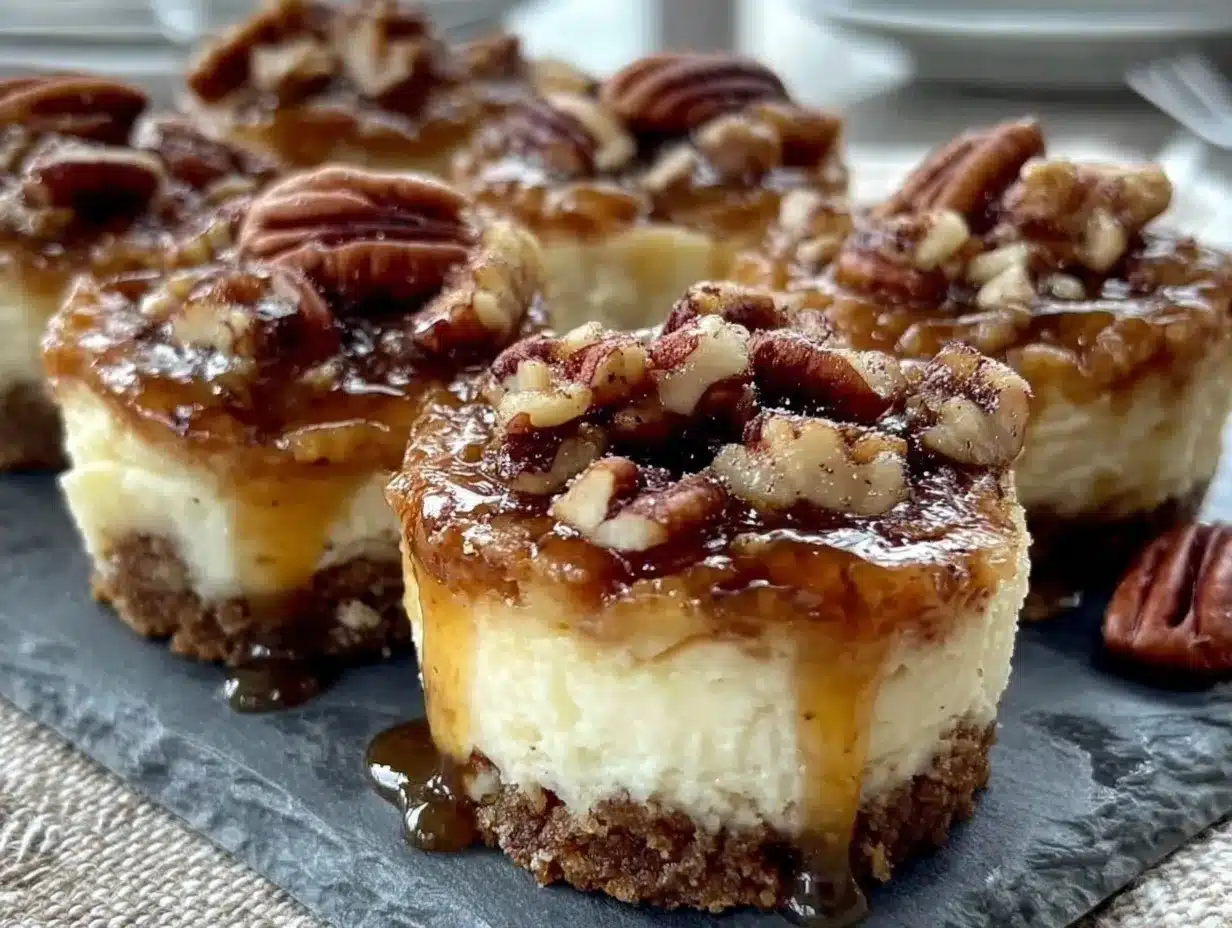
Let’s make this! I’m walking you through exactly how I do it to ensure no lumps and perfect texture.
Step 1: Prep the Crust (5 minutes)
First, crush your graham crackers. Aim for fine crumbs. If you have big chunks, your bites will be gritty. Melt your butter in a small microwave-safe bowl. Heat it in 15-second intervals so it doesn’t boil over. Stir the melted butter into the crumbs until it looks like wet sand. It should hold together when you pinch it. If it’s too dry, add a teaspoon more butter. If it’s soupy, add more crumbs.
Step 2: Form the Bases (5 minutes)
Lightly spray your mini muffin tin with non-stick spray. This is important because cream cheese sticks. Spoon about 1 tablespoon of the crumb mixture into each cup. Press it down firmly with the back of a spoon or your thumb. You want a flat, even base. Don’t worry about perfect walls; we’re going for rustic and easy. If some crumbs stick to the sides, that’s fine. Put the tin in the fridge while you make the filling.
Step 3: Whip the Filling (10 minutes)
In a large bowl, beat the room-temperature cream cheese, sugar, cinnamon, nutmeg, and lemon juice. Beat on medium speed until it is completely smooth and creamy. This takes about 2-3 minutes. Scrape down the sides of the bowl. You should not see any white streaks of unmixed cream cheese. Over-beating at this stage isn’t a disaster, but under-beating is.
Step 4: Fold in the Cream and Apples (5 minutes)
Slowly pour in the heavy cream. Switch to a whisk or your mixer on low. Whip until soft peaks form. You want it to be airy and light. Gently fold in the diced apples. Use a spatula and a gentle hand. You don’t want to crush the apples or deflate the cream. Just incorporate them evenly.
Step 5: Assemble and Chill (4 hours or overnight)
Divide the filling among the crusts. Use a spoon or a piping bag if you want it pretty. Smooth the tops with the back of a spoon. Place the tin in the refrigerator. This step is non-negotiable. They need at least 4 hours to set. If you rush this, they will be soup. Ideally, make them the night before. When you take them out, they should be firm to the touch.
Total Time: 25 minutes active, 4 hours chilling.
Expert Tips
Here’s everything I learned from making this too many times.
The Game-Changers:
Room Temperature is Key
I learned this the hard way. My first attempt had lumpy cream cheese because it was cold from the fridge. The texture was grainy, not smooth. Let your cream cheese sit out for at least 30 minutes. It should be soft enough to indent with your finger.
Don’t Skip the Lemon
Cheesecake can taste heavy and one-dimensional. The lemon juice cuts the fat and makes the flavors pop. It’s subtle, but without it, the bites taste “flat.” Just a teaspoon is enough to wake up the palate.
Uniform Apple Dicing
If your apple pieces are huge, one bite will be all apple, and the next will be all crust. Dice them small. You want a bit of crunch in every single bite, not a surprise apple chunk.
Common Problems & Solutions:
Filling is Runny
This happens if the cream isn’t whipped enough or if the cream cheese wasn’t cold enough when it set. Whip the cream until stiff peaks form. Chill the tin longer.
Crust Crumbles
Not enough butter. The butter acts as the glue. If your crust falls apart, add more melted butter next time. Also, press it down firmly.
Pro Tricks:
Freeze for Transport
If you’re bringing these to a shower, freeze them for an hour before packing. They hold their shape much better in a cooler or insulated bag than if they are just chilled.
Recipe Variations
Once you’ve nailed the basic version, here’s how to mix it up.
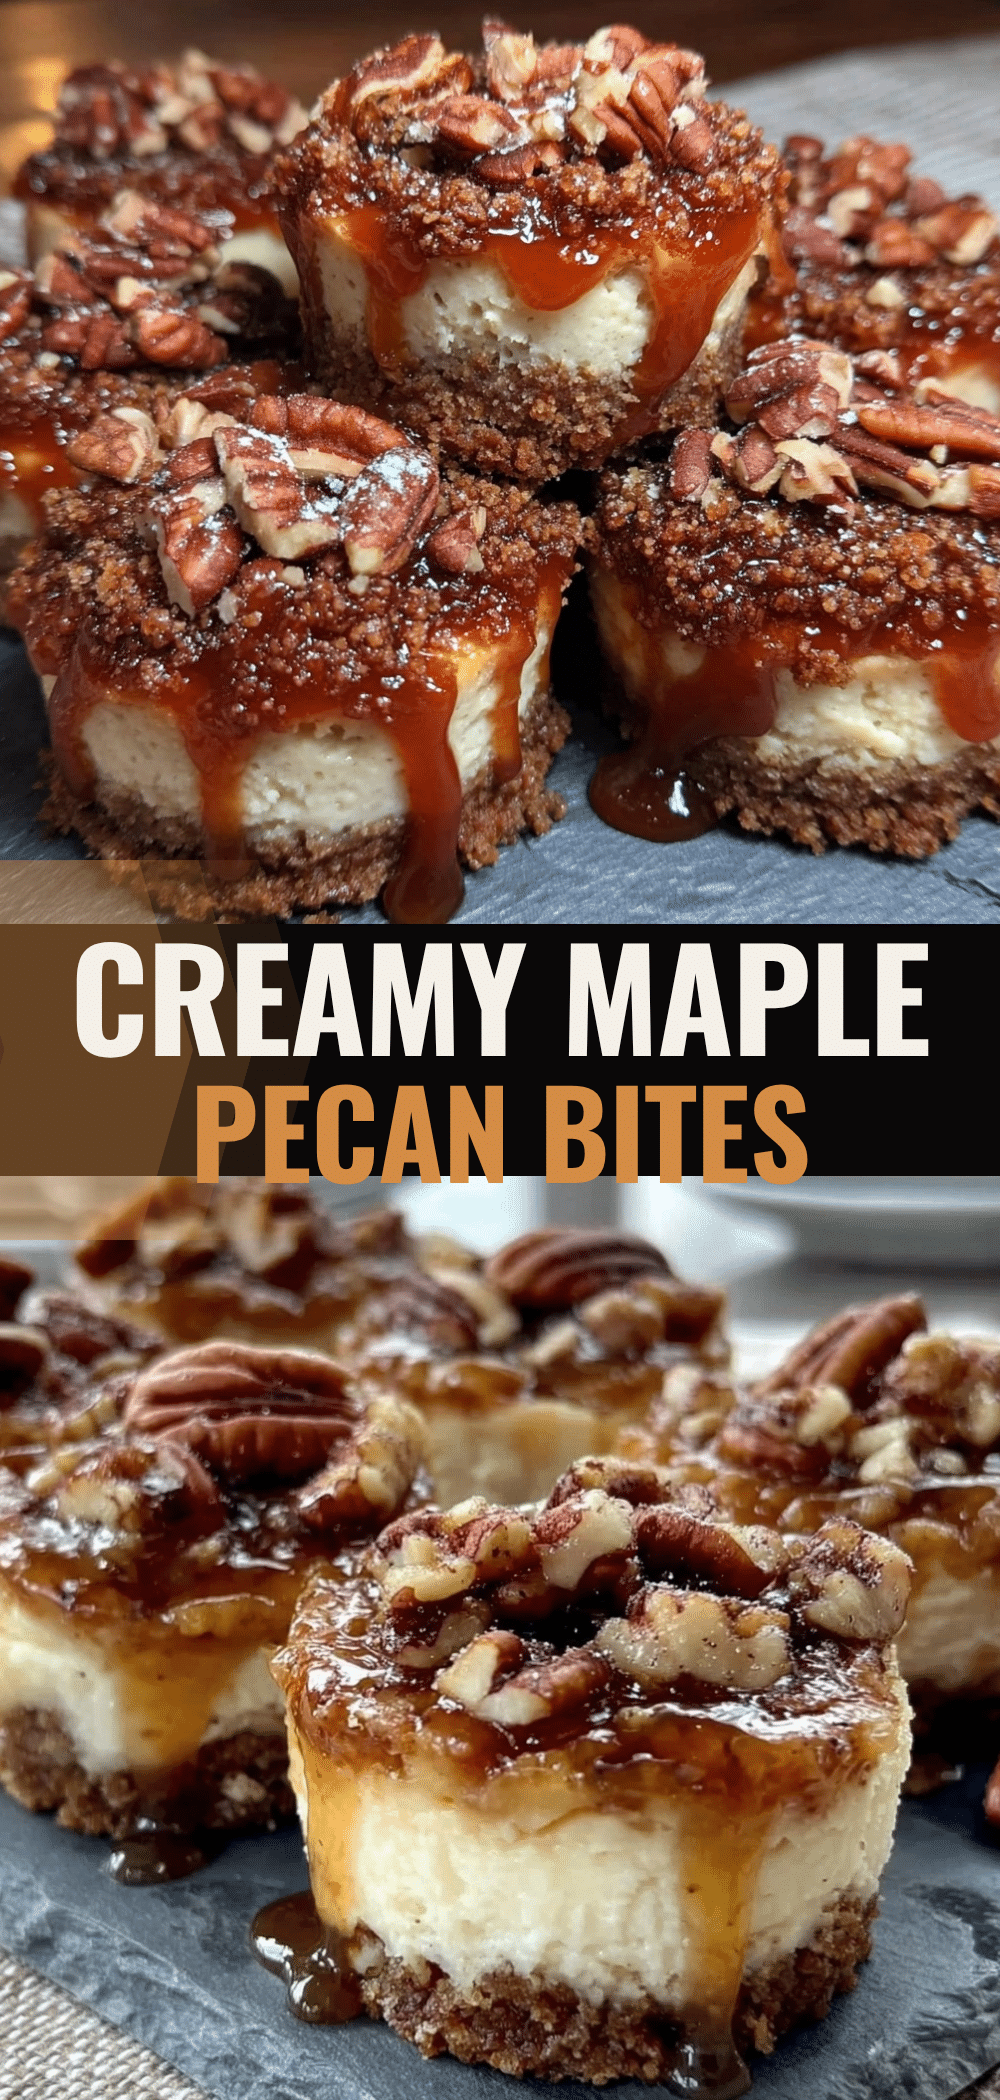
Maple Pecan Version
Swap the cinnamon for maple extract and fold in chopped pecans. It tastes like a fancy Thanksgiving pie. The nuts add a nice savory contrast to the sweet cream cheese.
Pumpkin Spice Twist
Add 2 tablespoons of pumpkin puree and extra pumpkin pie spice. Make sure to strain the puree first to remove excess water, or the filling will be too wet. This is a huge hit in October.
Gluten-Free Option
Use gluten-free graham crackers or almond flour for the crust. Almond flour makes a richer, more expensive crust, but it’s worth it if you have guests with allergies. Check the gluten-free blueberry banana bread for tips on handling GF ingredients.
Vegan Adaptation
Use vegan cream cheese blocks (like Kite Hill) and coconut cream instead of dairy cream. The flavor will be slightly coconutty, but it works surprisingly well with the apple and cinnamon.
Serving & Storage
Serving:
I serve these straight from the fridge. They taste best cold. I like to garnish them with a tiny sprinkle of cinnamon or a small apple slice on top for presentation. They pair beautifully with a hot cup of coffee or a glass of cider. If you’re serving them at a party, put them on a platter lined with parchment paper so they don’t stick.
Storage:
These keep in the refrigerator for up to 5 days. Store them in an airtight container. If you stack them, put parchment paper between layers so they don’t stick together. They do not freeze well because the texture of the whipped cream changes when thawed—it can become grainy. So, only make what you’ll eat within a week.
Nutrition Information
I’m not a nutritionist, but here’s the breakdown based on standard ingredients.
| Nutrient | Per Bite (approx.) |
|---|---|
| Calories | 65 kcal |
| Protein | 1g |
| Carbs | 6g |
| Fat | 4g |
| Sugar | 4g |
My Take:
This is a treat. It has sugar and fat. But it’s portion-controlled. Because they are small, you can have two or three without feeling guilty. It’s better than a slice of cake from a bakery, which would have 500 calories. These are a smart indulgence.
Final Thoughts
Throwing a baby shower on a budget doesn’t mean you have to sacrifice quality. These Budget-Friendly Fall Baby Shower Cheesecake Bites are proof that you can make something beautiful with simple ingredients. They’re creamy, spiced, and perfect for the season. I hope you make them for your next gathering. If you do, drop a comment! I love hearing how they turn out in your kitchen. And if you need more budget-friendly dessert ideas, check out my chocolate peanut butter cup cookies or my foolproof lemon bars.
Happy cooking!
FAQs
Can I make these ahead of time?
Yes! In fact, they taste better after sitting in the fridge overnight. The flavors meld together, and the crust sets completely. You can make them up to 3 days in advance.
Why did my cheesecake bites fall apart?
This usually means the crust didn’t have enough butter, or you didn’t press it down firmly enough. Also, if the cream cheese wasn’t fully mixed, the filling can be unstable. Ensure your cream cheese is smooth and your crust is compact.
Can I use frozen apples?
No. Frozen apples release a lot of water when they thaw, which will make the filling watery. Always use fresh, crisp apples. If you must use frozen, thaw them completely and pat them very dry with paper towels, but fresh is best.
What kind of apples work best?
Gala, Fuji, or Honeycrisp. You want an apple that holds its shape and isn’t too tart. Granny Smiths are too sour for this sweet recipe.
Can I substitute the heavy cream?
You can use full-fat Greek yogurt for a tangier, lower-fat version, but it won’t whip up. You’ll need to fold it in gently. The texture will be denser, but still delicious. Avoid low-fat creams; they won’t hold their structure.
Pin This Recipe!
Budget-Friendly Fall Baby Shower Cheesecake Bites
- Total Time: 4 hours 25 minutes
- Yield: 24 servings 1x
Description
These no-bake cheesecake bites are a delicious, portable, and incredibly affordable dessert perfect for fall gatherings. Made with simple ingredients like cream cheese, graham crackers, and spiced apples, each bite costs less than 40 cents.
Ingredients
- 150g (1.5 cups) graham cracker crumbs
- 57g (4 tbsp) unsalted butter, melted
- 50g (0.25 cups) granulated sugar
- 226g (8 oz) full-fat block cream cheese, room temperature
- 120ml (0.5 cups) heavy cream
- 2 tsp cinnamon
- 0.5 tsp nutmeg
- 1 medium apple (Gala or Fuji), diced into 1/4 inch cubes
- 1 tsp lemon juice
Instructions
- Crush graham crackers into fine crumbs. Melt butter and stir into crumbs until the mixture resembles wet sand.
- Lightly spray a mini muffin tin with non-stick spray. Press about 1 tablespoon of the crumb mixture into each cup to form a flat, even base. Refrigerate while making the filling.
- In a large bowl, beat the room-temperature cream cheese, sugar, cinnamon, nutmeg, and lemon juice on medium speed until completely smooth and creamy (2-3 minutes).
- Slowly pour in the heavy cream and whip until soft peaks form. Gently fold in the diced apples using a spatula.
- Divide the filling among the crusts in the mini muffin tin. Smooth the tops.
- Refrigerate for at least 4 hours or overnight until firm.
Notes
Ensure cream cheese is at room temperature to avoid lumps. Do not use frozen apples as they release too much water. These can be made up to 3 days in advance. For transport, freeze for an hour before packing to help them hold their shape.
- Prep Time: 25 minutes
- Cook Time: 0 minutes
- Category: Dessert
- Cuisine: American
Nutrition
- Serving Size: 1 bite
- Calories: 65
- Sugar: 4
- Sodium: 45
- Fat: 4
- Saturated Fat: 2.5
- Carbohydrates: 6
- Fiber: 0.2
- Protein: 1
Keywords: budget dessert, fall recipes, baby shower food, no-bake cheesecake, apple dessert, cheap party food, cream cheese bites, graham cracker crust


