I have a confession to make. I am the person who stares into the open refrigerator at 10:30 PM, hoping the light will reveal a hidden stash of dessert that isn’t just leftover takeout or a half-eaten granola bar. Last Sunday, I was specifically craving something chocolate. Rich, fudgy, warm chocolate. Not a cookie, not a fruit salad, and definitely not that sad slice of cake from the freezer that tastes like cardboard and regret.
I considered ordering delivery. I considered getting dressed and driving to the store. But then I remembered a tiny ceramic mug sitting in my drying rack and thought, why not just try to make one?
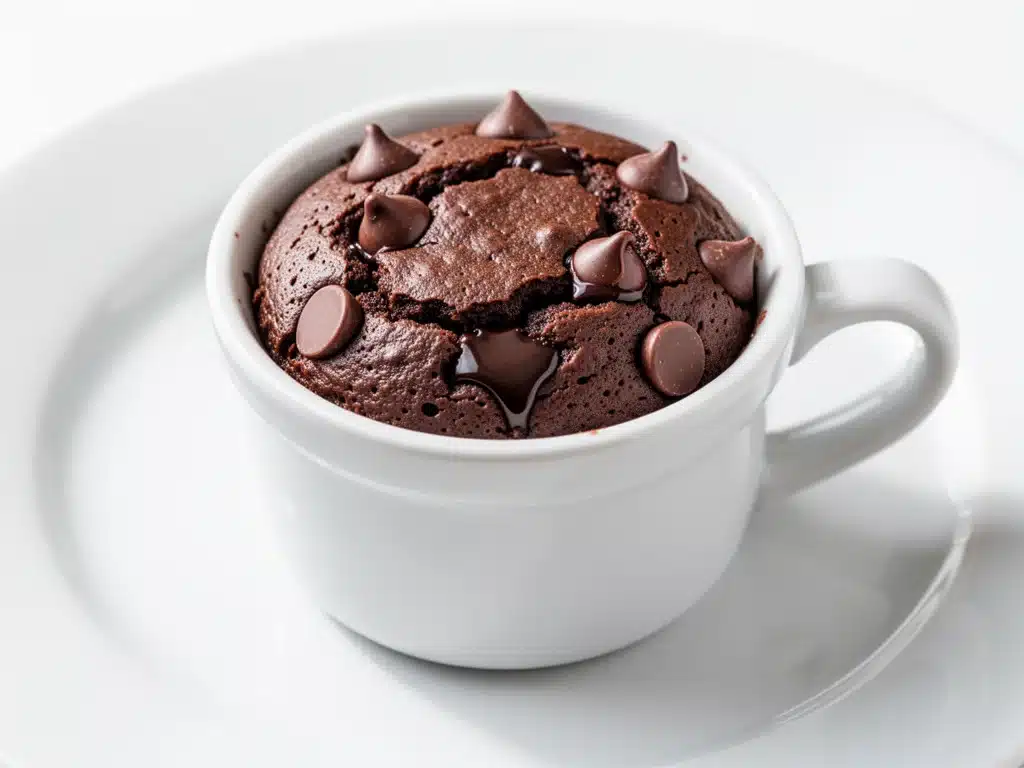
I didn’t expect much. I expected a dry, rubbery disk of chocolate dust. What I got instead was a warm, gooey, intensely chocolatey brownie that tasted like it came from a high-end bakery, not a microwave. It took exactly 60 seconds from start to finish. I ate it standing over the sink, burning my tongue because I couldn’t wait, and immediately knew I had to write this down before I forgot the ratio of flour to cocoa powder.
This mini microwave mug brownie is my secret weapon for late-night cravings, post-dinner indulgences, or when I need to satisfy a sweet tooth without committing to baking an entire pan. It’s perfect for single servings, it’s incredibly easy to make, and honestly? It’s better than most boxed mixes I’ve tried over the years.
Why You’ll Love This Quick Dessert
There are a few reasons I keep coming back to this recipe, but they all boil down to one thing: it just works. No fancy equipment, no preheating the oven, and no washing a dozen bowls afterward.
- Lightning Fast — Seriously, if you can measure ingredients, you can make this. From spoon to satisfaction in under 2 minutes. I’ve made this during commercial breaks on TV shows.
- Zero Cleanup Stress — You only need one mug and one spoon. Maybe a measuring spoon if you’re being precise. The sink stays happy, and so does your brain.
- Guaranteed Fudgy Texture — Most microwave brownies turn out cakey or dry. This one is dense and chewy because of the specific ratio of wet to dry ingredients. I’ve tested it with different mugs and brands, and this ratio is the sweet spot.
- Customizable — Add chips, nuts, or a swirl of peanut butter. It’s your personal dessert canvas. I usually add a few chocolate chips on top for that melty finish.
- Portion Controlled — It’s one mug. You eat it, you’re done. No guilt-ridden second helping because you already baked a whole pan.
This is my go-to when I need something sweet, fast, and satisfying. It’s comfort food in a cup.
Ingredients You’ll Need
Here’s the best part: you probably have everything you need in your pantry right now. This mini microwave mug brownie relies on staples, not obscure ingredients. I’m particular about a few things here, and I’ll tell you why they matter.
For the Base
All-purpose flour (4 tablespoons / 30g) — Standard flour works best for structure. Cake flour makes it too tender; bread flour makes it too chewy. Stick with all-purpose.
Granulated sugar (3 tablespoons / 35g) — I use white sugar for that classic brownie crunch on the edges. Brown sugar works too, but it makes it cakier. If you’re watching sugar, you can reduce to 2 tablespoons, but it’ll be less sweet.
Cocoa powder (2 tablespoons / 10g) — This is the star. Use unsweetened natural cocoa powder, not Dutch-processed. Dutch-processed is more alkaline and can taste bitter in this quick cook method. Hershey’s or Ghirardelli work great.
Baking powder (1/4 teaspoon / 1g) — Just a tiny bit to help it rise slightly. Don’t skip it, or you’ll get a dense brick.
For the Moisture
Butter (2 tablespoons / 28g) — Unsalted is fine, but melt it first. You can use oil (vegetable or canola) if you’re dairy-free, but butter tastes better. Oil makes it slightly greasier, though.
Milk (2 tablespoons / 30ml) — Any kind works. Whole milk gives richness, but skim works in a pinch. Don’t use non-dairy milk if you want that traditional taste, but almond or oat milk is fine if that’s what you have.
Vanilla extract (1/4 teaspoon / 1ml) — Pure vanilla, please. Imitation stuff tastes artificial in a small dessert like this. It adds depth that cocoa alone can’t provide.
For the Magic
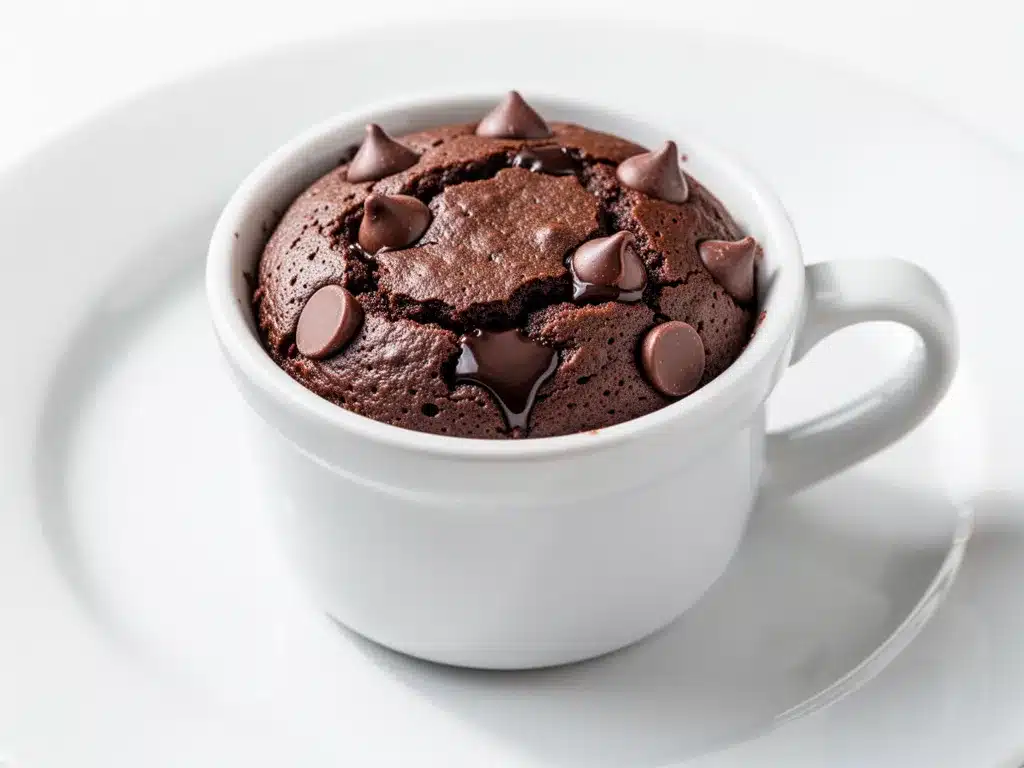
Chocolate chips (1-2 tablespoons / 15-20g) — Semi-sweet or dark chocolate chips. I always add these on top after mixing. They melt into pockets of gooeyness. You can also use chopped chocolate bar pieces.
Salt (a tiny pinch) — Enhances the chocolate flavor. Don’t skip it. It makes the brownie taste more chocolatey, not salty.
Optional Add-ins
- Peanut butter swirl — Add a teaspoon on top before microwaving for a Nutella vibe.
- Walnuts or pecans — For crunch. About 1 tablespoon, chopped.
- Raspberries — Fresh or frozen. They burst and create a berry-chocolate combo.
Equipment Needed
You don’t need fancy gear for this. Here’s what I actually use.
Microwave-safe mug — I use a 12-ounce ceramic mug. It needs to be big enough to hold the batter without overflowing. I’ve used a small 8-ounce mug before, and it bubbled over. Messy. Learn from my mistake.
Small bowl — For mixing the dry ingredients. A ramekin or even a large shot glass works if you’re being lazy, but a bowl is easier to whisk.
Fork or small whisk — To mix everything together. A fork works fine. You don’t need an electric mixer.
Microwave — Standard kitchen microwave. Power levels vary, so you might need to adjust time slightly. My microwave is 1000 watts, so 60 seconds is perfect.
Spoon — For eating. Ideally, a spoon that fits comfortably in your mug.
How to Make It: Step-by-Step
Alright, let’s make this! I’m walking you through exactly how I do it, including the little tricks I’ve picked up.
Step 1: Mix the Dry Ingredients (1 minute)
In your small bowl, whisk together the flour, sugar, cocoa powder, baking powder, and salt. Make sure there are no lumps of cocoa powder. If you’re using a mug directly, you can mix in the mug, but a bowl is easier to clean later. I prefer mixing in the bowl and then transferring to the mug.
Step 2: Add Wet Ingredients (1 minute)
Add the melted butter, milk, and vanilla extract to the dry mixture. Stir with a fork until just combined. It will look thick and paste-like. Don’t overmix; you don’t want to develop gluten. Just stir until the dry flour is gone. The batter should be thick and dark.
Step 3: Add Chocolate Chips (30 seconds)
Stir in the chocolate chips. If you’re doing a peanut butter swirl, dollop it on top now. I usually reserve half the chips to sprinkle on top after mixing, so they melt into nice pools.
Step 4: Microwave (60-90 seconds)
Microwave on high for 60 seconds. Check the center. It should be set but still slightly moist. If it looks dry or cracked on top, microwave for another 15-30 seconds. Do not overcook! It continues to cook as it rests. A gooey center is what you want.
Step 5: Cool and Serve (1-2 minutes)
Let it sit for 1-2 minutes. It’s hot! I know, I know. But if you dig in immediately, you’ll burn your mouth and the center might be liquid. Let it cool slightly so it sets up. Top with a scoop of ice cream, a dollop of whipped cream, or just eat it plain. I usually just eat it plain because it’s that good.
Expert Tips & Tricks
Here’s everything I’ve learned from making this dozens of times. These tips will save you from my mistakes.
- Don’t Overmix — Stir until just combined. Overmixing makes the brownie tough. You want it fudgy, not chewy like bread.
- Watch the Microwave — Microwaves vary. 60 seconds is a starting point. If yours is powerful, it might take 45. If it’s weak, 75. Check at 60 seconds. The center should still look slightly undercooked.
- Use Melted Butter — Solid butter won’t mix well. Melt it in the microwave for 10 seconds. Let it cool slightly so it doesn’t cook the flour instantly.
- Quality Cocoa Matters — Cheap cocoa powder tastes dusty. Use a decent brand. It makes a huge difference in flavor.
- Cooling is Crucial — The brownie sets as it cools. If you eat it hot, it’s soup. Wait 2 minutes. Trust me.
Common Mistakes (and how to avoid them)
Mistake: It’s dry and crumbly.
Fix: You microwaved it too long. Next time, reduce time by 15 seconds.
Mistake: It’s raw in the middle.
Fix: You undercooked it. Add 15 seconds. But remember, it should be slightly gooey.
Mistake: It overflowed the mug.
Fix: Use a bigger mug. 12 ounces is safe. 8 ounces is risky.
Variations & Substitutions
Once you’ve nailed the basic version, here’s how you can mix it up. I’ve tried all of these.
Classic Variations
Double Chocolate — Add 1 tablespoon of mini chocolate chips to the batter. Classic.
Peanut Butter Cup — Swirl 1 teaspoon of peanut butter into the batter. Top with a mini chocolate bar piece.
Mint Chocolate — Add 1/4 teaspoon peppermint extract with the vanilla. Top with crushed candy canes.
Red Velvet — Add 1/2 teaspoon red food coloring and 1/4 teaspoon cocoa powder extra. Use white chocolate chips.
Blondie Style — Skip the cocoa powder. Use brown sugar. Add vanilla chips. It’s a vanilla brownie.
Dietary Modifications
Gluten-Free — Use 1:1 gluten-free flour blend. Works perfectly.
Dairy-Free — Use coconut oil or vegetable oil instead of butter. Use almond or oat milk. Use dairy-free chocolate chips.
Vegan — Same as dairy-free, plus ensure sugar is vegan (some sugar is processed with bone char). Use flax egg if needed, but it’s not necessary for this small batch.
Pro Tricks I’ve Learned
For Extra Fudginess — Add 1 extra tablespoon of cocoa powder. It adds density.
For Cakey Texture — Add 1 extra tablespoon of flour. It makes it more like a brownie cake.
For Best Presentation — Top with a dusting of powdered sugar after cooking. Looks fancy, tastes sweet.
Serving & Storage
How to Serve:
I usually serve this straight from the mug. It’s rustic and cozy. But here are other ways I’ve enjoyed it:
- Top with a scoop of vanilla ice cream for an à la mode vibe.
- Add a dollop of whipped cream and a cherry on top.
- Serve with a glass of cold milk. Classic combo.
- Pair with a hot coffee or tea for a dessert drink experience.
Storage Instructions:
Honestly, this is best eaten immediately. It doesn’t store well because it’s a small portion and the texture changes in the fridge. If you must store it, cover the mug with plastic wrap and refrigerate for up to 2 days. Reheat for 15 seconds before eating. But fresh is best.
Make-Ahead Strategy:
You can mix the dry ingredients in a small jar and store them. When you want a brownie, just add wet ingredients. But I rarely do that because it’s so fast to mix fresh.
Nutrition Information
I’m not a nutritionist, but here’s the breakdown if you’re tracking. This is a treat, so enjoy it mindfully.
Per Serving (1 mug):
| Nutrient | Amount |
|---|---|
| Calories | 280 |
| Protein | 4g |
| Carbs | 38g |
| Fiber | 2g |
| Sugar | 24g |
| Fat | 12g |
| Saturated Fat | 7g |
| Cholesterol | 20mg |
| Sodium | 150mg |
What’s Good:
It’s a single serving, so portion control is built in. It has some protein from the flour and milk.
What to Know:
Higher in sugar from the cocoa and chocolate chips. Contains dairy and gluten. Moderate calories for a dessert.
My Take:
Look, this is a dessert. It’s sugar and chocolate. It’s not a health food. But it’s better than a candy bar, and you control the ingredients. When I want to make it lighter, I reduce sugar to 2 tablespoons and use dark chocolate chips. But usually? I just enjoy it as a special treat.
Final Thoughts
So that’s my mini microwave mug brownie! I’ve probably talked your ear off at this point, but when you make a recipe this often, you have a lot to say about it.
This has saved late-night cravings more times than I can count. It’s my answer to “I need chocolate now” when I don’t want to leave the house. My kids love it, my husband loves it, and I love it because it’s easy and delicious.
Make it yours! Try different add-ins, swap in your favorite chips, adjust the sugar. The best recipes are the ones you adapt to your tastes.
If you make this, drop a comment and let me know what you think! I love hearing how recipes turn out in your kitchen. And if something doesn’t work, tell me that too—I’m here to help troubleshoot.
Happy cooking! And I hope your kitchen smells half as good as mine does right now.
Frequently Asked Questions
Can I use a bowl instead of a mug?
You can, but make sure it’s microwave-safe. A ramekin or small bowl works. The cooking time might be slightly different depending on the depth. A mug is shallow, so it cooks evenly. A deep bowl might need more time. I recommend sticking to a mug for consistent results.
Why did my brownie turn out cakey instead of fudgy?
Too much flour or overmixing. Make sure you’re measuring flour correctly (spoon and level, don’t scoop). Also, don’t stir too much. Just mix until combined. If you want it fudgier, reduce flour by 1/2 tablespoon and add 1/2 tablespoon more cocoa powder.
Can I make this in a different microwave power?
Yes. If your microwave is lower power (700-800 watts), add 15-30 seconds. If it’s higher power (1100+ watts), reduce time by 15 seconds. Always check at 60 seconds. The center should be slightly undercooked.
Can I use almond milk?
Yes, almond milk works fine. It’s thinner than dairy milk, but it works. Just make sure you don’t add too much. Stick to 2 tablespoons.
How do I clean the mug easily?
Soak it in warm soapy water for 10 minutes. The chocolate residue will come off easily. If it’s baked on, use a little baking soda and scrub gently. Don’t use steel wool on ceramic mugs.
Can I double this recipe?
You can, but you’ll need a larger mug or bowl. Double the ingredients and microwave for 90-120 seconds. Check frequently. It’s easier to make two single servings in two mugs for even cooking.
Is this recipe gluten-free?
Not as written. But you can make it gluten-free by using a 1:1 gluten-free flour blend. Everything else is naturally gluten-free (check your chocolate chips and cocoa powder for cross-contamination if you’re sensitive).
Pin This Recipe!
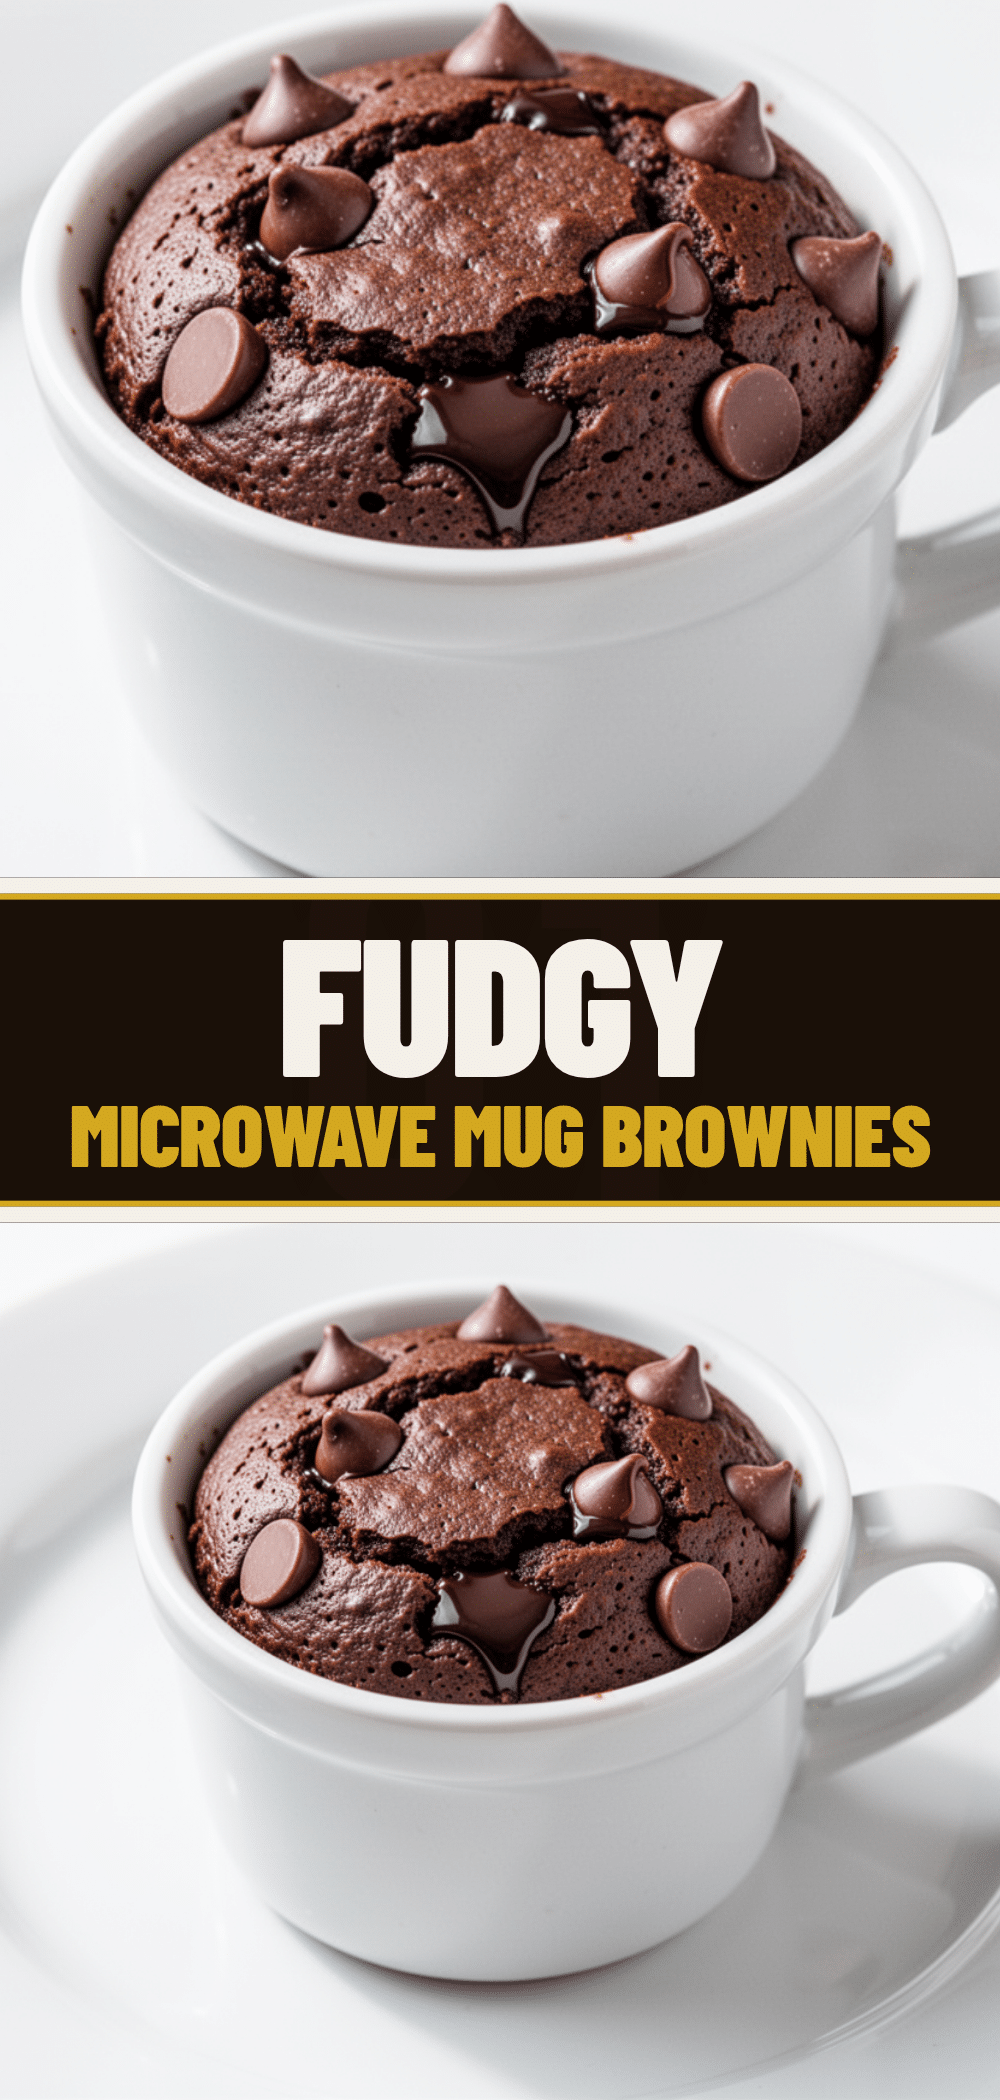
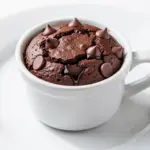
Mini Microwave Mug Brownie: Easy 1-Minute Dessert
- Total Time: 3 minutes
- Yield: 1 serving 1x
Description
A rich, fudgy, and warm chocolate brownie made in a single mug using only pantry staples. This quick dessert is ready in under 2 minutes with zero cleanup stress.
Ingredients
- 4 tablespoons (30g) all-purpose flour
- 3 tablespoons (35g) granulated sugar
- 2 tablespoons (10g) unsweetened natural cocoa powder
- 1/4 teaspoon (1g) baking powder
- 2 tablespoons (28g) butter, melted
- 2 tablespoons (30ml) milk
- 1/4 teaspoon (1ml) vanilla extract
- 1–2 tablespoons (15-20g) semi-sweet or dark chocolate chips
- a tiny pinch of salt
Instructions
- In a small bowl, whisk together the flour, sugar, cocoa powder, baking powder, and salt until no lumps remain.
- Add the melted butter, milk, and vanilla extract to the dry mixture. Stir with a fork until just combined; the batter should be thick and dark. Do not overmix.
- Stir in the chocolate chips, reserving some to sprinkle on top if desired.
- Transfer the batter to a 12-ounce microwave-safe mug.
- Microwave on high for 60 seconds. Check the center; it should be set but still slightly moist. If needed, microwave for another 15-30 seconds, but do not overcook.
- Let the brownie sit in the mug for 1-2 minutes to cool and set. Serve plain or with toppings like ice cream or whipped cream.
Notes
Microwave power levels vary. Start with 60 seconds and check frequently. The brownie continues to cook as it rests, so a slightly gooey center is desired. Use melted butter for best texture. For gluten-free, use a 1:1 gluten-free flour blend. For dairy-free, use oil and non-dairy milk.
- Prep Time: 2 minutes
- Cook Time: 1 minute
- Category: Dessert
- Cuisine: American
Nutrition
- Serving Size: 1 mug
- Calories: 280
- Sugar: 24
- Sodium: 150
- Fat: 12
- Saturated Fat: 7
- Carbohydrates: 38
- Fiber: 2
- Protein: 4
Keywords: microwave brownie, mug cake, quick dessert, single serving, chocolate, fudgy brownie, easy recipe, 1 minute dessert