Last Christmas morning, I woke up to the sound of my nephew crying in the living room. Not a happy cry. A hungry, hangry cry. The tree was up, the coffee was brewing, and somehow, I had managed to oversleep through the entire morning rush. I stumbled into the kitchen, hair a mess, wearing pajamas that I definitely shouldn’t be seen in by company, and found the table completely empty except for a plate of dry toast and a sad bowl of cereal.
My sister-in-law looked at me with that specific “I told you so” expression she saves for family emergencies. We had planned to make a big breakfast, but life happened. The oven was cold. The bacon was raw. We were out of time.
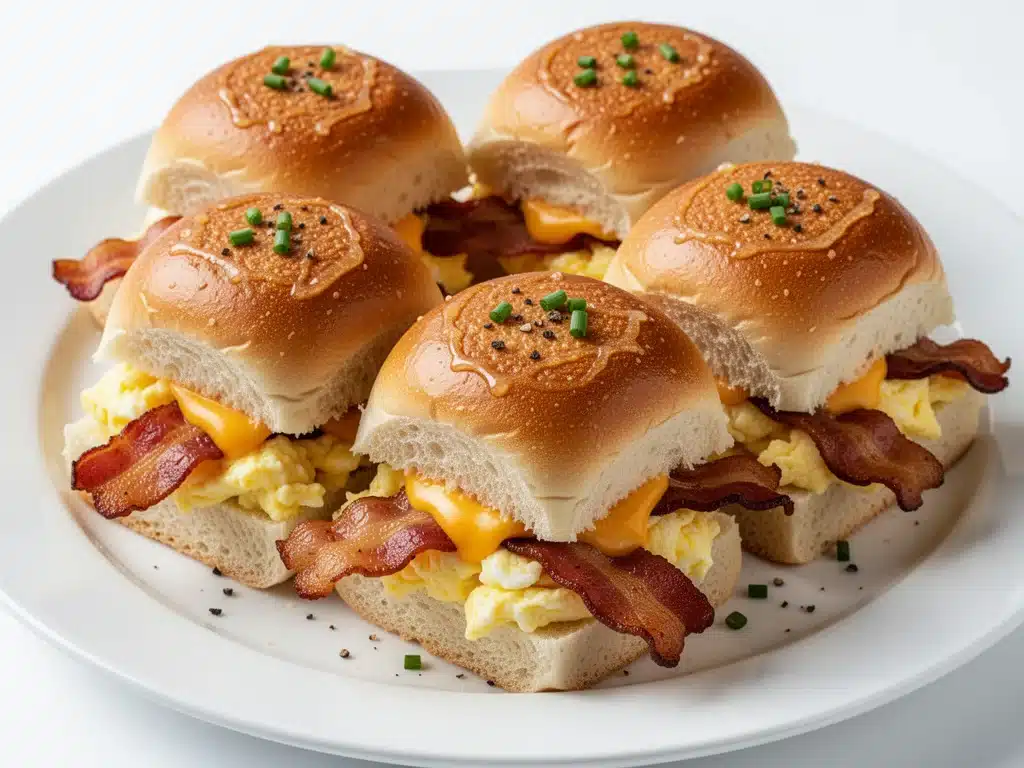
So I did what any sleep-deprived, slightly panicked home cook does. I ran to the grocery store, grabbed the first thing I saw, and threw it together in twenty minutes. Those were the Bacon Egg Breakfast Sliders with Hawaiian Rolls. They became the highlight of that holiday breakfast. The kids devoured them. My husband actually smiled. And for the rest of the trip, those little sliders were the only thing anyone talked about.
I’ve made them at least a dozen times since then—Thanksgiving, Christmas, Easter, and random Sunday brunches when I just don’t want to deal with a complicated meal. They are the ultimate crowd-pleaser. They look fancy (they’re golden, buttery, and oozing cheese), they’re incredibly easy to assemble, and they feed a room without requiring you to stand over a stove for an hour. If you’re looking for a breakfast dish that will save your holiday hosting game, this is it.
Why You’ll Love These Breakfast Sliders
There’s a reason this recipe has become my go-to for any gathering where people eat before noon. Here’s the honest truth about why these sliders work so well:
They’re Forgiving — Seriously, you can’t mess this up. If you burn the bacon slightly? Chop it up, no one cares. If the eggs are a little runny? That’s just extra sauce. I’ve made these when I was half-asleep and they still turned out delicious.
They Feed a Crowd Cheaply — Hawaiian rolls are inexpensive. Eggs are affordable. Bacon can be pricey, but you only need a few strips to flavor the whole batch. You can feed 12-15 people for under $20. That’s less than the cost of a single brunch entrée at a hotel restaurant.
They’re Portable — No forks needed. No plates required. Your guests can stand around the tree, chat, and eat without making a mess. This is huge for holiday mornings when the kitchen counter is cluttered with wrapping paper and coffee pots.
They’re Customizable — Hate bacon? Use sausage. Don’t like cheddar? Use Swiss or pepper jack. Want it spicy? Add jalapeños. These sliders are a blank canvas for whatever your family loves.
They Reheat Well — This is the secret weapon. You can assemble them the night before, pop them in the fridge, and bake them fresh in the morning. Or, if you have leftovers (unlikely, but possible), they reheat beautifully in the oven. They don’t get soggy like some casseroles do.
I’ve served these to my vegetarian sister (who was skeptical until she tasted the buttery roll and melted cheese), my gluten-free neighbor (using gluten-free rolls), and my dad who usually complains about everything. Everyone leaves satisfied. That’s the kind of recipe you want in your rotation.
Ingredients You’ll Need
Here’s the best part: you probably have most of this already. It’s a pantry-friendly recipe with just a few key components. I’m particular about three ingredients here, and I’ll tell you exactly why.
For the Base
Hawaiian Rolls (1 pack, 12-16 rolls) — This is non-negotiable. Do not substitute with dinner rolls or brioche. Hawaiian rolls are sweet, soft, and hold together in a tight cluster. Look for the ones in the bakery aisle, usually in a rectangular package. If you can’t find them, brioche buns cut in half work, but the texture will be different. I always buy the 12-pack for smaller gatherings and the 16-pack for big holidays.
Butter (½ cup / 113g, melted) — Unsalted butter is best so you can control the salt. You’ll mix this with brown sugar and seasonings. Don’t skimp on the butter—it’s what makes the tops golden and crispy. If you’re out of butter, you can use olive oil, but you’ll lose that rich, bakery-style flavor.
Brown Sugar (2 tablespoons) — This adds a subtle sweetness that balances the salty bacon and savory eggs. It also helps the butter glaze caramelize slightly in the oven. If you’re watching sugar, you can skip it, but I recommend keeping it for that classic slider taste.
Dry Mustard (1 teaspoon) — This is the secret ingredient. It adds a tangy kick that cuts through the richness of the cheese and eggs. You don’t taste the mustard directly; it just adds depth. If you don’t have dry mustard, use regular yellow mustard (but reduce the amount to ½ teaspoon because it’s wet).
Garlic Powder (½ teaspoon) — Adds a savory background note. Fresh garlic doesn’t work here because it might burn. Powder is consistent and safe.
Salt and Pepper (to taste) — A pinch of each in the butter mix. Remember, the bacon and cheese are already salty, so don’t go crazy.
For the Filling
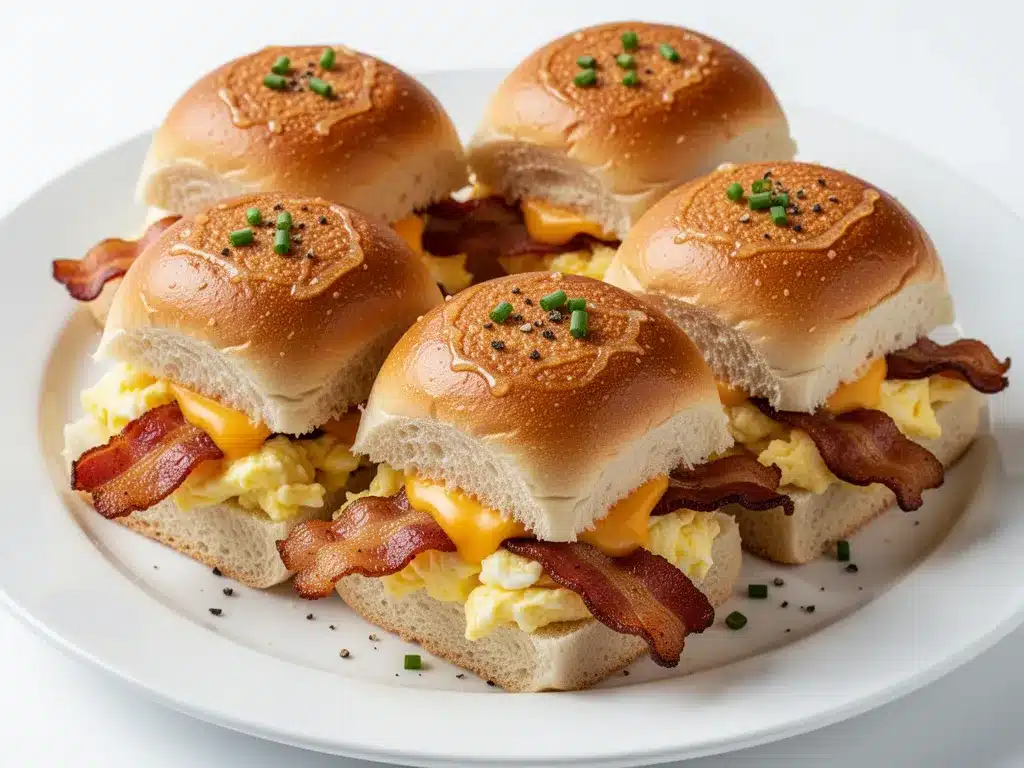
Cooked Bacon (8-10 strips) — I use thick-cut bacon because it holds up better. Thin bacon gets too crispy and crumbly, making it hard to handle. Cook it until it’s just starting to crisp but still has some chew. Crumble it into small pieces. If you’re short on time, you can buy pre-cooked bacon, but fresh tastes better.
Eggs (6 large) — I scramble these lightly. You want them soft and creamy, not dry and rubbery. Cook them just until they’re almost set, then remove from heat—they’ll continue cooking in the warm sliders. Season with a pinch of salt and pepper before scrambling.
Shredded Cheddar Cheese (1 ½ cups / 170g) — Sharp cheddar is my preference because it has a stronger flavor that stands up to the sweet rolls. Colby Jack is a good alternative if you want milder flavor. Avoid pre-shredded cheese if possible—it has anti-caking agents that prevent it from melting smoothly. Buy a block and shred it yourself; it takes two minutes and makes a huge difference.
Optional Add-ins
Diced Ham (½ cup) — If you want more meat, add diced ham along with the bacon. It’s a classic combo.
Sautéed Onions and Peppers (½ cup) — For a breakfast burrito vibe, add sautéed bell peppers and onions. It adds color and texture.
Jalapeños (2 tablespoons, sliced) — For heat. Fresh or pickled both work. I like pickled for a tangy kick.
Fresh Chives (2 tablespoons, chopped) — For garnish. Adds a fresh, oniony note at the end.
Equipment Needed
You don’t need fancy equipment for this. Here’s what I actually use.
9×13 Inch Baking Dish — This is crucial. The Hawaiian rolls come in a rectangular shape that fits perfectly in a 9×13 dish. If you don’t have one, a large roasting pan works. Avoid round pans—they won’t hold the rolls in a tight cluster.
Skillet — For cooking the bacon and scrambling the eggs. I use a 10-inch non-stick skillet. It’s easy to clean and heats evenly.
Mixing Bowl — For the butter glaze. Any size works.
Fork — For whisking the butter mixture. Or a small whisk if you have one.
Pastry Brush — Optional but nice. Makes applying the glaze easier. Or just use a spoon.
Aluminum Foil — To cover the sliders while they bake. This prevents the tops from burning before the inside is heated through.
Sharp Knife — For slicing the bacon and ham. A dull knife will crush the rolls.
Grater — For the cheese. Box grater works fine. Or food processor if you’re in a hurry.
Cutting Board — Any size. I use plastic for easier cleanup.
Measuring Cups and Spoons — Standard stuff. Dollar store versions work fine.
How to Make It: Step-by-Step
Alright, let’s make this! I’m walking you through exactly how I do it, including the little tricks I’ve picked up over the years.
Step 1: Prep the Rolls (2 minutes)
Keep the Hawaiian rolls in their package. You’ll cut them in half horizontally to create a top layer and a bottom layer. This is the easiest way to get even slices. Use a sharp serrated knife and slice through the entire pack in one smooth motion. Don’t press too hard—you just want to cut through the soft dough. Separate the layers carefully so they stay intact.
Step 2: Cook the Filling (10 minutes)
While you’re cutting the rolls, cook the bacon in a skillet over medium heat. Cook until it’s crispy but not burnt. Remove from heat and crumble into small pieces. Set aside on a paper towel to drain excess grease.
In the same skillet (don’t wash it—the bacon flavor is good!), scramble the eggs. Melt a small pat of butter if needed. Pour in the beaten eggs and stir gently with a spatula. Cook until they’re just barely set—they should still look slightly wet. Remove from heat immediately. Overcooked eggs will make the sliders dry. Season with salt and pepper.
Step 3: Assemble the Sliders (5 minutes)
Place the bottom layer of rolls in the 9×13 baking dish. They should fit snugly. If there’s a gap in the middle, you can squeeze them together. Sprinkle the shredded cheese evenly over the bottom layer. Then, distribute the crumbled bacon and scrambled eggs over the cheese. If you’re adding ham or veggies, add them now. Top with the top layer of rolls, pressing down gently to secure everything.
Step 4: Make the Glaze (2 minutes)
In a small mixing bowl, combine the melted butter, brown sugar, dry mustard, garlic powder, salt, and pepper. Whisk until smooth. The mixture will look grainy at first—that’s the brown sugar. Keep whisking until it’s mostly combined.
Step 5: Glaze and Bake (25 minutes)
Brush the butter mixture generously over the top of the rolls. Make sure to get into the cracks between the rolls—that’s where the flavor lives. Cover the dish tightly with aluminum foil.
Bake in a preheated 350°F (175°C) oven for 15 minutes. Then, remove the foil and bake for another 10 minutes, or until the tops are golden brown and the cheese is melted and bubbly. If the tops are browning too fast, tent with foil again.
Step 6: Rest and Serve (5 minutes)
Remove from the oven and let the sliders rest for 5 minutes. This allows the cheese to set slightly and makes them easier to pull apart. Sprinkle with fresh chives if using. Cut between the rolls to separate them into individual sliders. Serve warm.
Total Time: About 30 minutes (10 minutes prep, 20 minutes cooking)
Expert Tips & Tricks
Here’s everything I’ve learned from making these dozens of times. These tips will save you from my mistakes.
Don’t Overcook the Eggs
This is the #1 mistake. If the eggs are dry, the sliders will be dry. Scramble them until they’re just barely set—they’ll continue cooking from the residual heat. I learned this the hard way with a batch of rubbery eggs that ruined an otherwise perfect slider. Now I take them off the heat when they’re still a little wet.
Use Fresh Bacon
Pre-cooked bacon from the package is convenient, but it lacks flavor and texture. Fresh bacon has a smokiness that pre-cooked just doesn’t have. If you’re short on time, buy thick-cut bacon and cook it quickly. It’s worth the extra 5 minutes.
Shred Your Own Cheese
Pre-shredded cheese has cellulose to prevent clumping, which means it doesn’t melt as smoothly. Block cheese melts into a gooey, creamy layer that binds the slider together. It takes 2 minutes to shred, and it makes a huge difference in texture.
Let Them Rest
I know it’s hard to wait, but letting the sliders rest for 5 minutes after baking helps the cheese set. If you pull them apart immediately, the cheese will slide out. Resting makes them easier to handle and more impressive.
Make Ahead Strategy
You can assemble the sliders the night before, cover with foil, and refrigerate overnight. In the morning, just bake as directed, adding 5-10 minutes to the cooking time since they’re starting cold. This is perfect for holiday mornings when you want to sleep in.
Pro Trick for Extra Flavor
Add a teaspoon of Worcestershire sauce to the butter glaze. It adds a savory umami depth that pairs perfectly with the bacon. I started doing this accidentally and now I always add it.
Variations & Substitutions
Once you’ve nailed the basic version, here’s how you can mix it up. I’ve tried all of these.
Sausage and Egg Version
Swap the bacon for breakfast sausage. Crumble the sausage and cook it until browned. It’s heartier and more traditional. My husband prefers this version for Christmas morning.
Ham and Cheese Classic
Use diced ham instead of bacon. Add Swiss cheese for a more sophisticated flavor. This is a great option if you want a milder taste.
Veggie Loaded
Add sautéed spinach, mushrooms, and bell peppers. It’s lighter and adds color. I make this when I want to feel a bit healthier, though let’s be honest, it’s still sliders with butter and cheese.
Spicy Kick
Add diced jalapeños and use pepper jack cheese. It’s perfect for people who like heat. I serve these with a side of hot sauce for extra kick.
Gluten-Free
Use gluten-free Hawaiian-style rolls. They’re widely available now and work well. I’ve used brands like Schär and Udi’s, and they hold up nicely. Just be careful not to overbake them, as gluten-free bread can dry out faster.
Dairy-Free
Use dairy-free butter and dairy-free cheese. It’s not the same, but it’s doable. My lactose-intolerant friend requests this version occasionally. It’s still tasty, just less rich.
Vegan
Use tofu scramble instead of eggs, vegan bacon, and vegan cheese. There are good vegan cheeses that melt well, like Daiya or Violife. It’s a completely different dish, but it works if you’re vegan.
Serving & Storage
How to Serve:
I usually serve these straight from the baking dish at the breakfast table. They look rustic and stay warm. But here are other ways I’ve enjoyed them:
Side Dishes:
– Fresh fruit salad (balances the richness)
– Coffee or orange juice (classic breakfast drinks)
– Hash browns (if you want a heavier meal)
Toppings Bar:
When I have guests, I put out: hot sauce, fresh chives, extra bacon bits, and sliced avocado. Everyone customizes their slider.
Storage Instructions:
Refrigerator:
Store leftovers in an airtight container for up to 3 days. The rolls will soften, but they’re still good.
Reheating:
Best method: Oven at 350°F for 10-15 minutes. This keeps the tops crispy. Microwave works but makes the rolls soggy. If you must microwave, do it in short bursts and let it rest.
Freezing:
Yes, you can freeze these! Assemble the sliders but don’t bake them. Wrap tightly in plastic wrap and foil. Freeze for up to 1 month. To cook, thaw overnight in the fridge, then bake as directed, adding 10 minutes to the cooking time. Or bake from frozen, adding 15-20 minutes.
Pro Tip:
If the sliders look dry after reheating, brush them with a little melted butter before warming. It brings back that fresh-baked flavor.
Nutrition Information
I’m not a nutritionist, but here’s the breakdown if you’re tracking.
Per Slider (based on 12 sliders):
– Calories: 280
– Protein: 12g
– Carbs: 22g
– Fiber: 1g
– Sugar: 6g
– Fat: 16g
– Saturated Fat: 7g
– Cholesterol: 85mg
– Sodium: 450mg
What’s Good:
– Decent protein from eggs and bacon
– Calcium from cheese
– Can add vegetables to boost nutrition
What to Know:
– Higher in calories from butter and cheese
– Contains dairy, gluten, and eggs
– Moderate sodium (use low-sodium bacon to reduce)
My Take:
Look, this is comfort food with butter and cheese. It’s not a diet recipe. But it’s way better than takeout, costs less, and I know exactly what’s in it. When I want to make it lighter, I use less butter and add more veggies. But usually? I just eat a reasonable portion and enjoy it.
Final Thoughts
So that’s my go-to Bacon Egg Breakfast Sliders with Hawaiian Rolls! I’ve probably talked your ear off at this point, but when you make a recipe this often, you have a lot to say about it.
This has saved holiday mornings more times than I can count. It’s my answer to “what’s for breakfast” when I’m tired, don’t want to cook a huge meal, and still want something that tastes really good. My kids are happy, my husband’s happy, and I’m happy because I’m not stressed about cooking.
Make it yours! Try different add-ins, swap in your favorite vegetables, adjust the spice level. The best recipes are the ones you adapt to your family’s tastes.
If you make this, drop a comment and let me know what you think! I love hearing how recipes turn out in your kitchen. And if something doesn’t work, tell me that too—I’m here to help troubleshoot.
Happy cooking! And I hope your kitchen smells half as good as mine does right now.
Frequently Asked Questions
Can I use dinner rolls instead of Hawaiian rolls?
You can, but the texture and flavor will be different. Hawaiian rolls are sweet and soft, which balances the salty bacon and savory eggs. Dinner rolls are more neutral and less sweet. If you use dinner rolls, you might want to add a little sugar to the butter glaze. But Hawaiian rolls are the traditional choice for a reason—they just work better.
Can I make these ahead of time?
Yes! Assemble the sliders the night before, cover with foil, and refrigerate overnight. In the morning, bake as directed, adding 5-10 minutes to the cooking time. This is perfect for holiday mornings when you want to sleep in. Just make sure the rolls don’t get too soggy from the cheese melting overnight. If you’re worried, add the cheese in the morning.
Why did my sliders turn out dry?
This usually happens if the eggs are overcooked or the rolls are baked too long. Make sure to scramble the eggs until they’re just barely set. Also, check the sliders after 20 minutes of baking—they should be golden, not dark brown. If they’re browning too fast, cover with foil.
Can I freeze the baked sliders?
Yes, but they’re best fresh. If you freeze baked sliders, let them thaw in the fridge overnight and reheat in the oven at 350°F for 10-15 minutes. The texture won’t be quite as good as fresh, but they’re still tasty. For best results, freeze unbaked sliders and bake them fresh.
How do I store leftovers?
Store in an airtight container in the refrigerator for up to 3 days. Reheat in the oven at 350°F for 10-15 minutes to keep the tops crispy. Avoid microwaving, as it makes the rolls soggy.
Can I use pre-cooked bacon?
You can, but fresh bacon tastes better. Pre-cooked bacon lacks the smoky flavor and has a different texture. If you’re short on time, it’s acceptable, but I recommend fresh bacon for the best results.
What cheese works best?
Sharp cheddar is my preference because it has a strong flavor that stands up to the sweet rolls. Colby Jack is a good alternative for milder flavor. Avoid pre-shredded cheese—it doesn’t melt as smoothly. Block cheese is always better.
Pin This Recipe!
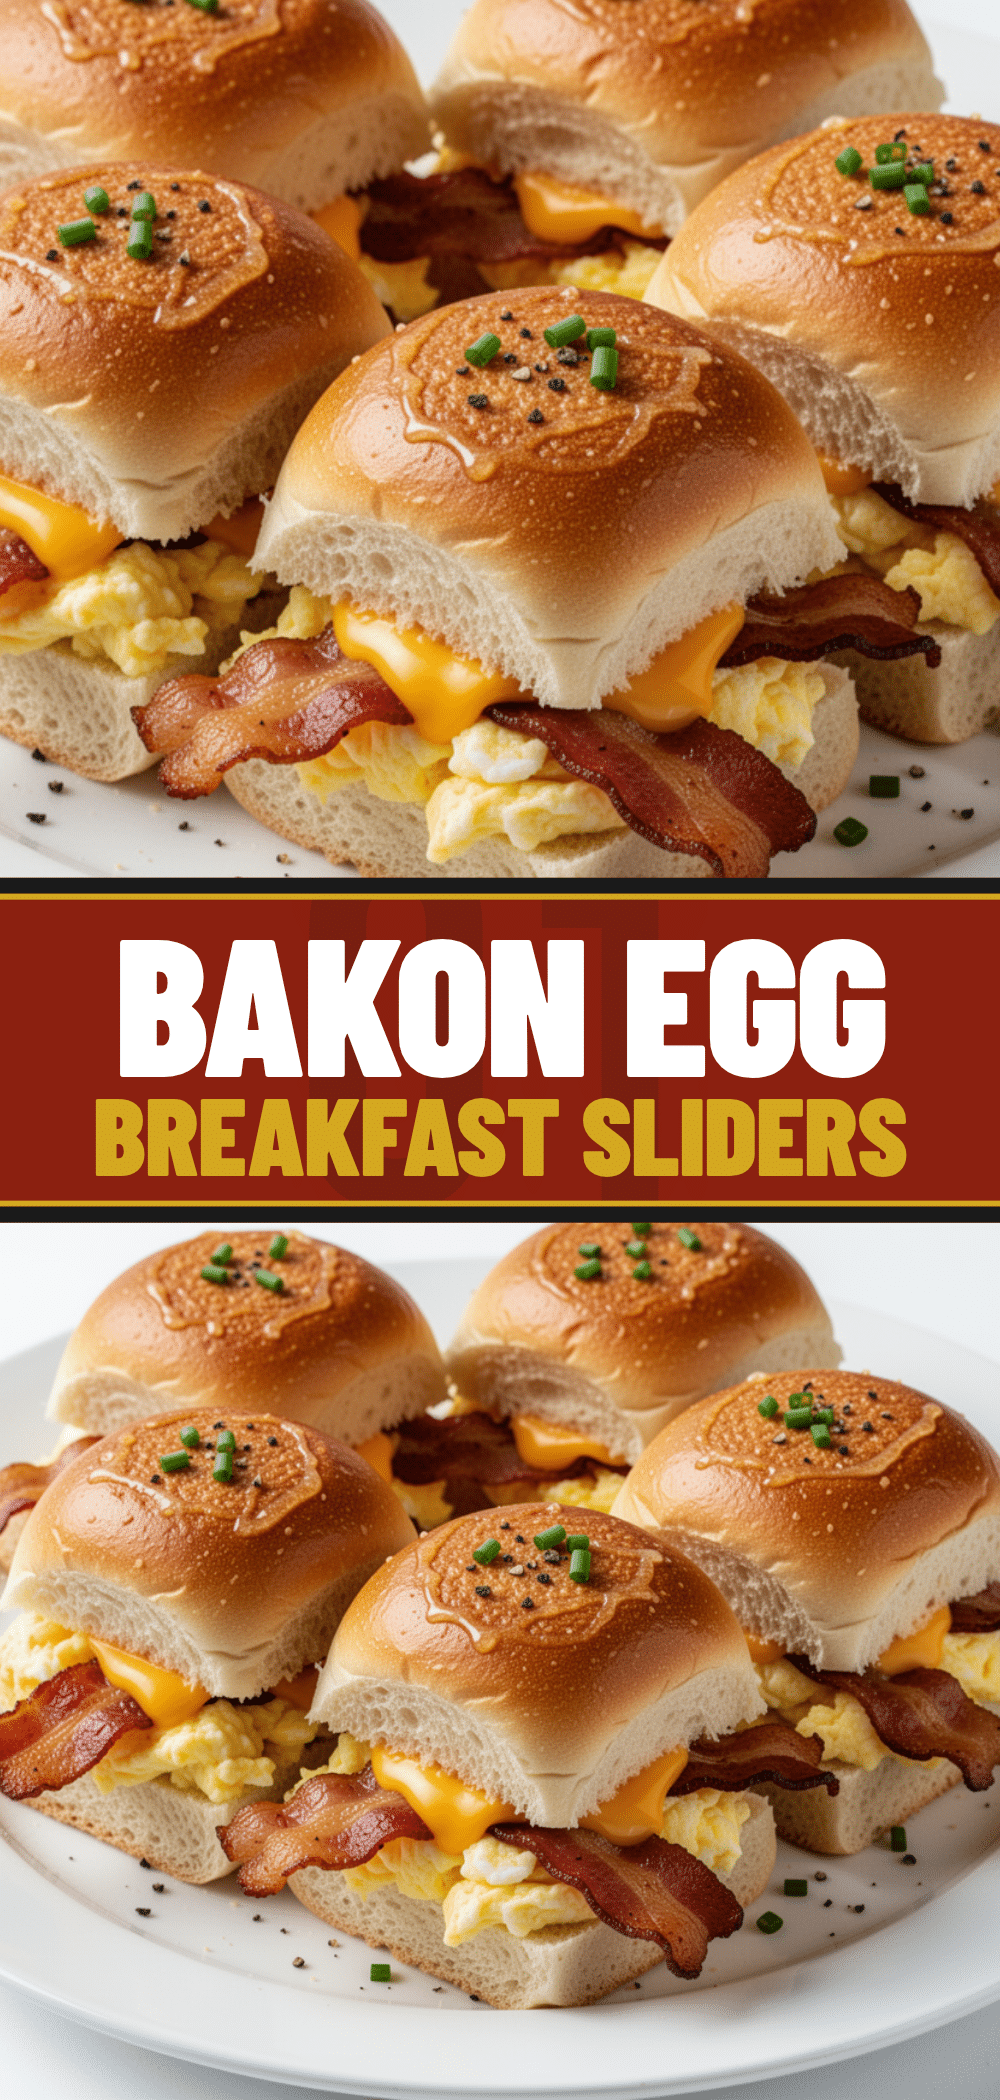

Bacon Egg Breakfast Sliders with Hawaiian Rolls
- Total Time: 30 minutes
- Yield: 12 servings 1x
Description
These 3-ingredient holiday breakfast sliders are the ultimate crowd-pleaser, featuring sweet Hawaiian rolls, savory bacon, and creamy scrambled eggs, all topped with a buttery brown sugar glaze.
Ingredients
- 1 pack (12-16 rolls) Hawaiian Rolls
- ½ cup (113g) Unsalted Butter, melted
- 2 tablespoons Brown Sugar
- 1 teaspoon Dry Mustard
- ½ teaspoon Garlic Powder
- Salt and Pepper to taste
- 8–10 strips Thick-cut Bacon
- 6 large Eggs
- 1 ½ cups (170g) Shredded Sharp Cheddar Cheese
- Optional: ½ cup Diced Ham, ½ cup Sautéed Onions and Peppers, 2 tablespoons Sliced Jalapeños, 2 tablespoons Chopped Fresh Chives
Instructions
- Preheat oven to 350°F (175°C).
- Keep Hawaiian rolls in their package and slice horizontally through the entire pack to create a top and bottom layer. Separate layers carefully.
- Cook bacon in a skillet over medium heat until crispy but not burnt. Crumble into small pieces and drain on paper towels.
- In the same skillet, scramble eggs with a little butter until just barely set (still slightly wet). Remove from heat immediately and season with salt and pepper.
- Place the bottom layer of rolls in a 9×13 inch baking dish. Sprinkle shredded cheese evenly over the rolls.
- Distribute crumbled bacon and scrambled eggs over the cheese. Add any optional fillings like ham or veggies.
- Top with the upper layer of rolls, pressing down gently.
- In a mixing bowl, whisk together melted butter, brown sugar, dry mustard, garlic powder, salt, and pepper until smooth.
- Brush the butter mixture generously over the top of the rolls, ensuring it gets into the cracks.
- Cover the dish tightly with aluminum foil and bake for 15 minutes.
- Remove foil and bake for another 10 minutes, or until tops are golden brown and cheese is bubbly.
- Let sliders rest for 5 minutes before cutting between the rolls to separate. Serve warm.
Notes
Do not overcook the eggs; they should be slightly wet when removed from heat as they will continue cooking in the warm sliders. For best results, shred your own cheese rather than using pre-shredded varieties. You can assemble these the night before and refrigerate, adding 5-10 minutes to baking time if starting cold.
- Prep Time: 10 minutes
- Cook Time: 20 minutes
- Category: Breakfast
- Cuisine: American
Nutrition
- Serving Size: 1 slider
- Calories: 280
- Sugar: 6
- Sodium: 450
- Fat: 16
- Saturated Fat: 7
- Carbohydrates: 22
- Fiber: 1
- Protein: 12
Keywords: breakfast sliders, hawaiian rolls, bacon and eggs, holiday breakfast, easy brunch, crowd-pleaser, make-ahead breakfast