There is a specific kind of panic that sets in when you realize it’s Labor Day, the sun is beating down on your patio, and you have thirty guests coming over in two hours. You’ve got the burgers on the grill, the potato salad is chilling, but your dessert game? It’s weak. For years, I tried to be the hero who pulled out a complex, multi-layered chocolate torte. Spoiler alert: I was never the hero. I was the person sweating over the oven while everyone else was already drinking their third beer.
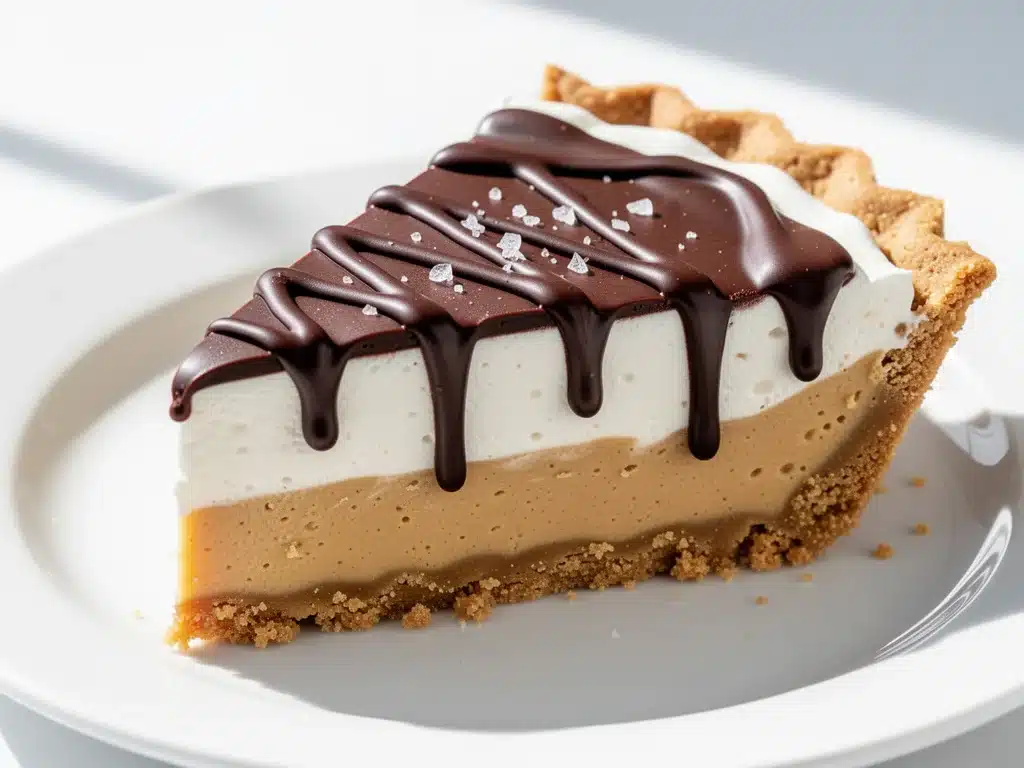
Then, a few years ago, I discovered the no-bake peanut butter icebox pie. And honestly? It changed my holiday game forever. I made it once, thinking it was just a quick fix, and my husband looked at me like I’d performed magic. It’s creamy, it’s rich, it has that perfect crunch from the graham crackers, and the chocolate drizzle on top makes it feel like something you’d order at a fancy dessert counter. But here’s the best part: I didn’t touch my oven. I didn’t burn my hands on a crust. I just mixed, layered, and let it chill.
This Labor Day No-Bake Peanut Butter Icebox Pie with Chocolate Drizzle has become my secret weapon. It’s easy, it’s a five-ingredient dessert that tastes like you spent all day in the kitchen (even though you didn’t), and it’s the kind of treat that disappears before you can even grab a second slice. If you’re tired of complicated recipes that require a stand mixer and a degree in pastry arts, you need this in your rotation. It’s the ultimate crowd-pleaser for summer cookouts.
Why You’ll Love This Recipe
I’ve made this pie for three Labor Days now, and every single time, people ask for the recipe. Here’s why it’s become my go-to summer dessert:
Zero Oven Required — Seriously. Your kitchen stays cool, your energy stays high, and you don’t have to worry about burning anything. I can make this while helping my kids with their homework or chatting with neighbors on the porch.
Only Five Ingredients — You probably have most of these in your pantry right now. Peanut butter, cream cheese, powdered sugar, heavy cream, and graham crackers. That’s it. No weird specialty items you’ll buy once and never use again.
Make-Ahead Magic — This is the biggest win. You assemble it the night before (or even the morning of), and it sets in the fridge. So when your guests arrive, it’s already done. You’re not frantically baking while people are watching TV.
Crunchy and Creamy — The texture is everything. You get the soft, whipped cream filling sandwiched between layers of crunchy, buttery graham crackers. It’s like a fancy version of a s’more, but cooler and more elegant.
Chocolate Drizzle Finish — A simple drizzle of melted chocolate and peanut butter on top makes it look professional. It’s the difference between “homemade” and “bakery-quality.”
This pie is my answer to “what should I bring to the potluck?” or “what’s for dessert?” when I’m tired. It’s reliable, delicious, and always makes people happy.
Ingredients You’ll Need
This list is short, sweet, and pantry-friendly. I’m not asking you to go to three different stores for this one.
For the Filling
Cream Cheese (8 ounces / 225g, softened) — This is the base. Make sure it’s softened to room temperature so it whips smoothly. If it’s cold, you’ll get lumps. I take it out of the fridge about 30 minutes before I start. Full-fat is best here; low-fat doesn’t whip up as fluffy.
Peanut Butter (1 cup / 250g) — I use creamy, smooth peanut butter. Not the natural kind that separates, unless you don’t mind grinding the oil in. Jif or Skippy work great. If you want a nuttier flavor, you can swap half for chunky, but smooth is easier to spread.
Heavy Cream (2 cups / 480ml, cold) — This is what makes it light and airy. Do not use half-and-half or milk; it won’t whip. The colder the cream, the better it whips. I keep a carton in the freezer for emergencies.
Powdered Sugar (1 cup / 120g) — Also called confectioners’ sugar. It dissolves instantly in the cream cheese mixture, so you don’t get that gritty sugar sensation. Granulated sugar won’t work here.
Vanilla Extract (1 teaspoon) — Just a little to round out the flavors. Pure vanilla is best, but imitation works if that’s all you have.
For the Crust and Layers
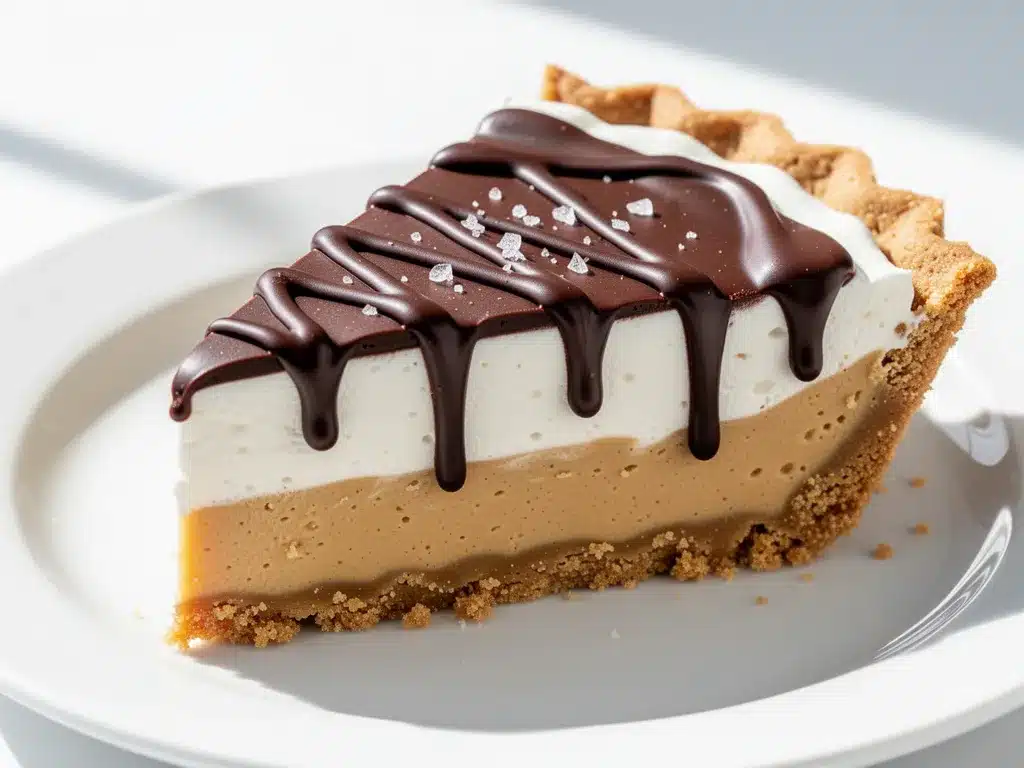
Graham Crackers (1 box / about 20-24 squares) — The standard honey graham crackers are perfect. You’ll use them whole to line the pan and break them into pieces for the layers. Don’t use chocolate graham crackers; they’re too sweet for this.
For the Chocolate Drizzle
Chocolate Chips (½ cup / 85g) — Semi-sweet or milk chocolate chips melt smoothly. I like semi-sweet because it balances the sweetness of the peanut butter.
Peanut Butter (1 tablespoon) — Mixing a little peanut butter into the chocolate chips makes the drizzle smoother and adds more peanut flavor. It’s a small detail, but it matters.
Optional Toppings — Crushed peanuts, mini chocolate chips, or a sprinkle of sea salt. I love a little sea salt on top because it makes the peanut butter taste even more intense.
Equipment Needed
You don’t need fancy gear for this. Here’s what I actually use:
9×13 Inch Baking Dish — A glass or ceramic dish works best because you can see the layers. I use a Pyrex dish because it’s easy to clean. You can also use a springform pan if you want to unmold it, but it’s not necessary.
Mixer — A hand mixer or stand mixer is ideal for whipping the cream and cream cheese. I’ve done it by hand with a whisk before, but it takes arm muscles. Use a mixer if you have one.
Spatula — A rubber spatula is good for folding in the whipped cream and scraping the bowl. You want to be gentle so you don’t deflate the cream.
Small Saucepan or Microwave-Safe Bowl — For melting the chocolate chips. I prefer the microwave in 30-second intervals because it’s faster and easier to control.
Knife — For cutting the graham crackers and slicing the pie. A sharp knife gives clean cuts.
How to Make It: Step-by-Step
Alright, let’s make this! It’s super simple, but there are a few tricks to get it right.
Step 1: Prep Your Pan and Crackers
Lightly grease your 9×13 inch dish with butter or cooking spray. Take your box of graham crackers and separate the squares. You’ll need about 8-10 squares whole for the bottom layer. Break the rest into small, irregular pieces. Keep them in separate bowls.
Step 2: Make the Filling
In a large bowl, beat the softened cream cheese and powdered sugar until smooth. Add the peanut butter and vanilla. Beat on medium speed until everything is combined and creamy. This should take about 2 minutes.
In a separate cold bowl, whip the heavy cream until stiff peaks form. This means when you lift the beaters, the cream stands up straight. Don’t over-whip it into butter, just stiff peaks.
Step 3: Fold It Together
Gently fold the whipped cream into the cream cheese mixture. Use your spatula and fold slowly, like you’re folding a blanket. You want to keep as much air in the cream as possible. This makes the pie light and fluffy.
Step 4: Layer the Pie
Start with a layer of whole graham crackers at the bottom. You might need to break a few to fit. Spread half of the filling over the crackers. Sprinkle a layer of broken cracker pieces over the filling. Repeat with another layer of whole crackers, the rest of the filling, and a final layer of broken crackers on top. Press down gently to flatten it.
Step 5: Chill
Cover the dish with plastic wrap and refrigerate for at least 4 hours, or overnight. This is crucial. The crackers need to soften and absorb the moisture from the filling to become like a cake. If you eat it too soon, it’ll be crunchy and dry.
Step 6: Make the Drizzle
When you’re ready to serve, melt the chocolate chips and 1 tablespoon of peanut butter in the microwave. Heat in 30-second bursts, stirring in between, until smooth. Drizzle over the top of the pie. You can use a fork to create zig-zag patterns.
Step 7: Slice and Serve
Use a sharp knife to cut squares. Wipe the knife between cuts for clean edges. Serve chilled.
Expert Tips & Tricks
Here’s everything I’ve learned from making this dozens of times. These tips will save you from my mistakes.
Soften Your Cream Cheese — If your cream cheese is cold, you’ll get lumps in your filling. I microwave it for 15-20 seconds to soften it up. It should be squishy, not liquid.
Cold Bowl for Cream — If your heavy cream isn’t whipping, your bowl might be too warm. Put your mixing bowl in the fridge for 10 minutes before whipping. It helps the cream whip faster and hold its shape.
Don’t Skip the Chill Time — I know it’s tempting to eat it right away. But the crackers need time to soften. If you cut it too soon, the layers will slide apart. Patience is key.
Use a Sharp Knife — Graham crackers can be sticky. Dip your knife in hot water and wipe it dry before each cut. This gives you clean, professional-looking squares.
Customize the Drizzle — Add a pinch of sea salt to the chocolate drizzle for a salty-sweet contrast. Or mix in some crushed peanuts for extra crunch.
Variations & Substitutions
Once you’ve nailed the basic version, here’s how you can mix it up. I’ve tried all of these.
Chocolate Peanut Butter Cup — Add a layer of chopped peanut butter cups between the filling layers. It’s like a Reese’s cup in pie form.
Snickerdoodle Style — Swap the graham crackers for snickerdoodle cookies. Add a sprinkle of cinnamon to the filling. It tastes like a dessert cookie.
Gluten-Free — Use gluten-free graham crackers. Most brands work well, but check the texture. Some are more brittle than others.
Dairy-Free — Use vegan cream cheese, dairy-free peanut butter, and coconut cream instead of heavy cream. It’s not exactly the same, but it’s still delicious.
Nut-Free — Swap the peanut butter for sunflower seed butter or soy nut butter. The texture is similar, and it’s safe for school events.
Serving & Storage
How to Serve — I usually serve this straight from the fridge. It’s best cold. Pair it with fresh berries or a scoop of vanilla ice cream if you want to go all out.
Storage — Store in the fridge, covered with plastic wrap, for up to 5 days. It actually gets better after day one as the flavors meld.
Freezing — You can freeze this pie! Wrap it tightly in plastic and then foil. It’ll last for up to 3 months. Thaw in the fridge overnight. The texture might be slightly softer, but it’s still good.
Pro Tip — If you’re making this for a party, assemble it the night before. It saves you stress and ensures it’s perfectly set.
Nutrition Information
I’m not a nutritionist, but here’s the breakdown if you’re tracking.
Per Serving (based on 12 servings):
- Calories: 380
- Protein: 8g
- Carbs: 42g
- Fiber: 2g
- Sugar: 28g
- Fat: 22g
- Saturated Fat: 12g
- Cholesterol: 50mg
- Sodium: 250mg
Look, this is a dessert. It’s rich and sweet. But it’s also made with real ingredients, and the peanut butter adds some protein. I don’t feel guilty eating a slice because I know what’s in it. If you want to lighten it up, use less powdered sugar or swap half the heavy cream for Greek yogurt.
Final Thoughts
So that’s my Labor Day No-Bake Peanut Butter Icebox Pie! I’ve probably talked your ear off at this point, but when you make a recipe this often, you have a lot to say about it.
This pie has saved my holidays. It’s my answer to “what’s for dessert?” when I’m tired, don’t want to bake, and still want something that tastes really good. My kids are happy, my husband’s happy, and I’m happy because I’m not stressed about cooking.
Make it yours! Try different toppings, swap in your favorite chocolate, or add a layer of caramel. The best recipes are the ones you adapt to your family’s tastes.
If you make this, drop a comment and let me know what you think! I love hearing how recipes turn out in your kitchen. And if something doesn’t work, tell me that too—I’m here to help troubleshoot.
Happy cooking! And I hope your kitchen smells half as good as mine does right now.
Frequently Asked Questions
Can I use crunchy peanut butter?
You can, but the filling will have chunks in it. If you want a smooth filling, use creamy. If you like the texture of peanut butter cups, crunchy is fine. Just know it won’t be as silky.
Why did my pie fall apart when I cut it?
Most likely, it didn’t chill long enough. The crackers need time to soften and bind the layers together. I recommend chilling it overnight. If you cut it too soon, the layers will slide apart.
Can I make this in a pie dish instead of a 9×13?
Yes! You can use a 9-inch pie dish or even a springform pan. Just adjust the layers accordingly. You’ll need fewer crackers and less filling. The chilling time stays the same.
How do I store leftovers?
Store in an airtight container or covered with plastic wrap in the fridge for up to 5 days. It actually gets better after day one as the flavors meld.
Can I freeze this pie?
Yes! Wrap it tightly in plastic and then foil. It’ll last for up to 3 months. Thaw in the fridge overnight. The texture might be slightly softer, but it’s still good.
Can I use whipped cream instead of making my own?
You can, but homemade whipped cream is lighter and fresher. Store-bought whipped cream has stabilizers that can change the texture. If you’re in a hurry, it works, but I recommend making your own.
What if I don’t have powdered sugar?
You can blend granulated sugar in a blender until it’s fine, but it won’t dissolve as completely. Powdered sugar is best for a smooth filling. If you must use granulated, blend it first.
Pin This Recipe!
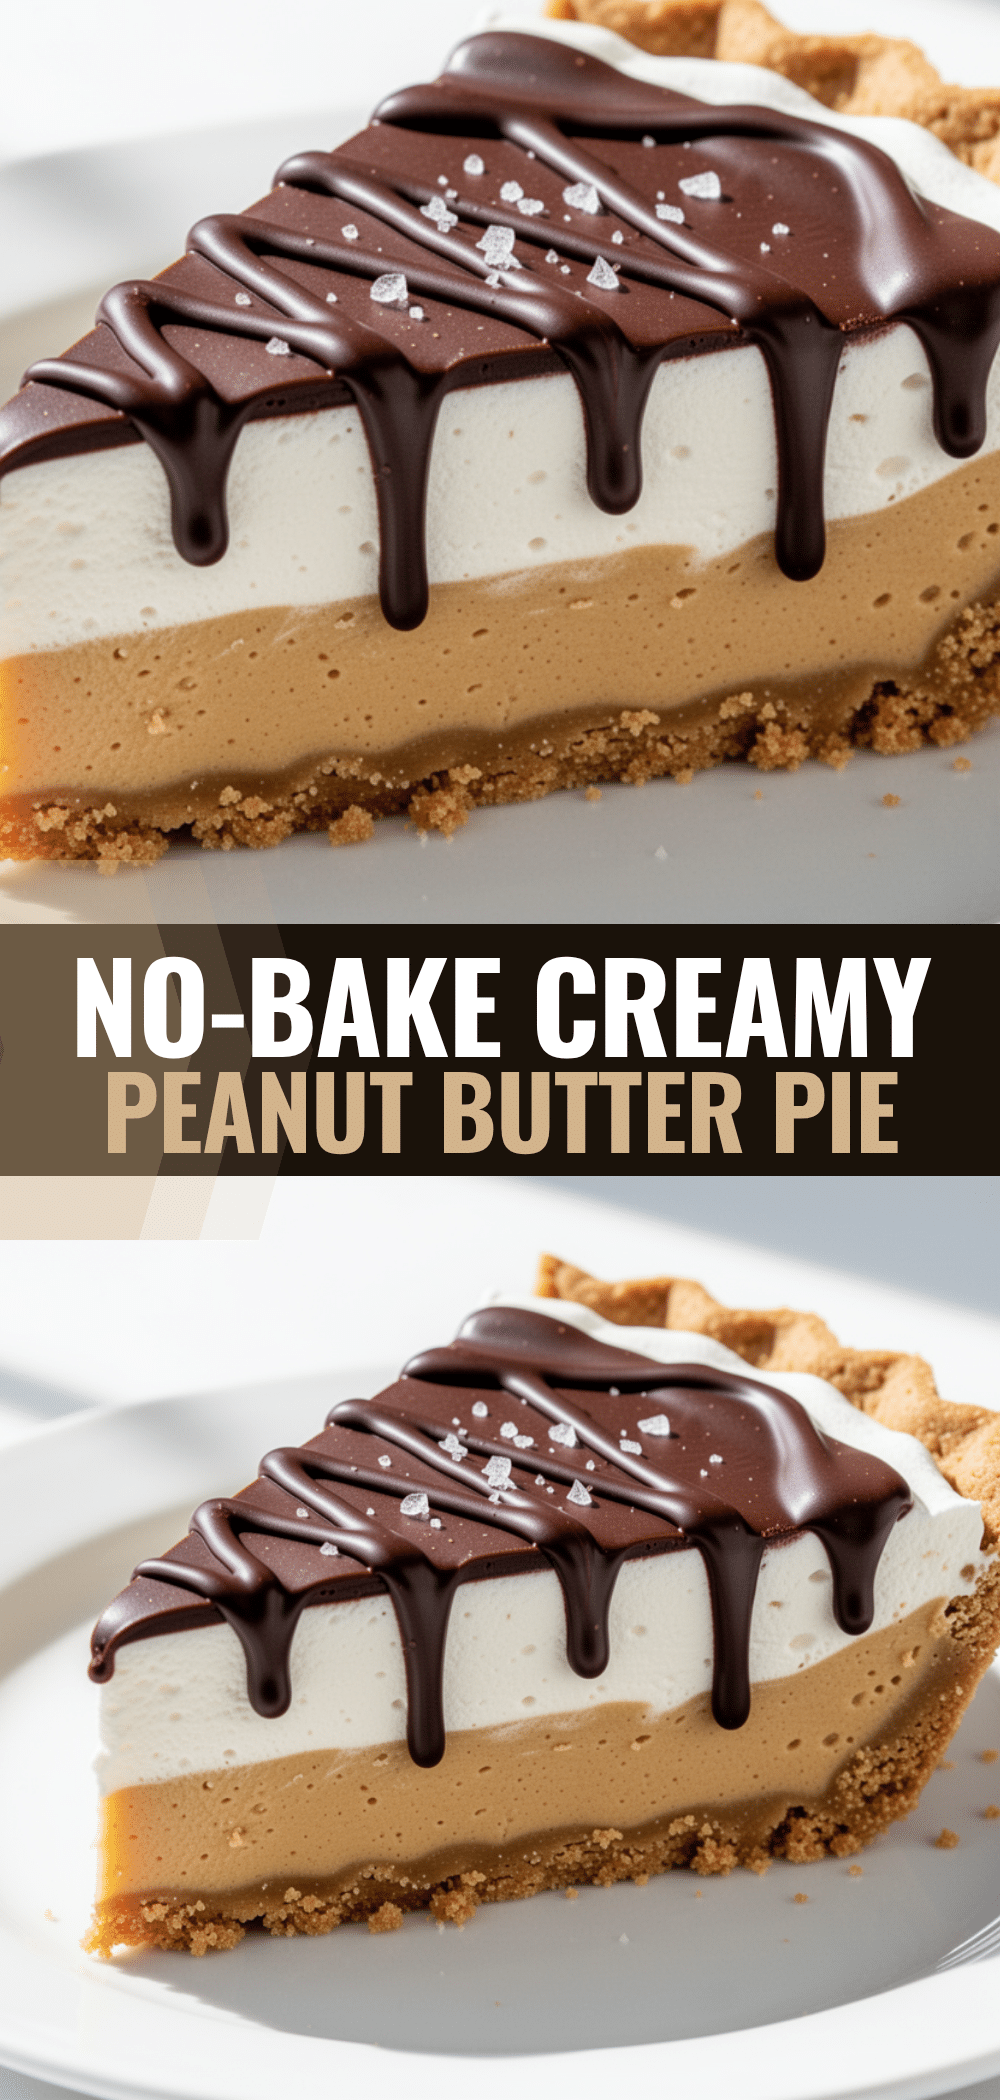

Labor Day No-Bake Peanut Butter Icebox Pie
- Total Time: 4 hours 20 minutes
- Yield: 12 servings 1x
Description
An easy, no-bake 5-ingredient dessert featuring creamy peanut butter and cream cheese filling layered with crunchy graham crackers and topped with a chocolate drizzle. Perfect for summer cookouts and make-ahead entertaining.
Ingredients
- 8 ounces cream cheese, softened
- 1 cup creamy peanut butter
- 2 cups heavy cream, cold
- 1 cup powdered sugar
- 1 teaspoon vanilla extract
- 1 box graham crackers (about 20–24 squares)
- ½ cup semi-sweet chocolate chips
- 1 tablespoon peanut butter (for drizzle)
- Optional: Crushed peanuts, mini chocolate chips, or sea salt for topping
Instructions
- Lightly grease a 9×13 inch baking dish with butter or cooking spray.
- Separate graham crackers into whole squares and broken pieces. Reserve 8-10 whole squares for the bottom layer.
- In a large bowl, beat softened cream cheese and powdered sugar until smooth. Add peanut butter and vanilla; beat until combined and creamy.
- In a separate cold bowl, whip heavy cream until stiff peaks form.
- Gently fold the whipped cream into the cream cheese mixture using a spatula to maintain airiness.
- Layer the pie: Place whole graham crackers at the bottom, spread half the filling, sprinkle broken cracker pieces, repeat with remaining crackers, filling, and broken pieces on top. Press down gently.
- Cover with plastic wrap and refrigerate for at least 4 hours or overnight until set.
- Melt chocolate chips and 1 tablespoon peanut butter in the microwave in 30-second intervals, stirring until smooth.
- Drizzle the chocolate mixture over the chilled pie.
- Slice with a sharp knife and serve chilled.
Notes
Ensure cream cheese is softened to room temperature to avoid lumps. Keep heavy cream very cold for best whipping results. Do not skip the chilling time as it allows the crackers to soften and bind the layers. For clean cuts, dip the knife in hot water and wipe dry between slices.
- Prep Time: 20 minutes
- Cook Time: 0 minutes
- Category: Dessert
- Cuisine: American
Nutrition
- Serving Size: 1 slice
- Calories: 380
- Sugar: 28
- Sodium: 250
- Fat: 22
- Saturated Fat: 12
- Carbohydrates: 42
- Fiber: 2
- Protein: 8
Keywords: no-bake, peanut butter, icebox pie, labor day dessert, easy dessert, summer dessert, graham cracker pie, chocolate drizzle