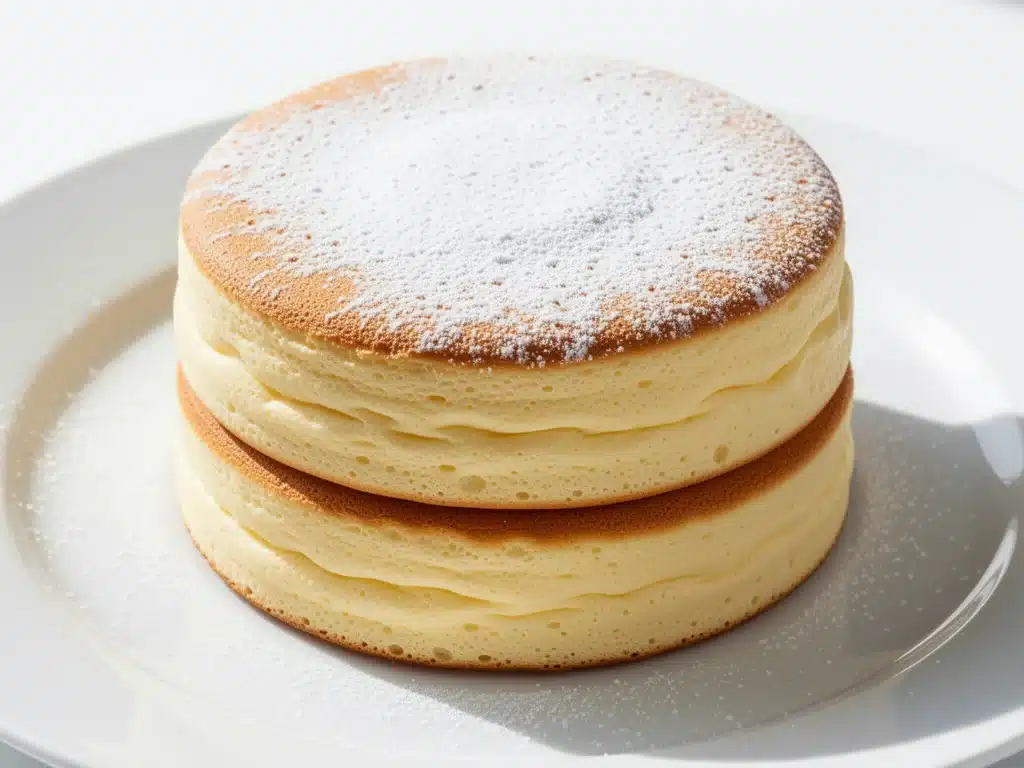
It was 7 a.m. on a rainy Saturday, and I was in a mood. Not the “I need coffee” kind of mood, but the “I haven’t slept in three days and I refuse to eat dry cereal” kind of mood. My friend had just told me about these Japanese soufflé pancakes that were taking over Instagram—taller than a normal pancake stack, jiggly like a cloud, and served with a mountain of whipped cream. I was skeptical. I’ve been burned before by recipes that promise “restaurant-quality” results and deliver a sad, dense disc instead.
But desperation is a powerful motivator. So I threw together what I thought would be a mediocre breakfast. I whipped those egg whites until my arm hurt, folded them in gently, and cooked them on the lowest heat I could manage. I even forgot to set a timer and nearly burned the bottom before I remembered to add a splash of water and cover the pan.
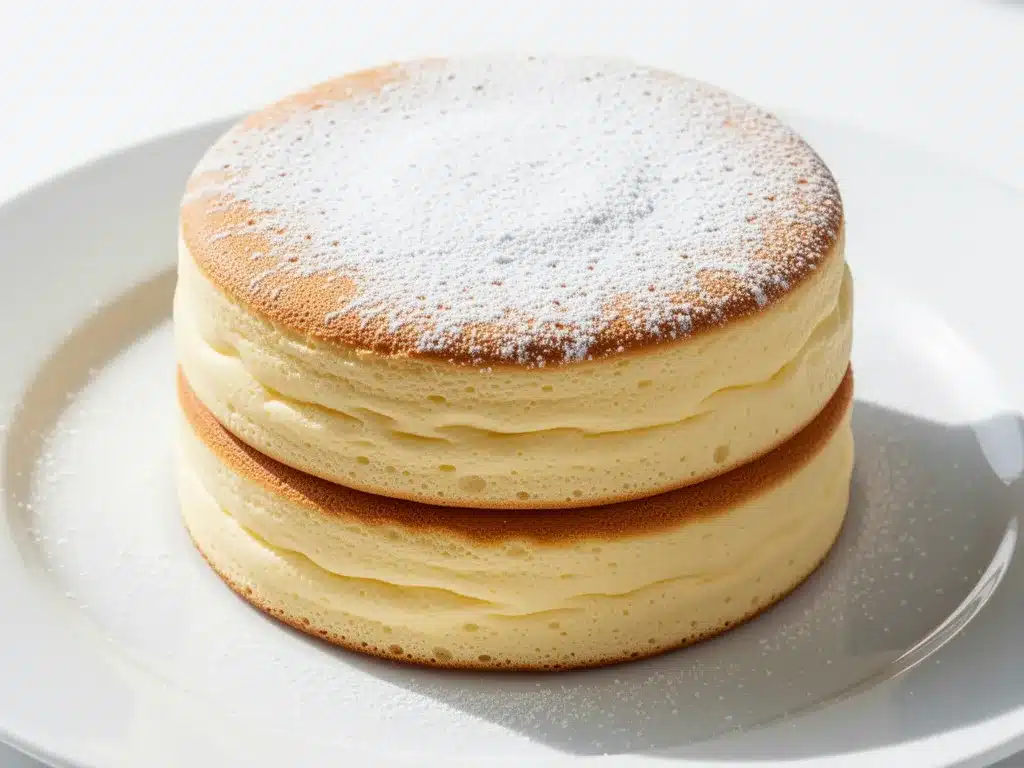
When I finally lifted the lid, I gasped. They had risen. Like, actually risen. They were wobbling in the pan like Jell-O, golden brown on the edges, and smelling like vanilla and heaven. I cut into one, and it sprang back slowly, like a memory foam pillow. I took a bite. It was airy, sweet, and impossibly soft. My husband walked in, saw the monstrosity on my plate, and asked if we were ordering pancakes from that fancy place downtown. I told him no, this was from my kitchen. He took one bite and didn’t speak for a full minute.
That was six months ago. I’ve made these ultra-fluffy Japanese soufflé pancakes at least twenty times since. I’ve tested different flours, different milk ratios, and different heat levels. I’ve learned the hard way that patience is the secret ingredient. And now, I’m sharing the exact method that works every single time. No failures. No dense pancakes. Just pure, cloud-like breakfast perfection.
Why You’ll Love This Soufflé Pancake Recipe
I know what you’re thinking. “Another pancake recipe? Really?” But hear me out. These aren’t your average griddle cakes. These are a culinary experience. Here’s why they’ve completely taken over my weekend mornings:
Incredible Texture — The inside is like a cloud. The outside is slightly crisp but tender. It’s a texture you can’t get with regular batter. I’ve served these to my pastry-chef cousin, and even she was impressed.
Impressive Presentation — They look fancy. Like, “brunch at a trendy café” fancy. But they’re actually quite simple to make. They’re a great way to feel like a chef without the stress.
Customizable Toppings — You can go traditional with maple syrup and whipped cream, or get creative with fresh berries, lemon curd, or even Nutella. They’re a blank canvas for your sweet tooth.
Perfect for Brunch — These are the ultimate crowd-pleaser. Make a batch for your family, or serve them to guests for a special occasion. They always get a reaction.
Make-Ahead Friendly — You can prep the batter ahead of time and cook them fresh when your guests arrive. This is a lifesaver when you want to enjoy brunch with people, not just the stove.
Comfort Food Upgrade — It’s like eating a dessert for breakfast. But in a good way. It’s indulgent, cozy, and just the right amount of sweet.
This recipe has become my go-to for special weekends. It’s my answer to “what’s for brunch?” when I want to treat myself and my loved ones. No complicated techniques, no weird ingredients, just reliable, delicious food that makes everyone happy.
Ingredients You’ll Need
Here’s the best part: you probably have most of this already. The ingredients are simple, but the technique is what makes the magic happen. I’m particular about three things here: the egg whites, the flour, and the heat. I’ll tell you exactly why.
For the Batter
Egg yolks (3 large / about 50g) — These provide richness and structure. I use large eggs because they give a better ratio of yolk to white. Room temperature eggs whip better, but I don’t stress if they’re cold.
Milk (2 tablespoons / 30ml) — I use whole milk for the best flavor, but 2% works too. Skim milk makes them a bit dry. Don’t substitute with water.
Vegetable oil (1 tablespoon / 15ml) — Neutral oil keeps them tender. I use canola or sunflower. Olive oil is too strong for this delicate batter.
Vanilla extract (1 teaspoon / 5ml) — Real vanilla makes a huge difference. I use pure vanilla, not imitation. It adds that warm, cozy smell.
Cake flour (3 tablespoons / 24g) — This is the secret. Cake flour has less protein, which means less gluten and more tenderness. If you don’t have cake flour, use 3 tablespoons all-purpose flour plus 1 tablespoon cornstarch. Sift it!
Baking powder (½ teaspoon / 2g) — I use double-acting baking powder. It gives that extra lift. Make sure it’s fresh—old baking powder won’t work.
Egg whites (3 large / about 90g) — The star of the show. These must be completely free of yolk. Any fat will prevent them from whipping. I separate them while they’re cold, then let them come to room temperature for better volume.
Cream of tartar (¼ teaspoon / 1g) — This stabilizes the egg whites. It’s not optional. It keeps the peaks stiff and prevents the pancakes from collapsing.
Granulated sugar (3 tablespoons / 36g) — I divide this. Half goes into the yolks, half into the whites. The sugar in the whites makes a stable, glossy meringue.
For Cooking
Butter (1 tablespoon / 14g) — For greasing the pan. I use unsalted butter for flavor. Clarified butter (ghee) is even better because it doesn’t burn as easily.
Water (1-2 tablespoons) — For creating steam. This is crucial for the rise.
Equipment Needed
You don’t need fancy equipment for this. Here’s what I actually use.
Non-stick skillet — I use a 6-inch non-stick skillet. It’s the perfect size for two thick pancakes. A larger pan works, but the pancakes will be thinner. Make sure it’s truly non-stick—these are delicate.
Electric mixer — Hand mixer or stand mixer. Whipping egg whites by hand is possible but painful. I’ve tried it. Don’t do it to yourself.
Spatula — A flexible silicone spatula is best for folding. It scrapes the bowl clean and doesn’t deflate the batter.
Lid — You need a lid that fits your skillet. If yours doesn’t have one, use foil. The lid traps steam, which helps them cook through.
Sifter or fine-mesh strainer — For the flour. Lumpy flour means lumpy pancakes. Sift it twice if you have to.
Offset spatula — For shaping the batter in the pan. It helps create that perfect round, tall shape.
How to Make It: Step-by-Step
Alright, let’s make this! I’m walking you through exactly how I do it, including the little tricks I’ve picked up.
Step 1: Prep Your Egg Whites (5 minutes)
Separate your eggs. Make sure there’s absolutely no yolk in the whites. Even a tiny bit of fat will stop them from whipping. Put the whites in a clean, dry bowl. Add the cream of tartar. This is the foundation of your fluffiness.
Step 2: Whip the Meringue (5-7 minutes)
Beat the egg whites on medium speed until they are foamy. Gradually add half of the sugar (1.5 tablespoons) while beating. Continue until stiff, glossy peaks form. The peaks should stand straight up when you lift the beaters. Do not overbeat, or they’ll become grainy. Set aside.
Step 3: Mix the Yolks (3 minutes)
In a separate bowl, whisk the egg yolks, remaining sugar (1.5 tablespoons), milk, oil, and vanilla extract until smooth and pale. Sift in the cake flour and baking powder. Whisk gently until just combined. Do not overmix. A few lumps are okay.
Step 4: Fold the Batter (3-5 minutes)
This is the most important step. Add one-third of the meringue to the yolk mixture and fold gently to lighten it. Then, add the rest of the meringue and fold until just combined. Stop when there are still a few white streaks. You want to keep as much air in the batter as possible. Overmixing will deflate it.
Step 5: Cook the Pancakes (10-12 minutes)
Heat your skillet over the lowest possible heat. Grease with butter. Use a cookie cutter or a ring mold to keep them round (optional but helpful). Spoon the batter into the pan, filling each ring about ¾ full. Cover with a lid and cook for 5-6 minutes. Do not touch them!
Step 6: Flip and Finish (5-6 minutes)
Add 1-2 tablespoons of water to the pan (away from the pancakes) and cover immediately. This creates steam. Cook for another 5-6 minutes. The pancakes should be puffed up and set. Carefully flip them using two spatulas. Cook for 1-2 minutes on the second side. They should be golden brown.
Step 7: Serve
Remove from the pan carefully. They are fragile! Serve immediately with your favorite toppings. Whipped cream, fresh berries, maple syrup, or powdered sugar. Enjoy while they’re still warm and jiggly.
Expert Tips & Tricks
Here’s everything I’ve learned from making this dozens of times. These tips will save you from my mistakes.
Low and Slow — The biggest mistake people make is cooking on too high heat. The outside burns before the inside cooks. Use the lowest setting on your stove. If your stove runs hot, use a heat diffuser.
Stiff Peaks are Key — Your meringue must be stiff and glossy. If it’s soft, the pancakes won’t rise. If it’s overbeaten, they’ll be dry. Aim for peaks that stand straight up.
Don’t Skip the Steam — The water and lid are crucial. They create a mini-oven environment that cooks the center without burning the bottom. Without steam, you’ll have raw centers.
Be Gentle When Folding — Use a cutting motion, not a stirring motion. You want to preserve the air bubbles. It takes patience, but it’s worth it.
Use a Heat Diffuser — If your stove has hot spots, a heat diffuser helps distribute heat evenly. This prevents burning and helps them rise uniformly.
Don’t Flip Too Early — Wait until the edges are set and the top looks dry. If you flip too soon, they’ll collapse. Trust the process.
Variations & Substitutions
Once you’ve nailed the basic version, here’s how you can mix it up. I’ve tried all of these.
Berry Bliss — Fold ½ cup of fresh or frozen blueberries into the batter just before cooking. The berries add bursts of flavor and color. Just be gentle not to crush them.
Chocolate Chip — Add ¼ cup of mini chocolate chips to the batter. They melt into gooey pockets of chocolate. Perfect for kids.
Lemon Zest — Add the zest of one lemon to the yolk mixture. It adds a bright, citrusy note that pairs well with whipped cream.
Matcha — Replace 1 tablespoon of cake flour with matcha powder. It adds a beautiful green color and a subtle earthy flavor. Great with red bean paste.
Pumpkin Spice — Add 2 tablespoons of pumpkin puree and 1 teaspoon of pumpkin pie spice. Perfect for fall.
Gluten-Free — Use a gluten-free cake flour blend. The texture might be slightly different, but it still works. Make sure your baking powder is gluten-free.
Dairy-Free — Use almond milk or oat milk instead of dairy milk. Use coconut oil instead of vegetable oil. Use dairy-free butter for greasing.
Serving & Storage
How to Serve: I usually serve these straight from the pan on a large platter. They look rustic and stay warm. But here are other ways I’ve enjoyed them:
Classic — Whipped cream, fresh strawberries, and maple syrup. The classic combination is never wrong.
French Toast Style — Dust with powdered sugar and serve with a side of bacon. It’s a savory-sweet combo that works surprisingly well.
Parfait — Layer the pancakes with yogurt and granola for a breakfast parfait. It’s a fun way to eat them.
Storage Instructions: These are best eaten fresh. They don’t store well because they deflate. If you must store them, keep them in an airtight container in the fridge for up to 2 days. Reheat gently in a toaster oven or skillet with a lid to restore some fluffiness. They won’t be as good as fresh, but they’re still tasty.
Nutrition Information
I’m not a nutritionist, but here’s the breakdown if you’re tracking.
Per Serving (based on 2 pancakes):
| Nutrient | Amount |
|---|---|
| Calories | 220 |
| Protein | 8g |
| Carbs | 24g |
| Fiber | 1g |
| Fat | 10g |
| Sugar | 16g |
What’s Good: Decent protein from the eggs. Can add fruits to boost vitamins. Lower in fat than traditional pancakes if you skip the butter.
What to Know: Higher in sugar from the meringue. Contains gluten and dairy. Moderate calories.
My Take: Look, these are a treat. They’re sweet and indulgent. But they’re also made with simple ingredients. When I want to make it lighter, I use less sugar and skip the whipped cream. But usually? I just enjoy them as a special weekend indulgence.
Final Thoughts
So that’s my go-to ultra-fluffy Japanese soufflé pancake recipe! I’ve probably talked your ear off at this point, but when you make a recipe this often, you have a lot to say about it.
This has saved my weekend mornings more times than I can count. It’s my answer to “what’s for brunch?” when I want to feel fancy but don’t want to leave the house. My family is happy, my guests are impressed, and I’m happy because I’m not stressed about cooking.
Make it yours! Try different toppings, swap in your favorite fruits, or add a splash of liqueur to the batter. The best recipes are the ones you adapt to your tastes.
If you make this, drop a comment and let me know what you think! I love hearing how recipes turn out in your kitchen. And if something doesn’t work, tell me that too—I’m here to help troubleshoot.
Happy cooking! And I hope your kitchen smells half as good as mine does right now.
Frequently Asked Questions
Q: Why did my pancakes collapse after cooking?
A: Usually, this means the meringue was overmixed or undermixed, or the pancakes were flipped too early. Make sure your peaks are stiff and glossy, and don’t flip until the edges are fully set. Also, ensure your heat is low enough. High heat causes rapid rising and then collapsing.
Q: Can I make the batter ahead of time?
A: It’s best to make the batter fresh. The meringue will deflate over time. However, you can separate the eggs and whip the whites up to an hour before. Just fold them in right before cooking. The yolk mixture can be made ahead and stored in the fridge.
Q: What if I don’t have a lid?
A: You can use aluminum foil to cover the pan. Make sure it’s sealed tightly to trap the steam. Without steam, the pancakes won’t cook through properly.
Q: Can I use all-purpose flour instead of cake flour?
A: Yes, but the texture will be slightly less tender. To substitute, use 3 tablespoons all-purpose flour plus 1 tablespoon cornstarch for every ¼ cup cake flour needed. Sift it together to mimic the texture.
Q: How do I keep them warm while cooking the second batch?
A: Place the cooked pancakes on a wire rack in a 200°F (95°C) oven. This keeps them warm without steaming them, which can make them soggy. Serve them in batches if you’re feeding a crowd.
Q: Why are my pancakes flat?
A: This is usually due to overmixing the batter, which deflates the air bubbles. Make sure you fold gently and stop as soon as the ingredients are combined. Also, check that your baking powder is fresh.
Q: Can I freeze leftover pancakes?
A: Yes, but they will lose some of their fluffiness. Freeze them in a single layer on a baking sheet, then transfer to a freezer bag. Reheat in a toaster oven or skillet to restore some texture. They won’t be as good as fresh, but they’re still edible.
Pin This Recipe!
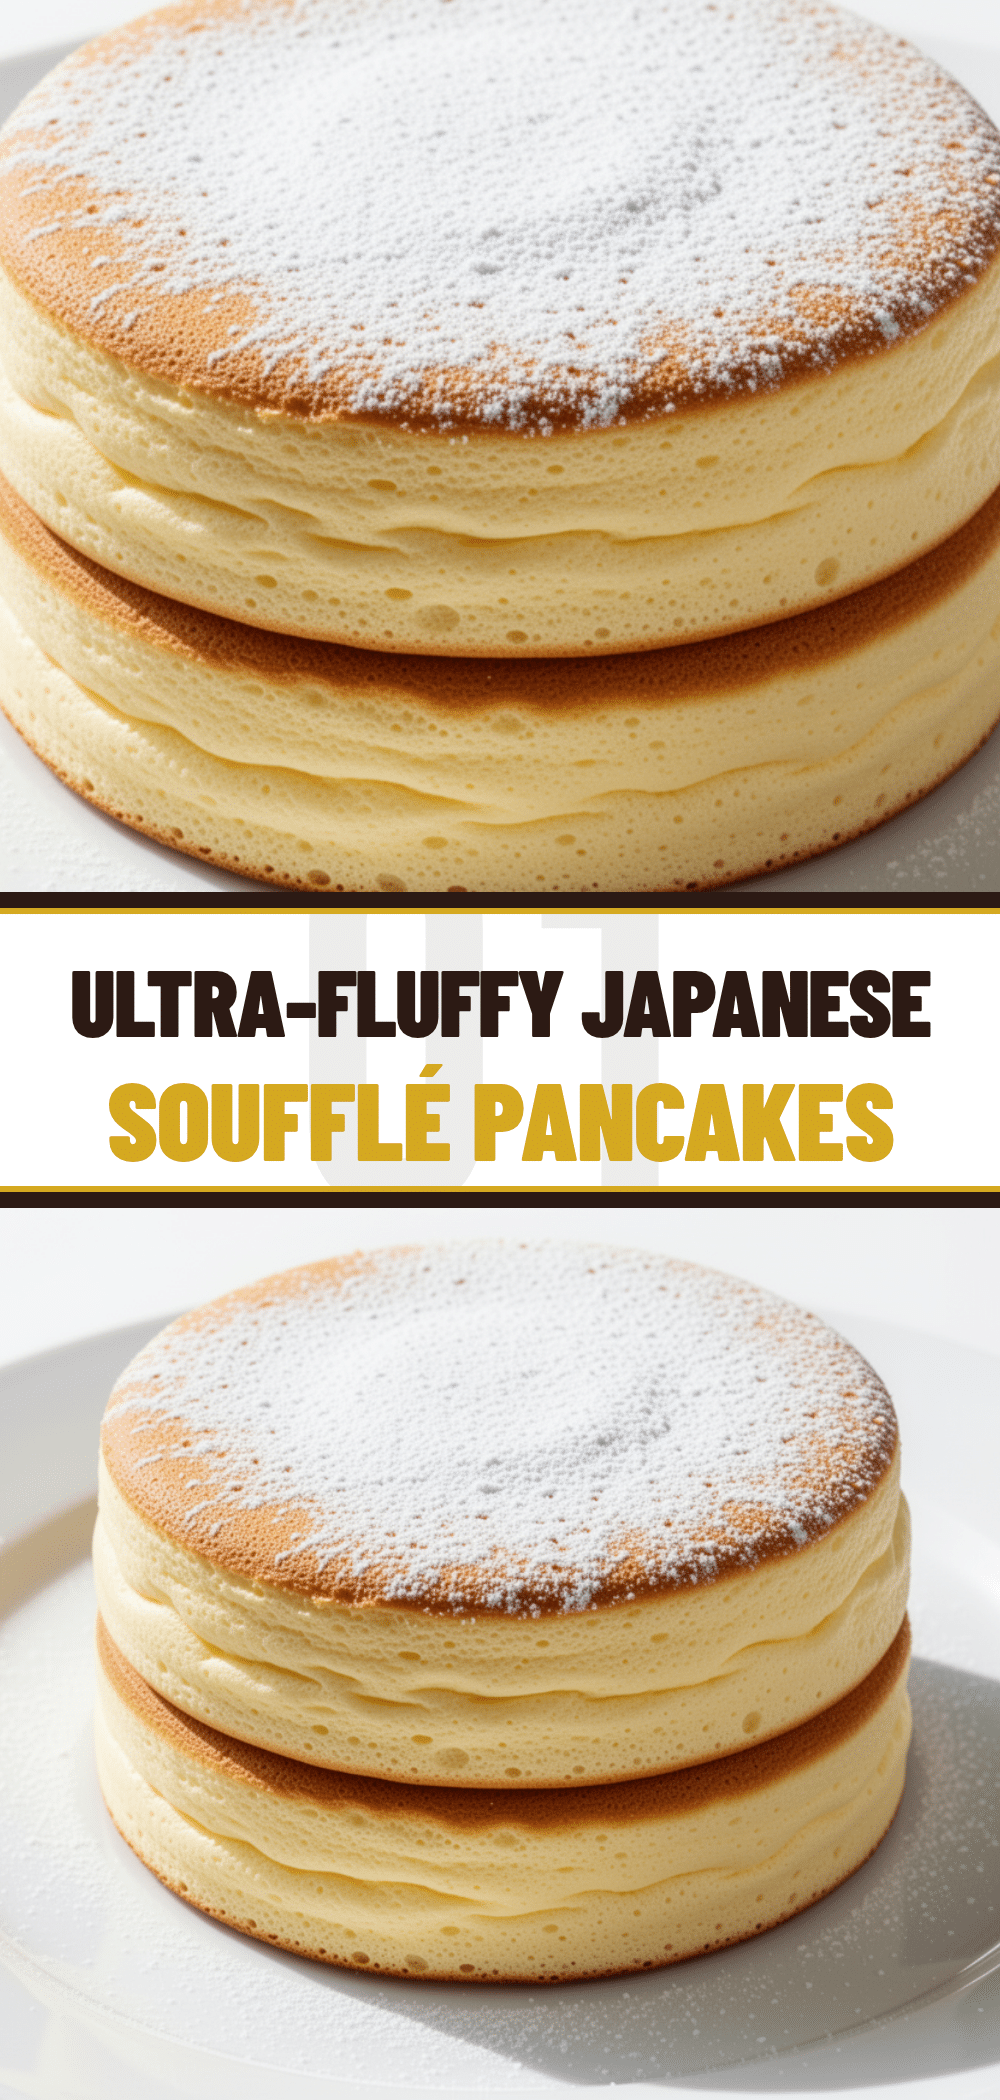
Ultra-Fluffy Japanese Soufflé Pancakes: The Best 5-Step Recipe
- Total Time: 30 minutes
- Yield: 2 servings 1x
Description
These ultra-fluffy Japanese soufflé pancakes are airy, jiggly, and impossibly soft, rising like clouds in the pan. This reliable recipe uses a meringue technique and steam to create a tender, restaurant-quality brunch experience.
Ingredients
- 3 large egg yolks
- 3 large egg whites
- 2 tablespoons milk (whole milk recommended)
- 1 tablespoon vegetable oil
- 1 teaspoon vanilla extract
- 3 tablespoons cake flour
- 1/2 teaspoon baking powder
- 1/4 teaspoon cream of tartar
- 3 tablespoons granulated sugar (divided)
- 1 tablespoon butter (for greasing)
- 1–2 tablespoons water (for steam)
Instructions
- Separate eggs, ensuring no yolk gets into the whites. Place whites in a clean, dry bowl and add cream of tartar.
- Beat egg whites on medium speed until foamy. Gradually add half the sugar (1.5 tbsp) and beat until stiff, glossy peaks form. Set aside.
- In a separate bowl, whisk egg yolks, remaining sugar (1.5 tbsp), milk, oil, and vanilla until smooth and pale.
- Sift in cake flour and baking powder. Whisk gently until just combined; a few lumps are okay.
- Fold one-third of the meringue into the yolk mixture to lighten it. Then, gently fold in the rest of the meringue until just combined, leaving a few white streaks.
- Heat a non-stick skillet over the lowest possible heat. Grease with butter.
- Spoon batter into the pan (using a ring mold if desired), filling rings 3/4 full. Cover with a lid and cook for 5-6 minutes without touching.
- Add 1-2 tablespoons of water to the pan (away from pancakes) and cover immediately to create steam. Cook for another 5-6 minutes until puffed and set.
- Carefully flip pancakes using two spatulas. Cook for 1-2 minutes on the second side until golden brown.
- Serve immediately with toppings like whipped cream, berries, or maple syrup.
Notes
Key to success is low heat and stiff meringue peaks. Do not overmix the batter or flip too early. If your stove runs hot, use a heat diffuser. These are best eaten fresh but can be stored in the fridge for up to 2 days.
- Prep Time: 15 minutes
- Cook Time: 15 minutes
- Category: Breakfast
- Cuisine: Japanese
Nutrition
- Serving Size: 2 pancakes
- Calories: 220
- Sugar: 16
- Sodium: 150
- Fat: 10
- Saturated Fat: 3
- Carbohydrates: 24
- Fiber: 1
- Protein: 8
Keywords: Japanese pancakes, soufflé pancakes, fluffy pancakes, brunch recipe, breakfast, cloud pancakes, homemade pancakes


