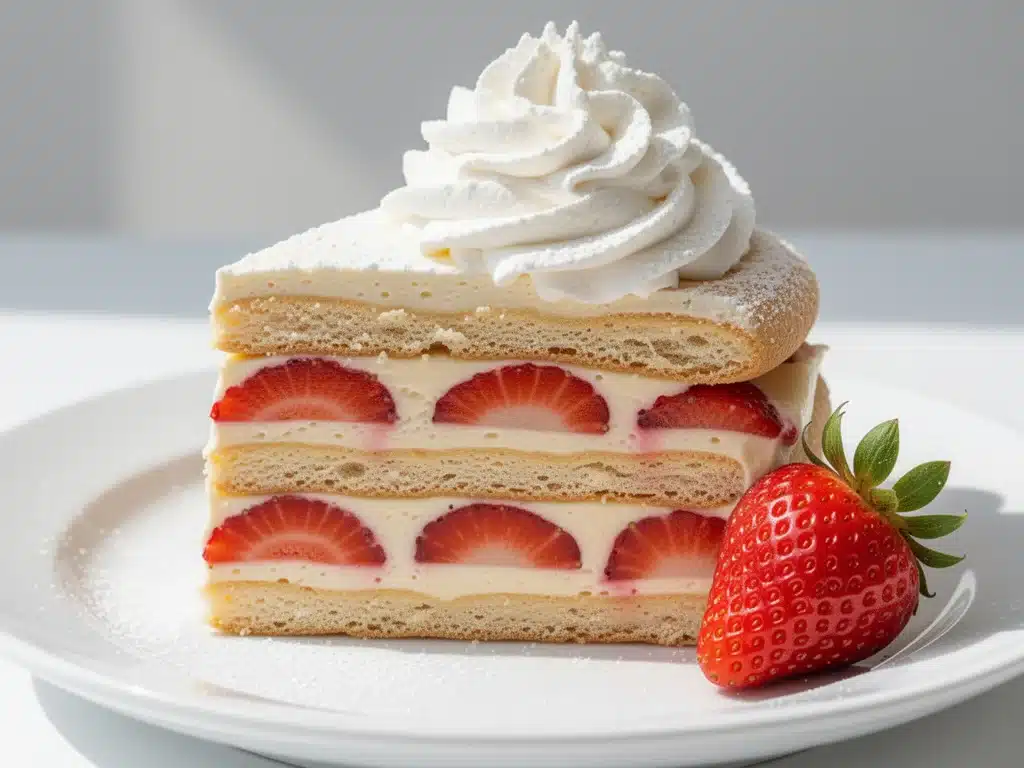
There was a summer three years ago when I swore I was done with ovens. The heat in my apartment was brutal, the humidity made my hair frizz before I even left the house, and the last thing I wanted to do was stand over a hot stove for an hour just to make a dessert. I was tired, my kitchen felt like a sauna, and the thought of cleaning up flour-dusted counters after a failed soufflé made me want to order pizza instead.
So I did what any desperate home cook does: I looked in the fridge, found a carton of strawberries that were starting to get soft, a tub of heavy cream that needed using up, and a package of vanilla wafers that were getting stale. I thought, “What if I just… stacked them?”
I didn’t have a recipe. I just had a vision of those little strawberry shortcakes from the bakery counter but, you know, easier. Less effort. Less heat. I layered the cookies, the whipped cream, and the macerated berries in a glass dish. I put it in the fridge overnight, half-expecting it to be a soggy mess by morning.
It wasn’t a mess. It was magic.
The next morning, I pulled it out, sliced it, and took one bite. The cookies had softened into something that resembled cake—light, airy, and soaked in sweet strawberry juice. The cream was cool and tangy. The berries were bursting. My husband came downstairs, took one look at the plate, and asked, “Did you bake this?” When I told him no, he looked at me like I’d just performed a miracle. He went back for seconds. Then thirds.
That was the moment I fell in love with the no-bake strawberry shortcake icebox cake. It’s not just a dessert; it’s a rescue mission for hot days. It’s the reason I stopped stressing about summer baking. And honestly? It’s the only dessert I make on repeat during July and August. It’s reliable, it’s stunning, and it tastes like a vacation.
If you’ve never tried making a layered icebox cake before, you’re in for a treat. This isn’t just “cookies and cream.” It’s a textural symphony. The contrast between the crisp cookie edge, the soft sponge-like center, the fluffy cream, and the juicy fruit is what makes this no-bake strawberry shortcake icebox cake you’ll make on repeat. It’s the ultimate easy summer dessert because it does the hard work while you chill.
Why You’ll Love This No-Bake Strawberry Shortcake Icebox Cake
Let’s be real. Most desserts require a certain level of commitment. You need to preheat the oven, measure dry ingredients, watch the timer, and hope the cooling rack doesn’t wobble. This recipe? It’s different. It’s the culinary equivalent of a hug.
Here’s why this has become my go-to summer staple:
- Zero Heat Involved — Seriously. Your kitchen stays cool. This is huge when it’s 90 degrees outside. I make this on days when I can’t bear the thought of turning on the oven. It’s pure relief.
- Three Ingredients, Five Minutes — You don’t need to be a pastry chef. You need strawberries, cream, and cookies. That’s it. If you can spread butter on bread, you can make this. I’ve made it while multitasking with my phone in one hand and a spoon in the other.
- Overnight Transformation — The magic happens while you sleep. You assemble it in 10 minutes, put it in the fridge, and wake up to a dessert that looks like it came from a high-end patisserie. It’s the ultimate hack for looking like a genius with minimum effort.
- Visually Stunning — Because you use a glass dish, you get those gorgeous pink layers. It’s Instagram gold, but more importantly, it looks beautiful on the table. Guests always gasp when you pull it out.
- Make-Ahead Friendly — This is the best part. You can make this two days in advance. Actually, it tastes better the next day. The flavors meld, the cookies soften perfectly. It’s perfect for potlucks, BBQs, or dinner parties where you want to spend time with people, not in the kitchen.
- Customizable — Hate strawberries? Use raspberries. Want chocolate? Use Oreos. This base recipe is a template. I’ve made this no-bake strawberry shortcake icebox cake with blueberries, peaches, and even mixed berries. It always works.
This is my answer to “what’s for dessert?” when I’m tired. It’s reliable. It’s delicious. And it makes everyone happy.
Ingredients You’ll Need
Here’s the best part: you probably have most of this already. I’m particular about three ingredients here, and I’ll tell you exactly why. Don’t skip the tips—they matter.
For the Base
Vanilla Wafers (1 package, about 40 cookies / 225g) — This is non-negotiable. Do not use chocolate chip cookies. Do not use graham crackers (unless you want a different flavor profile). You need thin, crisp vanilla wafers. Nabisco makes the best ones—they have the right texture to soften without disintegrating. I’ve tried store brands, and they’re too thick or too sweet. Stick to the classic round ones.
Heavy Cream (2 cups / 480ml) — Full-fat only. This is whipped cream, so you need the fat content to hold its shape. If you use light cream or half-and-half, it’ll never stiffen. I keep heavy cream in the fridge specifically for this. Cold cream whips better, so keep it cold until the last second.
Confectioners’ Sugar (½ cup / 60g) — Also known as powdered sugar. It dissolves instantly, so you don’t get gritty bits in your cream. I sift it if it’s been sitting in the pantry for a while to avoid lumps.
Vanilla Extract (2 teaspoons) — Pure vanilla, please. I know it’s expensive, but the artificial stuff tastes chemical in a delicate dessert like this. It’s the flavor backbone.
For the Fruit Layer
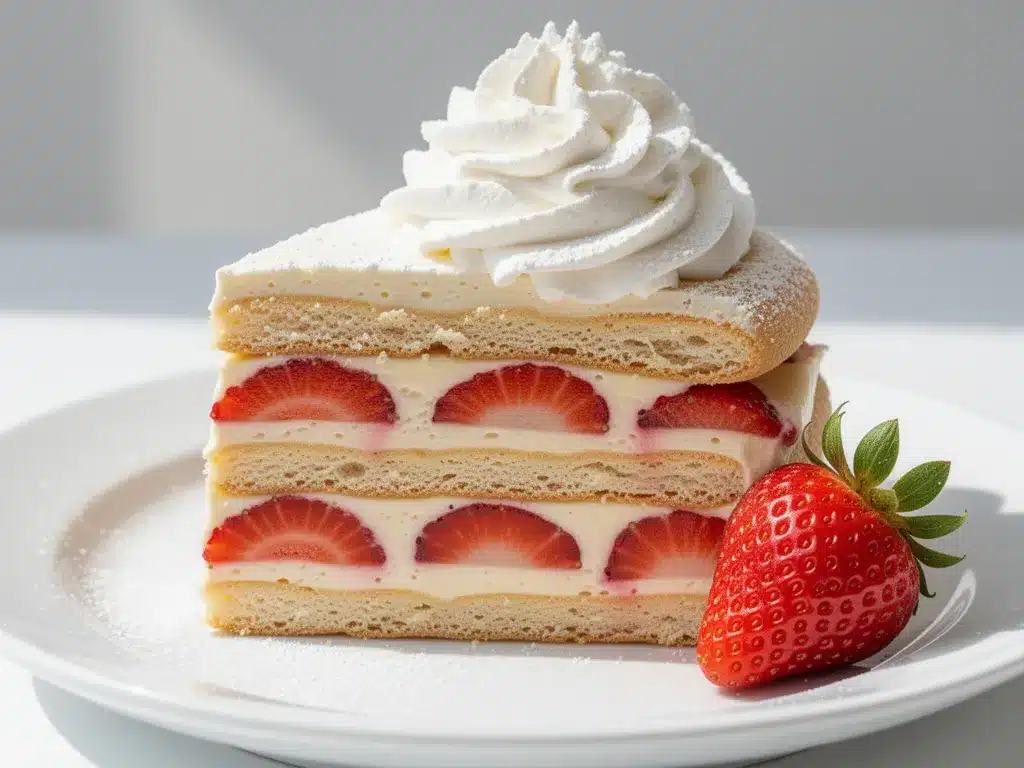
Strawberries (1.5 pounds / 680g) — Ripe, red, fragrant strawberries. This is where the flavor comes from. If they’re white at the stem, they’re not ready. I buy extra because you’ll want to slice some for garnish. Fresh is best, but frozen (thawed and drained) can work in a pinch—just pat them dry really well.
Granulated Sugar (2 tablespoons / 25g) — This is for macerating the strawberries. It draws out the juices, creating that sweet, pink syrup that soaks into the cookies. Don’t skip this step. It’s what makes the cake juicy.
Strawberry Jam (2 tablespoons) — Optional, but I highly recommend it. It intensifies the strawberry flavor. I use a good quality seedless jam. If you don’t have it, skip it, but the jam adds a depth that fresh berries alone sometimes miss.
Equipment Note
You’ll need an 8×8 inch glass baking dish. Glass is important because it shows off the layers. If you use a metal pan, you lose the visual appeal, which is half the fun of this no-bake strawberry shortcake icebox cake. A clear dish makes you feel fancy.
Equipment Needed
You don’t need fancy equipment for this. Here’s what I actually use.
8×8 Inch Glass Baking Dish — Pyrex is my go-to. It’s sturdy and lets you see the layers. I’ve tried ceramic, and it’s fine, but you lose the “wow” factor when you slice it. Glass is best for presentation.
Electric Mixer — Handheld or stand mixer. I use a handheld because it’s easier to clean. You need to whip the cream to stiff peaks, so doing it by hand is possible but tiring. I’ve done it once. I don’t recommend it unless you want arm day.
Large Mixing Bowl — A big bowl for the whipped cream. I use a stainless steel one because it keeps the cream cool. Glass works too, just make sure it’s chilled.
Slicing Knife — A serrated knife is best for slicing strawberries. It doesn’t crush them. I learned this the hard way with a dull paring knife. Crushed berries = sad dessert.
Whisk or Spatula — For folding the cream and jam. A spatula is better because it doesn’t deflate the cream as much as a whisk might.
Colander — If you’re using frozen strawberries, you’ll need this to drain the excess water. Fresh berries don’t need it, but if they’re very juicy, you might want to let them sit in a colander for 10 minutes.
Measuring Cups and Spoons — Standard stuff. I use the metal spoons for accuracy.
That’s it. No mixers, no piping bags (unless you want to be fancy), no oven thermometer. Just basic tools.
How to Make It: Step-by-Step
Alright, let’s make this! I’m walking you through exactly how I do it, including the little tricks I’ve picked up over the years.
Step 1: Prep the Strawberries (10 minutes)
Hull your strawberries and slice them into thin slices. Don’t chop them too small—you want to see the fruit in every bite. Place the sliced berries in a bowl and sprinkle with 2 tablespoons of granulated sugar and the strawberry jam. Toss gently to coat. Let them sit for at least 30 minutes, or up to 2 hours. You’ll see liquid pooling at the bottom. That’s strawberry syrup, and it’s liquid gold. It’s what soaks into the cookies later.
Pro Tip: If you’re short on time, you can microwave the berries for 2 minutes to speed up the maceration. Let them cool completely before using.
Step 2: Whip the Cream (5 minutes)
In a large, chilled bowl, combine the heavy cream, confectioners’ sugar, and vanilla extract. Whip on medium-high speed until stiff peaks form. This means when you lift the beaters, the cream stands up straight and doesn’t droop. Don’t overwhip! If you keep going past stiff peaks, it’ll turn into butter. I’ve done this. It’s not pretty, and you’ll have to start over.
Visual Cue: The cream should look thick and glossy, not watery or grainy.
Step 3: Build the First Layer (5 minutes)
Line the bottom of your 8×8 glass dish with a single layer of vanilla wafers. You might need to break a few cookies to fit the corners. Don’t worry about perfection—this is rustic. Now, take half of your whipped cream and spread it evenly over the cookies. Use a spatula to get it into the corners. The cream layer should be about ½ inch thick.
Step 4: Add the Fruit Layer (5 minutes)
Take half of your macerated strawberries, along with a generous spoonful of the syrup, and scatter them over the cream. Distribute them evenly. You want a good mix of fruit and juice. The syrup will start soaking into the cream and cookies immediately.
Step 5: Build the Second Layer (5 minutes)
Add another layer of vanilla wafers on top of the strawberries. Again, break cookies as needed. This layer should cover the fruit completely. Then, spread the remaining whipped cream over the cookies. Smooth the top with your spatula. It doesn’t need to be perfect, but try to make it even so the next layer sticks.
Step 6: Top It Off (5 minutes)
Place the remaining strawberries on top of the final cream layer. Arrange them beautifully—you want this to look pretty. Drizzle any remaining strawberry syrup over the top. This adds extra moisture and sweetness.
Step 7: Chill (4 hours minimum)
Cover the dish tightly with plastic wrap. Put it in the fridge for at least 4 hours, but overnight is best. This is where the magic happens. The cookies absorb the cream and syrup, turning into a soft, cake-like texture. If you cut into it too soon, it’ll be messy. Patience is key.
Why This Matters: The chilling time allows the flavors to meld and the texture to transform. This is what makes this no-bake strawberry shortcake icebox cake you’ll make on repeat. It’s not good right away; it’s amazing the next day.
Step 8: Slice and Serve
Use a sharp knife to slice into squares. Wipe the knife between cuts for clean slices. Serve chilled. Garnish with a dollop of extra whipped cream and a whole strawberry if you want to be fancy.
Expert Tips & Tricks
Here’s everything I’ve learned from making this dozens of times. These tips will save you from my mistakes.
Keep Everything Cold
The secret to perfect whipped cream is temperature. Chill your bowl and beaters in the freezer for 15 minutes before whipping. Cold cream whips faster and holds its shape better. I learned this from a pastry chef friend, and it changed my life.
Don’t Skimp on the Sugar
The sugar in the berries is crucial. It draws out the juices. Without it, you’ll have dry cookies and bland fruit. The syrup is the glue that holds this cake together. Trust the process.
Use Stale Cookies
Paradoxically, slightly stale vanilla wafers work best. They absorb the liquid without turning to mush immediately. If your cookies are super fresh and crisp, they might take longer to soften. If they’re too old and soft, they’ll disintegrate. Aim for “day old.”
Fold, Don’t Stir
When mixing the jam into the cream (if you’re doing that), fold gently. Stirring vigorously deflates the air you worked so hard to whip in. Gentle folds keep the cream light and fluffy.
Chill Overnight
I know you want to eat it now. But wait. The texture improves dramatically after 4 hours. After 12 hours, it’s peak perfection. If you’re in a rush, at least wait 4 hours. The cookies need time to transform.
Common Mistakes (and how to avoid them)
- Mistake: The cream is runny. Fix: Your cream wasn’t cold enough, or you didn’t whip it long enough. Whip until stiff peaks form.
- Mistake: The cookies are hard. Fix: You didn’t chill it long enough. Or you used cookies that were too thick. Stick to thin vanilla wafers.
- Mistake: It’s too sweet. Fix: Taste your strawberries before adding sugar. If they’re very sweet, reduce the sugar in the maceration step.
Variations & Substitutions
Once you’ve nailed the basic version, here’s how you can mix it up. I’ve tried all of these.
Raspberry Lime
Swap strawberries for raspberries. Add the zest of one lime to the whipped cream. It’s bright and tangy. My favorite variation for spring.
Chocolate Covered
Use chocolate sandwich cookies instead of vanilla wafers. Add a layer of chocolate pudding between the cream and cookies. It’s like a dessert sandwich. Kids love this version.
Peach Cobbler
Use sliced peaches instead of berries. Add a pinch of cinnamon to the whipped cream. It tastes like summer pie without the crust.
Gluten-Free
Use gluten-free vanilla wafers. Most brands work fine in this recipe because they soften anyway. Just check the texture—they shouldn’t be too crumbly.
Dairy-Free
Use coconut cream (the thick part from a chilled can of coconut milk) instead of heavy cream. Use dairy-free cookies. It’s richer and denser, but still delicious. I make this for my lactose-intolerant friend, and she loves it.
Alcohol-Infused
Add a splash of Kirsch (cherry brandy) or strawberry liqueur to the whipped cream. It’s a grown-up version. Perfect for dinner parties.
Serving & Storage
How to Serve:
I usually serve this straight from the dish. It looks rustic and stays cool. But here are other ways I’ve enjoyed it:
- With a Sprinkle of Mint — Adds a fresh color contrast and aroma.
- With a Drizzle of Chocolate Sauce — For when I’m feeling indulgent.
- With a Scoop of Ice Cream — If you want extra calories (why not?).
Storage Instructions:
Refrigerator:
Store in an airtight container or covered with plastic wrap for up to 3 days. The cookies will continue to soften, so it might get mushier after day 3. I rarely have leftovers past day 2.
Reheating:
Do not reheat this. It’s a cold dessert. Eat it cold.
Freezing:
Honestly, this doesn’t freeze well. The cream separates when thawed, and the cookies get weird. Make it fresh or store in the fridge. Don’t try to freeze it.
Meal Prep:
Make this the night before your event. It’s the perfect make-ahead dessert. It actually improves with time.
Nutrition Information
I’m not a nutritionist, but here’s the breakdown if you’re tracking.
Per Serving (based on 9 servings):
- Calories: 280
- Protein: 3g
- Carbs: 32g
- Fiber: 1g
- Sugar: 22g
- Fat: 16g
- Saturated Fat: 10g
- Cholesterol: 45mg
- Sodium: 180mg
What’s Good:
It’s not a health food, obviously. But it’s better than store-bought cake because you control the sugar. The strawberries add some vitamin C. And it’s smaller portions than a whole cake.
What to Know:
Higher in sugar and fat from the cream and cookies. Contains dairy and gluten. Not suitable for vegans or those with dairy/gluten allergies (unless using substitutions).
My Take:
Look, this is a treat. It’s sweet, rich, and indulgent. Enjoy it as a special summer dessert, not a daily snack. When I want to make it lighter, I use half-and-half and reduce the sugar. But usually? I just eat a square and enjoy it.
Final Thoughts
So that’s my no-bake strawberry shortcake icebox cake! I’ve probably talked your ear off at this point, but when you make a recipe this often, you have a lot to say about it.
This has saved my summer dinners more times than I can count. It’s my answer to “what’s for dessert?” when I’m tired, don’t want to bake, and still want something that tastes really good. My family is happy, my guests are impressed, and I’m happy because I’m not stressed about cooking.
Make it yours! Try different berries, swap the cookies, add a splash of alcohol. The best recipes are the ones you adapt to your tastes. This no-bake strawberry shortcake icebox cake you’ll make on repeat is just the beginning.
If you make this, drop a comment and let me know what you think! I love hearing how recipes turn out in your kitchen. And if something doesn’t work, tell me that too—I’m here to help troubleshoot.
Happy cooking! And I hope your kitchen smells half as good as mine does right now.
Frequently Asked Questions
Can I use frozen strawberries?
Yes, but you need to thaw them completely and drain the excess liquid. Frozen berries release a lot of water, which can make the cake soggy. Pat them dry with paper towels after thawing. Fresh is better, but frozen works in a pinch.
Why did my whipped cream turn to butter?
You overwhipped it. Once cream passes the stiff peak stage, the fat molecules clump together and turn into butter. It’s hard to fix. You can try adding a little more liquid cream and whipping gently, but it’s usually a lost cause. Chill your bowl and stop sooner next time!
Can I make this ahead for a party?
Absolutely. This is actually better made ahead. Make it the night before. It holds up well in the fridge for 2-3 days. Just keep it covered to prevent it from absorbing fridge smells.
What kind of cookies work best?
Vanilla wafers are the classic choice. They’re thin and crisp. You can use sandwich cookies (like Oreos) for a chocolate version, or graham crackers for a s’mores vibe. But stick to thin cookies for the traditional texture.
Can I use whipped topping (Cool Whip)?
You can, but the texture is different. Whipped topping is lighter and less rich. It won’t hold its shape as well, and the flavor is less creamy. Homemade whipped cream is worth the extra 5 minutes.
How long does it take to set?
Minimum 4 hours. Overnight is best. If you cut into it too soon, the cookies won’t have softened, and the layers will slide apart. Patience pays off.
Can I add alcohol?
Yes! Add a tablespoon of Kirsch, strawberry liqueur, or even rum to the whipped cream. It adds a nice depth of flavor. Just don’t add too much, or it might make the cream runny.
Pin This Recipe!
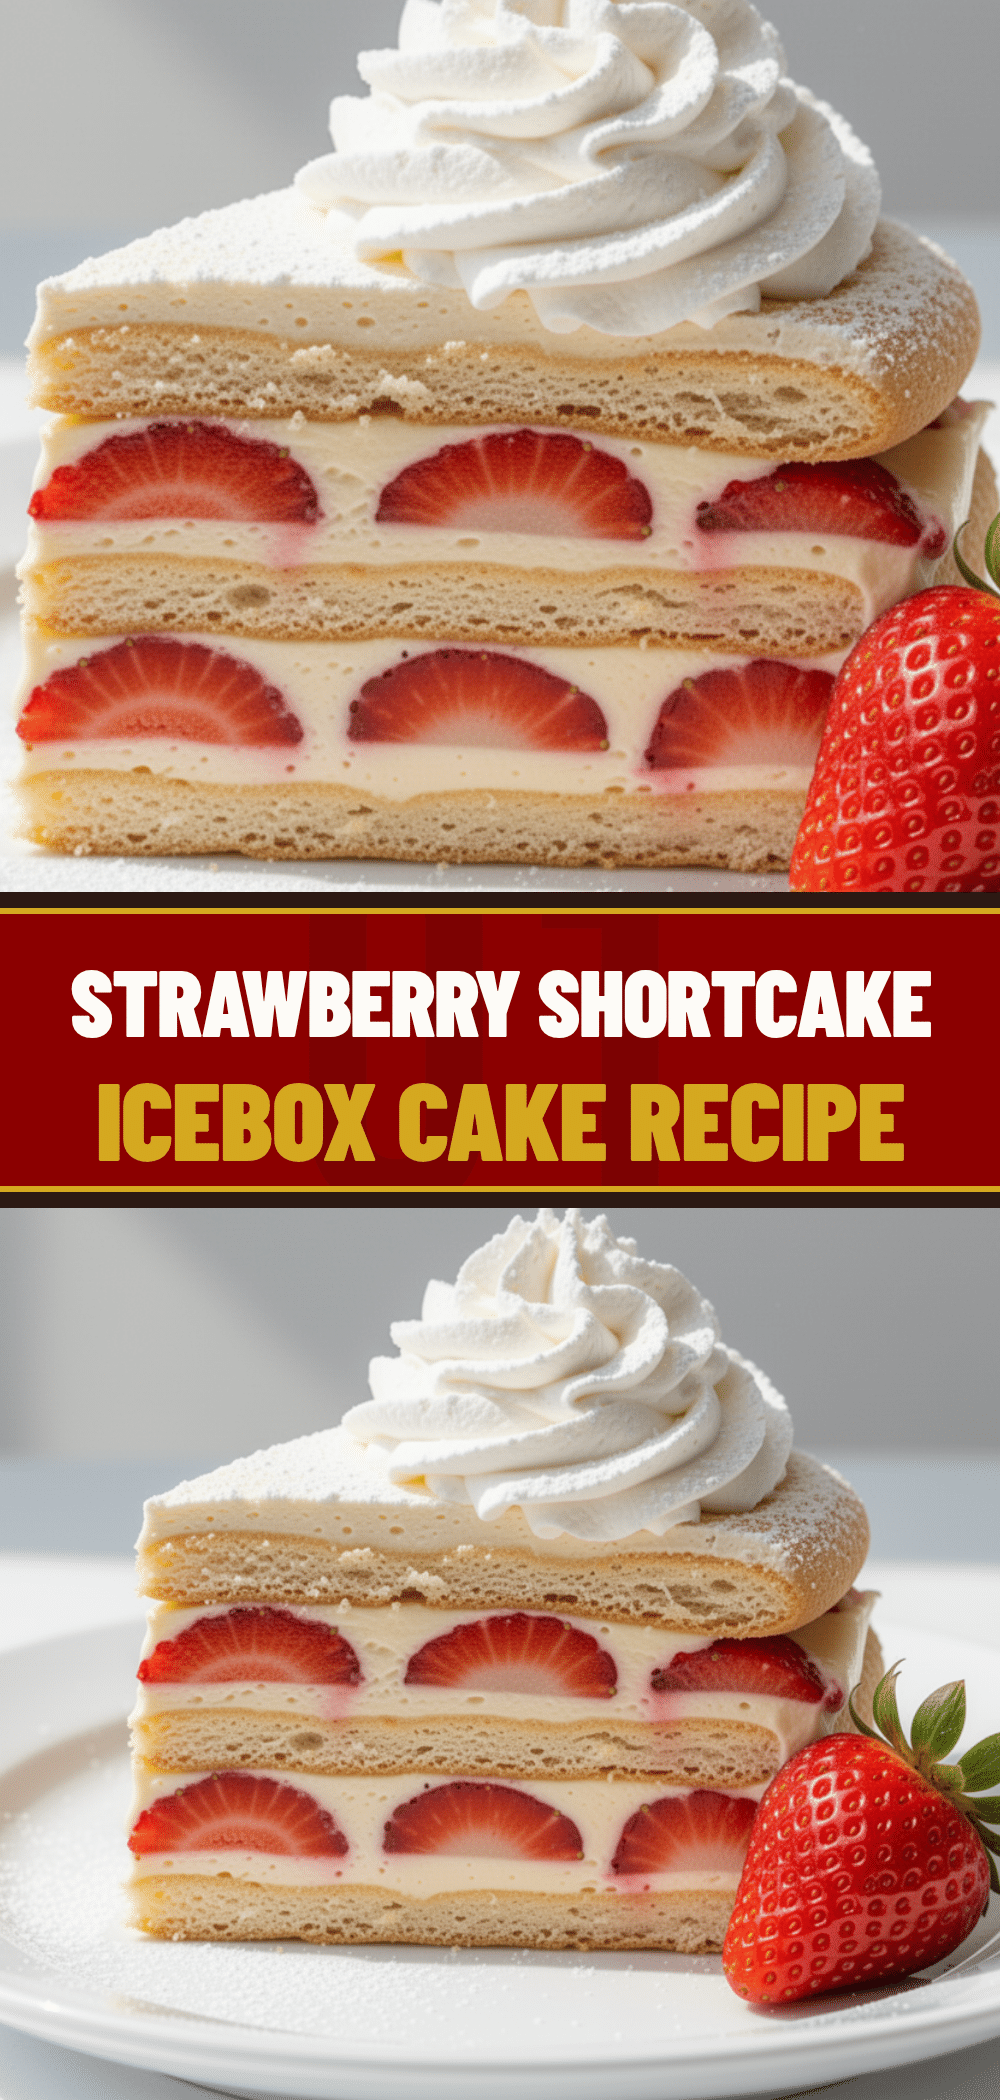
No-Bake Strawberry Shortcake Icebox Cake
- Total Time: 4 hours 20 minutes
- Yield: 9 servings 1x
Description
A refreshing, no-bake summer dessert featuring layers of vanilla wafers, homemade whipped cream, and macerated strawberries. This easy icebox cake transforms overnight in the fridge into a soft, cake-like treat without using an oven.
Ingredients
- 1 package (about 40 cookies / 225g) vanilla wafers
- 2 cups (480ml) heavy cream, cold
- ½ cup (60g) confectioners’ sugar
- 2 teaspoons pure vanilla extract
- 1.5 pounds (680g) strawberries, hulled and sliced
- 2 tablespoons (25g) granulated sugar
- 2 tablespoons strawberry jam (optional)
Instructions
- Hull and slice the strawberries. Toss them with granulated sugar and strawberry jam (if using). Let sit for at least 30 minutes to macerate and release juices.
- In a large, chilled bowl, combine heavy cream, confectioners’ sugar, and vanilla extract. Whip on medium-high speed until stiff peaks form.
- Line the bottom of an 8×8 inch glass baking dish with a single layer of vanilla wafers, breaking cookies as needed to fit.
- Spread half of the whipped cream evenly over the cookie layer.
- Scatter half of the macerated strawberries and a generous spoonful of the syrup over the cream.
- Add a second layer of vanilla wafers on top of the fruit.
- Spread the remaining whipped cream over the second cookie layer.
- Top with the remaining strawberries and drizzle with any leftover strawberry syrup.
- Cover tightly with plastic wrap and refrigerate for at least 4 hours, preferably overnight, to allow cookies to soften.
- Slice into squares and serve chilled.
Notes
Keep all equipment and cream cold for best whipping results. Use slightly stale vanilla wafers for better texture absorption. Do not freeze this dessert as the cream will separate. For a gluten-free version, use gluten-free vanilla wafers. For a dairy-free version, use coconut cream and dairy-free cookies.
- Prep Time: 20 minutes
- Cook Time: 0 minutes
- Category: Dessert
- Cuisine: American
Nutrition
- Serving Size: 1 square
- Calories: 280
- Sugar: 22
- Sodium: 180
- Fat: 16
- Saturated Fat: 10
- Carbohydrates: 32
- Fiber: 1
- Protein: 3
Keywords: no-bake dessert, strawberry shortcake, icebox cake, summer dessert, easy dessert, whipped cream, vanilla wafers, make-ahead dessert


