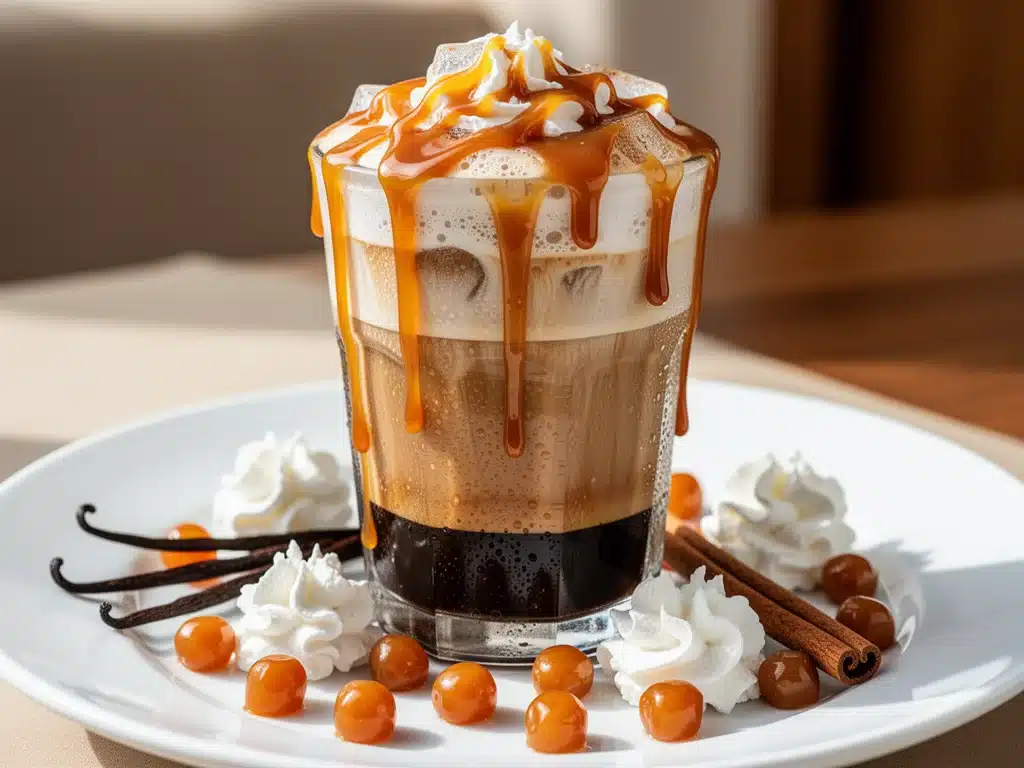
Last winter, I found myself standing in line at the local coffee shop, shivering in my coat, waiting for a drink that cost $7.25. I watched the barista behind the glass create that beautiful layered look—dark espresso pooling at the bottom, white milk swirling in the middle, and a golden drizzle of caramel cascading down the inside of the cup. It looked like liquid art. It smelled like heaven. And then I handed over my credit card and walked out with a drink that was mostly ice and sugar.
That was the moment I decided I was done. Not just with the price, but with the inconsistency. Some days it was perfect. Other days? Watery, overly sweet, or just… meh. I wanted that specific combination of bold espresso, creamy milk, and rich caramel, but I wanted it to taste the same every single time. I wanted to control the quality. I wanted to save my wallet.
So, I went home and started experimenting. I tried store-bought caramel sauce (too runny). I tried making caramel from scratch with butter and brown sugar (too complicated, too messy). I tried instant espresso (too bitter, no depth). It took me about six weeks and enough caffeine to make a horse jump through a hoop, but I finally cracked the code. I created an iced caramel macchiato that is genuinely better than the coffee shop version. The secret isn’t just the espresso—it’s the homemade caramel sauce. It’s thicker, richer, and has that deep, buttery flavor that store-bought stuff just can’t mimic.
Now, this iced caramel macchiato with homemade caramel sauce is my morning ritual. I make it on repeat because it’s surprisingly easy once you have the sauce down. The best part? You can make a batch of the caramel sauce on Sunday, keep it in the fridge, and assemble your coffee in under five minutes on any busy morning. It’s the kind of recipe that makes you feel like a barista without the apron or the customer service stress.
If you’re tired of spending a small fortune on café drinks that don’t quite hit the spot, you need to try this. It’s creamy, it’s cold, it’s sweet but not cloying, and it smells amazing while it’s being made. Let’s get into why this specific version works so well, what you need to make it, and how to get that perfect layering effect that makes it so satisfying to drink.
Why You’ll Love This Iced Caramel Macchiato Recipe
There are a lot of coffee recipes out there, but this iced caramel macchiato stands out for reasons that go beyond just taste. Here’s why this has become a staple in my kitchen, and why I think it will become one in yours too.
- The Caramel Sauce Changes Everything — I cannot stress this enough. Store-bought caramel is often thin and overly sweet. My homemade version is cooked to a perfect soft-ball stage, giving it a thick, syrupy consistency that drizzles beautifully but doesn’t disappear into the ice. It adds a buttery, toasty depth that elevates the entire drink.
- It’s Faster Than a Coffee Shop Trip — Seriously. If you have the espresso ready (or use pods), this takes about 5 minutes from start to finish. No waiting in line, no tipping, no driving. Just grab a glass, add ice, pour, and drink. It’s the ultimate weeknight or busy morning solution.
- Perfectly Balanced Sweetness — One of the biggest complaints about café macchiatos is that they’re too sweet. By making your own caramel and controlling the amount you use, you get that rich flavor without the sugar crash. You can adjust it to your exact preference, which is something you can’t do at a chain store.
- Visually Stunning (and Great for Pinterest) — Let’s be honest, we all love a pretty drink. The layering of dark espresso over white milk, topped with that golden caramel drizzle, is incredibly photogenic. It looks like something from a high-end café, which makes your morning routine feel a little more luxurious.
- Customizable for Any Diet — Want it dairy-free? Swap the milk for oat or almond. Want it sweeter? Add a little vanilla syrup. Hate caffeine? Use decaf espresso. This recipe is a blank canvas that adapts to your lifestyle without losing its soul.
This isn’t just a coffee; it’s a mood. It’s that moment of calm before the chaos of the day starts. It’s the treat you give yourself when you need a little boost. And once you taste the difference between homemade caramel and the real thing, you won’t be able to go back.
Ingredients You’ll Need for the Perfect Drink
Before we start assembling, let’s talk about what goes into this iced caramel macchiato with homemade caramel sauce. I’m particular about a few of these ingredients because they make a huge difference in the final flavor. You don’t need anything fancy, but you do need quality basics.
For the Homemade Caramel Sauce
This is the star of the show. Don’t skip this step, and don’t rush it.
- Unsalted Butter (½ cup / 115g) — Use high-quality butter here. Since it’s the main flavor, cheap butter will taste flat. I prefer European-style butters for their richer creaminess.
- Dark Brown Sugar (1 cup / 200g) — I use dark brown sugar instead of light because it has a deeper molasses flavor, which gives the caramel a more complex, toffee-like taste. Pack it firmly into the cup.
- Heavy Cream (½ cup / 120ml) — This needs to be room temperature. Cold cream hitting hot caramel can cause it to splatter violently, which is not fun. Warm it up in the microwave for 20 seconds before adding.
- Sea Salt (½ teaspoon) — A little salt balances the sweetness and enhances the buttery flavor. Flaky sea salt on top at the end is a nice touch, but regular fine salt in the sauce works perfectly.
- Vanilla Extract (1 teaspoon) — Pure vanilla, not imitation. It adds that warm, aromatic note that ties everything together.
For the Iced Caramel Macchiato
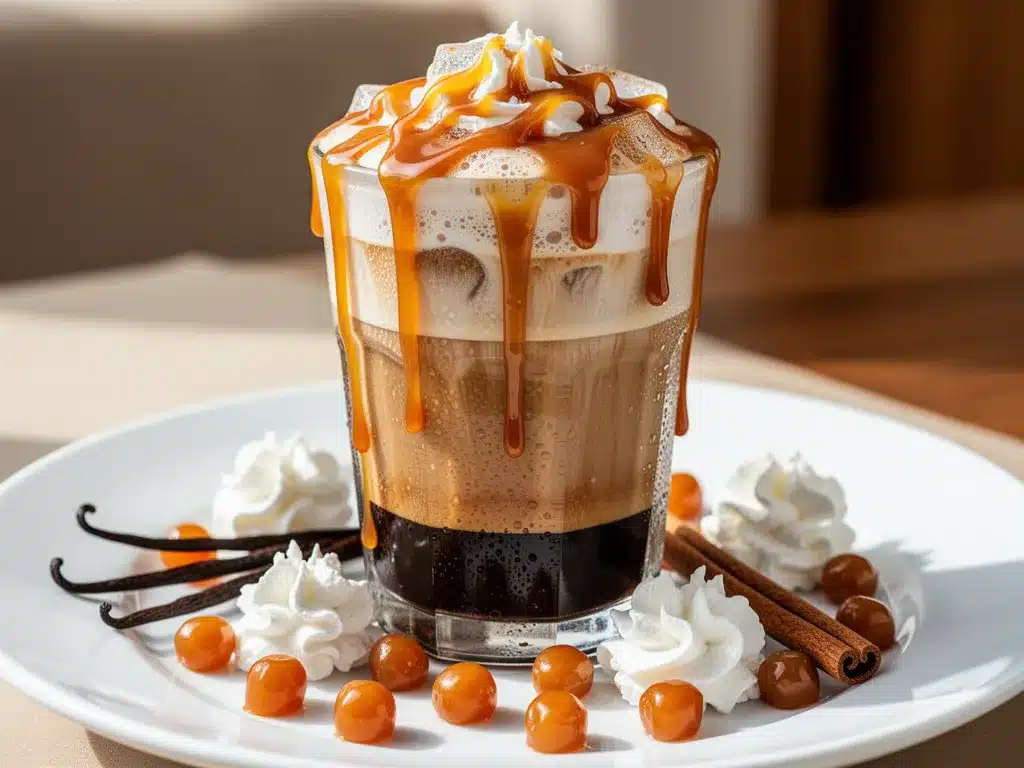
These are the components that make up the drink itself.
- Espresso (2 shots / about 2 ounces) — You can use a Moka pot, an espresso machine, or strong coffee pods. The key is that it needs to be strong. Weak coffee will get lost in the milk. I use a medium-dark roast for that chocolatey undertone.
- Milk (1 cup / 240ml) — Whole milk is traditional and gives the creamiest texture. However, oat milk is my personal favorite for this drink because it froths well and has a natural sweetness that pairs beautifully with caramel. Almond milk works too, but it’s thinner.
- Ice Cubes (1 cup) — Use large ice cubes if you can. They melt slower, so your drink doesn’t get watery as quickly. Small cubes are fine, but you’ll want to drink it a bit faster.
- Vanilla Syrup (Optional, 1 teaspoon) — Some recipes call for vanilla syrup in the milk. I find the caramel sauce provides enough sweetness, but if you like it extra vanilla-forward, add a teaspoon to the glass before pouring the milk.
Pro Tip: If you’re meal prepping, make the caramel sauce on Sunday. It keeps in the fridge for up to two weeks. Just give it a good stir or microwave for 10 seconds to loosen it up before drizzling it over your coffee.
Equipment Needed
You don’t need a lot of fancy gear to make this, but having the right tools makes the process smoother and the result better.
- Small Saucepan — A non-stick saucepan is ideal for making the caramel. It prevents sticking and makes cleanup easier. A 1-quart size is perfect for this amount of ingredients.
- Whisk — You’ll need a whisk to stir the caramel sauce as it thickens. It helps incorporate the cream smoothly and prevents lumps.
- Espresso Maker or Coffee Pod Machine — Obviously, you need a way to brew strong coffee. I use a Nespresso machine for convenience, but a Moka pot works great for a stovetop method.
- Tall Glass or Mason Jar — A clear glass is best so you can see those beautiful layers. A 16-ounce glass is the standard size for a macchiato.
- Measuring Spoons and Cups — Precision matters, especially with the sugar and cream for the caramel.
- Spatula — A silicone spatula is helpful for scraping the caramel sauce out of the saucepan so you don’t waste any of that delicious goodness.
Note: If you don’t have a whisk, a fork works in a pinch, but a whisk will give you a smoother sauce. Also, make sure your saucepan is large enough to handle the bubbling caramel; it can expand quickly.
How to Make It: Step-by-Step
Alright, let’s make this! I’m walking you through exactly how I do it, including the little tricks I’ve picked up to ensure your caramel sauce is silky and your coffee is perfectly layered.
Step 1: Make the Homemade Caramel Sauce (10 minutes)
Start by combining the butter and brown sugar in your small saucepan over medium heat. Stir constantly with your whisk or a wooden spoon. The butter will melt, and the sugar will dissolve into it. This takes about 3-4 minutes. You’re looking for a bubbling, glossy mixture that smells like toffee. Don’t let it burn! If you see it getting too dark too fast, turn the heat down.
Once it’s bubbling nicely, carefully pour in the room-temperature heavy cream. It will bubble up aggressively, so be cautious. Keep stirring constantly as the mixture simmers. Let it cook for another 2-3 minutes until it thickens slightly. It should coat the back of a spoon. Remove from heat and stir in the vanilla extract and sea salt. Pour the sauce into a jar or container to cool. It will thicken more as it cools. This is your homemade caramel sauce, and it’s ready to use once it’s cool enough to handle.
Step 2: Brew Your Espresso (5 minutes)
Brew two shots of espresso. If you’re using pods, just pop one in. If you’re using a Moka pot, follow the instructions. The goal is to have about 2 ounces of strong, concentrated coffee. Set it aside to cool for a minute or two. You don’t want boiling hot espresso melting the ice immediately, but you don’t want it cold either—just warm.
Step 3: Assemble the Drink
Take your tall glass and fill it with ice cubes. Pour in the milk, leaving about an inch of space at the top. If you’re using vanilla syrup, add it to the milk now and give it a gentle stir.
Step 4: The Layering Technique
This is the most important part. To get that classic macchiato look, you need to pour the espresso slowly over the back of a spoon held just above the surface of the milk. This slows down the flow and prevents the espresso from mixing with the milk immediately. The denser espresso will sink to the bottom, creating that beautiful dark layer.
Step 5: The Caramel Drizzle
Now for the fun part. Take your homemade caramel sauce and drizzle it generously over the top of the drink. Aim for the sides of the glass so the caramel runs down, creating streaks of gold against the white milk. This not only looks amazing but ensures you get a bit of caramel in every sip.
Step 6: Serve Immediately
Add a straw and serve right away. The contrast between the cold milk, the strong espresso, and the rich caramel is what makes this drink special. Stir it up before drinking if you want a uniform flavor, or sip it layer by layer for a changing experience.
Total Time: About 15 minutes (10 minutes for caramel, 5 minutes for assembly). You can cut this down significantly if you’ve already made the caramel sauce ahead of time.
Expert Tips & Tricks for Success
Here’s everything I’ve learned from making this iced caramel macchiato with homemade caramel sauce dozens of times. These tips will save you from my mistakes.
- Room Temperature Cream is Non-Negotiable — I cannot stress this enough. If you add cold cream to hot caramel, it will seize up and become grainy. Warm your cream in the microwave for 20-30 seconds before adding it to the pot. It should be warm to the touch, not hot.
- Don’t Skip the Salt — Salt is a flavor enhancer. Without it, the caramel is just sweet sugar. The salt brings out the buttery notes and makes the caramel taste more complex. Use a good quality sea salt.
- Let the Caramel Cool Before Using — If you try to drizzle hot caramel over your iced coffee, it will melt the ice too quickly and make your drink watery. Let the sauce cool to room temperature, or even chill it in the fridge for 15 minutes before assembling your drink.
- Use Large Ice Cubes — Standard small ice cubes melt fast. Large cubes or sphere ice melt slower, keeping your drink cold and strong for longer. If you don’t have large cubes, make extra ice and use it immediately.
- The Spoon Pour Trick — To get those beautiful layers, pour the espresso over the back of a metal spoon. Hold the spoon just above the milk surface, with the convex side facing up. Pour the espresso onto the spoon, and it will flow gently into the glass, creating layers instead of mixing.
Common Mistake: Making the caramel too thin. If your sauce is runny like water, it won’t drizzle nicely. Cook it a little longer until it coats the spoon. It will thicken further as it cools.
Variations & Substitutions
Once you’ve nailed the basic version, here’s how you can mix it up. I’ve tried all of these, and they all work well.
- Vanilla Caramel Macchiato — Add 1 teaspoon of vanilla syrup to the milk before pouring. This enhances the vanilla notes in the caramel and makes the drink smell incredible.
- Dairy-Free Version — Use oat milk instead of dairy milk. Oat milk froths well and has a creamy texture that mimics dairy. Use coconut oil instead of butter in the caramel sauce if you want it vegan, though the flavor will be slightly different.
- Decaf Option — Use decaf espresso pods or decaf coffee. The flavor profile is the same, just without the caffeine kick. Perfect for evening drinks.
- Extra Strong — Use three shots of espresso instead of two. This is for when you really need a boost. The milk and caramel will still balance it out.
- White Chocolate Caramel — Stir in 2 tablespoons of white chocolate chips into the hot caramel sauce after removing it from heat. This makes it even sweeter and creamier.
Dietary Modifications: For a lower-sugar version, use a sugar substitute in the caramel sauce, though the texture may be slightly different. For gluten-free, ensure your vanilla extract and espresso are certified gluten-free (most are).
Serving & Storage
How to Serve: I usually serve this straight from the counter, with a nice straw and maybe a napkin (because caramel drips). It’s perfect for a weekend brunch or a quiet morning at home. Pair it with a croissant or some fresh fruit for a complete breakfast.
Storage Instructions: The homemade caramel sauce can be stored in an airtight container in the refrigerator for up to two weeks. It will thicken in the fridge, so just microwave it for 10-15 seconds or stir in a teaspoon of warm water to loosen it up before using. Do not freeze the caramel sauce, as the texture can become grainy when thawed.
Reheating: If your caramel sauce is too thick to drizzle, gently heat it in the microwave or over low heat, stirring constantly, until it reaches a pourable consistency.
Pro Tip: Make a double batch of caramel sauce on Sunday. It keeps for two weeks, so you can assemble your iced caramel macchiato in under 5 minutes on any busy morning. It’s the ultimate meal prep hack for coffee lovers.
Nutrition Information
I’m not a nutritionist, but here’s the breakdown if you’re tracking. Keep in mind that this is a treat, so enjoy it mindfully.
Per Serving (1 drink, with homemade caramel sauce):
- Calories: 280
- Protein: 6g
- Carbs: 35g
- Fiber: 0g
- Sugar: 32g
- Fat: 12g
- Saturated Fat: 7g
- Cholesterol: 35mg
- Sodium: 120mg
What’s Good: The milk provides calcium and protein. The caramel sauce, while high in sugar, is made with real butter and cream, so it’s less processed than store-bought alternatives.
What to Know: This drink is high in sugar and calories due to the caramel sauce and milk. If you’re watching your sugar intake, use less caramel sauce or try a sugar-free vanilla syrup. It’s not a diet recipe, but it’s better than most café options because you control the ingredients.
Dietary Notes: Contains dairy. Can be made gluten-free. Not suitable for vegan (unless modifications are made).
Final Thoughts
So that’s my go-to iced caramel macchiato with homemade caramel sauce! I’ve probably talked your ear off at this point, but when you make a recipe this often, you have a lot to say about it. This drink has saved my mornings, my wallet, and my caffeine cravings. It’s my answer to “I want a treat” when I’m at home. My family loves it, my friends ask for the recipe, and I’m happy because I’m not stressed about making it.
Make it yours! Try different milks, adjust the sweetness, or add a pinch of cinnamon on top. The best recipes are the ones you adapt to your tastes. If you make this, drop a comment and let me know what you think! I love hearing how recipes turn out in your kitchen. And if something doesn’t work, tell me that too—I’m here to help troubleshoot.
Happy brewing! And I hope your kitchen smells half as good as mine does right now.
Frequently Asked Questions
Can I use instant coffee instead of espresso?
You can, but the flavor won’t be as rich or authentic. Instant coffee is fine for a quick fix, but for a true iced caramel macchiato, you want that strong, concentrated espresso flavor. If you must use instant, use 2 teaspoons of instant espresso powder dissolved in 2 ounces of hot water. It’s better than regular instant coffee.
Why is my homemade caramel sauce grainy?
This usually happens if you add cold cream to hot caramel, or if sugar crystals form on the sides of the pan. To prevent this, make sure your cream is room temperature. Also, wash down the sides of the pan with a wet pastry brush while the sugar is melting to prevent crystallization. If it’s already grainy, you can try whisking in a little extra warm cream to smooth it out.
Can I make the caramel sauce ahead of time?
Absolutely! This is actually recommended. The caramel sauce keeps in the fridge for up to two weeks. Just store it in an airtight jar. Before using, warm it up slightly so it’s pourable. This makes assembling your iced caramel macchiato super fast on busy mornings.
What kind of milk works best for this drink?
Whole milk is traditional and gives the creamiest texture. However, oat milk is a fantastic alternative because it froths well and has a natural sweetness that pairs beautifully with caramel. Almond milk works too, but it’s thinner and less creamy. Experiment to find your favorite!
How do I get the layers to stay distinct?
The key is density. Espresso is denser than milk, so it sinks. To help this, pour the espresso slowly over the back of a spoon held just above the milk surface. This slows the flow and prevents mixing. Also, make sure your milk is cold and your espresso is warm (not boiling) to minimize ice melting.
Can I use store-bought caramel sauce?
You can, but I highly recommend against it. Store-bought caramel is often too thin and overly sweet. It doesn’t drizzle nicely and can make the drink too sugary. Homemade caramel sauce is easier than you think and makes a huge difference in flavor and texture. Trust me, once you try homemade, you won’t go back.
Pin This Recipe!
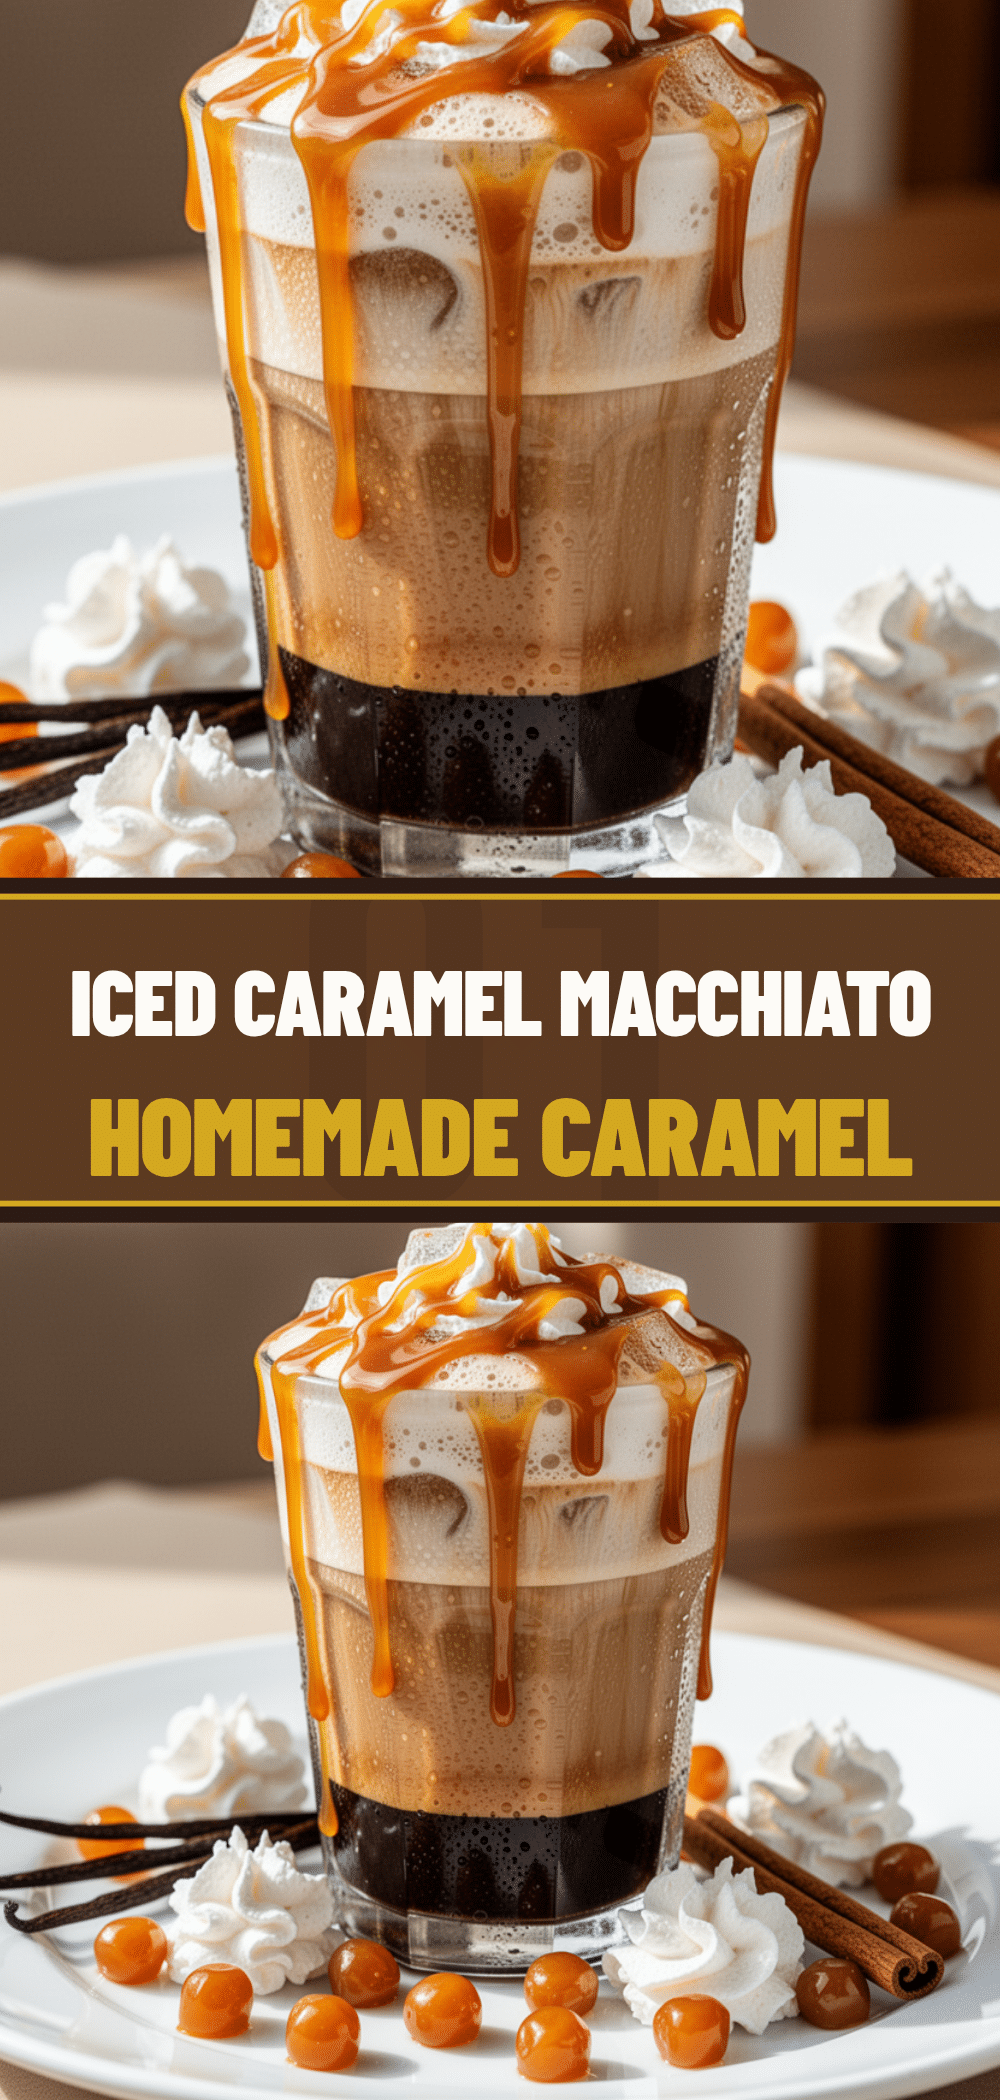

Iced Caramel Macchiato: Easy Homemade Caramel Recipe
- Total Time: 15 minutes
- Yield: 1 serving 1x
Description
A homemade iced caramel macchiato featuring rich, thick caramel sauce made from scratch, allowing for better flavor control and cost savings compared to coffee shop versions.
Ingredients
- For the Homemade Caramel Sauce:
- ½ cup (115g) Unsalted Butter
- 1 cup (200g) Dark Brown Sugar
- ½ cup (120ml) Heavy Cream (room temperature)
- ½ teaspoon Sea Salt
- 1 teaspoon Vanilla Extract
- For the Iced Caramel Macchiato:
- 2 shots (about 2 ounces) Espresso
- 1 cup (240ml) Milk (whole or oat)
- 1 cup Ice Cubes
- 1 teaspoon Vanilla Syrup (Optional)
Instructions
- Combine butter and brown sugar in a small saucepan over medium heat. Stir constantly for 3-4 minutes until the mixture is bubbling and glossy.
- Carefully pour in the room-temperature heavy cream. The mixture will bubble up aggressively; keep stirring constantly.
- Simmer for another 2-3 minutes until the sauce thickens slightly and coats the back of a spoon.
- Remove from heat and stir in the vanilla extract and sea salt. Pour into a container to cool.
- Brew two shots of espresso (about 2 ounces) and let it cool for a minute or two.
- Fill a tall glass with ice cubes and pour in the milk, leaving about an inch of space at the top.
- If using vanilla syrup, add it to the milk and stir gently.
- Pour the espresso slowly over the back of a spoon held just above the milk surface to create distinct layers.
- Drizzle the homemade caramel sauce generously over the top of the drink, aiming for the sides of the glass.
- Serve immediately with a straw.
Notes
Ensure heavy cream is room temperature to prevent the caramel from seizing. Use large ice cubes to prevent rapid melting. The caramel sauce can be made ahead and stored in the fridge for up to two weeks; reheat slightly before using. For a dairy-free version, use oat milk and coconut oil instead of butter.
- Prep Time: 10 minutes
- Cook Time: 5 minutes
- Category: Beverage
- Cuisine: American
Nutrition
- Serving Size: 1 drink
- Calories: 280
- Sugar: 32
- Sodium: 120
- Fat: 12
- Saturated Fat: 7
- Carbohydrates: 35
- Protein: 6
Keywords: iced caramel macchiato, homemade caramel sauce, coffee recipe, espresso drink, dairy-free option, morning ritual


