It was 6:45 PM on a Tuesday, and I was staring into the open fridge like it held the secrets to the universe. Inside, there was a half-empty container of leftover roasted chicken, a wilting bunch of spinach, and, of all things, a can of chickpeas I’d bought three weeks ago and completely forgot about. My stomach was growling, my brain was fried from work, and the last thing I wanted to do was cook. But ordering takeout felt like a betrayal of my New Year’s resolution, and making a full dinner felt impossible.
So I did what any desperate, hungry person does: I dumped those sad, cold chickpeas into my air fryer basket, tossed them with some olive oil, paprika, and garlic powder, and hit “start.” I wasn’t expecting much. I was expecting lukewarm, soggy legumes at best. What I got twenty minutes later was something that completely changed my relationship with snacking.
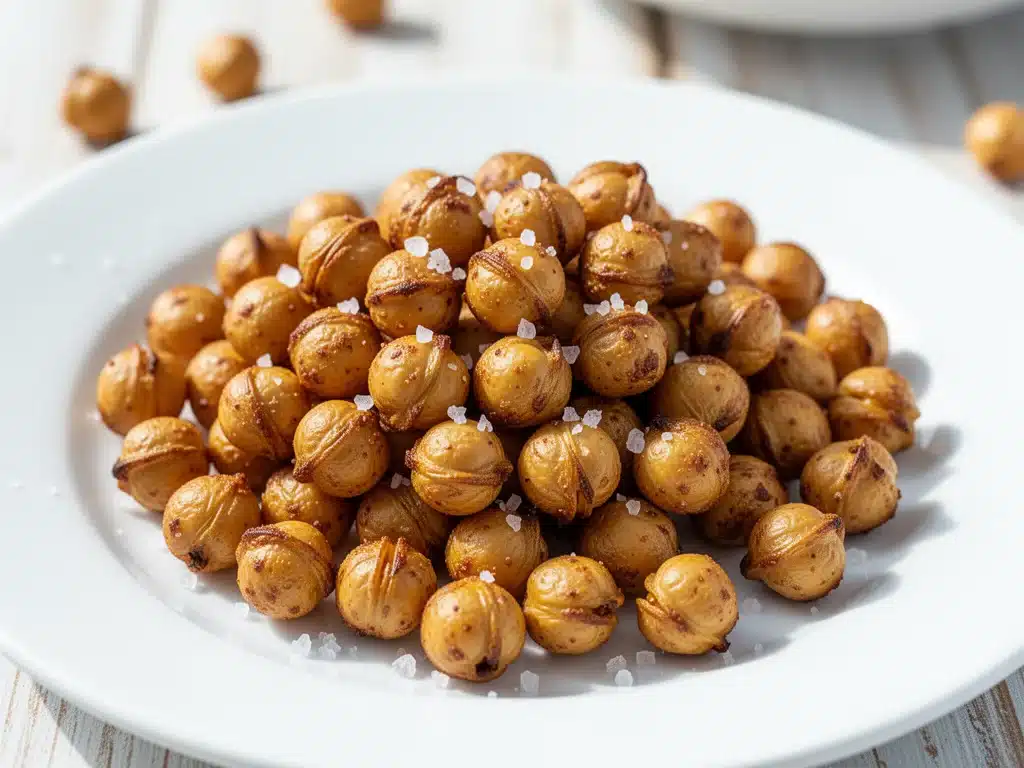
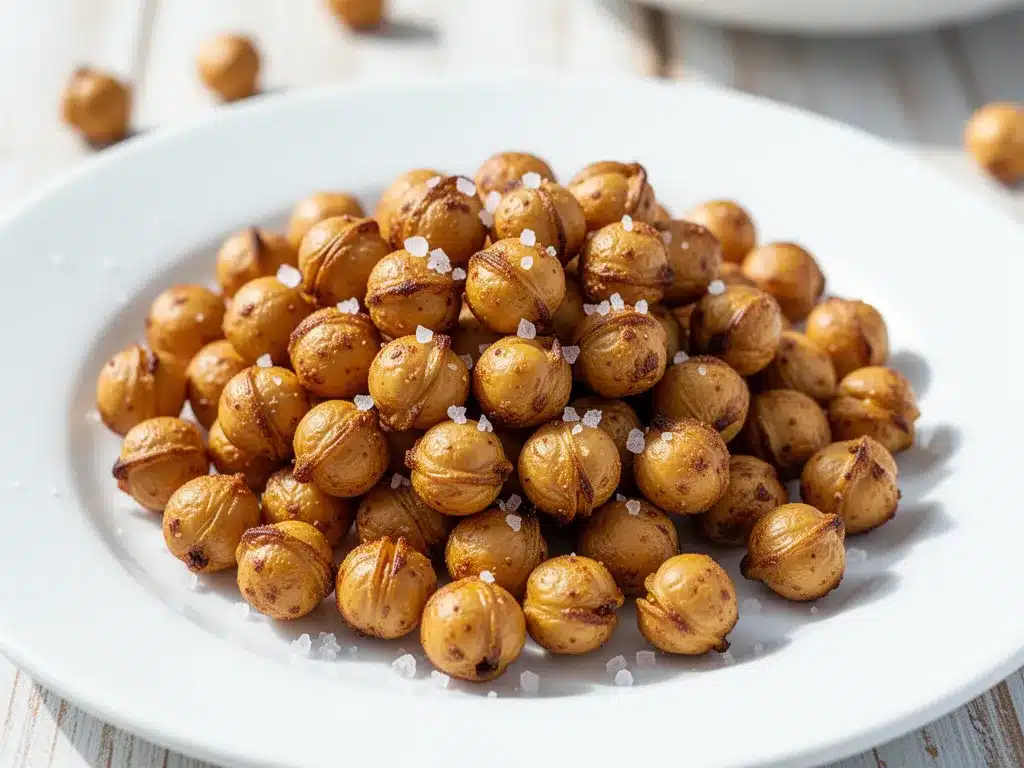
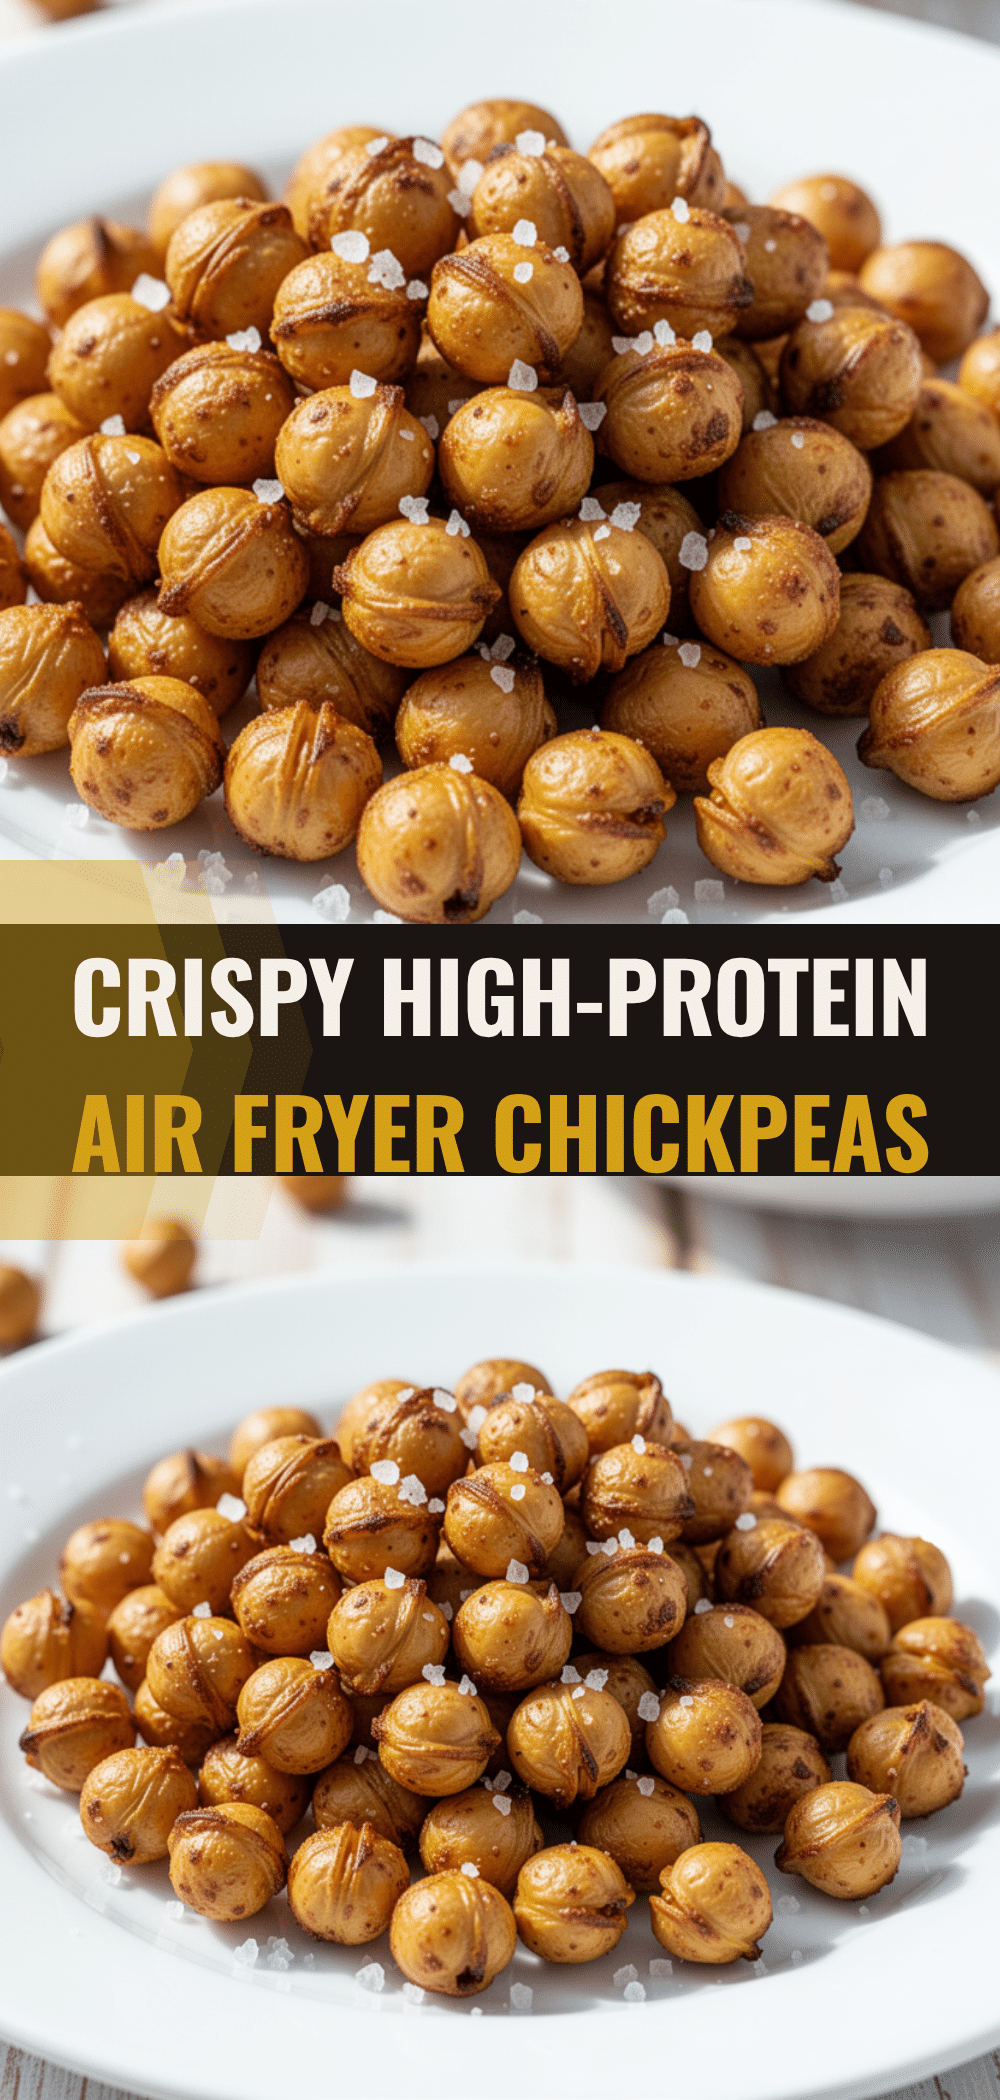
They were crunchy. They were salty. They were high in protein. And they tasted like a bag of chips I’d actually feel good about eating. That night, I ate them straight out of the basket while my kids played in the other room, and for the first time in months, I didn’t feel guilty about “snacking” during dinner prep. These High-Protein Air Fryer Chickpea Snacks have since become my go-to solution for those chaotic weeknight moments when I need something quick, satisfying, and nutritious without the hassle of chopping vegetables or heating up the stove.
If you’re like me—constantly hunting for a snack that isn’t processed junk but also doesn’t require a PhD in culinary arts—this recipe is your new best friend. It’s simple, it’s fast, and it delivers that addictive crunch we all crave. I’ve tested this method so many times that I can now make these in my sleep, and I’m here to tell you that it actually works.
Why You’ll Love This Recipe
Let’s be real for a second. Most healthy snacks feel like punishment. You know, those rice cakes that taste like cardboard or the protein bars that are so dense you need a shovel to eat them. These chickpea snacks are the opposite. They’re fun, they’re flavorful, and they actually make you feel energized rather than sluggish. Here’s why they’ve earned a permanent spot in my kitchen rotation:
- Incredibly Crunchy — Seriously, I’ve tried baking them in the oven, and they always end up soft or chewy. The air fryer is the only way to get that deep-fried texture without the oil. My kids think they’re eating potato chips, and I don’t have the heart to tell them otherwise.
- Packed with Protein — One serving gives you about 6-8 grams of plant-based protein. That’s huge for a snack. It keeps me full until dinner and stops the 4 PM sugar crash in its tracks.
- Ready in 20 Minutes — From can to crunch in under 20 minutes. I make these when I get home from work at 6:30 and need a snack while I’m chopping veggies for dinner. It’s the perfect “waiting game” food.
- Pantry Staple Friendly — You don’t need to go to the store for this. Most people have canned chickpeas, olive oil, and spices. It’s a zero-stress recipe that uses what you already have.
- Customizable Flavor — Love spicy? Add cayenne. Love herby? Throw in dried rosemary or thyme. I make a different batch every week now. It’s like playing with your food, but delicious.
These snacks have saved me from the vending machine aisle more times than I can count. They’re perfect for meal prep, for kids’ lunchboxes, or just for when you’re sitting on the couch watching TV and need something to do with your hands. Trust me, once you try them, you’ll be stocking up on cans.
Ingredients You’ll Need
Here’s the best part: you probably have 90% of this already in your kitchen. I’m particular about a few things here, mostly because I’ve learned the hard way that bad ingredients lead to bad results. But don’t worry, this is super forgiving.
For the Chickpeas:
Canned chickpeas (garbanzo beans) (2 cans, 15 oz each / 425g each) — Yes, cans. Dried chickpeas take hours to soak and cook. For a busy weeknight snack, canned is the way to go. Look for low-sodium options if you can find them, so you can control the salt. I use the generic store brand; they’re cheap and work perfectly.
Olive oil (2 tablespoons / 30ml) — You need a little fat to help the spices stick and to promote browning. Extra virgin olive oil adds a nice flavor, but regular olive oil works fine too. Don’t use butter unless you want it to burn—stick with oil.
Lemon juice (1 tablespoon / 15ml) — A splash of fresh lemon juice right after they come out of the air fryer adds brightness and cuts through the richness. It’s optional, but I highly recommend it. It makes them taste less “canned” and more fresh.
For the Seasoning:
Garlic powder (1 teaspoon / 5g) — This is non-negotiable. Fresh garlic burns in the air fryer and tastes bitter. Powder gives you that savory, garlicky punch without the risk. Use the good stuff, not the dusty stuff from the back of the cabinet.
Smoked paprika (1 teaspoon / 2g) — This gives them that smoky, almost BBQ-like flavor. It’s what makes them taste gourmet. If you don’t have smoked paprika, regular paprika works, but it won’t have that depth.
Cumin (½ teaspoon / 2g) — Adds an earthy warmth. I love the combination of cumin and paprika—it’s a classic flavor profile for a reason.
Sea salt (½ teaspoon / 3g) — Adjust to taste. Since chickpeas are bland on their own, they need salt to make the spices pop. If you’re watching sodium, go light, but don’t skip it entirely.
Black pepper (¼ teaspoon / 1g) — Just a pinch for some heat. Freshly cracked is best.
Optional Add-Ins:
Nutritional yeast (1 tablespoon / 5g) — If you want a cheesy, nutty flavor, sprinkle this on after cooking. It’s great for vegans and adds extra B vitamins.
Chili powder or cayenne (¼ teaspoon) — For those who like a kick. Start small; you can always add more.
Equipment Needed
You don’t need fancy gear for this. Here’s what I actually use:
Air Fryer — Obviously. I use a 5.8-quart basket style air fryer. If you have a smaller one, you might need to cook in two batches. Don’t overcrowd the basket, or they’ll steam instead of crisp. I’ve made that mistake more than once.
Colander — For rinsing the chickpeas. A simple mesh colander works fine.
Clean Kitchen Towel or Paper Towels — This is the secret weapon. You need to dry the chickpeas thoroughly. Wet chickpeas = soggy snacks. I use a clean kitchen towel to pat them dry, which is faster than paper towels and more eco-friendly.
Large Bowl — To toss the chickpeas with oil and spices. Any bowl will do, just make sure it’s big enough to shake everything around.
Measuring Spoons — For the spices. I keep a standard set on my counter. It’s faster than eyeballing it.
How to Make It: Step-by-Step
Alright, let’s make these! I’m walking you through exactly how I do it, including the little tricks I’ve picked up along the way. This is foolproof, so don’t stress.
Step 1: Rinse and Dry (5 minutes)
Open the cans and dump the chickpeas into a colander. Rinse them thoroughly under cold water. This removes the starchy liquid they’re packed in (called aquafaba, which is great for other things, but not for crispy snacks). Once rinsed, spread them out on a clean kitchen towel. This is the most important step: pat them dry. Really dry. Any moisture left on the skin will prevent them from getting crunchy. I usually roll them in the towel for a minute to absorb the water. If they’re still wet, they’ll steam. Don’t rush this.
Step 2: Season (2 minutes)
Transfer the dried chickpeas to a large bowl. Drizzle with olive oil. Sprinkle with garlic powder, smoked paprika, cumin, salt, and black pepper. Use your hands to toss them. Yes, get your hands dirty. It ensures every single chickpea is coated evenly. Make sure there are no clumps of spice. If you see a pile of paprika, break it up with your fingers.
Step 3: Air Fry (15-20 minutes)
Preheat your air fryer to 390°F (200°C). This helps them start crisping immediately. Spread the chickpeas in a single layer in the air fryer basket. Do not overcrowd. If you have a small air fryer, cook in two batches. Overcrowding leads to uneven cooking. Cook for 15 minutes, then shake the basket or stir the chickpeas with a spatula. This ensures they cook evenly on all sides. Cook for another 5-10 minutes, checking every 2 minutes after the 15-minute mark. They’re done when they’re golden brown and sound hollow when you tap them. They’ll continue to crisp up as they cool, so don’t overcook them to the point of burning.
Step 4: Cool and Serve (5 minutes)
Remove the chickpeas from the air fryer and let them cool for 5 minutes. This is when the magic happens—they get crunchier as they cool. Drizzle with lemon juice if using, and toss again. Taste and add more salt if needed. Serve immediately. They’re best fresh, but they keep well (more on that later).
Expert Tips & Tricks
Here’s everything I’ve learned from making these dozens of times. These tips will save you from my mistakes.
Dry is Key
I can’t stress this enough. The wetter the chickpeas, the less crunchy they’ll be. If you’re in a hurry, you can spread them on a baking sheet and let them air dry for 30 minutes before cooking. It’s worth the wait.
Don’t Skip the Shake
Shaking the basket halfway through cooking is crucial. Air fryers have hot spots, and shaking ensures even browning. If you skip this, you’ll get some burnt ones and some soft ones. Not ideal.
Let Them Cool
They might feel slightly soft when they first come out. Resist the urge to think they’re undercooked. They crisp up as they cool. If you eat them hot, you might think they’re not done and burn them. Patience pays off.
Store Properly
If you make a big batch, let them cool completely before storing. Any residual heat will create condensation and make them soggy. Use an airtight container.
Variations & Substitutions
Once you’ve nailed the basic version, here’s how you can mix it up. I’ve tried all of these, and they’re all winners.
Spicy Sriracha
Skip the cumin and paprika. Toss the chickpeas with 1 tablespoon sriracha sauce and 1 teaspoon sesame oil after cooking. Sprinkle with sesame seeds. Great for heat lovers.
Rosemary Garlic
Use fresh rosemary instead of paprika. Chop it finely and toss with the chickpeas before cooking. Adds a sophisticated, herbal flavor. Perfect for wine nights.
Sweet Cinnamon
Skip the savory spices. Toss with 1 tablespoon maple syrup, 1 teaspoon cinnamon, and a pinch of salt. Cook as directed. They become like candied nuts. Great for dessert or a sweet snack.
Everything Bagel
After cooking, toss with 1 tablespoon of Everything Bagel seasoning. Simple, trendy, and delicious.
Dietary Modifications:
Vegan — This recipe is naturally vegan. Just ensure your olive oil and spices are vegan-friendly (most are).
Gluten-Free — Naturally gluten-free. Just check your spice labels to ensure no cross-contamination.
Low-FODMAP — Chickpeas can be high in FODMAPs. If you’re sensitive, limit portion size to ½ cup per serving or use lentils instead.
Serving & Storage
How to Serve:
I usually serve these straight from the bowl as a snack. But they’re also great on top of salads for crunch, or mixed into trail mix. I’ve even crushed them up and used them as a topping for soups instead of croutons. They’re versatile.
Side Dishes:
They pair well with hummus, tzatziki, or just a glass of water. I often eat them while prepping dinner, so they don’t need a specific side.
Storage Instructions:
Refrigerator: Store in an airtight container at room temperature for up to 5 days. Do not refrigerate, as the humidity will make them soft.
Freezing: These don’t freeze well. The texture changes, and they become chewy. Make them fresh for best results.
Reheating: If they go soft, pop them back in the air fryer at 350°F for 3-5 minutes. They’ll crisp right back up.
Nutrition Information
I’m not a nutritionist, but here’s the breakdown if you’re tracking. This is per serving (based on 4 servings from one can).
Per Serving (approximate):
- Calories: 180
- Protein: 7g
- Carbs: 22g
- Fiber: 6g
- Sugar: 2g
- Fat: 7g
- Sodium: 300mg (varies based on salt added)
What’s Good:
High in fiber and protein, which helps with satiety. Low in sugar. Good source of iron and folate.
What to Know:
Calories are moderate. Fat content depends on how much oil you use. Sodium can be controlled by using low-sodium chickpeas and minimal salt.
My Take:
This is a healthy snack that doesn’t taste like diet food. It’s satisfying and nutritious. I feel good eating these, and they help me avoid junk food cravings.
Final Thoughts
So that’s my go-to High-Protein Air Fryer Chickpea Snacks! I’ve probably talked your ear off at this point, but when you make a recipe this often, you have a lot to say about it.
This has saved weeknight dinners more times than I can count. It’s my answer to “what’s for a snack” when I’m tired, don’t want takeout, and still want something that tastes really good. My kids are happy, my husband’s happy, and I’m happy because I’m not stressed about cooking.
Make it yours! Try different spices, adjust the salt, or add some heat. The best recipes are the ones you adapt to your family’s tastes. If you make this, drop a comment and let me know what you think! I love hearing how recipes turn out in your kitchen. And if something doesn’t work, tell me that too—I’m here to help troubleshoot.
Happy cooking! And I hope your kitchen smells half as good as mine does right now.
Frequently Asked Questions
Can I use dried chickpeas instead of canned?
You can, but it’s not ideal for a busy weeknight. Dried chickpeas need to be soaked overnight and then boiled for an hour or more. Canned chickpeas are pre-cooked, which saves you hours. If you do use dried, make sure they’re fully cooked and very dry before air frying. Otherwise, stick to canned for speed.
Why are my chickpeas still soft after cooking?
This usually happens for two reasons: they weren’t dry enough before cooking, or the basket was overcrowded. Moisture is the enemy of crunch. Make sure you pat them thoroughly dry. Also, ensure they’re in a single layer with space between them. If they’re touching, they’ll steam instead of crisp.
Can I make these ahead for meal prep?
Yes! I often make a big batch on Sunday and store them in an airtight container. They stay crunchy for up to 5 days at room temperature. Just make sure they’re completely cool before storing. If you store them while warm, condensation will make them soggy.
Are these chickpeas safe for kids?
Absolutely. They’re a great source of protein and fiber for growing kids. Just be mindful of the salt content. You can reduce the salt or use low-sodium chickpeas. My kids love them, especially the plain or cinnamon versions. They’re a much better alternative to chips.
Can I add cheese to these?
You can, but be careful. Cheese can burn in the air fryer. If you want a cheesy flavor, add nutritional yeast after cooking, or sprinkle finely grated Parmesan on right at the end of cooking and watch them closely. I prefer the nutritional yeast for a vegan option.
How do I reheat leftover chickpeas?
If they go soft, pop them back in the air fryer at 350°F for 3-5 minutes. They’ll crisp right back up. Avoid the microwave, as it will make them chewy and soft. The air fryer is the best way to restore their texture.
Pin This Recipe!
High-Protein Air Fryer Chickpea Snacks
- Total Time: 27 minutes
- Yield: 4 servings 1x
Description
Crunchy, high-protein chickpea snacks made in the air fryer with simple pantry spices. Ready in under 20 minutes, these healthy snacks are perfect for weeknight cravings and meal prep.
Ingredients
- 2 cans (15 oz each) canned chickpeas (garbanzo beans)
- 2 tablespoons olive oil
- 1 teaspoon garlic powder
- 1 teaspoon smoked paprika
- ½ teaspoon cumin
- ½ teaspoon sea salt
- ¼ teaspoon black pepper
- 1 tablespoon lemon juice (optional)
- 1 tablespoon nutritional yeast (optional)
- ¼ teaspoon chili powder or cayenne (optional)
Instructions
- Open cans and rinse chickpeas thoroughly in a colander under cold water to remove starchy liquid.
- Pat chickpeas completely dry using a clean kitchen towel or paper towels; this step is crucial for crispiness.
- Preheat air fryer to 390°F (200°C).
- Transfer dried chickpeas to a large bowl and drizzle with olive oil.
- Sprinkle with garlic powder, smoked paprika, cumin, salt, and black pepper.
- Toss chickpeas by hand until evenly coated and no spice clumps remain.
- Spread chickpeas in a single layer in the air fryer basket; do not overcrowd.
- Air fry for 15 minutes, then shake basket or stir chickpeas.
- Continue cooking for another 5-10 minutes, checking every 2 minutes, until golden brown and crisp.
- Remove from air fryer and let cool for 5 minutes to allow them to crisp further.
- Drizzle with lemon juice if using, toss again, and serve immediately.
Notes
Ensure chickpeas are thoroughly dry before cooking to achieve maximum crunch. Do not overcrowd the air fryer basket; cook in batches if necessary. Shake the basket halfway through cooking for even browning. Let chickpeas cool completely before storing to maintain crispness. Store in an airtight container at room temperature for up to 5 days. Do not refrigerate as humidity will make them soft.
- Prep Time: 7 minutes
- Cook Time: 20 minutes
- Category: Snack
- Cuisine: American
Nutrition
- Serving Size: Approximately 1/4 of
- Calories: 180
- Sugar: 2
- Sodium: 300
- Fat: 7
- Saturated Fat: 1
- Carbohydrates: 22
- Fiber: 6
- Protein: 7
Keywords: air fryer chickpeas, high protein snack, healthy snacks, vegan snacks, gluten-free snacks, quick snacks, chickpea recipes, air fryer recipes


