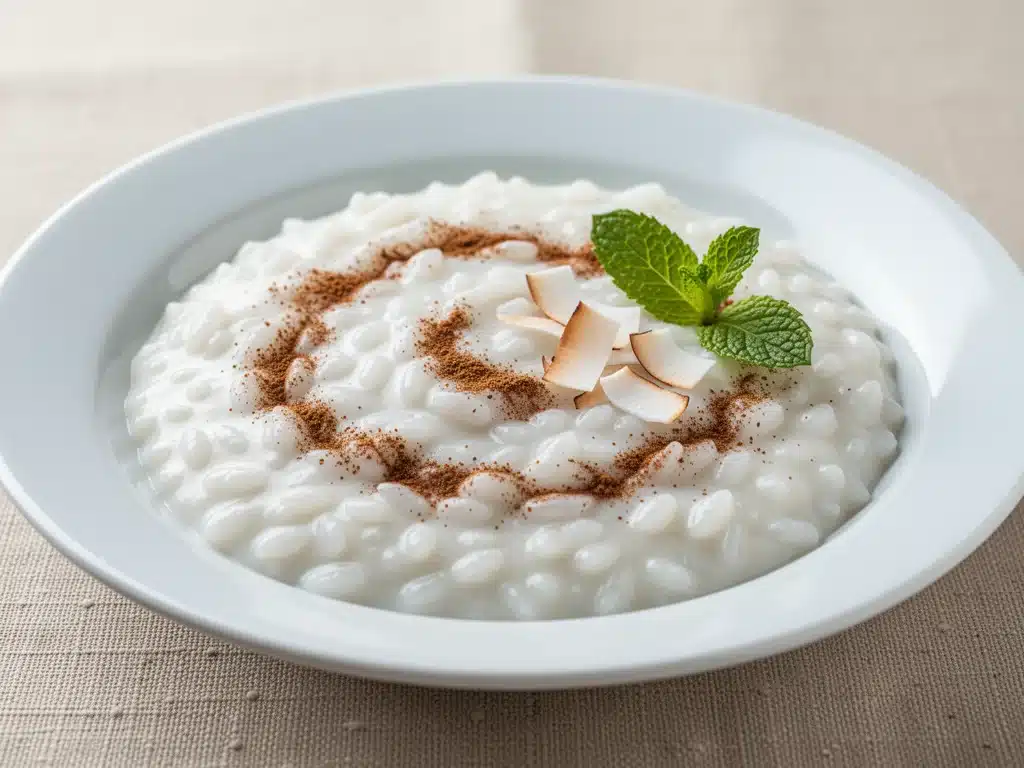
It was 2 AM on a Tuesday. The house was quiet, the kids were asleep, and I was staring into the open fridge like it held the secrets to the universe. I wasn’t hungry for dinner. I was hungry for comfort. Something warm, sweet, and creamy that wouldn’t weigh me down like a heavy meal but would feel like a hug.
I had a carton of coconut milk that was about to expire, a cup of leftover white rice from last night’s stir-fry, and a jar of cinnamon that had been sitting in the back of my spice rack for months. I dumped them all into a saucepan, hit the stove, and waited.
When I took that first spoonful, I stopped. It was rich. It was velvety. It tasted like a vacation I couldn’t afford. And the best part? It took less than 20 minutes from start to finish. No soaking long-grain rice for hours. No complicated custard techniques. Just simple, honest ingredients coming together to make what I now consider the ultimate lazy-night dessert.
This creamy dairy-free coconut milk rice pudding has become my go-to when I need something sweet but don’t want to turn the kitchen into a flour bomb. It’s perfect for busy weeknights because it uses what you already have. It’s the kind of recipe that feels like a cheat code for your taste buds—rich, indulgent, but totally guilt-free because it’s actually pretty good for you.
I’ve made this at least a dozen times since that random 2 AM episode. Sometimes I add vanilla. Sometimes I skip it. Sometimes I use jasmine rice, sometimes I use basmati. But the base? It’s always the same. Creamy coconut milk, sweet rice, and a generous dusting of cinnamon that makes the whole house smell like a bakery. If you’ve been avoiding dairy or just want a lighter dessert that still hits that creamy spot, you need to try this. Seriously. It’s going to change your mind about what “healthy” dessert can be.
Why You’ll Love This Coconut Milk Rice Pudding
I know, I know. Rice pudding usually means spending an hour stirring a pot on low heat, worrying about scorching the bottom, and dealing with a mess that takes longer to clean than the cooking did. This version? It’s different. It’s faster, easier, and honestly? Better.
Here’s why this recipe has taken over my weeknight dessert rotation:
- Stupidly Simple — You don’t need to be a pastry chef. If you can boil water and open a can, you can make this. I’ve made it while on FaceTime with my mom. It just works.
- Lightning Fast — 20 minutes from start to finish. That’s it. I make this after dinner when I’m tired, don’t want to order takeout, and still want something sweet. It’s ready before the dishes are even done.
- Pantry-Friendly — You probably have every single ingredient already. Rice? Coconut milk? Cinnamon? Sugar? Yeah, it’s all there. No specialty trips to the store.
- Dairy-Free & Gluten-Free — Naturally. No hidden nasties. Perfect for my lactose-intolerant friends and anyone watching their gluten. It’s creamy without the cream.
- Makes Amazing Leftovers — This actually gets better the next day. The rice absorbs more of that coconut goodness, and the flavors meld together. I deliberately make extra for breakfast sometimes. Sounds weird? It’s not.
- Budget-Smart — Feeds 4-6 people for under $5. That’s cheaper than a single ice cream cone. It’s cheap comfort food at its finest.
This is my answer to “what’s for dessert?” when I’m exhausted. No fancy techniques, no weird ingredients, just reliable, delicious food that makes everyone happy. Even my picky eater kids ask for “the coconut rice stuff” now.
Ingredients You’ll Need
Here’s the best part: you probably have most of this already. I’m particular about a few things here, and I’ll tell you exactly why. Don’t skip the details—they matter.
For the Base:
White rice (1 cup / 200g) — I use short-grain or medium-grain white rice (like sushi rice or Arborio) because it’s starchier and gets creamier. Long-grain works but stays more separate. If you’re using leftover rice, this recipe is even faster—just reduce the cooking time slightly. Do not use brown rice unless you want to boil it for 45 minutes.
Coconut milk (1 can / 400ml) — Full-fat, canned coconut milk. Not the carton stuff meant for drinking. You need the thick, creamy kind from the Asian aisle or baking section. Shake the can well before opening. This is the heart of the creaminess. If you use light coconut milk, it will be thinner and less rich. Trust me on this.
Water (1 cup / 240ml) — Just plain water to help the rice cook through without becoming too dense. It balances the richness of the coconut milk.
Sugar (3-4 tablespoons / 40-50g) — I use white sugar for clean sweetness, but brown sugar works too if you want a caramel note. Maple syrup is a great substitution if you want it less processed. Start with 3 tablespoons, taste, and add more if needed. You can always add sugar, but you can’t take it out.
For the Flavor:
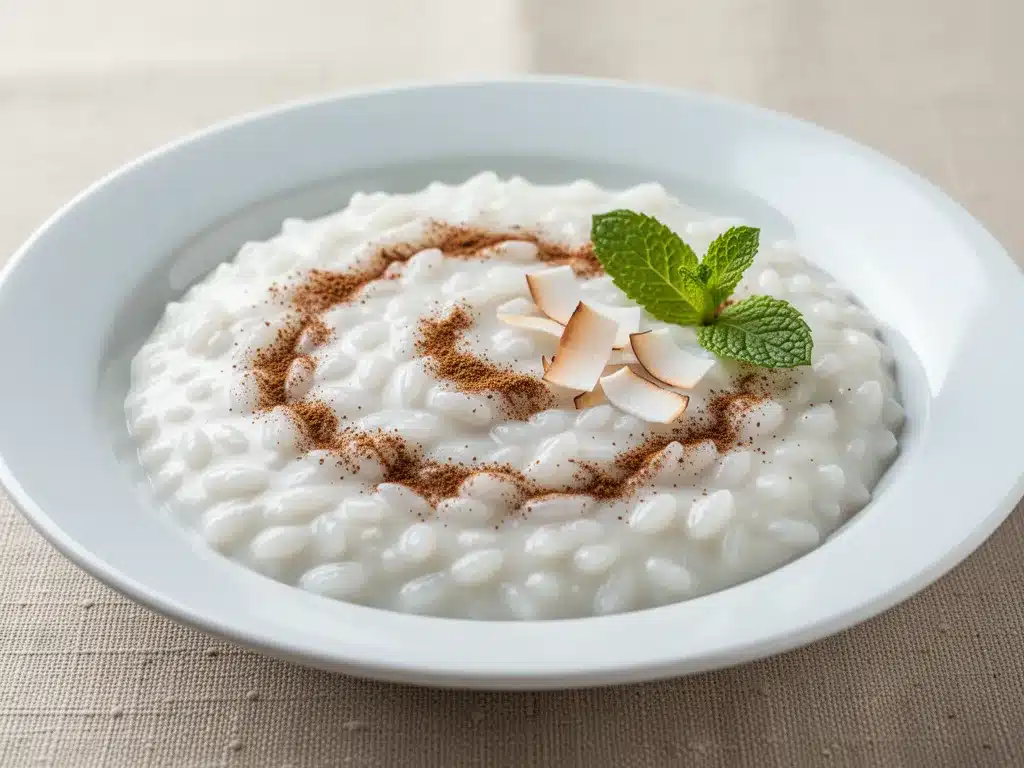
Cinnamon (1 teaspoon / 2g) — Ground cinnamon. Not the sticks. I use Ceylon cinnamon if I can find it because it’s sweeter and less spicy, but regular cinnamon works fine. This is the star flavor. Don’t skimp.
Vanilla extract (1 teaspoon / 5ml) — Pure vanilla, not imitation. It rounds out the coconut flavor and makes it feel more like a dessert. If you don’t have vanilla, skip it, but I highly recommend it.
Salt (a pinch / ¼ teaspoon) — Yes, salt in dessert. It enhances the sweetness and balances the coconut. I learned this from my grandmother, and she was right. It makes the flavors pop.
Butter or coconut oil (1 tablespoon / 15g) — Optional, but I add it at the end for extra richness. Coconut oil keeps it fully vegan. Butter adds a classic touch if you’re not strict dairy-free.
For Topping (Optional but Recommended):
Extra cinnamon — For dusting on top. Looks pretty and smells amazing.
Chopped nuts — Toasted almonds, pecans, or walnuts add crunch. I love it with toasted coconut flakes too.
Fresh fruit — Berries or sliced bananas on top cut the sweetness nicely.
Personal Tips:
- Brand recommendations: I use Goya coconut milk or Native Forest. Both are thick and creamy. Avoid the sweetened condensed coconut milk unless you want it super sweet.
- Shopping shortcuts: If you’re in a rush, use leftover cooked rice. It cuts the cooking time in half. Just simmer it in the coconut milk for 10 minutes instead of 20.
- Substitutions: No coconut milk? You can use oat milk or almond milk, but it won’t be as rich. You might need to add a teaspoon of cornstarch to thicken it.
- Storage: Coconut milk separates in the fridge. Just stir it back in when you reheat. It’s normal.
Equipment Needed
You don’t need fancy equipment for this. Here’s what I actually use. Most of this is stuff you already have.
Medium saucepan — I use a 3-quart pot. Needs to be big enough to fit the rice and liquid without boiling over. My old stainless steel pot works fine. Just make sure it has a heavy bottom so it doesn’t scorch.
Wooden spoon — For stirring. Silicone works too. Don’t use metal if your pot is non-stick. You’ll be stirring gently for 20 minutes, so comfort matters.
Measuring cups and spoons — Pretty standard stuff. Dollar store versions work fine. Accuracy helps, especially with the sugar.
Whisk — Optional, but helpful for mixing the coconut milk if it’s separated. Or just shake the can well.
Serving bowls — I like small ramekins or wide bowls. It looks prettier and lets the steam escape so it doesn’t get soggy.
Optional but nice:
- Microplane grater — For fresh nutmeg if you want to get fancy. A pinch of nutmeg with cinnamon is heavenly.
- Timer — Because I’m always distracted. Set it for 20 minutes so you don’t forget and walk away.
Tool Tips:
- Don’t have a saucepan? Any heavy-bottomed pot works. Just keep an eye on it so it doesn’t boil over.
- I’m obsessed with my wooden spoon from IKEA — It’s like $2 and has lasted me years. Good spoons make stirring less of a chore.
How to Make It: Step-by-Step
Alright, let’s make this! I’m walking you through exactly how I do it, including the little tricks I’ve picked up over time.
Step 1: Prep Your Ingredients (2 minutes)
Before you start cooking, measure out your rice, coconut milk, water, sugar, and cinnamon. I know it seems fussy, but it makes the actual cooking way less stressful. Once you start, things move fast. Stirring constantly is key, and it’s easier if everything is right there in front of you.
Step 2: Combine Rice and Liquids (5 minutes)
In your medium saucepan, combine the rice, coconut milk, and water. Stir well to mix. The coconut milk might be thick and separated—that’s normal. Just give it a good stir with your spoon until it’s mostly blended. Add the sugar, cinnamon, salt, and vanilla extract. Stir again to distribute everything evenly.
Step 3: Bring to a Simmer (3 minutes)
Place the saucepan over medium-high heat. Watch it closely. You want to bring it to a gentle simmer—small bubbles around the edges, not a rolling boil. This usually takes about 3 minutes. Once it starts bubbling, reduce the heat to low. High heat will make the rice tough and the coconut milk separate.
Step 4: Simmer and Stir (10 minutes)
Let it simmer on low. This is the important part. Stir every 2-3 minutes to prevent sticking. The bottom of the pot is where the rice likes to hide and burn, so scrape the bottom gently with your spoon. You’ll notice the mixture thickening. The rice will start to soften and release starch, which is what makes it creamy. If it gets too thick before the rice is tender, add a splash more water.
Step 5: Check for Doneness (2 minutes)
After about 10 minutes of simmering, taste a grain of rice. It should be tender but still have a tiny bit of bite (al dente). If it’s still hard, keep cooking for another 2-3 minutes, stirring frequently. The sauce should be thick and creamy, coating the back of your spoon. It shouldn’t be runny, but it shouldn’t be a solid block either. It should flow slowly.
Step 6: Finish with Fat (1 minute)
Remove the saucepan from the heat. Stir in the butter or coconut oil. This adds gloss and richness. The pudding will continue to thicken as it cools, so don’t worry if it looks a little loose in the pan. It’ll set up nicely in the bowl.
Step 7: Serve
Ladle into bowls. Dust with extra cinnamon. Add your toppings if you’re feeling fancy. Eat warm or chilled. I love it warm straight off the stove, but it’s also great cold from the fridge. Total time: About 20 minutes.
Built-in Troubleshooting:
- Sauce too thick? Add a splash of water or milk a tablespoon at a time while stirring.
- Sauce too thin? Keep simmering for another 2-3 minutes. The rice will release more starch.
- Rice still hard? Add more water and cook longer. Don’t rush it.
- Scorched bottom? If it smells burnt, don’t save it. Start over. A little burn ruins the whole batch.
Expert Tips & Tricks
Here’s everything I’ve learned from making this dozens of times. These tips will save you from my mistakes.
The Game-Changers:
Stir, Don’t Walk Away
This isn’t a “set it and forget it” recipe. You need to stir occasionally. I set a timer for every 3 minutes. If you walk away, you’ll come back to a pot of stuck, burnt rice. It’s not worth the cleanup.
Use Full-Fat Coconut Milk
I’ve tried light coconut milk before. It’s watery. It’s disappointing. Full-fat is non-negotiable for that creamy texture. If you’re worried about calories, just eat a smaller portion. It’s worth it.
Rinse Your Rice? No.
Unlike sushi rice, you don’t need to rinse short-grain pudding rice. You want that starch on there to thicken the pudding. Rinsing it removes the creaminess. Just dump it in.
Low and Slow
High heat is the enemy. Keep it on low simmer. Gentle heat keeps the coconut milk emulsified and the rice tender. Rushing it with high heat makes grainy, separated pudding.
Common Mistakes (and how to avoid them):
Mistake: Pudding is watery
Fix: You didn’t simmer long enough, or the heat was too low. Keep cooking and stirring. The starch needs time to activate. Also, make sure you’re using full-fat coconut milk.
Mistake: Pudding is clumpy
Fix: You didn’t stir enough. The rice sticks to the bottom and forms clumps. Keep scraping the bottom with your spoon.
Mistake: Too sweet
Fix: Use less sugar. Coconut milk is naturally sweet. Start with 2 tablespoons and taste before adding more. You can always add, but you can’t subtract.
Pro Tricks I’ve Learned:
For Restaurant-Quality Finish
Add a pinch of nutmeg with the cinnamon. It adds a warm, complex note that makes it taste like a bakery dessert.
For Extra Creaminess
Stir in a teaspoon of cornstarch mixed with a little cold water at the end. It thickens it up instantly without changing the flavor.
For Better Texture
Let it rest for 5 minutes after cooking before serving. It settles and becomes uniformly creamy. Don’t eat it straight off the stove if you want the best texture.
Make-Ahead Strategy
Make it the night before. Store in the fridge. It thickens overnight, so add a splash of milk when reheating. It tastes even better the next day.
Variations & Substitutions
Once you’ve nailed the basic version, here’s how you can mix it up. I’ve tried all of these.
Tested Variations:
Chocolate Coconut Rice Pudding
Add 2 tablespoons of cocoa powder in Step 2. It’s rich, chocolatey, and amazing. My kids love this version.
Maple Pecan
Use maple syrup instead of sugar. Top with toasted pecans. It tastes like a fall dessert. Add a dash of maple extract if you have it.
Tropical Twist
Add diced mango or pineapple in the last 2 minutes of cooking. Top with toasted coconut flakes. It’s like a piña colada in a bowl.
Cardamom Spice
Swap cinnamon for ground cardamom. It’s floral and aromatic. Great with a squeeze of lemon juice.
Lemon Vanilla
Add zest of 1 lemon and extra vanilla. Skip the cinnamon. It’s bright and fresh. Perfect for spring.
Dietary Modifications:
Sugar-Free
Use monk fruit sweetener or stevia. It won’t be as thick because sugar helps with texture, so you might need a little cornstarch.
Low-Fat
Use light coconut milk, but add a teaspoon of cornstarch to thicken it. It’s not as rich, but it works.
Nut-Free
This recipe is naturally nut-free. Just don’t add nut toppings.
Gluten-Free
Naturally gluten-free. Just make sure your coconut milk and cinnamon are certified GF if you’re strict.
Different Flavors:
- Matcha — Stir in 1 teaspoon of matcha powder at the end. Earthy and green.
- Espresso — Add 1 teaspoon of instant espresso powder. Coffee lovers, this is for you.
- Orange Blossom — Add ½ teaspoon of orange blossom water. Very Middle Eastern.
Serving & Storage
How to Serve:
I usually serve this straight from the stove in small bowls. It looks rustic and stays warm. But here are other ways I’ve enjoyed it:
- With fresh berries — Strawberries or raspberries cut the sweetness.
- With toasted coconut — Adds crunch and looks pretty.
- With a drizzle of honey — For extra sweetness and gloss.
- Chilled — It’s great cold, like a pudding cup. Add a splash of milk to loosen it up.
Storage Instructions:
Refrigerator:
Store in an airtight container for up to 5 days. The sauce will thicken in the fridge—totally normal. Just add a splash of milk or water when reheating to loosen it up.
Reheating:
Best method: Add to a saucepan with a splash of milk over low heat. Stir until heated through and creamy again.
Microwave method: Heat in 30-second intervals, stirring between. Add a splash of milk if it’s too thick.
Never works: Trying to reheat it dry. It’ll turn into a rice cake. Ask me how I know.
Freezing:
Honestly, this doesn’t freeze well because of the coconut milk. The texture can get grainy when thawed. Make it fresh or store in the fridge for up to 5 days.
Meal Prep:
Make it on Sunday, store in the fridge. Reheat or eat cold each night. Takes 5 minutes and tastes way better than buying dessert.
Pro tip: If leftovers are drying out, stir in a tablespoon of coconut milk when reheating. Brings back that creamy texture.
Nutrition Information
I’m not a nutritionist, but here’s the breakdown if you’re tracking.
| Per Serving (based on 6 servings) |
|---|
| Calories: 280 |
| Protein: 4g |
| Carbs: 42g |
| Fiber: 2g |
| Sugar: 18g |
| Fat: 10g |
| Saturated Fat: 8g |
| Cholesterol: 0mg |
| Sodium: 45mg |
What’s Good:
- Gluten-free and dairy-free
- Good source of carbs for energy
- Coconut milk has MCTs (healthy fats)
- Can add vegetables or nuts to boost nutrition
What to Know:
- Higher in sugar if you add extra sweetener
- Contains coconut (tree nut allergen for some)
- Calories from coconut fat are dense
My Take:
Look, this is a dessert. It’s sweet and creamy. It’s not a diet recipe. But it’s way better than store-bought pudding, costs less, and I know exactly what’s in it. When I want to make it lighter, I use less sugar and add protein powder. But usually? I just eat a reasonable portion and enjoy it.
Final Thoughts
So that’s my creamy dairy-free coconut milk rice pudding! I’ve probably talked your ear off at this point, but when you make a recipe this often, you have a lot to say about it.
This has saved weeknight desserts more times than I can count. It’s my answer to “what’s for dessert?” when I’m tired, don’t want to bake, and still want something that tastes really good. My kids are happy, my husband’s happy, and I’m happy because I’m not stressed about cooking.
Make it yours! Try different flavors, swap in your favorite spices, adjust the sweetness. The best recipes are the ones you adapt to your family’s tastes. And if you want something similar, check out my classic vanilla pudding for a dairy version, or try my overnight oats for a breakfast twist.
If you make this, drop a comment and let me know what you think! I love hearing how recipes turn out in your kitchen. And if something doesn’t work, tell me that too—I’m here to help troubleshoot.
Happy cooking! And I hope your kitchen smells half as good as mine does right now.
Frequently Asked Questions
Can I use brown rice instead of white rice?
You can, but it will take much longer to cook—about 45 minutes to an hour. The texture will also be chewier and less creamy. If you must use brown rice, I recommend pre-cooking it first, then simmering it in the coconut milk for 10 minutes. It won’t be the same texture, but it’ll work.
Why did my pudding turn out watery?
Usually means you didn’t simmer long enough, or the coconut milk was too thin. Make sure you’re using full-fat canned coconut milk, not the carton drinking kind. Also, keep stirring and simmering for the full 20 minutes. The rice needs time to release its starch. If it’s still watery after 20 minutes, cook for another 5 minutes.
Can I make this ahead for a dinner party?
Absolutely. Make it up to 2 days ahead and store in the fridge. Reheat gently with a splash of milk, or serve cold. It actually tastes better after sitting for a few hours because the flavors meld. I do this all the time for parties.
Can I use almond milk instead of coconut milk?
You can, but it won’t be as creamy or rich. Almond milk is very thin. If you use it, add 1-2 tablespoons of cornstarch to thicken it. Or mix half almond milk with half heavy cream for a compromise. But the whole point of this recipe is the coconut richness, so I’d stick with coconut milk if you can.
Why did my pudding get clumpy?
You didn’t stir enough. Rice loves to stick to the bottom of the pot. Keep scraping the bottom with your spoon every few minutes. If it’s already clumpy, you can whisk it vigorously while reheating to break it up, but it might not be perfect.
Can I use maple syrup instead of sugar?
Yes! It’s a great substitution. Use ¼ cup of maple syrup for 3-4 tablespoons of sugar. It adds a nice depth of flavor. Just reduce the other liquids slightly if you’re using a thin syrup, or it might be too loose.
How do I reheat leftovers without it getting dry?
Add a splash of milk or water to a saucepan, add your leftover pudding, and heat gently over low heat, stirring frequently. The extra liquid brings back the creamy texture. Microwave sort of works but tends to dry it out. If you do microwave, definitely add a splash of milk first and heat in short bursts, stirring between.
Pin This Recipe!
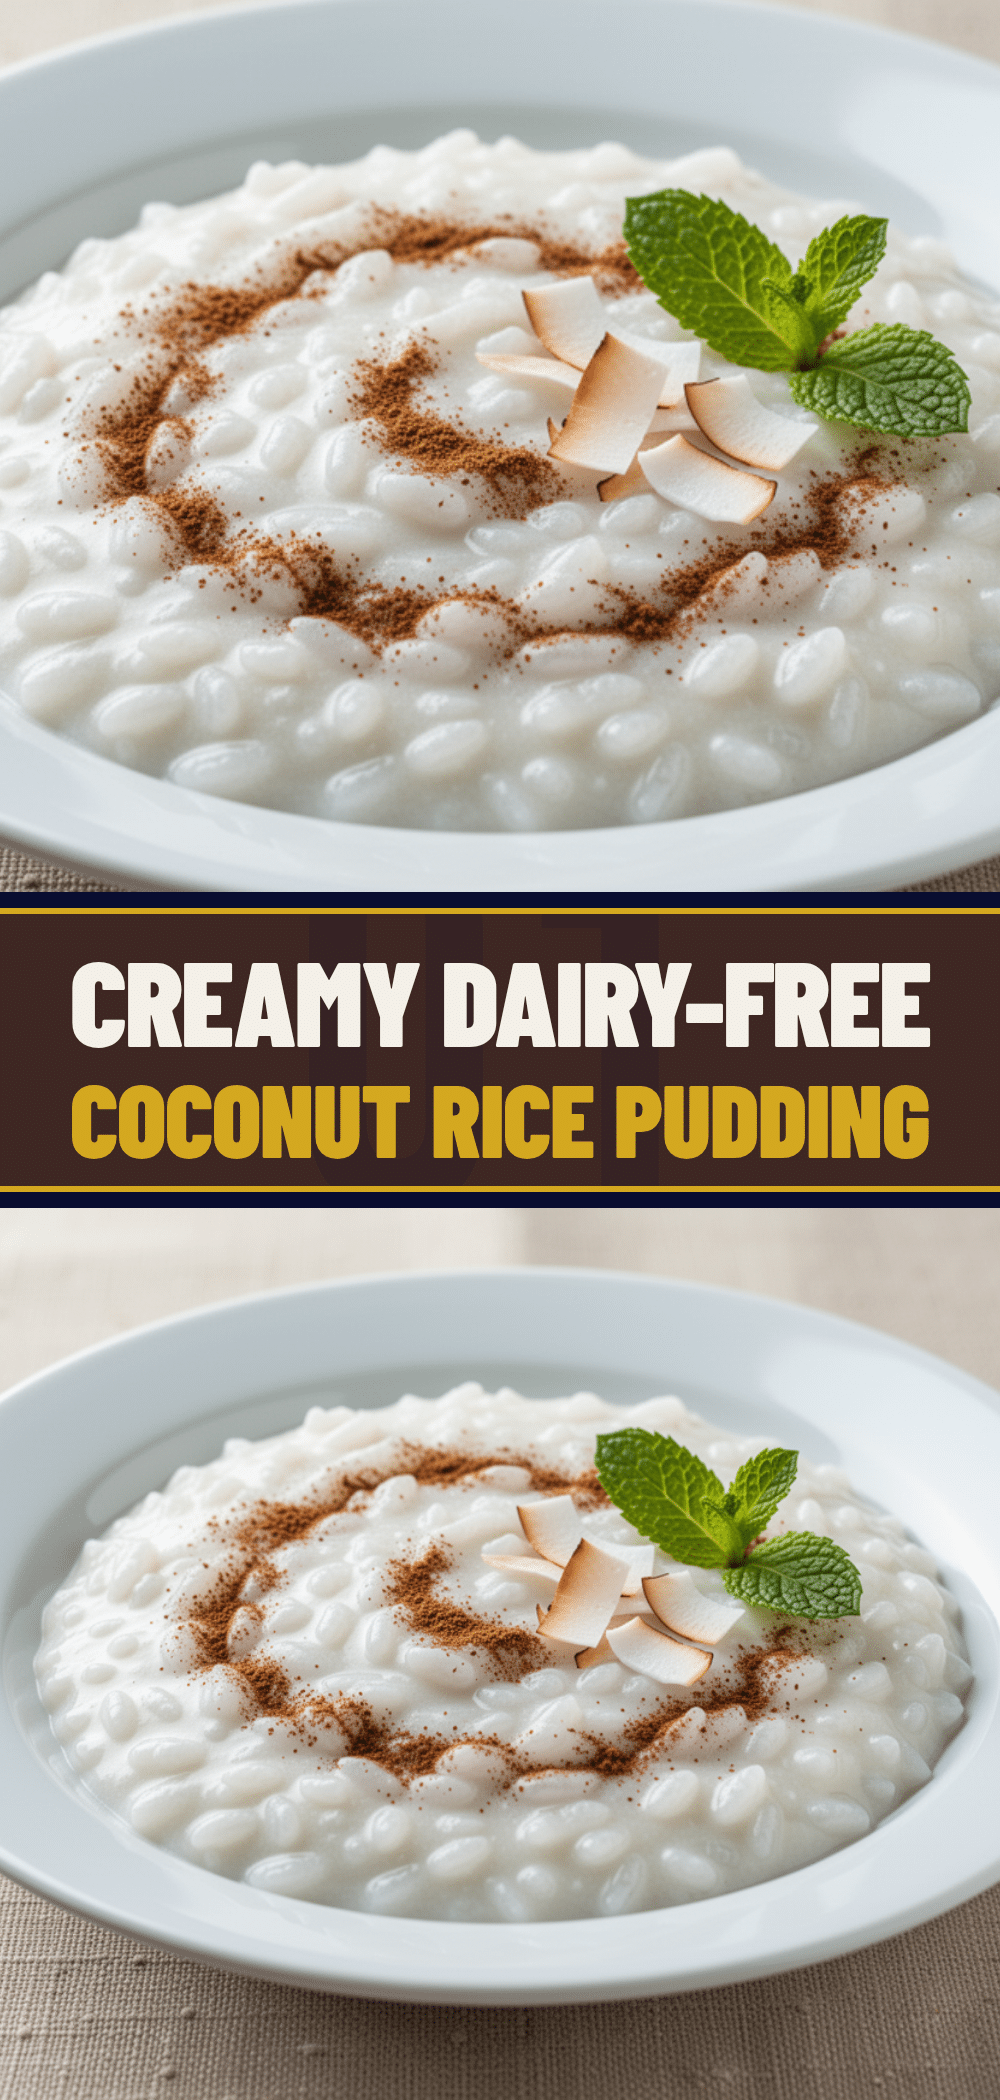

Creamy Coconut Milk Rice Pudding: Easy 20-Min Dairy-Free Recipe
- Total Time: 20 minutes
- Yield: 6 servings 1x
Description
A rich, velvety, and dairy-free rice pudding made with coconut milk and leftover rice. This simple dessert is ready in just 20 minutes, making it perfect for busy weeknights.
Ingredients
- 1 cup (200g) short-grain or medium-grain white rice
- 1 can (400ml) full-fat coconut milk
- 1 cup (240ml) water
- 3–4 tablespoons (40-50g) sugar
- 1 teaspoon ground cinnamon
- 1 teaspoon pure vanilla extract
- 1/4 teaspoon salt
- 1 tablespoon butter or coconut oil (optional)
Instructions
- Measure out the rice, coconut milk, water, sugar, and cinnamon before starting.
- In a medium saucepan, combine the rice, coconut milk, and water. Stir well to blend the coconut milk.
- Add the sugar, cinnamon, salt, and vanilla extract. Stir to distribute evenly.
- Place the saucepan over medium-high heat and bring to a gentle simmer (small bubbles around edges).
- Reduce heat to low and simmer for 10 minutes, stirring every 2-3 minutes to prevent sticking and burning.
- Check for doneness: rice should be tender but slightly al dente, and the mixture should be thick and creamy.
- Remove from heat and stir in butter or coconut oil for extra richness.
- Let rest for 5 minutes before serving. Dust with extra cinnamon and add toppings if desired.
Notes
Use full-fat canned coconut milk for the best texture; do not use carton drinking milk. Do not rinse the rice to retain starch for creaminess. Stir frequently to prevent scorching. Leftovers thicken in the fridge; add a splash of milk when reheating.
- Prep Time: 2 minutes
- Cook Time: 18 minutes
- Category: Dessert
- Cuisine: Asian-Inspired
Nutrition
- Serving Size: 1 bowl
- Calories: 280
- Sugar: 18
- Sodium: 45
- Fat: 10
- Saturated Fat: 8
- Carbohydrates: 42
- Fiber: 2
- Protein: 4
Keywords: coconut milk rice pudding, dairy-free dessert, quick dessert, vegan rice pudding, easy weeknight dessert, gluten-free dessert


