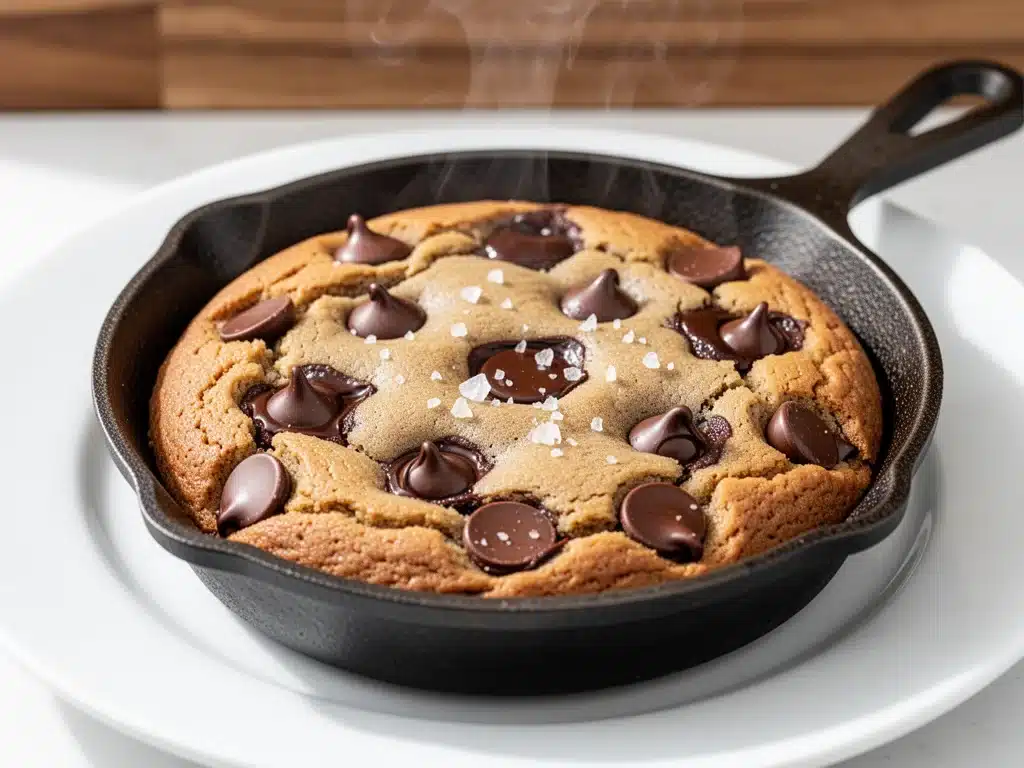
It was 3 PM on a rainy Sunday, the kind where the sky is gray and your motivation for anything other than staying under a blanket is non-existent. I had just finished a grocery run, exhausted by the decision fatigue of choosing between oat milk brands, and my brain was fried. Then I spotted a lonely bag of semi-sweet chocolate chips in the back of the pantry and a stick of butter that was begging to be used. I didn’t want to bake a full batch of cookies—don’t get me wrong, I love a tray of classic chocolate chip cookies, but the cleanup? The mental load? Not today.
I wanted something immediate. Something warm. Something that tasted like a hug but didn’t require washing a dozen mixing bowls. That’s when I decided to make this small batch chocolate chip skillet cookie with sea salt. I grabbed a small cast-iron skillet, threw in some butter, sugar, and flour, and popped it in the oven. Ten minutes later, I was scraping the edges with a spoon while it was still hot, the smell of caramelized butter and chocolate filling my tiny apartment.
I’ve made this small batch chocolate chip skillet cookie with sea salt at least fifteen times since that rainy Sunday. It’s become my go-to comfort food, my midnight snack, and my “I need to impress someone with zero effort” dessert. It’s crispy on the edges, chewy in the middle, and that sprinkle of flaky sea salt on top? It changes everything. If you’re tired of waiting an hour for cookies to cool or feeling guilty about eating half a dozen regular cookies, this is your new best friend. It’s fast, it’s indulgent, and it’s incredibly easy.
Why You’ll Love This Recipe
Let’s be real: most cookie recipes feel like a commitment. You need to cream butter and sugar, chill the dough, wait for it to set, and then deal with the aftermath. This small batch chocolate chip skillet cookie with sea salt skips all that drama. Here’s why it has earned a permanent spot in my weekly rotation:
- Stupid Simple — Seriously, if you can melt butter and mix flour, you can make this. I’ve made this recipe while half-asleep on the couch. There’s no chilling time, no complex technique. Just mix, pour, bake, eat.
- Lightning Fast — From start to finish, this takes about 20 minutes. That includes prep and baking. I make this on weeknights when I have a sudden craving and don’t want to order takeout. It’s faster than waiting for a delivery driver.
- Single-Serving Friendly — This recipe makes one small skillet cookie, perfect for one person or two people sharing. No more staring at a leftover half-eaten cookie for days. You make what you want, when you want it.
- Texture Perfection — The cast iron creates this incredible contrast: crisp, caramelized edges that give way to a soft, gooey center. It’s the best of both worlds without the guesswork.
- Crowd-Pleaser — I’ve served this to my picky eater friend who only likes “plain” food, and she devoured it. The sea salt adds a savory note that makes the sweetness pop in a way regular cookies just can’t.
- Minimal Cleanup — One bowl. One skillet. Maybe a spoon. That’s it. If you’re anything like me, the ease of cleanup is just as important as the taste.
This is my go-to when I need dessert to just work. No complicated techniques, no weird ingredients, just reliable, delicious food that makes everyone happy. And honestly? It tastes like something you’d get at a trendy bakery, but it costs pennies to make.
Ingredients You’ll Need
Here’s the best part: you probably have most of this already in your kitchen. This small batch chocolate chip skillet cookie with sea salt uses pantry staples that I keep stocked specifically for these moments of weakness. I’m particular about three ingredients here, and I’ll tell you exactly why.
For the Dough
Unsalted butter (3 tablespoons / 42g) — I use unsalted so I can control the salt level. Melt it first! Don’t try to cream it. Melting it gives you that dense, fudgy texture. I use high-quality European butter when I can, but regular supermarket butter works fine too.
Granulated sugar (2 tablespoons / 25g) — This helps create those crispy edges. I don’t substitute this with brown sugar because I want that specific crunch. If you prefer chewier, you can swap half for brown sugar, but I like the contrast.
Packed brown sugar (2 tablespoons / 25g) — This adds moisture and that caramel flavor. Make sure it’s packed tightly. If it’s clumpy, microwave it for 10 seconds to loosen it up. I learned this the hard way with a lumpy cookie.
One large egg yolk — Yes, just the yolk. The yolk adds richness and fat without the extra water from the white, which keeps the cookie dense and fudgy instead of cakey. I save the white for an omelet or an egg white omelet later.
Vanilla extract (½ teaspoon) — Use real vanilla, not imitation. It makes a huge difference in flavor. I keep a small bottle of good vanilla in my pantry just for baking. If you don’t have it, skip it, but don’t add anything else to replace it.
All-purpose flour (3 tablespoons / 22g) — Sift it if you can, but it’s not mandatory. I just scoop it lightly into the measuring cup and level it off. Don’t pack it down, or your cookie will be dry.
Baking soda (¼ teaspoon) — This helps the cookie spread slightly and gives it that tender crumb. Make sure it’s not expired! I test mine every few months by dropping a little in vinegar—it should fizz vigorously.
Sea salt (¼ teaspoon, plus extra for topping) — Use fine sea salt in the dough. For the topping, use flaky sea salt like Maldon. The flakes add a visual appeal and a burst of salty contrast that is absolutely essential.
For the Mix-Ins
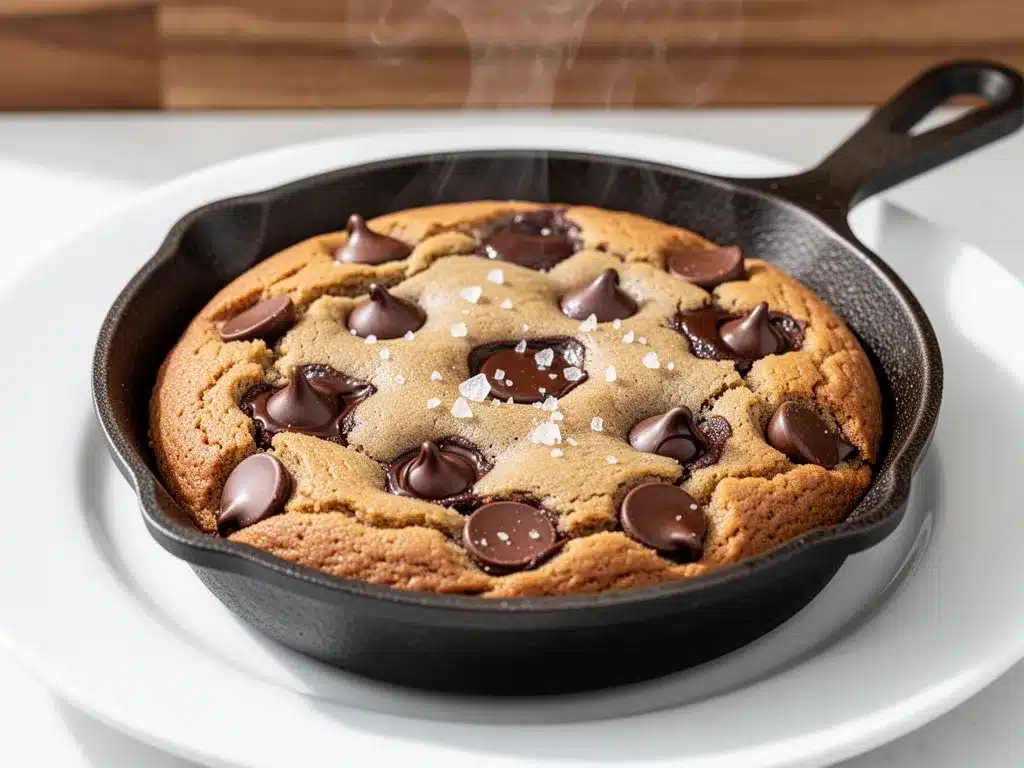
Semi-sweet chocolate chips (2 tablespoons / 30g) — I use Guittard or Ghirardelli chips because they melt beautifully. You can also chop up a chocolate bar for a more artisanal look. Chopped chocolate gives you pools of gooey chocolate in every bite.
Optional: Toasted pecans or walnuts (1 tablespoon) — I add these sometimes for crunch. Toast them in a dry pan for 2 minutes before adding. It brings out the nutty flavor. But if you’re a purist, skip them. Pure chocolate chip is classic for a reason.
Equipment Needed
You don’t need fancy equipment for this. Here’s what I actually use:
Small cast-iron skillet (6-inch or 8-inch) — I use a 6-inch skillet for a thicker, more indulgent cookie. If you have a 8-inch, it’ll be thinner and crispier. Both work, but 6-inch is my preference for that perfect ratio of edge to center. My Lodge skillet is well-seasoned and non-stick, but any small skillet works.
Microwave-safe bowl — For melting the butter quickly. I microwave it in 15-second bursts to avoid burning. A small glass bowl is perfect.
Small mixing bowl — Any bowl that fits your ingredients. I use a 1-cup measuring cup as my mixing bowl to save space.
Spatula — A small silicone spatula works best for scraping the bowl clean. I have a tiny one specifically for single-serving bakes.
Measuring spoons — Standard stuff. Dollar store versions work fine.
Oven — Preheated to 350°F (175°C). Make sure your oven is actually at temperature. I have an oven thermometer because my oven lies to me sometimes.
Parchment paper — Optional but helpful. I line my skillet with a small circle of parchment to prevent sticking and make cleanup easier. If you don’t have it, just grease the skillet lightly with butter.
How to Make It: Step-by-Step
Alright, let’s make this! I’m walking you through exactly how I do it, including the little tricks I’ve picked up over dozens of attempts.
Step 1: Prep Your Pan and Oven (2 minutes)
Preheat your oven to 350°F (175°C). If you’re using a cast-iron skillet, make sure it’s clean and dry. I lightly grease the inside with a little butter or spray it with non-stick cooking spray. If you’re using parchment, cut a small circle to fit the bottom. This step ensures your cookie doesn’t stick and gets that beautiful golden crust.
Step 2: Melt the Butter (1 minute)
Place the butter in a microwave-safe bowl. Microwave on high for 30-45 seconds, stirring halfway through, until completely melted. Don’t let it brown or boil. You want clear, golden liquid butter. Set it aside for a minute to cool slightly so it doesn’t cook the egg yolk when you add it.
Step 3: Mix the Wet Ingredients (1 minute)
To the melted butter, add the granulated sugar, packed brown sugar, egg yolk, and vanilla extract. Whisk vigorously with a fork or small whisk. You want the mixture to look glossy and slightly emulsified. It might look a bit separated at first—keep whisking! It’ll come together. This step incorporates air and sugar, which helps with the texture.
Step 4: Add the Dry Ingredients (1 minute)
Add the flour, baking soda, and fine sea salt to the wet mixture. Stir gently with a spatula or spoon until just combined. Do not overmix! Once the flour disappears, stop. Overmixing develops gluten, which makes the cookie tough instead of tender. The dough will be thick and sticky. That’s exactly what you want.
Step 5: Add the Chocolate Chips (1 minute)
Fold in the chocolate chips (and nuts, if using). Reserve a small handful of chips to press on top later. This ensures you get chocolate chips on the surface, so they melt beautifully and look inviting. Press the dough evenly into the prepared skillet. Use your fingers or the back of a spoon to smooth it out. It should be an even layer, about ½ inch thick.
Step 6: Top and Bake (10-12 minutes)
Press the reserved chocolate chips onto the top of the dough. This is for aesthetics and flavor. Pop the skillet into the preheated oven. Bake for 10-12 minutes. You’ll know it’s done when the edges are golden brown and crisp, and the center looks slightly underbaked and soft. It will continue to cook a bit from residual heat. Do not overbake! It will be soft and gooey when it comes out.
Step 7: Salt and Serve (2 minutes)
Immediately upon removing from the oven, sprinkle with flaky sea salt. The heat will help the salt adhere. Let it cool in the skillet for 2-3 minutes. It’s still very hot! Then, dig in with a spoon. Eat it straight from the pan if you don’t care about dishes. That’s what I do.
Total Time: About 20 minutes (5 minutes active, 12 minutes baking)
Expert Tips & Tricks
Here’s everything I’ve learned from making this dozens of times. These tips will save you from my mistakes.
Don’t Overbake
This is the #1 mistake. The cookie looks done when it’s still raw in the middle. Pull it out when the edges are set and the center is still soft. It will firm up as it cools. If you wait until the center looks fully set, it’ll be dry and cakey. I’ve ruined several cookies by being too cautious. Trust the edge test.
Use a Small Skillet
If you use a large skillet, the cookie will be too thin and crispy all over. You want that thick, chewy center. A 6-inch skillet is ideal. If you only have an 8-inch, reduce the baking time by 2-3 minutes. The thickness matters for texture.
Flaky Salt is Non-Negotiable
Don’t use table salt on top. The flakes of Maldon or similar sea salt provide a textural contrast and bursts of salty flavor that cut through the sweetness. It’s the finish that makes the cookie feel special. I keep a shaker of flaky salt specifically for desserts.
Cool Briefly
Resist the urge to eat it immediately. Let it rest for 2-3 minutes. This allows the center to set slightly, making it easier to scoop and enhancing the fudgy texture. If you eat it straight out, it’s molten lava, which is delicious but messy. Give it a moment.
Customize Your Chocolate
While chocolate chips are convenient, chopped chocolate bars create a more rustic, artisanal look. Use a mix of dark and milk chocolate for complexity. I sometimes add a few white chocolate chips for variety. The key is to reserve some for the top.
Variations & Substitutions
Once you’ve nailed the basic version, here’s how you can mix it up. I’ve tried all of these.
Peanut Butter Skillet Cookie
Replace the chocolate chips with 2 tablespoons of peanut butter chips or swirl in 1 tablespoon of creamy peanut butter before baking. My husband loves this version—it’s salty, sweet, and nutty. Add a drizzle of peanut butter on top after baking for extra flair.
Red Velvet Skillet Cookie
Add ½ teaspoon cocoa powder and ¼ teaspoon red food coloring to the dough. Top with white chocolate chips instead of semi-sweet. It’s festive and tastes like red velvet cake. Great for holidays.
Matcha White Chocolate
Stir 1 teaspoon of matcha powder into the flour. Use white chocolate chips. The earthy green tea flavor pairs beautifully with white chocolate. It’s sophisticated and unique. I make this for guests who want something different.
Brown Butter Skillet Cookie
Brown the butter before melting it. Cook it in a small saucepan over medium heat until it smells nutty and turns amber. Let it cool slightly, then use it in the recipe. This adds a deep, caramelized flavor that takes the cookie to the next level. I use this version when I want to feel fancy.
Dairy-Free Option
Use vegan butter and dairy-free chocolate chips. The texture will be slightly different, but still delicious. I’ve used Miyoko’s butter and Ghirardelli semi-sweet vegan chips with good results.
Gluten-Free Option
Use a 1-to-1 gluten-free flour blend. I’ve used Bob’s Red Mill and Cup4Cup with success. The texture might be slightly crumblier, but it still works. Add a teaspoon of xanthan gum if your blend doesn’t include it.
Serving & Storage
How to Serve:
I usually serve this straight from the skillet at the dinner table—it looks rustic and stays warm. But here are other ways I’ve enjoyed it:
- With Ice Cream: A scoop of vanilla bean ice cream on top is classic. The hot cookie and cold ice cream create the perfect temperature contrast.
- With Coffee: Dip it in your morning coffee or afternoon latte. It’s like a cookie version of a café au lait.
- With Whipped Cream: If you’re feeling indulgent, add a dollop of homemade whipped cream.
Storage Instructions:
This cookie is best eaten fresh. If you have leftovers (unlikely, but possible), store them in an airtight container at room temperature for up to 2 days. Reheat in the microwave for 10-15 seconds to restore the gooey texture. It won’t stay fresh for long because it’s so moist.
Reheating:
Microwave for 10-15 seconds. This restores the softness. If you try to reheat it in the oven, it might dry out. Quick and gentle is the way to go.
Freezing:
I don’t recommend freezing the baked cookie because the texture changes. However, you can freeze the dough! Scoop the dough into the skillet, wrap tightly in plastic wrap, and freeze. When ready to bake, let it thaw slightly, then bake as directed, adding 2-3 minutes to the baking time.
Nutrition Information
I’m not a nutritionist, but here’s the breakdown if you’re tracking. This is a treat, so enjoy it guilt-free!
Per Serving (based on 1 cookie, approx. 150g):
- Calories: 420
- Protein: 5g
- Carbs: 52g
- Fiber: 2g
- Sugar: 32g
- Fat: 22g
- Saturated Fat: 12g
- Cholesterol: 65mg
- Sodium: 280mg
What’s Good:
– Small portion size helps control intake.
– Contains some protein from the egg and butter.
– Can be made with dark chocolate for antioxidants.
What to Know:
– Higher in sugar and fat due to butter and chocolate.
– Contains dairy and gluten.
– Moderate sodium.
My Take:
Look, this is comfort food with butter and chocolate. It’s not a diet recipe. But it’s way better than store-bought cookies, costs less, and you know exactly what’s in it. When I want to make it lighter, I use less chocolate and add nuts for crunch. But usually? I just eat a reasonable portion and enjoy it.
Final Thoughts
So that’s my go-to small batch chocolate chip skillet cookie with sea salt! I’ve probably talked your ear off at this point, but when you make a recipe this often, you have a lot to say about it.
This has saved late-night cravings more times than I can count. It’s my answer to “what’s for dessert” when I’m tired, don’t want to cook a big meal, and still want something that tastes really good. My kids are happy, my husband’s happy, and I’m happy because I’m not stressed about baking.
Make it yours! Try different chocolates, add nuts, or swap the salt for cinnamon sugar. The best recipes are the ones you adapt to your family’s tastes. And if you’re feeling adventurous, try the brown butter version—it’s a game-changer.
If you make this, drop a comment and let me know what you think! I love hearing how recipes turn out in your kitchen. And if something doesn’t work, tell me that too—I’m here to help troubleshoot. Happy baking! And I hope your kitchen smells half as good as mine does right now.
Frequently Asked Questions
Can I use a different pan instead of cast iron?
Yes! Any small oven-safe pan works. A ramekin, a small ceramic dish, or even a muffin tin (for mini versions) works. Just adjust the baking time. A ramekin might take 8-10 minutes, while a muffin tin might take 6-8 minutes. The key is to keep the thickness similar to the skillet version.
Why did my cookie come out hard?
Usually means it was overbaked. Cast iron retains heat, so the cookie continues to cook after you take it out. Pull it when the edges are golden but the center looks soft. Also, make sure you’re using the right amount of flour. Packing the flour too tightly can make it dry. Scoop and level, don’t pack.
Can I double this recipe?
Yes, but you’ll need a larger skillet (8-10 inch). Increase baking time by 2-3 minutes. Be careful not to overfill the pan, or it might spill over. I usually just make two 6-inch cookies if I’m feeding more people. It’s easier to manage.
What if I don’t have an egg yolk?
You can use a whole egg, but the cookie will be cakier and less fudgy. The yolk adds fat and richness. If you must use a whole egg, reduce the butter by 1 teaspoon to balance the extra liquid. Or, skip the egg entirely and add 1 extra tablespoon of flour for a denser, brownie-like texture. I’ve tried skipping it, and it still works, just differently.
How do I get those crispy edges?
The crispy edges come from the sugar caramelizing against the hot pan. Make sure your skillet is preheated or at least hot from the oven. Don’t grease the sides of the pan too much—just the bottom. The dry sides help create that crisp crust. Also, bake until the edges are visibly golden brown.
Can I make this gluten-free?
Absolutely! Use a 1-to-1 gluten-free flour blend. I’ve used Bob’s Red Mill and Cup4Cup with success. The texture might be slightly crumblier, but it still works. Add a teaspoon of xanthan gum if your blend doesn’t include it. I also recommend chilling the dough for 15 minutes before baking to help it hold its shape.
Is this recipe vegan?
Not as written, but it’s easy to modify. Use vegan butter, a flax egg (1 tablespoon ground flaxseed mixed with 3 tablespoons water, let sit for 5 minutes), and dairy-free chocolate chips. The texture will be slightly different, but still delicious. I’ve made this for my vegan friend, and she loved it.
Pin This Recipe!
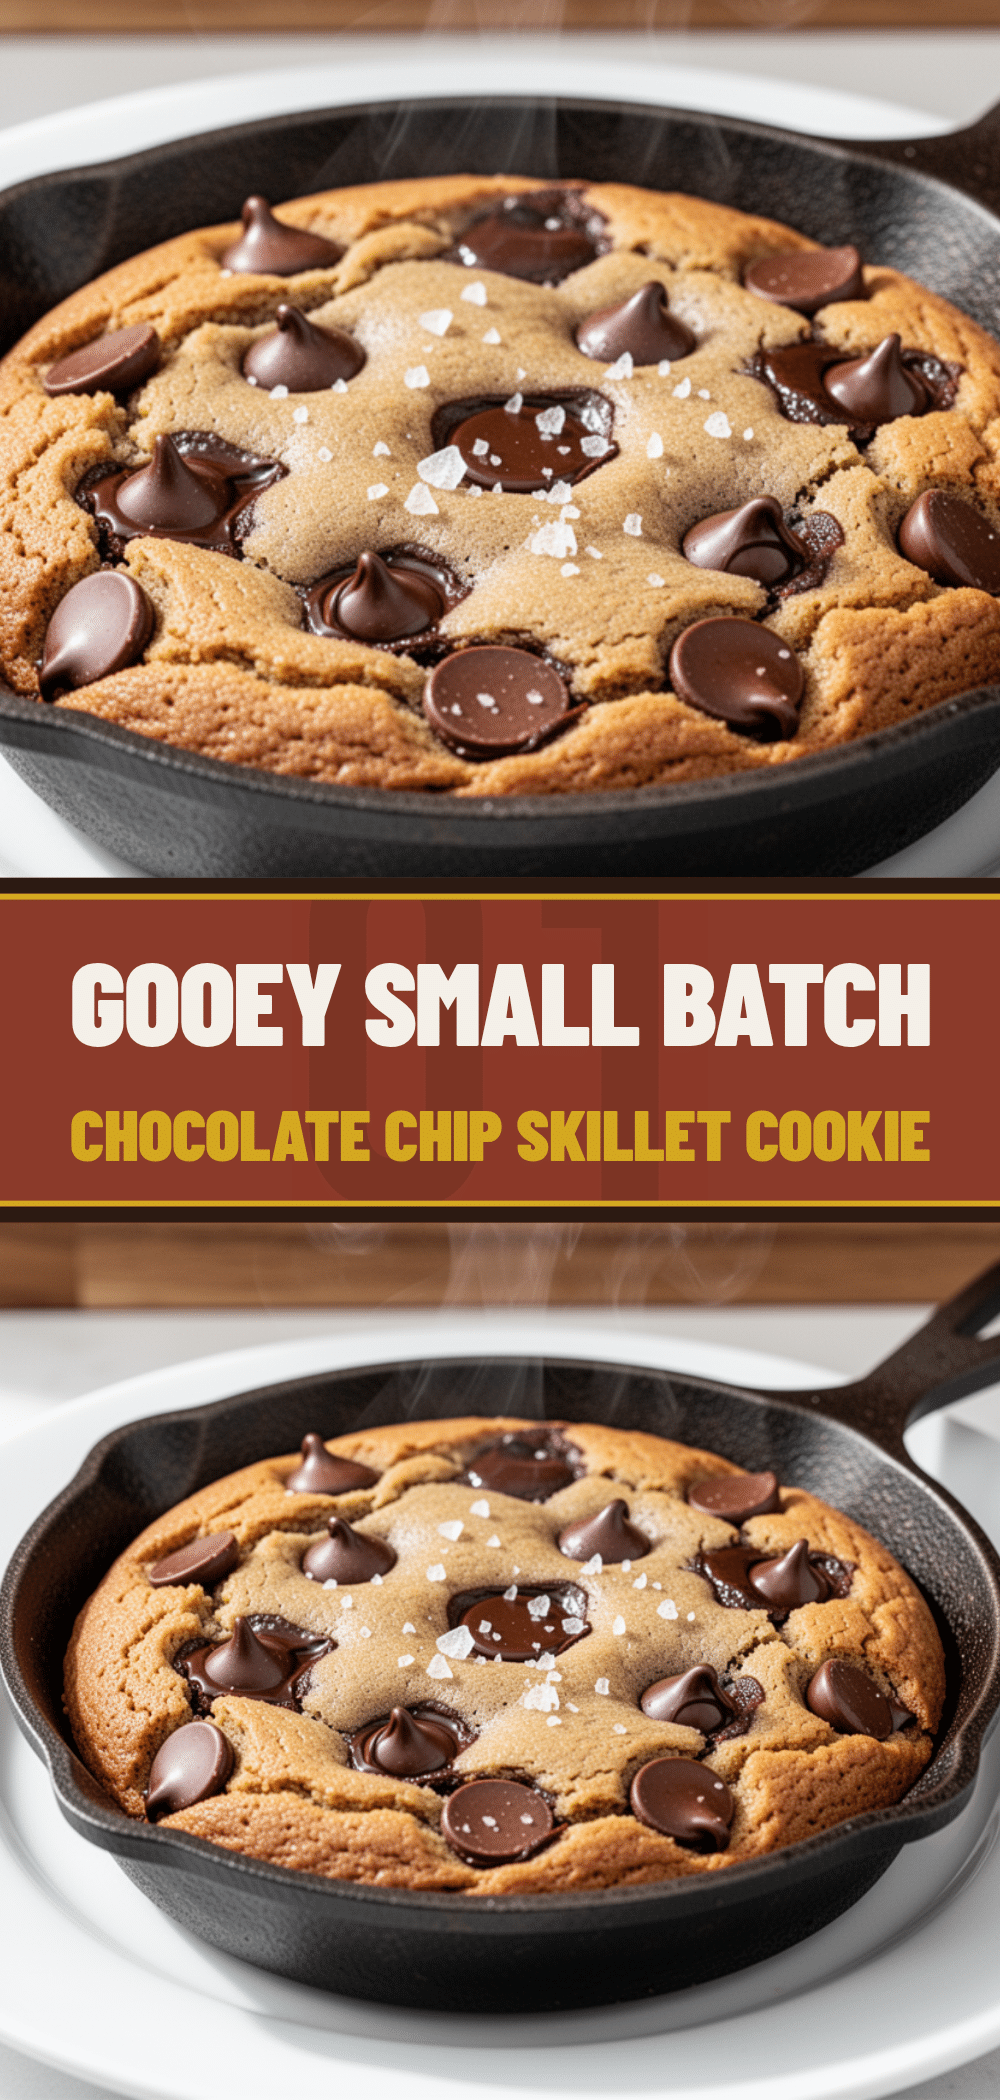

Small Batch Chocolate Chip Skillet Cookie with Sea Salt
- Total Time: 20 minutes
- Yield: 1 serving 1x
Description
A fast, single-serving chocolate chip skillet cookie that is crispy on the edges, chewy in the middle, and topped with flaky sea salt. Ready in just 20 minutes with minimal cleanup.
Ingredients
- 3 tablespoons (42g) unsalted butter
- 2 tablespoons (25g) granulated sugar
- 2 tablespoons (25g) packed brown sugar
- 1 large egg yolk
- 1/2 teaspoon vanilla extract
- 3 tablespoons (22g) all-purpose flour
- 1/4 teaspoon baking soda
- 1/4 teaspoon fine sea salt
- 2 tablespoons (30g) semi-sweet chocolate chips
- Flaky sea salt (e.g., Maldon) for topping
- Optional: 1 tablespoon toasted pecans or walnuts
Instructions
- Preheat oven to 350°F (175°C). Lightly grease a 6-inch or 8-inch cast-iron skillet or line the bottom with parchment paper.
- Melt the butter in a microwave-safe bowl in 15-second bursts, stirring halfway, until liquid but not browned. Let cool slightly.
- Whisk the melted butter, granulated sugar, packed brown sugar, egg yolk, and vanilla extract together until glossy and emulsified.
- Add the flour, baking soda, and fine sea salt to the wet mixture. Stir gently with a spatula until just combined; do not overmix.
- Fold in the chocolate chips (and nuts if using), reserving a small handful for the top.
- Press the dough evenly into the prepared skillet, about 1/2 inch thick. Press the reserved chocolate chips onto the surface.
- Bake for 10-12 minutes until edges are golden brown and crisp, but the center still looks soft.
- Remove from oven and immediately sprinkle with flaky sea salt.
- Let cool in the skillet for 2-3 minutes before eating directly from the pan.
Notes
Do not overbake; the center will continue to cook from residual heat. Use flaky sea salt on top for texture contrast. If using an 8-inch skillet, reduce baking time by 2-3 minutes. For gluten-free, use a 1-to-1 gluten-free flour blend. For vegan, use vegan butter and dairy-free chocolate chips.
- Prep Time: 5 minutes
- Cook Time: 12 minutes
- Category: Dessert
- Cuisine: American
Nutrition
- Serving Size: 1 small skillet cook
- Calories: 420
- Sugar: 32
- Sodium: 280
- Fat: 22
- Saturated Fat: 12
- Carbohydrates: 52
- Fiber: 2
- Protein: 5
Keywords: skillet cookie, chocolate chip cookie, small batch dessert, single serving cookie, cast iron cookie, quick dessert, comfort food


