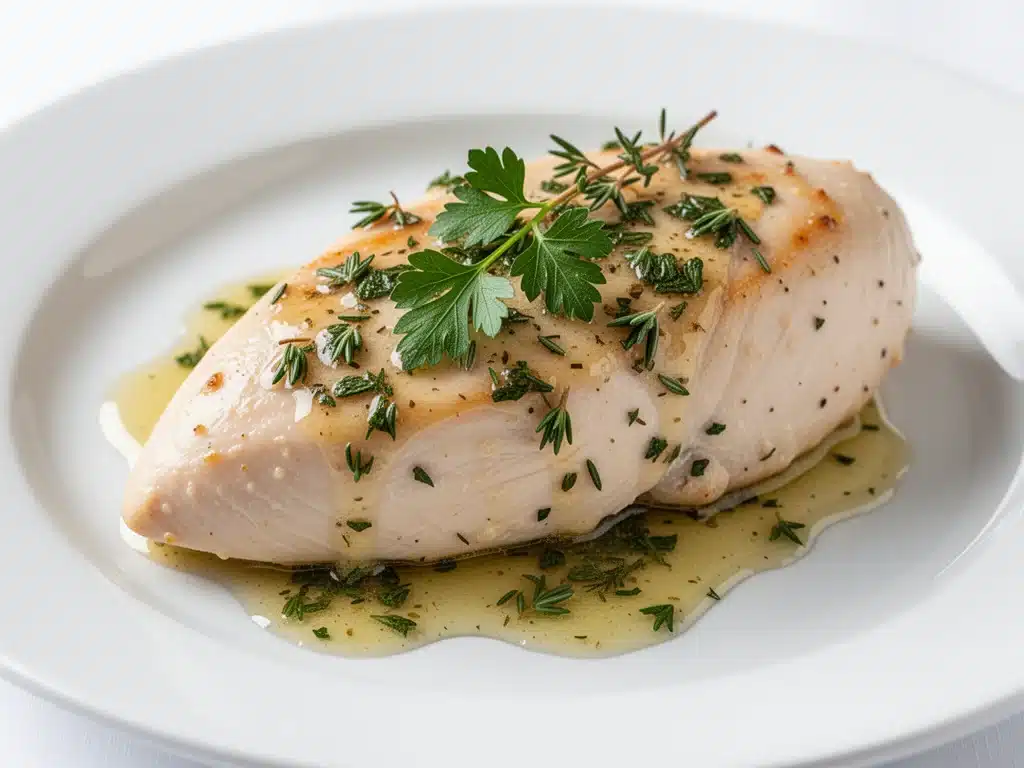
I still remember the exact Tuesday night that started my “dry chicken” crisis. It was November, the house was cold, and I had promised my kids that we’d have roasted chicken for dinner. I pulled the pan out of the oven, proud of the golden skin, and carved into the breast. The knife crunched. Literally crunched. I took a bite, and it was like chewing on a piece of leather that had been left out in the sun for a week. My seven-year-old looked at it like I’d served him a shoe. My husband just sighed and pushed it around his plate. That night, I stared at the leftovers and felt that familiar mix of guilt and frustration. I wanted to feed my family healthy, homemade food, but every time I tried to bake chicken breast, it came out drier than a desert.
For months, I was stuck in a loop. I’d buy the “premium” organic breasts, marinate them for hours, brine them overnight, and still end up with rubbery, sad chicken. I started considering buying rotisserie chickens from the grocery store every single night just to avoid the cooking process altogether. But I knew I couldn’t keep doing that—between the cost and the sodium, it wasn’t a long-term solution. I needed a method that was actually reliable. I needed chicken that was juicy, tender, and actually enjoyable to eat.
That frustration led me down a rabbit hole of culinary science and failed experiments. I tried butter-basting, I tried poaching first, I even tried sous-vide (which is great, but who has time for that on a Tuesday?). Then, I stumbled on a simple technique involving an herb butter rub and a specific oven temperature strategy that completely changed the game. It’s not magic. It’s just physics and fat doing what they do best. Now, I make this never-dry oven-baked chicken breast at least twice a week. It’s the backbone of our weeknight dinners, and honestly, it’s become the one dish my kids actually ask for without me having to negotiate.
The secret isn’t complicated. It’s about protecting the meat from its own lean nature. Chicken breast is lean, which means it has no internal fat to keep it moist as it cooks. Once it hits a certain temperature, it tight up and squeezes out all its juices. But by coating it in a flavorful herb butter and baking it at the right temperature, we create a barrier. The butter bastes the meat from the outside while it cooks, and the herbs add that smell that makes your whole house feel like a restaurant. This easy herb butter chicken recipe is my answer to “what’s for dinner?” when I’m tired, the pantry is bare, and I still want something that tastes incredible.
Why You’ll Love This Herb Butter Chicken
There are a dozen reasons I keep coming back to this recipe, but if I’m being honest, it’s mostly because it works every single time. No guessing. No anxiety. Just perfect chicken. Here’s what makes this method so special:
- Zero Guesswork — Seriously, you can’t mess this up. I’ve taught my teenagers how to make this over FaceTime, and they’ve never failed. The herb butter tells you exactly when it’s done (it melts into the pan), and the time is straightforward. No poking with thermometers required, though I do recommend one if you’re paranoid.
- 15 Minutes of Active Time — From preheating the oven to putting the chicken in, it takes less than 15 minutes. The rest is hands-off baking. I can get this on the table while I’m still changing out of my work clothes. It’s the ultimate weeknight savior.
- Flavor Bomb — Most baked chicken is bland. This isn’t. The herb butter mixture—parsley, thyme, garlic, lemon zest—seeps into the meat and creates a crust that’s savory, herby, and slightly zesty. It’s not just “cooked chicken.” It’s a dish.
- Leftover Gold — This chicken is actually good cold or room temperature. I chop it up for salads the next day, or shred it for tacos. Unlike boiled chicken, this stays moist even after reheating. I deliberately make extra for lunch because I know it’ll be better than the sad turkey sandwich in my fridge.
- Budget-Friendly — Chicken breast is one of the most affordable proteins you can buy. With this method, you don’t need expensive cuts or fancy marinades. Just butter, herbs, and chicken. It feeds 4 people for under $12, depending on where you shop.
- Family-Approved — My picky eater son, who usually refuses “brown food,” asks for this. My daughter loves dipping the chicken in the herb butter juices. It’s rare to find a protein that everyone agrees on, but this is it.
This is my go-to when I need dinner to just work. No complicated techniques, no weird ingredients, just reliable, delicious food that makes everyone happy. It’s the kind of meal that reminds you why cooking at home is worth the effort.
Ingredients You’ll Need
Here’s the best part: you probably have most of this already. I’m not asking you to go to three different stores for obscure spices. This never-dry oven-baked chicken breast relies on simple, accessible ingredients. I’m particular about three things here, and I’ll tell you exactly why.
For the Chicken
Chicken breasts (4 large, boneless, skinless / about 1.5 lbs) — Look for breasts that are roughly the same size. If you have one tiny one and one giant one, they’ll cook at different rates. I prefer organic, antibiotic-free when I can afford it, but regular works fine. The key is uniformity. If they’re uneven, pound the thicker ends gently with a rolling pin or meat mallet to even them out. I do this every time—it ensures even cooking.
Salt and black pepper — Kosher salt is my go-to because it’s easier to control. Sea salt works too. Freshly cracked black pepper is a must. Pre-ground pepper tastes dusty and flat. Invest in a small grinder.
For the Herb Butter
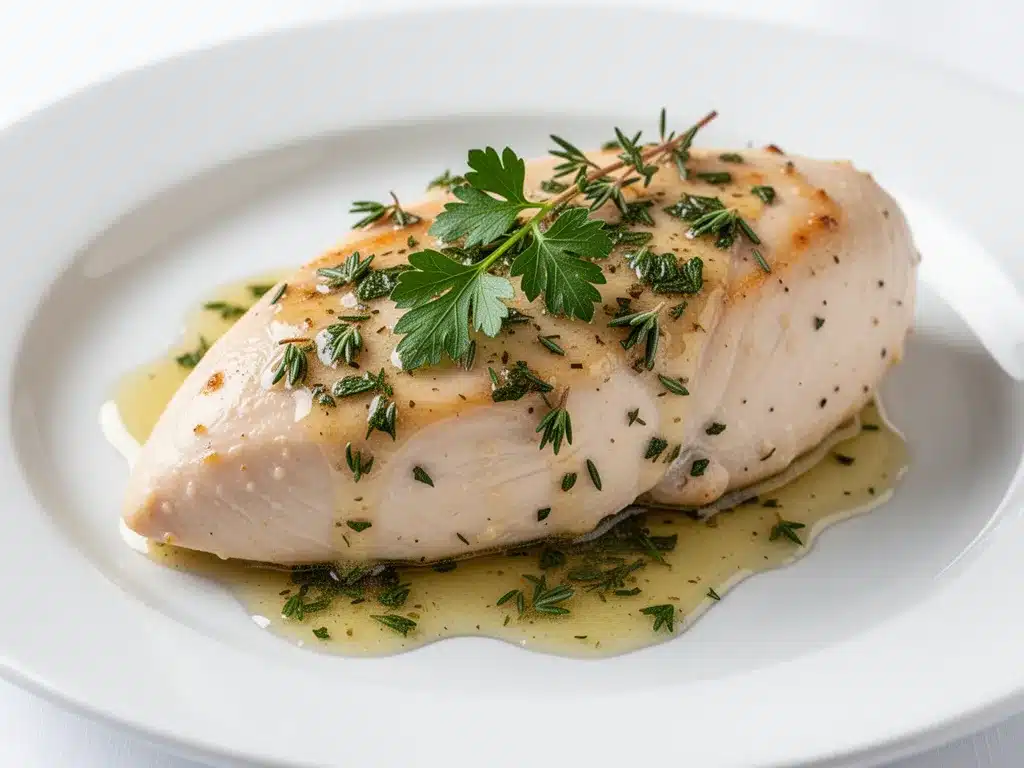
Unsalted butter (4 tablespoons / 60g) — This is the star of the show. Use good quality butter if you can. I use Land O’Lakes or a local dairy brand. Unsalted is better so you can control the sodium. Soften it! Cold butter won’t spread or mix well with the herbs. I take it out of the fridge 30 minutes before I start, or microwave it for 10 seconds just to soften.
Fresh parsley (2 tablespoons, finely chopped) — Flat-leaf parsley, not curly. Curly parsley has a bitter, grassy taste that doesn’t work here. Flat-leaf is mild and fresh. If you can’t find fresh, use 1 teaspoon dried, but fresh makes a huge difference. I grow mine on my windowsill in the summer.
Garlic (3 cloves, minced / about 1 tablespoon) — Yes, three cloves. Don’t skimp. Garlic is the backbone of this flavor profile. Fresh only—no jarred garlic. Jarred garlic has a metallic aftertaste that ruins the butter. Mince it finely so it distributes evenly.
Fresh thyme (1 tablespoon, leaves stripped) — Or 1 teaspoon dried thyme. Fresh thyme has a delicate, lemony flavor. Dried is more potent, so use less. If you don’t like thyme, you can swap it for rosemary, but thyme pairs best with chicken. Strip the leaves off the stem—don’t use the woody stem itself.
Lemon zest (1 teaspoon) — This is the secret weapon. The zest adds brightness that cuts through the richness of the butter. Use a microplane or fine grater. Only the yellow part—the white pith is bitter. If you don’t have a lemon, skip it, but I highly recommend keeping one in the fridge for this.
Paprika (½ teaspoon) — I use smoked paprika if I have it, because it adds a subtle depth, but regular sweet paprika works too. It also helps the chicken brown nicely.
Optional: Red pepper flakes (¼ teaspoon) — If you like a little kick, add this. It’s subtle, just a warm background note. Skip if you’re serving small kids.
Equipment Needed
You don’t need fancy equipment for this. Here’s what I actually use.
Baking dish or sheet pan — I use a 9×13 inch baking dish. It holds the chicken in a single layer and catches the butter juices. A sheet pan works too, but you’ll need to line it with foil for easy cleanup. I prefer the dish because the sides help keep the moisture in.
Small bowl — For mixing the herb butter. Any size works.
Fork or small whisk — To mix the butter and herbs together. A fork is easier for me.
Cutting board and knife — For chopping herbs and mincing garlic. Sharp knives are safer and faster.
Zester or microplane — For the lemon zest. A regular grater works, but a microplane is finer and gives better results.
Optional: Meat mallet or rolling pin — To pound the chicken breasts to even thickness. I use a rolling pin because it’s less intimidating than a mallet.
Optional: Instant-read thermometer — For the paranoid (like me). Chicken is done at 165°F. I check one breast to be sure.
How to Make It: Step-by-Step
Alright, let’s make this! I’m walking you through exactly how I do it, including the little tricks I’ve picked up. This easy herb butter chicken is simple, but the steps matter.
Step 1: Prep the Chicken (5 minutes)
Preheat your oven to 400°F (200°C). High heat is key. It cooks the chicken quickly, sealing in juices, rather than slowly drying it out. While the oven heats, pat the chicken breasts dry with paper towels. Moisture is the enemy of browning and flavor absorption. Dry chicken = better herb butter adhesion.
If your breasts are uneven, place them between two sheets of plastic wrap or in a zip-top bag. Use a rolling pin or meat mallet to gently pound the thicker ends until the breast is about ½-inch thick throughout. This ensures they cook evenly. Season both sides generously with salt and pepper.
Step 2: Make the Herb Butter (3 minutes)
In a small bowl, combine the softened butter, minced garlic, chopped parsley, thyme leaves, lemon zest, paprika, and red pepper flakes (if using). Mix well with a fork until it’s a uniform paste. The butter should be soft enough to spread easily. If it’s too hard, microwave it for 5 more seconds.
Step 3: Apply the Butter
Place the chicken breasts in your baking dish. Spoon the herb butter mixture over the top of each breast. Use your hands or a spoon to spread it evenly, covering the entire surface. Try to get some of the butter underneath the edges too, if you can. The butter will melt and baste the chicken as it bakes.
Step 4: Bake
Place the dish in the preheated oven. Bake for 18-22 minutes. Do not open the oven door for the first 15 minutes! Every time you open it, you lose heat and extend the cooking time. After 18 minutes, check the chicken. It’s done when the internal temperature reaches 165°F (74°C) at the thickest part. The butter should be bubbling, and the chicken should be opaque and firm but not hard.
Step 5: Rest
Remove the chicken from the oven and let it rest for 5 minutes. This is crucial. Resting allows the juices to redistribute throughout the meat. If you cut into it immediately, the juices will run out, and the chicken will be dry. Cover loosely with foil while it rests.
Step 6: Serve
Slice the chicken against the grain (this makes it more tender) and serve with the pan juices spooned over the top. The pan juices are liquid gold—don’t skip them!
Expert Tips & Tricks
Here’s everything I’ve learned from making this dozens of times. These tips will save you from my mistakes.
Pound the Chicken Even — This is the #1 tip. Uneven chicken breeds dry chicken. If one end is thick and the other is thin, the thin end overcooks before the thick end is done. Pound it flat. It takes 2 minutes and makes a world of difference.
Softened Butter is Key — If your butter is cold, it won’t mix with the herbs, and it won’t spread. It’ll just sit in clumps. Soften it properly. I leave it out for 30 minutes, or microwave it for 10-second bursts until it’s pliable but not melted.
Don’t Overcook — Chicken breast goes from perfect to dry in about 2 minutes. If you’re using a thermometer, pull it at 160°F. The residual heat will carry it to 165°F while it rests. If you’re eyeballing it, look for opaque white meat with no pink spots.
Use Fresh Herbs — Dried herbs work, but fresh herbs have a brightness that dried ones lack. The parsley and thyme in this recipe are meant to be fresh. If you’re in the middle of winter and fresh herbs are expensive, you can substitute, but fresh is best.
Rest the Meat — I know it’s tempting to cut into it right away. Resist. Let it rest for 5 minutes. It’s the difference between juicy and dry chicken.
Common Mistakes:
- Mistake: Chicken is dry. Fix: You overcooked it. Next time, check at 18 minutes, not 25. Or pound it thinner.
- Mistake: Butter slides off. Fix: The chicken wasn’t dry enough, or the butter wasn’t softened. Pat dry and soften butter.
- Mistake: Chicken is pale. Fix: Your oven wasn’t hot enough. Make sure it’s fully preheated to 400°F.
Variations & Substitutions
Once you’ve nailed the basic version, here’s how you can mix it up. I’ve tried all of these.
Italian Style — Swap thyme for oregano and basil. Add ½ teaspoon of Italian seasoning to the butter. Serve with marinara sauce.
Lemon Garlic — Double the lemon zest and add 1 tablespoon of lemon juice to the butter. Skip the paprika. Bright and tangy.
Spicy Chicken — Add 1 teaspoon of cayenne pepper and ½ teaspoon of chili powder to the butter. Great for tacos.
Honey Mustard — Mix 1 tablespoon of Dijon mustard and 1 tablespoon of honey into the herb butter. Sweet and savory.
Gluten-Free — This recipe is naturally gluten-free. Just check your paprika and spices for cross-contamination.
Dairy-Free — Substitute the butter with olive oil or dairy-free butter. The flavor will be different, but it still works. Use 3 tablespoons of olive oil.
Serving & Storage
How to Serve: I usually serve this with roasted vegetables, mashed potatoes, or a simple green salad. The herb butter juices are perfect for pouring over potatoes. My family loves it with garlic bread on the side.
Storage: Store leftovers in an airtight container in the fridge for up to 4 days. The chicken will stay moist if stored in the pan juices.
Reheating: Reheat gently in the microwave with a splash of water or broth to keep it moist. Or reheat in a skillet over low heat. Do not reheat in the oven at high heat—it will dry out.
Freezing: You can freeze cooked chicken for up to 3 months. Thaw in the fridge overnight and reheat gently.
Nutrition Information
I’m not a nutritionist, but here’s the breakdown if you’re tracking. Per serving (based on 4 servings):
Calories: 320
Protein: 35g
Carbs: 2g
Fat: 18g
Saturated Fat: 11g
Cholesterol: 110mg
Sodium: 350mg
Fiber: 0g
This is a high-protein, low-carb meal. The fat comes from the butter, so if you’re watching your saturated fat intake, you can reduce the butter to 2 tablespoons or use olive oil.
Final Thoughts
So that’s my go-to never-dry oven-baked chicken breast! I’ve probably talked your ear off at this point, but when you make a recipe this often, you have a lot to say about it. This has saved weeknight dinners more times than I can count. It’s my answer to “what’s for dinner?” when I’m tired, don’t want takeout, and still want something that tastes really good. My kids are happy, my husband’s happy, and I’m happy because I’m not stressed about cooking.
Make it yours! Try different herbs, swap in your favorite spices, adjust the garlic (though more is always better in my opinion). The best recipes are the ones you adapt to your family’s tastes. If you make this, drop a comment and let me know what you think! I love hearing how recipes turn out in your kitchen. And if something doesn’t work, tell me that too—I’m here to help troubleshoot.
Happy cooking! And I hope your kitchen smells half as good as mine does right now.
Frequently Asked Questions
Can I use frozen chicken breasts?
You can, but it’s not ideal. Frozen chicken releases more water, which can make the herb butter slide off. If you must use frozen, thaw it completely in the fridge first. Pat it very dry before seasoning. Fresh chicken always gives better results.
Why did my chicken come out dry?
Most likely, you overcooked it. Chicken breast cooks quickly. Check it at 18 minutes. If it’s not done, give it 2 more minutes. Also, make sure you pounded it to even thickness. Uneven chicken dries out.
Can I make this in an air fryer?
Yes! Cook at 375°F for 12-15 minutes. The butter might drip, so line the basket with foil. Check the temperature at 10 minutes. It works great, but the texture is slightly different.
What herbs can I substitute?
Thyme, parsley, and rosemary are classic. You can also use sage, chives, or dill. Just keep the total amount of herbs to about 2-3 tablespoons fresh.
How do I store the herb butter?
You can make the herb butter ahead and store it in the fridge for up to 3 days, or freeze it for up to 3 months. It makes a great gift too! Roll it into a log in parchment paper and slice off rounds as needed.
Can I add vegetables to the pan?
Absolutely. Toss chopped potatoes, carrots, or broccoli with olive oil and salt, and arrange them around the chicken. They’ll cook in the herb butter juices and absorb all the flavor. Just add them at the same time as the chicken.
Is this recipe kid-friendly?
Yes! The herb butter adds flavor without being spicy. If you’re sensitive to garlic, reduce it to 1 clove. Most kids love the buttery, savory taste. It’s a great way to get them to eat chicken.
Pin This Recipe!
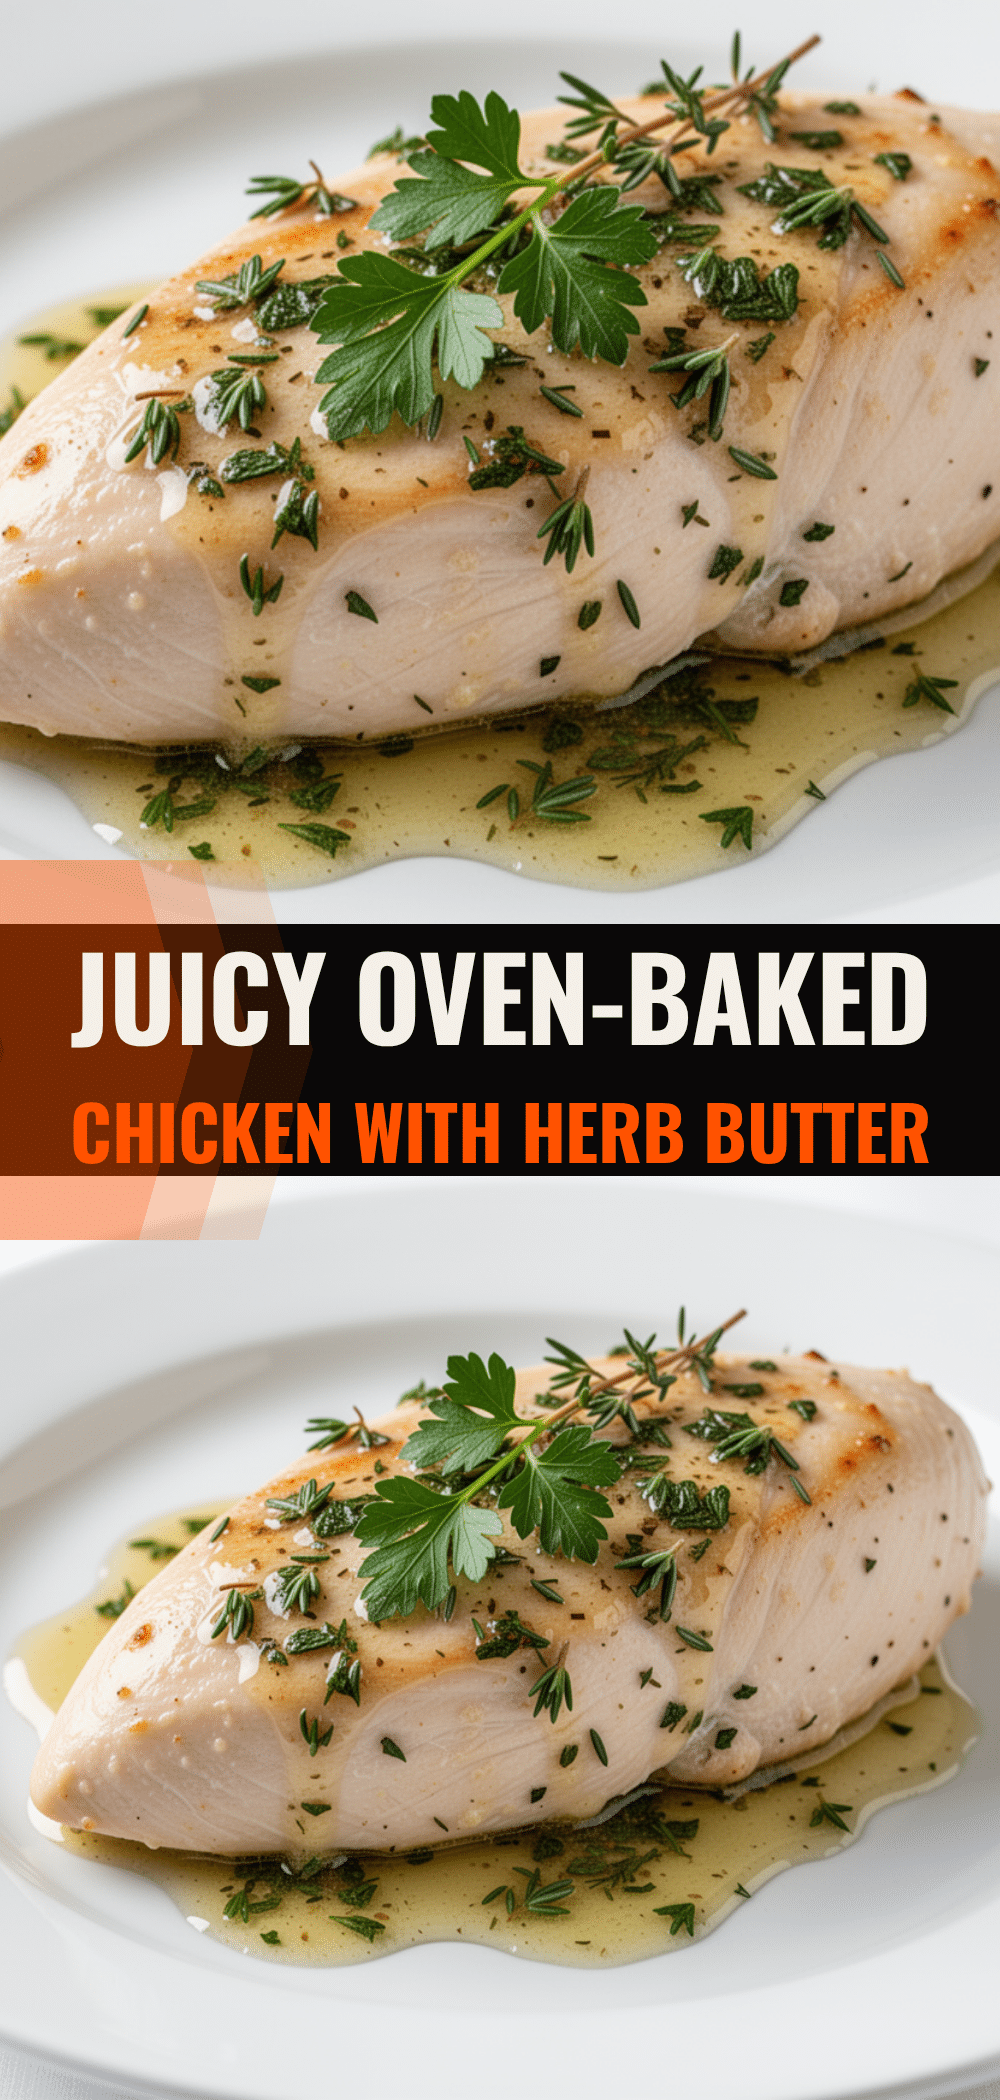
Never-Dry Oven-Baked Chicken Breast: Easy Herb Butter
- Total Time: 37 minutes
- Yield: 4 servings 1x
Description
A reliable, juicy oven-baked chicken breast recipe using an herb butter rub to prevent dryness. This easy weeknight dinner takes only 15 minutes of active prep time and delivers restaurant-quality flavor.
Ingredients
- 4 large boneless, skinless chicken breasts (about 1.5 lbs)
- 4 tablespoons unsalted butter, softened
- 2 tablespoons fresh flat-leaf parsley, finely chopped
- 3 cloves garlic, minced
- 1 tablespoon fresh thyme leaves
- 1 teaspoon lemon zest
- 1/2 teaspoon paprika (smoked or sweet)
- 1/4 teaspoon red pepper flakes (optional)
- Kosher salt
- Freshly cracked black pepper
Instructions
- Preheat oven to 400°F (200°C).
- Pat chicken breasts dry with paper towels. If uneven, pound thicker ends to achieve uniform 1/2-inch thickness.
- Season chicken generously on both sides with salt and pepper.
- In a small bowl, mix softened butter, minced garlic, chopped parsley, thyme leaves, lemon zest, paprika, and red pepper flakes until a uniform paste forms.
- Place chicken in a 9×13 inch baking dish. Spread the herb butter mixture evenly over the top of each breast, getting some under the edges if possible.
- Bake for 18-22 minutes without opening the oven door for the first 15 minutes.
- Chicken is done when internal temperature reaches 165°F (74°C) and juices are bubbling.
- Remove from oven and let rest for 5 minutes, loosely covered with foil.
- Slice against the grain and serve with pan juices spooned over the top.
Notes
Pounding the chicken to even thickness is crucial for uniform cooking. Do not overcook; pull at 160°F if using a thermometer as residual heat will bring it to 165°F. Resting the meat is essential to retain juices. For dairy-free, substitute butter with olive oil.
- Prep Time: 15 minutes
- Cook Time: 22 minutes
- Category: Main Course
- Cuisine: American
Nutrition
- Serving Size: 1 chicken breast
- Calories: 320
- Sodium: 350
- Fat: 18
- Saturated Fat: 11
- Carbohydrates: 2
- Protein: 35
Keywords: oven-baked chicken, herb butter chicken, juicy chicken breast, easy weeknight dinner, gluten-free chicken, high protein meal


