I still remember the smell. It hit me from the other room, deep and nutty, like someone had toasted almonds in a cast-iron skillet while rain tapped against the kitchen window. I walked in, half-asleep, thinking I’d left the oven on too long. Instead, I found my husband standing over the cooling rack, eating a cookie straight from the pan, looking blissfully guilty.
“What is that?” I asked, mouth already watering.
“Brown butter chocolate chip cookies,” he mumbled through a mouthful. “They’re… different. But in a good way.”
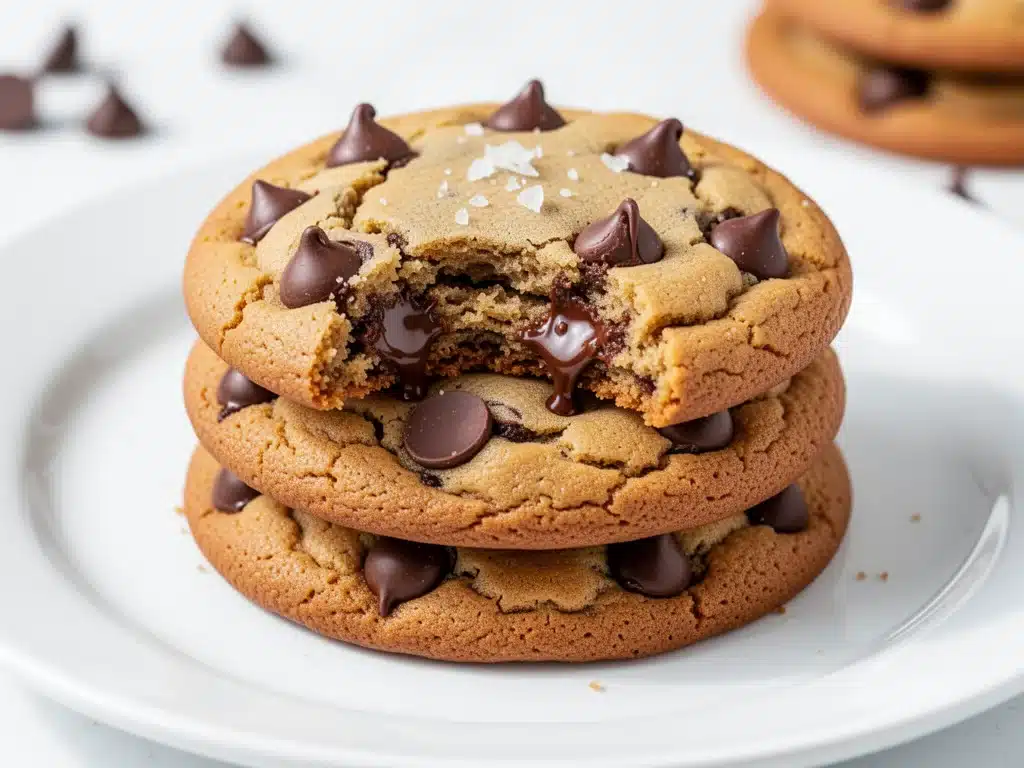
Different. That’s the understatement of the year. These aren’t your standard grocery-store chocolate chip cookies. They’re richer, deeper, with a toasty, caramel-like undertone that keeps you coming back for just one more bite. And the texture? That’s the real kicker. The centers stay impossibly chewy and soft, while the edges crisp up just enough to give you that perfect contrast. I’ve made these brown butter chocolate chip cookies at least a dozen times since that rainy Tuesday, and every single batch has been better than the last.
Here’s the thing about brown butter cookies: they sound intimidating. You hear “brown butter” and you think, “Oh, I have to watch it like a hawk, or it’ll burn.” And sure, you do need to pay attention. But once you get the hang of it, it’s actually faster than regular cookies because you skip the step of chilling the dough (though I recommend it for flavor). These cookies are my go-to now. Whether I’m hosting a last-minute dinner party, need a sweet treat for my kids’ soccer practice, or just want to feel like a baking wizard on a lazy Sunday, these are it. They’re the kind of cookie you’ll make on repeat. Trust me.
Why You’ll Love These Brown Butter Chocolate Chip Cookies
Look, I’ve tried hundreds of chocolate chip cookie recipes over the years. Some are cakey. Some are flat. Some taste like sugar and nothing else. These brown butter chocolate chip cookies with chewy centers are the holy grail. Here’s why they’ve completely taken over my baking rotation:
- Nutty, Complex Flavor — Regular butter is sweet and milky. Brown butter? It’s toasted. It’s nutty. It’s like adding a layer of depth that makes the chocolate taste even more chocolatey. I once made these for my picky eater dad, and he asked, “What did you put in these? They taste fancy.” Spoiler: Just brown butter. That’s it.
- Chewy Centers, Crispy Edges — This is the texture trifecta. The inside stays soft and chewy for days (seriously, I tested this), while the edges get shatteringly crisp. I’ve tried every method under the sun, and this ratio of brown butter to sugar is what makes it happen. It’s not luck; it’s science.
- Actually Faster Than You Think — I know, I know. Browning butter takes 5 minutes. But you don’t *have* to chill the dough for 24 hours like some recipes demand. You can bake them in under an hour if you’re impatient (like me). I’ve made a batch in 45 minutes from scratch when guests called and said they were 10 minutes away. Don’t tell them.
- Make-Ahead Friendly — These cookies freeze beautifully. I bake a double batch, freeze the raw dough balls, and pull them out whenever the craving hits. They bake straight from frozen, just adding a minute or two to the time. This has saved me more times than I can count.
- Ingredient Simplicity — You don’t need fancy flours or obscure spices. Just butter, sugar, eggs, flour, baking soda, salt, and chocolate. If you can make a box mix, you can make these. Well, maybe slightly better than a box mix, but you get the point.
This recipe is my answer to “I want something sweet, but I don’t want to spend all afternoon in the kitchen.” It’s reliable, delicious, and always makes me look like I put in more effort than I actually did. That’s the goal, right?
Ingredients You’ll Need
Before we get to the fun part (the baking), let’s talk ingredients. This list is short, but each one plays a specific role. I’m particular about a few of these, so pay attention.
For the Dough
Unsalted Butter (1 cup / 226g) — This is where the magic happens. You’re going to brown it. Use high-quality butter if you can find it. I like Plugrá or Kerrygold because they have a higher fat content, which makes for a richer cookie. Don’t use margarine. Please. I’ve tried. It doesn’t work.
Granulated Sugar (½ cup / 100g) — This helps create those crispy edges. It spreads the cookie out. Don’t skip it for all brown sugar; you need the contrast.
Brown Sugar (1 cup / 200g) — Packed, obviously. This is what keeps the centers chewy. Dark brown sugar will give you a deeper molasses flavor, but light brown works fine too. I usually keep both on hand.
Eggs (2 large) — Room temperature is best. They bind the dough. If you’re in a rush, just drop them in a bowl of warm water for 5 minutes. Don’t use egg whites unless you want cakey cookies.
Egg Yolk (1 large, room temperature) — This is the secret weapon. The extra yolk adds richness and that fudgy, chewy texture. It’s what separates these from your average cookie. I always save the yolk from my morning eggs for baking.
Vanilla Extract (2 teaspoons) — Use real vanilla. Not the imitation stuff. If you want to go fancy, use vanilla bean paste, but pure extract works perfectly. It enhances the nutty flavor of the brown butter.
All-Purpose Flour (2 ¼ cups / 280g) — Spoon and level, don’t scoop. Scooping packs the flour in, and you’ll end up with dry, crumbly cookies. I use Gold Medal AP flour, but any brand works.
Baking Soda (1 teaspoon) — Not baking powder. Baking soda reacts with the acidic brown sugar to create lift and browning.
Salt (1 teaspoon) — Fine sea salt is my preference. It balances the sweetness. Don’t use kosher salt unless you grind it fine first, or you’ll get salty chunks.
For the Mix-Ins
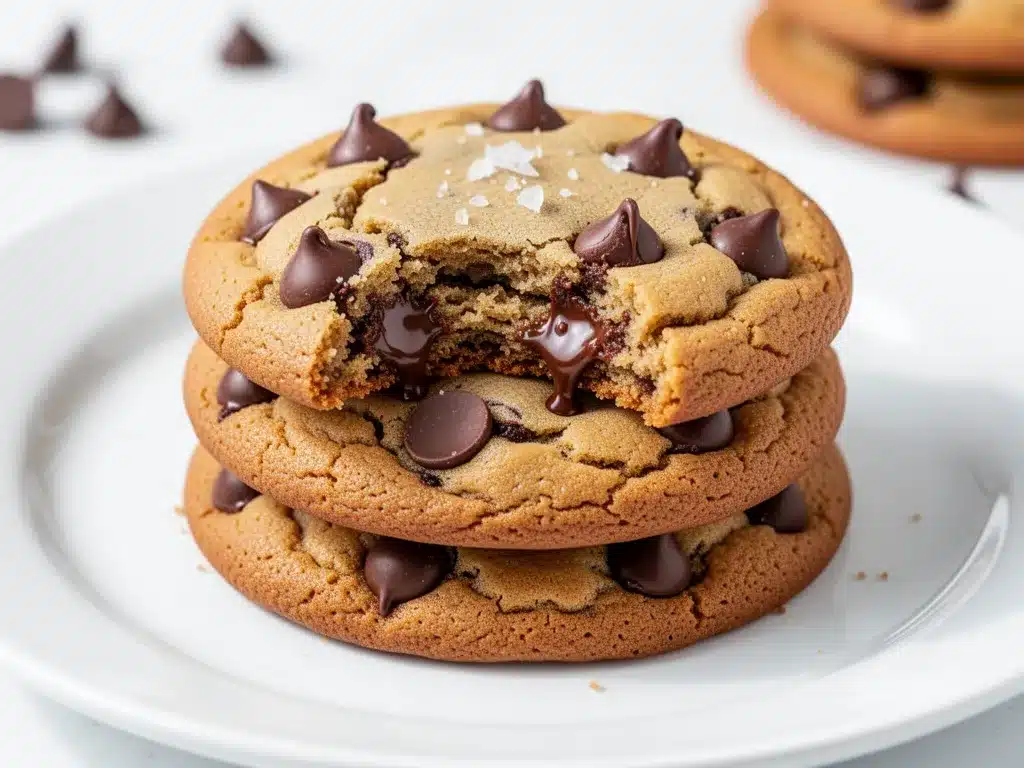
Semi-Sweet Chocolate Chips (1 ½ cups / 250g) — I use Ghirardelli 60% Cacao chips. They melt beautifully but hold their shape. You can also chop up a chocolate bar for more rustic, uneven chunks.
Flaky Sea Salt (optional, for topping) — Maldon sea salt flakes sprinkled on top right after baking. This is non-negotiable for me. The crunch and the salt bite against the sweet cookie is addictive.
Chocolate Chunks (½ cup) — I mix chips with chunks for variety. The chips melt into pockets of goo, while the chunks stay solid. Best of both worlds.
Equipment Needed
You don’t need a fancy kitchen for this. Here’s what I actually use:
Medium Saucepan — I use a stainless steel 3-quart saucepan. You need something with a thick bottom so the butter heats evenly. If you use a thin pan, the butter will burn in spots before it browns elsewhere.
Whisk — For beating the butter and sugars together. A balloon whisk is best for incorporating air.
Mixing Bowls — One large for wet ingredients, one medium for dry. I like glass bowls because I can see how well the dough is mixing.
Baking Sheets — Two half-sheet pans. I use Viking or Nordic Ware. Light-colored aluminum pans are best because they don’t over-brown the bottoms. Dark pans can burn the cookies.
Parchment Paper — Line your sheets. I never bake directly on metal. Cleanup is so much easier, and the cookies release perfectly.
Cooling Rack — Essential. Let the cookies cool on the pan for 5 minutes, then move them to a rack. If you leave them on the hot pan, they’ll keep cooking and get dry.
Ice Cream Scoop or Cookie Scoop — This is a game-changer for uniform size. I use a #40 scoop (about 2 tablespoons). Uniform cookies bake evenly. If you don’t have a scoop, use two spoons, but be consistent with size.
Spatula — Silicone is best for scraping the bowl. I have a cheap one from Target that works just as well as my expensive one.
Timer — Seriously. Use it. Browning butter goes from perfect to burnt in seconds. I keep my phone timer on while the butter is on the stove.
How to Make It: Step-by-Step
Alright, let’s make these brown butter chocolate chip cookies with chewy centers. I’m walking you through exactly how I do it, including the little tricks I’ve picked up over the years.
Step 1: Brown the Butter (10 minutes)
Start by melting the butter in your saucepan over medium heat. Stir it constantly with a wooden spoon or silicone spatula. At first, it’ll just melt. Then, it’ll start to foam up. The foam is water evaporating. Keep stirring. You’ll hear a sizzling sound, like bacon frying. That’s good. That’s the water leaving.
Watch closely. The foam will settle a bit, and you’ll see brown bits forming at the bottom. This is the milk solids browning. It’s where all the flavor is. As soon as you smell that nutty, toasted aroma (like browned butter sauce for pasta), remove it from the heat immediately. Pour it into a heat-proof bowl to stop the cooking. You want it to be a dark amber color, not black. If it’s black, start over. I’ve done it. It happens.
Pro Tip: Let the brown butter cool for 15-20 minutes until it’s just warm to the touch. If it’s hot, it’ll melt the chocolate chips later. If it’s cold, it’ll solidify into chunks. You want it pliable.
Step 2: Mix the Wet Ingredients (3 minutes)
In your large mixing bowl, whisk together the cooled brown butter, granulated sugar, and brown sugar. Whisk vigorously for about 2 minutes. You’re incorporating air into the butter, which helps with texture. Add the eggs, egg yolk, and vanilla extract. Whisk again until the mixture is smooth and glossy. It should look almost like a thick caramel sauce.
Step 3: Combine Dry Ingredients (2 minutes)
In a separate medium bowl, whisk together the flour, baking soda, and salt. This ensures the leavening agent is evenly distributed. No one wants a cookie with a bitter bite of baking soda.
Step 4: Make the Dough (2 minutes)
Gradually add the dry ingredients to the wet ingredients. Mix on low speed or use a wooden spoon until just combined. Do not overmix. As soon as you see streaks of flour disappear, stop. Overmixing develops gluten, and you’ll get tough cookies. Fold in the chocolate chips and chunks by hand. Use a spatula. Be gentle.
Optional but Recommended: Cover the bowl and refrigerate the dough for at least 30 minutes, or up to 3 days. Chilling the dough prevents spreading and deepens the flavor. I know you want to bake them now, but wait. Your patience will be rewarded with thicker, chewier cookies.
Step 5: Scoop and Bake (12-14 minutes)
Preheat your oven to 350°F (175°C). Line your baking sheets with parchment paper. Scoop the dough into balls, about 2 tablespoons each. Place them on the baking sheets, spacing them 2 inches apart. They will spread.
Bake for 12-14 minutes. The cookies are done when the edges are golden brown and set, but the centers still look soft and slightly underbaked. They will firm up as they cool. If you bake them until the centers look firm, they’ll be dry. Trust me. Pull them out when they look slightly raw in the middle.
Step 6: Cool and Top (5 minutes)
Let the cookies cool on the baking sheet for 5 minutes. This allows them to set. Then, transfer them to a cooling rack. While they’re still warm, sprinkle with flaky sea salt if you’re using it. The salt melts slightly into the cookie, creating those salty-sweet bursts.
Troubleshooting: If your cookies spread too much, your butter was too warm, or your oven is hot. Try chilling the dough longer or lowering the oven temp by 25°F. If they’re too cakey, you likely used too much flour or baked them too long.
Expert Tips & Tricks
Here’s everything I’ve learned from making these dozens of times. These tips will save you from my mistakes.
- Don’t Skip the Chill — I know it’s tempting. But chilling the dough solidifies the fat. When it hits the hot oven, the fat melts slower, giving the structure time to set. Result: Chewier centers. If you’re short on time, freeze the dough balls for 15 minutes instead of refrigerating for 30.
- Watch the Butter Closely — Brown butter can go from perfect to burnt in 30 seconds. If you smell smoke, you’ve gone too far. Strain the butter through a fine-mesh sieve to remove the burnt bits, but honestly, it’s better to start over. The flavor of burnt butter ruins the whole batch.
- Use a Scale — If you have a kitchen scale, use it. Baking is chemistry. 1 cup of flour can vary by 20-30 grams depending on how you scoop. 280 grams is always 280 grams. Consistency is key for chewy centers.
- Underbake Intentionally — This is the most important tip for chewiness. Remove the cookies when the edges are golden but the centers look soft. They will continue to cook on the hot pan. If you wait until they look done in the oven, they’ll be hard by the time they cool.
- Room Temperature Ingredients — Eggs and butter should be room temperature for even mixing. Cold eggs can cause the butter to seize. Take your eggs out of the fridge 30 minutes before you start.
- High-Quality Chocolate — Don’t use the cheapest chips. They’re full of stabilizers and don’t melt well. Buy a bar of good semi-sweet chocolate and chop it yourself. The irregular chunks create a more interesting texture and flavor.
Variations & Substitutions
Once you’ve nailed the basic version, here’s how you can mix it up. I’ve tried all of these.
White Chocolate Macadamia
Swap the semi-sweet chips for white chocolate chips and add 1 cup of toasted macadamia nuts. The brown butter pairs beautifully with the sweet white chocolate. Toast the nuts in a dry pan for 3-4 minutes before adding them for extra flavor.
Pretzel Salted Caramel
Add ½ cup of crushed pretzels and ½ cup of caramel chips. The salt and crunch are incredible. Sprinkle extra pretzel pieces on top before baking.
Matcha White Chocolate
Replace 1 tablespoon of flour with matcha powder. Use white chocolate chips. The earthy green tea flavor contrasts with the nutty butter. It’s sophisticated and delicious.
Vegan Version
Use a vegan butter stick (like Miyoko’s) and flax eggs (1 tbsp ground flax + 3 tbsp water per egg). The texture will be slightly different, but still tasty. You’ll need to chill the dough longer because vegan butter has a lower melting point.
Gluten-Free
Use a 1:1 gluten-free flour blend (like Bob’s Red Mill or King Arthur). Add ½ teaspoon of xanthan gum if your blend doesn’t include it. The cookies will be slightly more crumbly, but still chewy.
Double Chocolate
Add 2 tablespoons of cocoa powder to the dry ingredients and use dark chocolate chips. The cookies will be darker and more intense. Great for chocolate lovers.
Serving & Storage
These cookies are best served warm, straight out of the oven. Pair them with a cold glass of milk, a cup of coffee, or a scoop of vanilla ice cream. I like to serve them with a drizzle of salted caramel sauce for dinner parties.
Storage
Room Temperature: Store in an airtight container for up to 5 days. Place a slice of bread in the container with the cookies. The bread will dry out, and the cookies will stay soft. It’s an old trick that actually works.
Freezing Dough: Scoop the dough balls and freeze them on a baking sheet for 1 hour. Then transfer to a freezer bag. They’ll last for 3 months. Bake straight from frozen, adding 1-2 minutes to the bake time.
Freezing Baked Cookies: Once completely cooled, store in a freezer-safe container with parchment paper between layers. Freeze for up to 2 months. Thaw at room temperature. They’ll still be chewy.
Reheating: Warm a cookie in the microwave for 10-15 seconds. It’ll be soft and gooey again. Or bake at 350°F for 3-4 minutes for a fresh-from-the-oven experience.
Nutrition Information
I’m not a nutritionist, but here’s the breakdown if you’re tracking. Keep in mind that these are rich cookies, so portion control is key.
Per Cookie (makes approx. 24 cookies):
- Calories: 180
- Protein: 2g
- Carbs: 24g
- Fiber: 1g
- Sugar: 15g
- Fat: 9g
- Saturated Fat: 5g
- Cholesterol: 35mg
- Sodium: 120mg
My Take: These are indulgent cookies. They’re not a health food. But they’re made with real ingredients, and you control the sugar and chocolate. When I make them for my kids, I’m happy because I know exactly what’s in them. Just enjoy a couple and savor them.
Final Thoughts
So that’s my brown butter chocolate chip cookies with chewy centers. I’ve probably talked your ear off at this point, but when you make a recipe this often, you have a lot to say about it. These cookies have saved me from takeout runs, impressed guests I barely know, and brought comfort on rainy days. They’re my answer to “I want something sweet, but I want it to feel special.” And they do.
Make them your own. Try different chocolates, add nuts, or skip the salt if you prefer. The best recipes are the ones you adapt to your tastes. But start with the base recipe. Get the brown butter technique down. Once you do, you’ll never go back to regular butter cookies again.
If you make these, drop a comment and let me know how they turned out! I love hearing how recipes work in your kitchen. And if something doesn’t work, tell me that too—I’m here to help troubleshoot. Happy baking! And I hope your kitchen smells half as good as mine does right now.
Frequently Asked Questions
Can I use salted butter instead of unsalted?
You can, but reduce the added salt in the recipe to ½ teaspoon. Salted butter varies in salt content, so it’s hard to control. Unsalted butter gives you full control over the flavor. If you must use salted butter, taste the dough before adding extra salt.
Why did my cookies spread too much?
This usually means the butter was too warm when you mixed the dough, or the oven wasn’t hot enough. Make sure your brown butter is cooled to room temperature, not hot. Also, chill the dough for at least 30 minutes. If your oven runs hot, try lowering the temp to 325°F.
Can I freeze the brown butter before making the dough?
Yes! Brown butter freezes well for up to 3 months. Just thaw it completely and let it cool to room temperature before using. This is great for meal prepping. I brown a bunch of butter on Sunday and use it all week.
Why are my cookies cakey instead of chewy?
Cakey cookies usually result from too much flour, too much baking powder (use baking soda, not powder), or overmixing the dough. Also, using more granulated sugar than brown sugar leads to crispier, cakier cookies. Stick to the ratio in this recipe for chewiness.
Can I make these cookies ahead for a party?
Absolutely. Scoop the dough and freeze it. Bake them the day of the party for the freshest taste. If you must bake ahead, store them in an airtight container and reheat in the microwave for 10 seconds before serving. They’ll still be delicious.
What kind of chocolate is best?
I prefer semi-sweet chocolate chips or chopped bars. They hold their shape and provide a nice contrast to the sweet dough. You can also use a mix of chips and chunks. Avoid milk chocolate, as it’s too sweet and melts too quickly.
How do I know when the butter is browned?
Listen and smell. The butter will foam, then the foam will settle. You’ll see brown specks at the bottom. The smell will be nutty and toasty, like hazelnuts. If it smells like burnt popcorn, you’ve gone too far. Take it off the heat immediately.
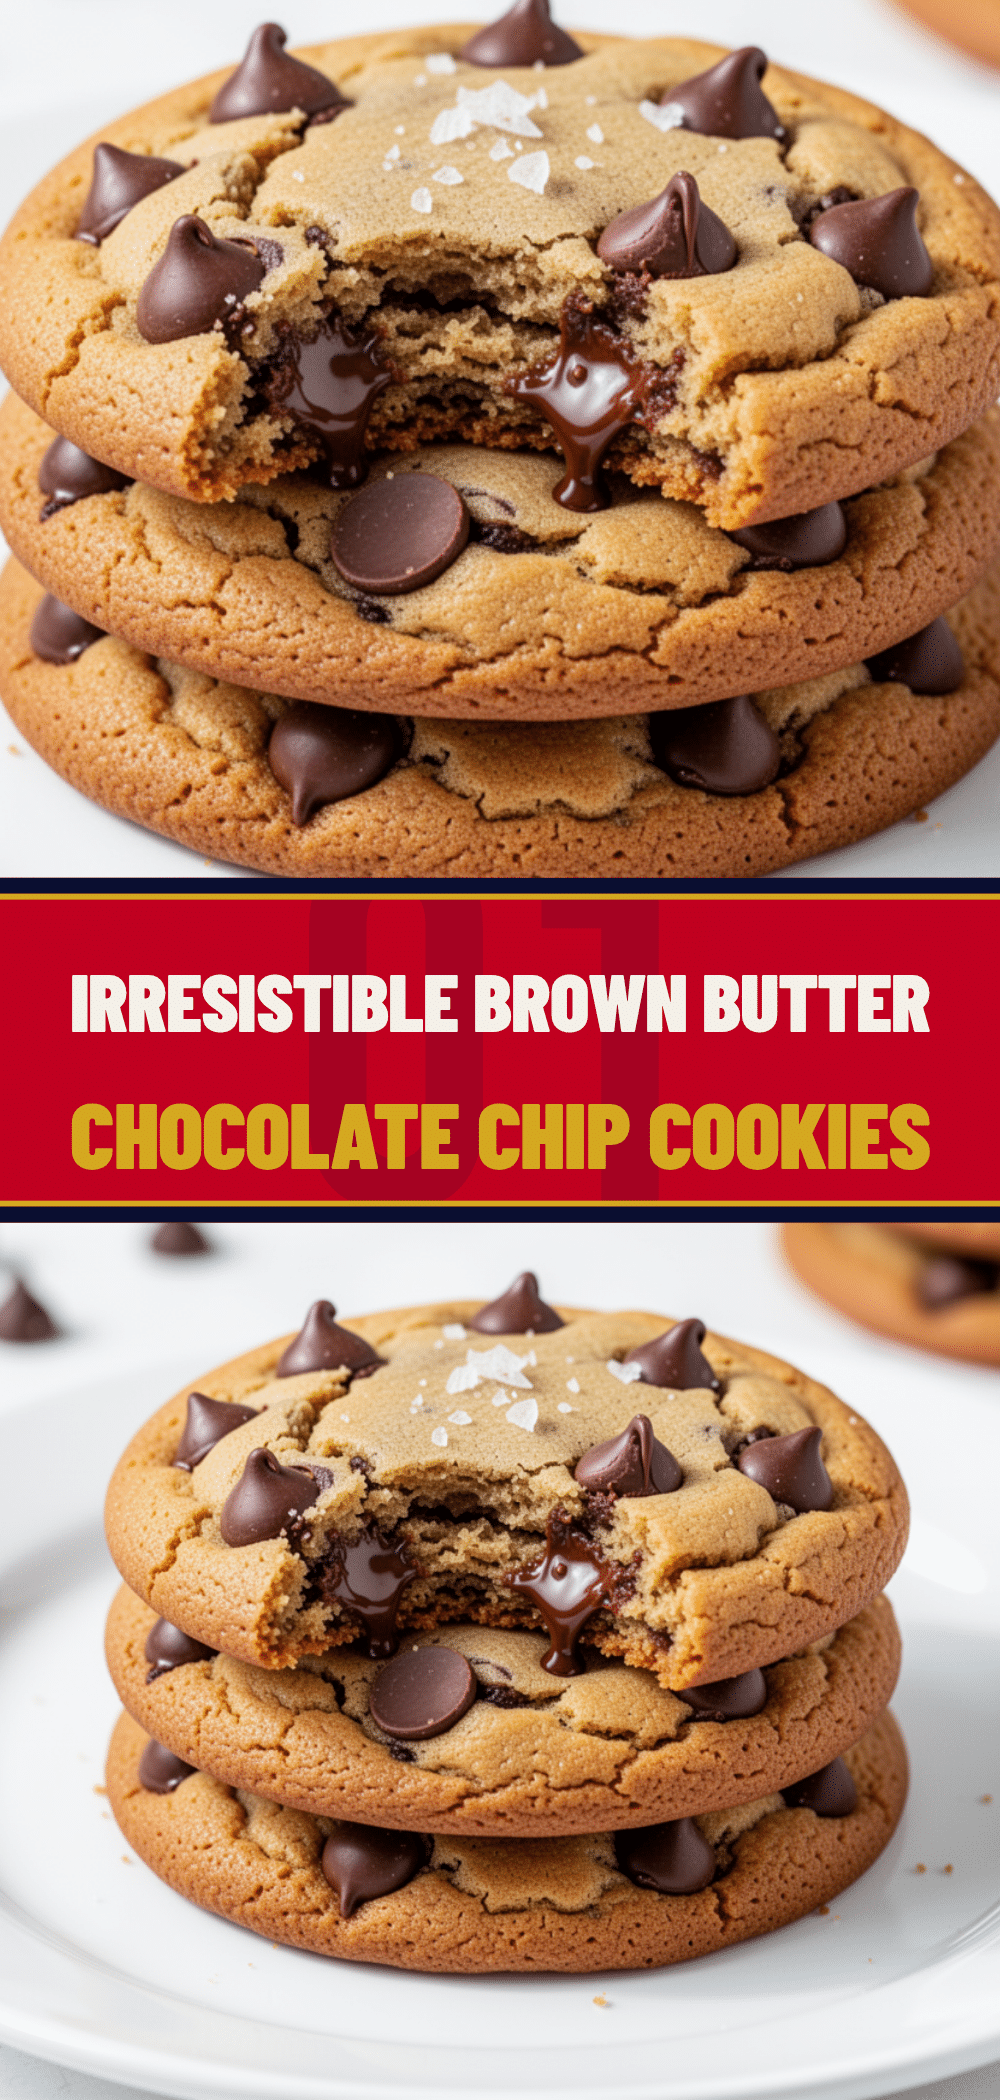
Pin This Recipe!
Brown Butter Chocolate Chip Cookies: Easy Chewy Centers
- Total Time: 34 minutes
- Yield: 24 cookies 1x
Description
Rich, nutty chocolate chip cookies with impossibly chewy centers and crisp edges, made using browned butter for a deeper, caramel-like flavor.
Ingredients
- 1 cup (226g) unsalted butter
- ½ cup (100g) granulated sugar
- 1 cup (200g) packed brown sugar
- 2 large eggs, room temperature
- 1 large egg yolk, room temperature
- 2 teaspoons vanilla extract
- 2 ¼ cups (280g) all-purpose flour
- 1 teaspoon baking soda
- 1 teaspoon fine sea salt
- 1 ½ cups (250g) semi-sweet chocolate chips
- ½ cup chocolate chunks
- Flaky sea salt, for topping (optional)
Instructions
- Brown the butter: Melt butter in a medium saucepan over medium heat, stirring constantly. Once foaming subsides and brown bits form at the bottom with a nutty aroma, remove from heat immediately. Pour into a heat-proof bowl and cool until just warm to the touch (15-20 minutes).
- Mix wet ingredients: In a large mixing bowl, whisk the cooled brown butter, granulated sugar, and brown sugar vigorously for 2 minutes. Add eggs, egg yolk, and vanilla extract; whisk until smooth and glossy.
- Combine dry ingredients: In a separate medium bowl, whisk together flour, baking soda, and salt.
- Make the dough: Gradually add dry ingredients to wet ingredients, mixing until just combined. Do not overmix. Fold in chocolate chips and chunks by hand.
- Chill dough (Optional but recommended): Cover and refrigerate dough for at least 30 minutes (or up to 3 days) to prevent spreading and deepen flavor.
- Preheat oven to 350°F (175°C). Line baking sheets with parchment paper.
- Scoop dough into 2-tablespoon balls and place on baking sheets, spacing 2 inches apart.
- Bake for 12-14 minutes until edges are golden brown and set, but centers still look soft.
- Cool on baking sheet for 5 minutes, then transfer to a wire rack. Sprinkle with flaky sea salt while warm if desired.
Notes
Ensure brown butter is cooled to room temperature before mixing to prevent melting the chocolate. Do not overmix the dough to avoid tough cookies. For chewier centers, underbake slightly and let cookies finish setting on the hot pan. Dough can be frozen for up to 3 months.
- Prep Time: 20 minutes
- Cook Time: 14 minutes
- Category: Dessert
- Cuisine: American
Nutrition
- Serving Size: 1 cookie
- Calories: 180
- Sugar: 15
- Sodium: 120
- Fat: 9
- Saturated Fat: 5
- Carbohydrates: 24
- Fiber: 1
- Protein: 2
Keywords: brown butter cookies, chocolate chip cookies, chewy cookies, baking, dessert, cookies with chewy centers


