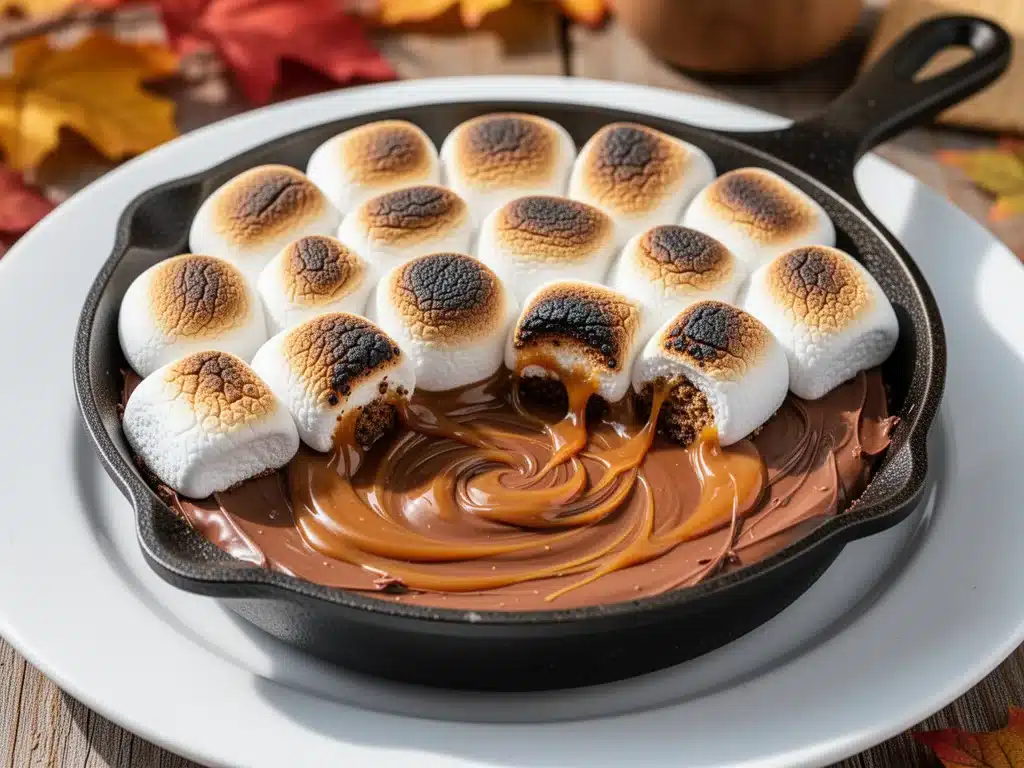
It was that specific kind of late August evening where the humidity hangs heavy in the air, but the backyard fire pit is crackling with promise. I had just finished grilling burgers for the neighborhood Labor Day crowd, and everyone was leaning back in lawn chairs, holding warm sodas, looking at me with that expectant grin that says, “Okay, what’s next?” I didn’t have a plan. I didn’t have time to bake anything that required cooling racks or delicate plating. What I had was a cast-iron skillet, a bag of marshmallows, and a sudden, desperate craving for something sweet that could handle being eaten with a spoon in the dirt.
So I threw together what I now call my Labor Day S’mores Skillet Dip. It started as a panic move—a way to satisfy twenty hungry adults without spending an hour in the kitchen. But here’s the thing: the second that first spoonful hit someone’s mouth, the noise in the backyard stopped. People stopped chatting. They just leaned in, grabbing spoons and breaking off pieces of grilled bread to scoop up the gooey, chocolatey goodness. It was messy, it was warm, and it was exactly what the occasion demanded.
I’ve made this s’mores skillet dip for every gathering since. It’s perfect for backyard barbecues, tailgates, or just a lazy Sunday when you want dessert that feels like a hug. It’s not just about the taste (though the combination of melted chocolate, toasted marshmallows, and salty pretzels is hard to beat); it’s about the experience. You bring the whole skillet to the table. It’s communal. It’s rustic. And it requires zero fancy equipment other than an oven and a spoon.
If you’re looking for a dessert that brings people together without stressing you out, this is it. I’ve tested this recipe so many times that I know exactly how long to bake it, how to keep the marshmallows from burning, and why adding a pinch of sea salt changes everything. Let me walk you through how to make this crowd-pleasing dip that will have your guests asking for the recipe before they’ve even finished their coffee.
Why You’ll Love This Recipe
There are about ten reasons I keep coming back to this skillet dip, but if I’m being honest, it’s mostly because it solves the biggest problem of hosting: dessert logistics. Here’s why this recipe has earned a permanent spot in my rotation:
Zero Cleanup Stress — Seriously, if you can throw ingredients into a pan and put it in the oven, you can make this. I’ve walked my teenagers through it over FaceTime, and they nailed it. There’s no intricate layering, no tempering chocolate, no delicate meringue peaks that collapse if you look at them wrong. You mix, you bake, you serve. Done.
Lightning Fast Prep — 15 minutes from start to finish in the kitchen. The active time is maybe 10 minutes while you chop and mix. The rest is just waiting for the oven to do its work. I make this on weeknights when I get home at 7pm and still want something that feels special. My kids think it’s “fancy” because it comes out of a hot skillet, but I know the truth.
Pantry-Friendly — You probably have 90% of these ingredients already. Chocolate chips, marshmallows, graham crackers, butter. The only thing you might need to grab is pretzels or nuts, and even those are optional. I keep the key items stocked just so I can make this on a whim when friends drop by.
Crowd-Pleaser Guaranteed — I’ve served this to my vegetarian sister, my nut-allergic neighbor, and my dad who claims he “doesn’t really like dessert.” Everyone loved it. The salty-sweet combo works on literally everyone. Even the kids who usually turn their noses up at anything chocolatey went back for seconds.
Makes Amazing Leftovers — Actually tastes better the next day. The flavors meld together as it cools. I deliberately make extra for lunch throughout the week, though I usually have to hide it in the back of the fridge because my family will devour it in one sitting. It reheats beautifully in the microwave too.
This is my go-to when I need dessert to just work. No complicated techniques, no weird ingredients, just reliable, delicious food that makes everyone happy. It’s the kind of recipe that makes you look like a hosting genius without actually doing any work.
Ingredients You’ll Need
Here’s the best part: you probably have most of this already in your pantry. I’m particular about three ingredients here, and I’ll tell you exactly why they matter. This looks like a short list, but that’s because it relies on quality basics rather than a dozen exotic spices.
Unsalted Butter (½ cup / 113g) — I use real butter, not margarine. It adds that rich, creamy base that makes the dip feel indulgent. Salted butter works too, but you’ll want to skip the extra salt I mention later. I buy the good stuff—Kerrygold or Plugra—because it melts smoother.
Dark Chocolate Chips (1 cup / 170g) — I prefer dark chocolate (60% cocoa) because it cuts through the sweetness of the marshmallows. Milk chocolate works, but it can get cloying. Semi-sweet is a happy medium. I always use Guittard or Ghirardelli; they melt evenly without seizing up. Avoid the cheap kind that turns grainy.
Mini Marshmallows (3 cups / 225g) — Yes, three cups. Don’t skimp. Mini marshmallows are crucial because they melt faster and more evenly than large ones. They create that uniform, gooey blanket over the chocolate. I buy the big bags from Costco; they’re cheaper and last forever.
Graham Crackers (1 sleeve / 200g) — The classic base. I crush them into chunks, not dust. You want texture. If you buy pre-crushed, it turns into a crumble instead of a dip. I keep a sleeve in the pantry specifically for this recipe. Whole wheat graham crackers add a nice nutty depth.
Saltines or Pretzels (1 cup / 100g, crushed) — This is my secret weapon. The saltiness balances the sugar. I use pretzels for a crunchier texture, but saltines work too if you prefer a softer bite. Crush them roughly; don’t make them into powder.
Optional Add-ins:
Chopped Pecans (½ cup) — Adds crunch and richness. Toast them in a dry pan for 2 minutes before adding for extra flavor.
White Chocolate Chips (½ cup) — Swirl in for a marbled effect. I like the contrast of dark and white chocolate.
Espresso Powder (1 teaspoon) — Just a pinch. It deepens the chocolate flavor without making it taste like coffee. Trust me on this.
Personal Tips:
– Brand recommendations: I always use Guittard chocolate chips—they have the best melt.
– Shopping shortcuts: I buy pre-crushed graham crackers if I’m in a rush, but crushing them yourself takes 30 seconds and yields better texture.
– Substitutions: No pretzels? Use saltines or even crushed potato chips. The salt is the key.
– Storage: Marshmallows keep for months if stored in an airtight container. Chocolate chips too, though they might bloom (turn white) if exposed to heat. Still tastes fine.
Equipment Needed
You don’t need fancy equipment for this. Here’s what I actually use.
10-Inch Cast-Iron Skillet — I use a Lodge skillet. It needs to fit all the ingredients comfortably and go from stove to oven. My ancient skillet from college still works fine, and it’s what gives the dip that rustic, campfire vibe.
Large Mixing Bowl — Any size works. I use a glass bowl because I can see how much I’m mixing. Plastic works too.
Pastry Brush or Spoon — For spreading the butter and chocolate evenly. A silicone spatula works great too.
Oven — Preheated to 350°F (175°C). Any oven works, but I prefer gas for even heating. If you have a hot spot, rotate the skillet halfway through.
Serving Spoons — Use sturdy spoons. The dip is hot and gooey, so flimsy spoons will bend. I keep a set of wooden spoons just for dessert.
Optional but nice:
– Broiler Setting — For getting those perfect golden-brown peaks on the marshmallows.
– Heat-Proof Serving Platter — To carry the skillet to the table safely.
– Kitchen Torch — If you want to toast marshmallows individually. It’s fun but not necessary.
How to Make It: Step-by-Step
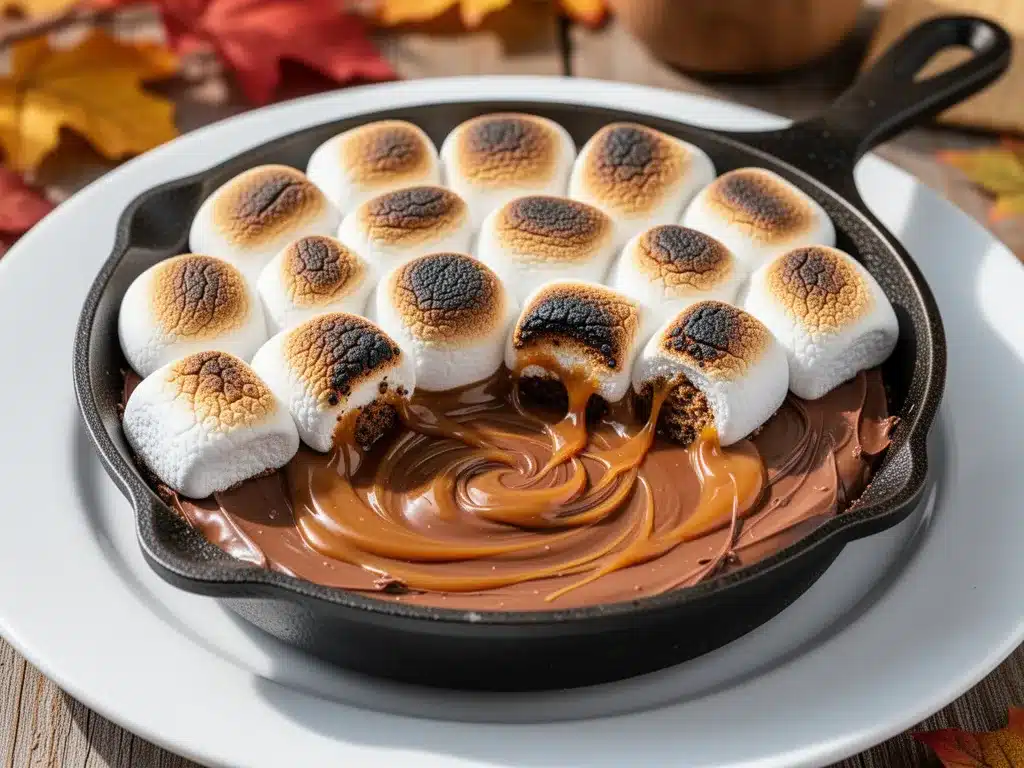
Alright, let’s make this! I’m walking you through exactly how I do it, including the little tricks I’ve picked up over the years.
Step 1: Prep Your Oven and Skillet (5 minutes)
Preheat your oven to 350°F (175°C). While it heats, grab your cast-iron skillet. If it’s not seasoned well, you might want to rub a tiny bit of oil on the inside to prevent sticking, though the butter should handle it. I usually wipe mine out with a paper towel to keep things clean.
Step 2: Create the Base (5 minutes)
Crush the graham crackers into large chunks. You want pieces that are about the size of a thumbnail. Spread them evenly across the bottom of the skillet. This is your foundation. Don’t pack them down; let them be loose and airy. It helps the dip absorb the chocolate and butter later.
Step 3: Add the Chocolate (2 minutes)
Scatter the chocolate chips evenly over the graham crackers. I like to distribute them so there’s a chip in every bite. If you’re using white chocolate, sprinkle it on top now too. The chocolate will melt and create a sauce that binds everything together.
Step 4: Pour the Butter (1 minute)
Melt the butter in the microwave for 30 seconds. It doesn’t need to be boiling hot, just liquid. Pour it evenly over the chocolate and crackers. Use a spoon to spread it around if needed. The butter will help the chocolate melt smoothly and add richness.
Step 5: Top with Marshmallows (2 minutes)
Spread the mini marshmallows over the top. You want a single, even layer. Don’t clump them. I usually dump them from the bag and then use my hands or a spoon to flatten them out. They should cover the chocolate completely. If you see any chocolate peeking through, add a few more marshmallows.
Step 6: Bake Until Golden (12-15 minutes)
Place the skillet in the oven. Bake for 12-15 minutes. You’ll know it’s done when the marshmallows are puffed up and golden brown, and the chocolate is bubbling. Keep an eye on it after 10 minutes. If your oven runs hot, they can burn quickly. I usually set a timer for 12 minutes and check.
Step 7: The Broil (Optional, 1-2 minutes)
If you want extra-crispy marshmallows, switch the oven to broil for the last minute. Watch it like a hawk—it goes from golden to burnt in seconds. I only do this if I’m serving it immediately. If it’s going to sit for a bit, skip the broil; the residual heat will keep it warm.
Step 8: Add the Crunch (1 minute)
Remove from the oven. Immediately sprinkle the crushed pretzels or saltines over the top. They’ll stick to the sticky marshmallows. This step adds the salty crunch that balances the sweetness. Serve hot, straight from the skillet.
Expert Tips & Tricks
Here’s everything I’ve learned from making this dozens of times. These tips will save you from my mistakes.
Don’t Overbake the Marshmallows
This is the #1 tip. Marshmallows go from perfect to charcoal in seconds under a broiler. If your oven runs hot, stick to the bake-only method. The residual heat will continue to cook them slightly after you take them out. I’ve ruined batches by getting greedy with the broil. Now I under-bake slightly and let them finish off-heat.
Use Mini Marshmallows
I know they’re more expensive per ounce, but large marshmallows don’t melt evenly. You get pockets of hard, chewy marshmallow that haven’t melted. Mini marshmallows create a uniform, gooey texture. It’s worth the extra cost.
Hot Skillet, Cold Spoon
When serving, keep a bowl of cold water nearby to dip your spoon in between scoops. It prevents the sticky dip from sticking to the spoon and makes serving cleaner. I learned this at a potluck when someone handed me a spoon caked in hardened marshmallow. Never again.
Add Salt Late
If you’re using unsalted pretzels, sprinkle a little flaky sea salt over the top right before serving. It pops on the tongue and enhances the chocolate flavor. I use Maldon sea salt for this. It’s a restaurant trick that makes homemade food taste fancy.
Room Temperature Ingredients
If your butter is cold, it won’t spread evenly. Let it sit out for 15 minutes before melting. Same with the chocolate chips—if they’re frozen from the freezer, they won’t melt right. Keep them at room temp.
Common Mistakes (and how to avoid them):
– Mistake: Marshmallows burn
Fix: Lower the oven temperature by 25°F and bake for an extra 2-3 minutes. Or skip the broil entirely.
– Mistake: Dip is too dry
Fix: You didn’t use enough butter. Next time, add an extra tablespoon. The butter creates the sauce.
– Mistake: Graham crackers are soggy
Fix: Don’t let the dip sit in the fridge before serving. The crackers absorb moisture over time. Serve warm or at room temp.
Pro Tricks I’ve Learned:
– For Restaurant-Quality Finish
Add a dollop of whipped cream or a scoop of vanilla ice cream on top when serving. The cold cream contrasts with the hot dip. It’s heavenly.
– For Extra Flavor
Add a teaspoon of vanilla extract to the melted butter before pouring. It adds a subtle sweetness that complements the chocolate.
– For Better Texture
Mix the pretzels with a little melted butter before sprinkling. It keeps them crunchy longer and prevents them from getting soggy from the steam.
Variations & Substitutions
Once you’ve nailed the basic version, here’s how you can mix it up. I’ve tried all of these.
Peanut Butter Cup Version
Drizzle ½ cup of melted peanut butter over the chocolate before adding marshmallows. Top with crushed Reese’s Pieces. My husband prefers this version—it tastes like a peanut butter cup come to life.
Cookie Butter Swirl
Spread a layer of Biscoff cookie butter over the graham crackers before adding chocolate. Top with marshmallows. The spiced cookie flavor is amazing. I make this for fall gatherings.
Mint Chip
Use mint chocolate chips and top with crushed peppermint candies. Great for winter holidays. The cool mint cuts through the sweetness perfectly.
Lighter Version
Use half the butter and low-fat marshmallows. It’s thinner but still good. I make this when I’m trying to be “healthy.” It’s not the same, but it’s better than nothing.
Nutty Twist
Add ½ cup of chopped toasted almonds or pecans to the graham cracker base. Adds crunch and richness. I toast them in a dry pan for 2 minutes before adding.
Dietary Modifications:
– Gluten-Free
Use gluten-free graham crackers and pretzels. Everything else is naturally gluten-free. I use Kinnikinnick brand, and it works great.
– Dairy-Free
Replace butter with coconut oil and use dairy-free chocolate chips. Marshmallows are often vegan, but check labels (some use gelatin). I use Dandies marshmallows for this.
– Lower-Sugar
Use sugar-free chocolate chips and reduce marshmallows by half. Add more nuts for texture. It’s less sweet but still satisfying.
Serving & Storage
I usually serve this straight from the skillet at the dinner table—it looks rustic and stays warm. But here are other ways I’ve enjoyed it:
Side Dishes:
– Cold vanilla ice cream (essential)
– Whipped cream
– Fresh berries (strawberries or raspberries)
– Grilled pineapple slices (for a tropical twist)
Toppings Bar:
When I have guests, I put out: extra pretzels, crushed nuts, sea salt, chocolate shavings. Everyone customizes their bowl.
Wine Pairing:
Not a wine expert, but my wine-snob friend says a bold Cabernet or a sweet Port works great with this. For non-alcoholic, try a cold beer or a dark cola.
Storage Instructions:
– Refrigerator:
Store leftovers in an airtight container for up to 3 days. The marshmallows will harden, but they’ll soften when reheated.
– Reheating:
Best method: Microwave individual portions for 30-60 seconds. Stir and eat.
– Freezing:
Honestly, this doesn’t freeze well. The marshmallows become rock-hard and the texture changes. Make it fresh or store in the fridge for up to 3 days.
Pro tip:
If leftovers are drying out, stir in a teaspoon of milk or cream when reheating. Brings back that creamy texture.
Nutrition Information
I’m not a nutritionist, but here’s the breakdown if you’re tracking.
Per Serving (based on 8 servings):
- Calories: 380
- Protein: 4g
- Carbs: 52g
- Fiber: 2g
- Sugar: 38g
- Fat: 18g
- Saturated Fat: 9g
- Cholesterol: 35mg
- Sodium: 220mg
What’s Good:
– Decent carbs for energy
– Calcium from dairy
– Can add nuts for healthy fats
What to Know:
– Higher in calories from butter and chocolate
– Contains dairy and gluten
– Moderate sodium (use low-sodium pretzels to reduce)
My Take:
Look, this is comfort food with butter and chocolate. It’s not a diet recipe. But it’s way better than takeout, costs less, and I know exactly what’s in it. When I want to make it lighter, I use the half-and-half version and load up on vegetables. But usually? I just eat a reasonable portion and enjoy it.
Final Thoughts
So that’s my go-to Labor Day S’mores Skillet Dip! I’ve probably talked your ear off at this point, but when you make a recipe this often, you have a lot to say about it.
This has saved backyard gatherings more times than I can count. It’s my answer to “what’s for dessert” when I’m tired, don’t want to bake, and still want something that tastes really good. My kids are happy, my friends are happy, and I’m happy because I’m not stressed about cooking.
Make it yours! Try different add-ins, swap in your favorite nuts, adjust the chocolate. The best recipes are the ones you adapt to your family’s tastes.
If you make this, drop a comment and let me know what you think! I love hearing how recipes turn out in your kitchen. And if something doesn’t work, tell me that too—I’m here to help troubleshoot.
Happy cooking! And I hope your kitchen smells half as good as mine does right now.
Frequently Asked Questions
Can I use regular marshmallows instead of mini?
You can, but the texture will be different. Regular marshmallows take longer to melt and might leave some hard spots. If you use them, chop them into smaller pieces first. I strongly recommend mini marshmallows for that uniform, gooey consistency. It’s worth the extra cost.
Why did my marshmallows burn?
Usually means the oven was too hot or you broiled it for too long. Marshmallows burn incredibly fast. If your oven runs hot, lower the temperature to 325°F and bake for 15-18 minutes. Skip the broil entirely if you’re unsure. I’ve burned more batches than I’d like to admit.
Can I make this ahead for a party?
Sort of. You can prep the layers up to 2 days ahead and store in the fridge. Bake it fresh right before serving (takes 15 minutes). It won’t be quite as good as fresh, but it’s close and saves you stress during the party. I do this all the time for big gatherings.
Can I use milk chocolate instead of dark?
Yes, but the dip will be sweeter. If you use milk chocolate, reduce the sugar by adding more pretzels or saltines to balance it. I prefer dark chocolate because it adds depth, but milk chocolate is fine if you like it sweet.
How do I reheat leftovers without it getting dry?
Add a splash of milk or cream to a microwave-safe bowl, add your leftover dip, and heat gently for 30-60 seconds. Stir and eat. The extra liquid brings back the creamy texture. Microwave sort of works but tends to dry it out if you overdo it.
Can I double this recipe?
Absolutely! Double everything and use a 12-inch skillet or a baking dish. The cooking times stay the same. I do this when I’m feeding a crowd. Just make sure your skillet is big enough for the ingredients—you might need to use a larger pan.
Pin This Recipe!
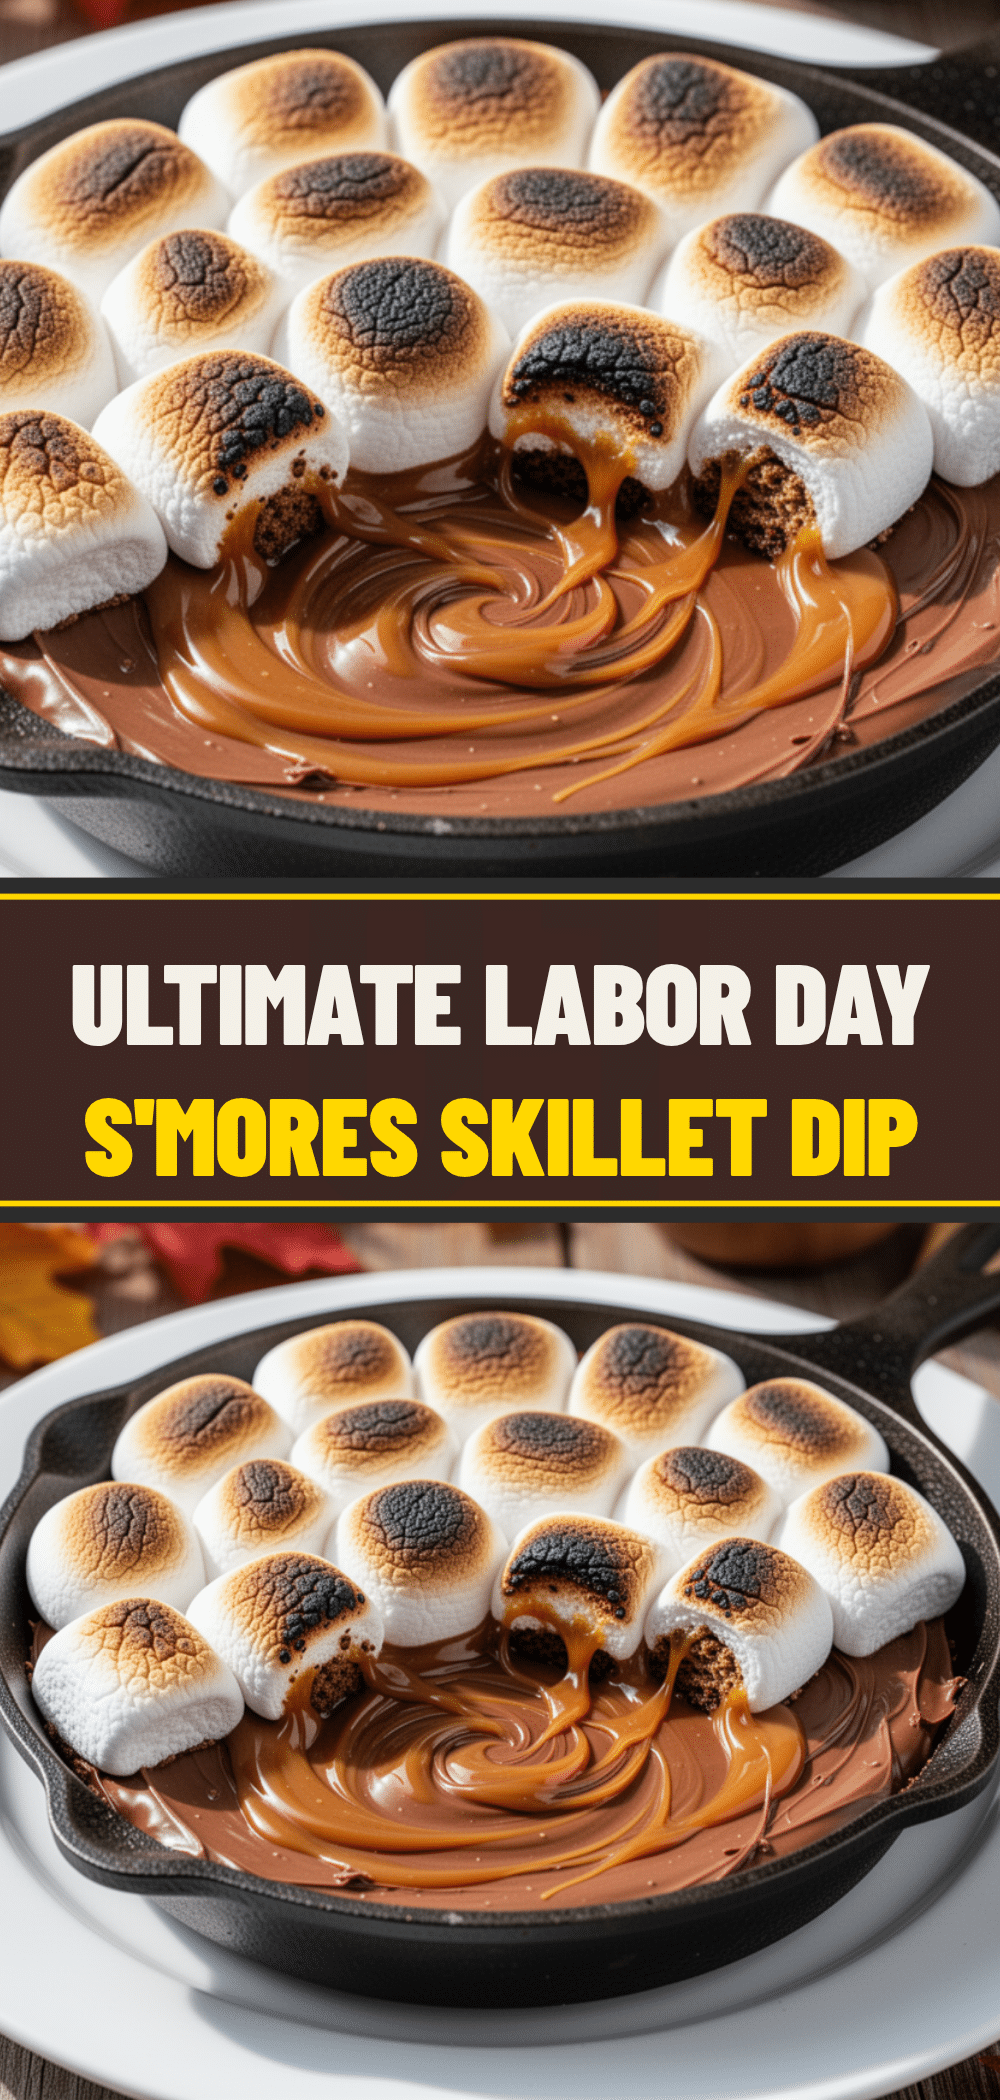
Perfect Smores Skillet Dip: 5-Step Easy Party Dip
- Total Time: 30 minutes
- Yield: 8 servings 1x
Description
A rustic, communal dessert dip featuring melted dark chocolate, toasted mini marshmallows, and crushed pretzels in a cast-iron skillet. It is easy to make, requires minimal cleanup, and is perfect for parties or lazy nights.
Ingredients
- 1 cup dark chocolate chips (60% cocoa)
- 3 cups mini marshmallows
- 1 sleeve graham crackers (approx. 200g), crushed into chunks
- 1/2 cup unsalted butter, melted
- 1 cup pretzels or saltines, crushed
- 1 teaspoon flaky sea salt (optional, for topping)
Instructions
- Preheat oven to 350°F (175°C).
- Crush graham crackers into thumbnail-sized chunks and spread them evenly across the bottom of a 10-inch cast-iron skillet.
- Scatter chocolate chips evenly over the graham cracker base.
- Pour melted butter evenly over the chocolate and crackers.
- Spread mini marshmallows in a single, even layer over the top, ensuring full coverage.
- Bake for 12-15 minutes until marshmallows are puffed and golden brown and chocolate is bubbling.
- Optional: Broil for 1-2 minutes for extra-crispy marshmallows, watching closely to prevent burning.
- Remove from oven and immediately sprinkle crushed pretzels or saltines over the hot dip.
- Serve hot, straight from the skillet.
Notes
Use mini marshmallows for even melting. If your oven runs hot, lower the temperature to 325°F. For leftovers, store in an airtight container in the fridge for up to 3 days and reheat in the microwave with a splash of milk or cream to restore creaminess. Do not freeze as texture will suffer.
- Prep Time: 15 minutes
- Cook Time: 15 minutes
- Category: Dessert
- Cuisine: American
Nutrition
- Serving Size: 1 serving (approx. 1
- Calories: 380
- Sugar: 38
- Sodium: 220
- Fat: 18
- Saturated Fat: 9
- Carbohydrates: 52
- Fiber: 2
- Protein: 4
Keywords: s'mores dip, skillet dessert, party dip, easy dessert, cast iron recipes, marshmallow dip, chocolate dip, labor day dessert


