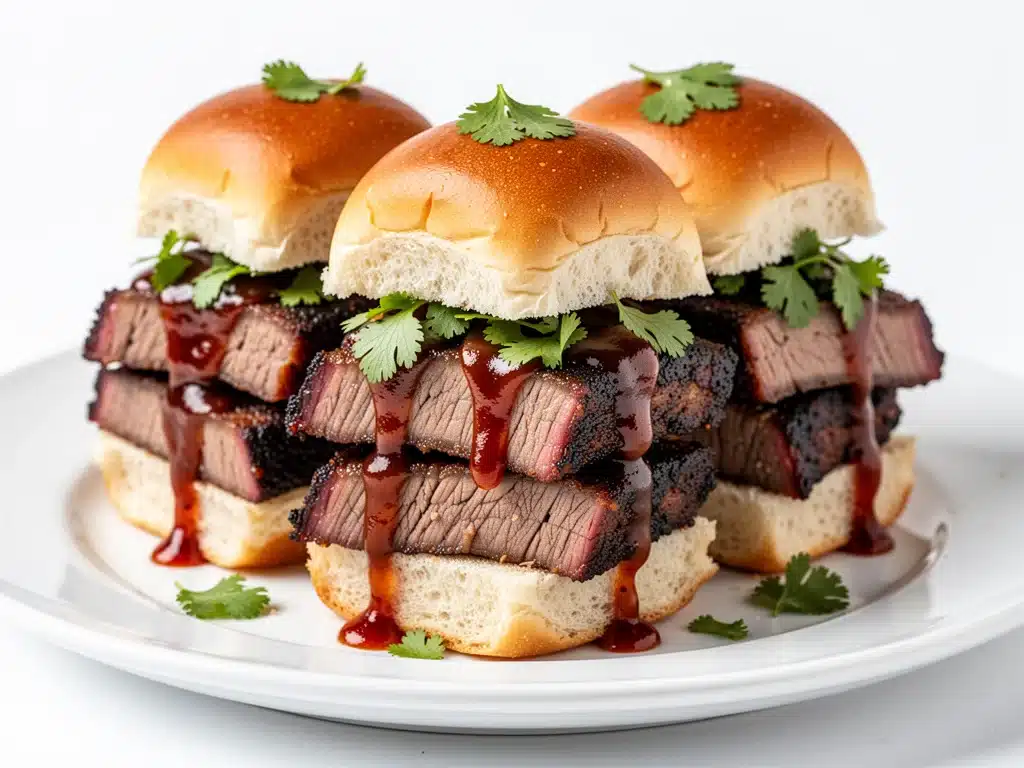
Last year, I made the classic mistake of thinking “smoked brisket” meant “stand over the grill for 14 hours and hope for the best.” It was Labor Day. The weather was perfect. My friends were arriving in three hours. And I had a 12-pound piece of beef that looked like it was about to turn into a hockey puck. I was stressed, sweaty, and seriously considering ordering a massive pizza instead. Then I remembered a trick my pitmaster uncle taught me: don’t smoke the whole thing. Smoke it low and slow in the oven, then give it a quick sear. I panicked, threw the brisket in my oven at 225°F with a box of wood chips in a pan, and went to hang out with my guests. Four hours later, I pulled out tender, shreddable brisket, threw it on tiny Hawaiian rolls, added some quick-pickled onions, and slathered them in a tangy BBQ sauce. The result? Pure magic. Everyone asked for the recipe before the pizza even arrived. That was the year I stopped being afraid of brisket and started making these Labor Day Smoked Brisket Sliders for every major holiday.
Here’s the thing about Labor Day. It’s the unofficial end of summer, which means everyone wants comfort food, but nobody wants to spend their last weekend of freedom standing over a hot grill for half the day. You want flavor that screams “I put effort into this,” but you also want to actually enjoy the party. These sliders hit that sweet spot. They’re smoky, tender, juicy, and ridiculously easy to assemble. I’ve tested this method at least a dozen times now—sometimes in the oven, sometimes on a pellet grill, sometimes even on a charcoal kettle. The result is always the same: empty plates, satisfied guests, and me actually sitting down with a drink. If you’re looking for a way to upgrade your BBQ game without the stress, this is it. It’s not just about the meat; it’s about the experience of sharing something delicious with people you love. And honestly? These Labor Day Smoked Brisket Sliders are the perfect vehicle for that.
Why You’ll Love This Recipe
I know what you’re thinking. “Sliders? Isn’t that just a sandwich?” Yes, but these aren’t just sandwiches. They’re an event. They’re bite-sized pieces of summer joy that make a huge impact. Here’s why I keep coming back to this recipe for holidays, tailgates, and lazy Sundays:
Effortless Elegance — Seriously, if you can open a package of buns and spread sauce, you can make this. I’ve had guests who couldn’t boil an egg make these with me. The prep is minimal, the cooking is mostly hands-off (thanks to the slow smoke/oven method), and the assembly is fun. It feels fancy, but it’s not. It’s the perfect balance of “I made this” and “I’m relaxed.”
Smoky Without the Smoke — You don’t need a $3,000 offset smoker to get that deep, backyard BBQ flavor. Using a box of wood chips in a roasting pan (or a simple pellet grill) gives you that authentic smokiness without the hassle of managing fire for 12 hours. It’s the hack that changed my life.
Make-Ahead Friendly — This is huge for holiday hosting. You can smoke the brisket, shred it, and make the sauce a day or two in advance. On the day of the party, you just toast the buns, assemble, and warm them up. You’re not stuck in the kitchen when your guests are arriving. I love that I can greet people at the door with a drink while the sliders finish warming in the oven.
Customizable for Everyone — Got a picky eater? Skip the pickles. Got a spice lover? Add some jalapeños. Got a vegetarian friend? (Okay, maybe skip the brisket, but the smoky sauce works great on pulled jackfruit too). These sliders are a crowd-pleaser because they let everyone tweak their bite. It’s interactive dining at its best.
Budget-Smart — Buying a whole packer brisket and smoking it yourself is actually cheaper than buying pre-made pulled pork or high-end sandwiches at a restaurant. Plus, you control the quality. No mystery meats, just good beef, good wood, and good sauce. It’s feeding a crowd for less than the cost of takeout.
This recipe has saved my Labor Day parties more times than I can count. It’s my go-to when I want to impress without stressing. No complicated techniques, no weird ingredients, just reliable, delicious food that makes everyone happy. And the leftovers? Even better. I eat them cold for lunch the next day, and they’re still amazing.
Ingredients You’ll Need
Here’s the best part: you probably have most of this already in your pantry. The beauty of this recipe is its simplicity. You don’t need a secret spice blend from a fancy restaurant. You need good basics and a few key components that make all the difference. I’m particular about three things here: the brisket cut, the wood chips, and the sauce balance. Let’s break it down.
For the Brisket
Brisket (3-4 pounds / 1.4-1.8 kg) — Look for a “flat cut” or a small whole packer. The flat is leaner and easier to handle for sliders, but a whole packer will give you more fat for flavor. If you’re smoking it in the oven, the flat is actually better because it cooks more evenly in a confined space. I always buy from a local butcher if I can—they know how to trim it well.
BBQ Dry Rub (¼ cup / 30g) — Keep it simple. I mix equal parts paprika, brown sugar, garlic powder, onion powder, salt, and black pepper. Store-bought rubs work fine, but make sure it doesn’t have too much sugar if you’re smoking it high, or it’ll burn. I like a smoky paprika as the base.
Wood Chips (1 cup / 100g) — Hickory or mesquite are classic for brisket, but cherry or apple give a sweeter, milder smoke that pairs beautifully with the sweet buns. Soak them for 30 minutes before using if you’re using an oven method (to create more smoke, less flame). For pellet grills, just use the pellets.
Beef Broth (½ cup / 120ml) — Adds moisture during the slow cook. Use low-sodium so you can control the saltiness. Apple cider vinegar (2 tablespoons) can be swapped in for a tangier profile.
For the Sliders
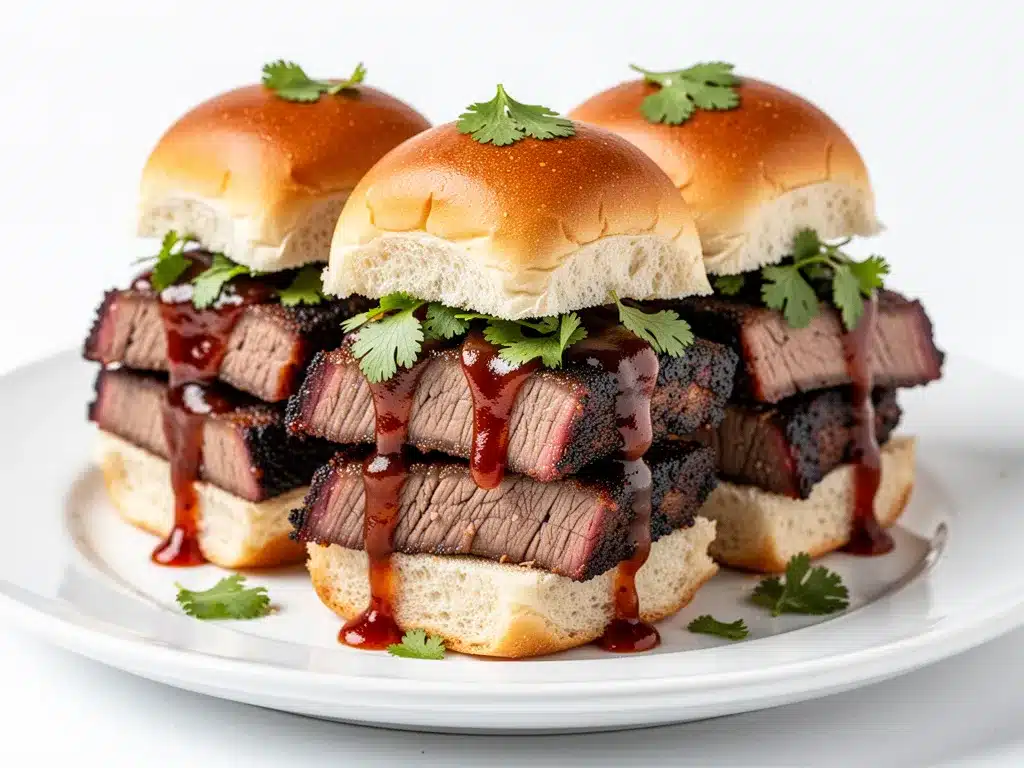
Hawaiian Sweet Rolls (12-16 rolls / 600-800g) — This is non-negotiable. The sweetness of the buns balances the savory, smoky meat. If you can’t find Hawaiian rolls, brioche buns are a great second choice. Avoid hard rolls; they’ll get soggy and fall apart.
Butter (4 tablespoons / 60g) — Melted, for brushing the tops of the buns. This gives them that golden, toasted finish. Mix with a little garlic powder for extra flavor.
BBQ Sauce (1 cup / 240ml) — Use your favorite. I like a Kansas City-style sauce that’s thick and tangy. If you want to make your own, mix ½ cup ketchup, ¼ cup apple cider vinegar, 2 tablespoons brown sugar, 1 tablespoon Worcestershire sauce, and 1 teaspoon smoked paprika.
For the Toppings
White Onion (1 medium, thinly sliced / about 150g) — Quick-pickled is the way to go. It cuts through the richness of the meat and cheese. Slice it paper-thin.
Pickle Spears (1 cup / 100g) — Dill pickles add that essential crunch and acidity. Chop them up or leave them whole, depending on your preference.
Sharp Cheddar Cheese (1 cup / 100g, shredded) — Sharp cheddar has more flavor than mild, and it melts beautifully. Colby Jack is also a good option if you want a milder taste.
Optional Add-ins — Cooked bacon bits, jalapeño slices, or coleslaw. I love adding a little coleslaw for texture contrast. It’s creamy, crunchy, and keeps the sliders from feeling too heavy.
Personal Tips for Ingredient Success
Brand Recommendations: I always use Imperial Hawaiian rolls—they’re consistently soft and sweet. For BBQ sauce, Stubb’s or Frank’s RedHot (mixed with ketchup) are my go-tos. For wood chips, Kamado Joe or Wooden Spoon brands are reliable.
Shopping Shortcuts: Buy pre-sliced onions if you’re in a hurry, but slice them yourself for better texture. Pre-shredded cheese works, but block cheese melts smoother. I buy block and shred it myself when I have time.
Substitutions: No Hawaiian rolls? Use slider buns or even mini bagels (if you’re feeling adventurous). No brisket? Pulled pork or shredded chicken works just as well with this method. No wood chips? Use liquid smoke (a few drops in the sauce) for a hint of smoke, though it’s not the same.
Storage: Brisket keeps for 5 days in the fridge. Wrap it tightly in foil or plastic wrap. The flavors actually deepen after a day or two.
Equipment Needed
You don’t need fancy equipment for this. Here’s what I actually use. Most of this is stuff you already have in your kitchen.
Roasting Pan with Rack — I use a 9×13 inch pan. The rack keeps the meat out of the juices, which helps it smoke better. If you don’t have a rack, just crumple up some aluminum foil and put the brisket on top.
Oven or Pellet Grill — An oven set to 225°F is the easiest method for most people. A pellet grill (like a Traeger or Camp Chef) is ideal if you have one, as it maintains temperature automatically. For charcoal grills, use the indirect heat method with a drip pan.
Aluminum Foil — Heavy-duty foil is best for wrapping the brisket during the rest phase. You’ll need a lot of it.
Sharp Knife — For slicing the brisket and onions. A dull knife will tear the meat. I use my Wüsthof chef’s knife for everything.
Cutting Board — Any size works. I use a large plastic one for meat to avoid cross-contamination.
Mixing Bowls — For mixing the rub and the sauce. Medium size is fine.
Pastry Brush — For brushing the melted butter on the buns. Silicone works, but natural bristles hold more butter.
Small Saucepan — If you’re making your own BBQ sauce, you’ll need this to heat it up.
Optional but nice: Meat Thermometer — Essential for knowing when the brisket is done. Look for an internal temperature of 195-205°F. Instant-read thermometer is faster than leave-in probes.
Tool Tips: Don’t have a roasting rack? Use a bed of chopped onions and carrots. It adds flavor and keeps the meat up. I’m obsessed with my ThermoWorks thermometer—it’s accurate and easy to clean.
How to Make It: Step-by-Step
Alright, let’s make this! I’m walking you through exactly how I do it, including the little tricks I’ve picked up. This method is designed to be foolproof, even if you’ve never smoked meat before.
Step 1: Prep the Brisket (10 minutes)
Pat the brisket dry with paper towels. This sounds minor, but it helps the rub stick and creates a better bark. Mix your dry rub in a small bowl. Generously coat all sides of the brisket with the rub, pressing it in so it adheres. Let it sit at room temperature for 30 minutes while you prep your cooking setup. This allows the flavors to penetrate the meat.
Step 2: Set Up for Smoking (15 minutes)
If using an oven: Preheat to 225°F (107°C). Place a box of wood chips in a shallow roasting pan. Add ½ cup of water to the pan to create smoke. Place a rack inside the pan, then put the brisket on the rack. Cover tightly with heavy-duty aluminum foil. If using a pellet grill: Preheat to 225°F (107°C). Place wood chips in the smoker box if required (most pellet grills don’t need extra chips). Place brisket directly on the grate.
Step 3: Smoke the Brisket (3-4 hours)
Place the brisket in the oven or grill. Smoke until the internal temperature reaches 165°F (74°C). This usually takes about 3-4 hours, depending on the size of the brisket and your cooking method. Use a meat thermometer to check. Don’t guess—use the thermometer. The meat should start to smell smoky and fragrant.
Step 4: Wrap and Finish Cooking (2-3 hours)
Once the brisket hits 165°F, remove it from the heat. Wrap it tightly in two layers of heavy-duty aluminum foil. Add a splash of beef broth or apple cider vinegar to the foil packet for moisture. Return to the oven/grill. Continue cooking until the internal temperature reaches 195-205°F (90-96°C). This is the “probe tender” stage—the thermometer should slide in like butter. This step is crucial for tenderness.
Step 5: Rest the Brisket (1 hour)
Remove the brisket from the heat. Keep it wrapped in the foil and let it rest for at least 1 hour. This allows the juices to redistribute. If you cut it too soon, all the juice will run out, and your meat will be dry. You can rest it for up to 2 hours if needed. Wrap it in a towel for extra insulation.
Step 6: Shred and Sauce (10 minutes)
Unwrap the brisket. Reserve the juices from the foil packet. Use two forks to shred the meat into bite-sized pieces. Discard any large chunks of fat. Mix the shredded brisket with your BBQ sauce and some of the reserved juices. Taste and adjust seasoning. It should be moist but not swimming in sauce. If it’s too dry, add more juice.
Step 7: Assemble the Sliders (15 minutes)
Preheat your oven to 350°F (175°C). Slice the Hawaiian rolls in half horizontally. Brush the cut sides with melted butter. Place the bottom halves on a baking sheet. Layer shredded brisket, cheddar cheese, quick-pickled onions, and pickles on each bun. Top with the upper halves. Brush the tops with more melted butter. Bake for 10 minutes, or until the cheese is melted and the buns are golden brown.
Step 8: Serve
Serve immediately while hot. Garnish with extra pickles or jalapeños if desired. These sliders are best eaten with your hands—just make sure you have plenty of napkins!
Total Time: About 6-7 hours (mostly hands-off). Active time is only about 45 minutes.
Expert Tips & Tricks
Here’s everything I’ve learned from making this dozens of times. These tips will save you from my mistakes.
The Wrap is Key — Wrapping the brisket at 165°F (the “stall”) helps it push through the temperature plateau faster and keeps it moist. I use the “Texas Crutch” method (wrapping in foil) because it’s foolproof. Parchment paper works too, but foil retains more moisture.
Don’t Rush the Rest — I know it’s tempting to cut into that hot meat, but wait. Resting for at least 1 hour is non-negotiable for tender brisket. If you’re short on time, rest for at least 30 minutes, but the quality will drop.
Sauce Balance — BBQ sauce can be too sweet or too tangy. Taste your sauce before mixing it with the meat. If it’s too sweet, add a splash of vinegar. If it’s too tangy, add a pinch of sugar. The goal is balance.
Quick-Pickled Onions — Don’t skip this. The acidity cuts through the richness of the meat and cheese. To quick-pickle, thinly slice onions and soak them in a mixture of ½ cup vinegar, ¼ cup sugar, and ¼ teaspoon salt for 30 minutes. Drain before using.
Common Mistakes (and how to avoid them):
- Mistake: Brisket is dry. Fix: It wasn’t cooked long enough or wasn’t rested. Use a thermometer and rest for at least 1 hour.
- Mistake: Buns are soggy. Fix: You didn’t toast them enough. Brush with butter and bake until golden.
- Mistake: Meat is tough. Fix: It wasn’t cooked to 195-205°F. Keep cooking until tender.
Pro Tricks I’ve Learned:
- For Extra Flavor — Add a teaspoon of liquid smoke to the BBQ sauce if you’re using an oven method and want more smokiness.
- For Better Texture — Shred the brisket against the grain. This makes each bite more tender.
- Make-Ahead Strategy — Smoke the brisket and shred it a day ahead. Store in the fridge. Reheat with sauce and assemble just before serving.
Variations & Substitutions
Once you’ve nailed the basic version, here’s how you can mix it up. I’ve tried all of these.
Spicy Version — Add chopped jalapeños to the filling and use a spicy BBQ sauce. Top with pickled jalapeños for extra heat. My friend who loves spice requests this version.
BBQ Bacon Sliders — Add crispy bacon bits to the filling. The smokiness of the bacon complements the brisket perfectly. It’s a crowd-pleaser.
Slaw-Topped Sliders — Top with creamy coleslaw instead of pickles. The crunch and creaminess add a nice contrast. I love this version for summer parties.
Vegetarian Option — Use smoked tofu or jackfruit instead of brisket. Marinate in BBQ sauce and smoke for 1 hour. It’s surprisingly good and mimics the texture of pulled pork.
Dietary Modifications:
- Gluten-Free — Use gluten-free slider buns. Everything else is naturally gluten-free.
- Dairy-Free — Skip the cheese and use dairy-free butter for brushing. Use a dairy-free BBQ sauce.
- Lower-Carb — Use lettuce wraps instead of buns. It’s not the same, but it works if you’re watching carbs.
Serving & Storage
How to Serve: I usually serve these straight from the baking sheet. They look rustic and stay warm. But here are other ways I’ve enjoyed them:
- Side Dishes: Corn on the cob, potato salad, or coleslaw. Classic BBQ sides.
- Toppings Bar: Set out extra pickles, jalapeños, and BBQ sauce for guests to customize.
- Wine Pairing: Not a wine expert, but my wine-snob friend says a bold red like Cabernet Sauvignon works great with this.
Storage Instructions:
Refrigerator: Store leftovers in an airtight container for up to 4 days. The brisket and sauce keep well. The buns are best fresh, so store them separately.
Reheating: Best method: Reheat brisket and sauce in a skillet over low heat, adding a splash of broth. Reheat buns in the oven at 350°F for 5 minutes. Microwave works but can make buns soggy.
Freezing: Brisket and sauce freeze well for up to 3 months. Thaw in the fridge and reheat. Do not freeze assembled sliders.
Nutrition Information
I’m not a nutritionist, but here’s the breakdown if you’re tracking. Per slider (based on 12 sliders):
- Calories: 280
- Protein: 18g
- Carbs: 22g
- Fiber: 1g
- Sugar: 8g
- Fat: 12g
- Sodium: 650mg
Look, this is comfort food. It’s not a diet recipe. But it’s way better than takeout, costs less, and I know exactly what’s in it. When I want to make it lighter, I use less cheese and more pickles. But usually? I just eat a reasonable portion and enjoy it.
Final Thoughts
So that’s my go-to Labor Day Smoked Brisket Sliders! I’ve probably talked your ear off at this point, but when you make a recipe this often, you have a lot to say about it. This has saved my holidays more times than I can count. It’s my answer to “what’s for dinner” when I want something impressive but don’t want to stress. My guests are happy, my family is happy, and I’m happy because I’m not stuck in the kitchen.
Make it yours! Try different add-ins, swap in your favorite vegetables, adjust the spice level. The best recipes are the ones you adapt to your family’s tastes. If you make this, drop a comment and let me know what you think! I love hearing how recipes turn out in your kitchen. And if something doesn’t work, tell me that too—I’m here to help troubleshoot. Happy cooking! And I hope your kitchen smells half as good as mine does right now.
Frequently Asked Questions
Can I use a different type of meat?
Absolutely! Pulled pork, shredded chicken, or even smoked turkey breast work great with this method. The key is using a meat that shreds easily and absorbs BBQ sauce well. I’ve made these with smoked pork shoulder and they’re just as good.
Why did my brisket turn out dry?
This usually happens if you don’t cook it long enough or if you don’t rest it. Brisket needs to reach an internal temperature of 195-205°F to be tender. Also, resting for at least 1 hour is crucial to let the juices redistribute. Use a thermometer to check.
Can I make this ahead for a party?
Yes! Smoke the brisket and shred it a day or two in advance. Store in the fridge. On the day of the party, reheat the brisket with sauce, toast the buns, and assemble. It saves you a lot of stress on the day of.
What’s the best wood chip for brisket?
Hickory and mesquite are classic choices for their strong, smoky flavor. Cherry and apple offer a sweeter, milder smoke. I prefer hickory for brisket because it stands up well to the rich meat.
How do I store leftover sliders?
Store the brisket and sauce in an airtight container in the fridge for up to 4 days. Store the buns separately. Reheat the brisket and sauce in a skillet, and toast the buns in the oven before assembling.
Pin This Recipe!
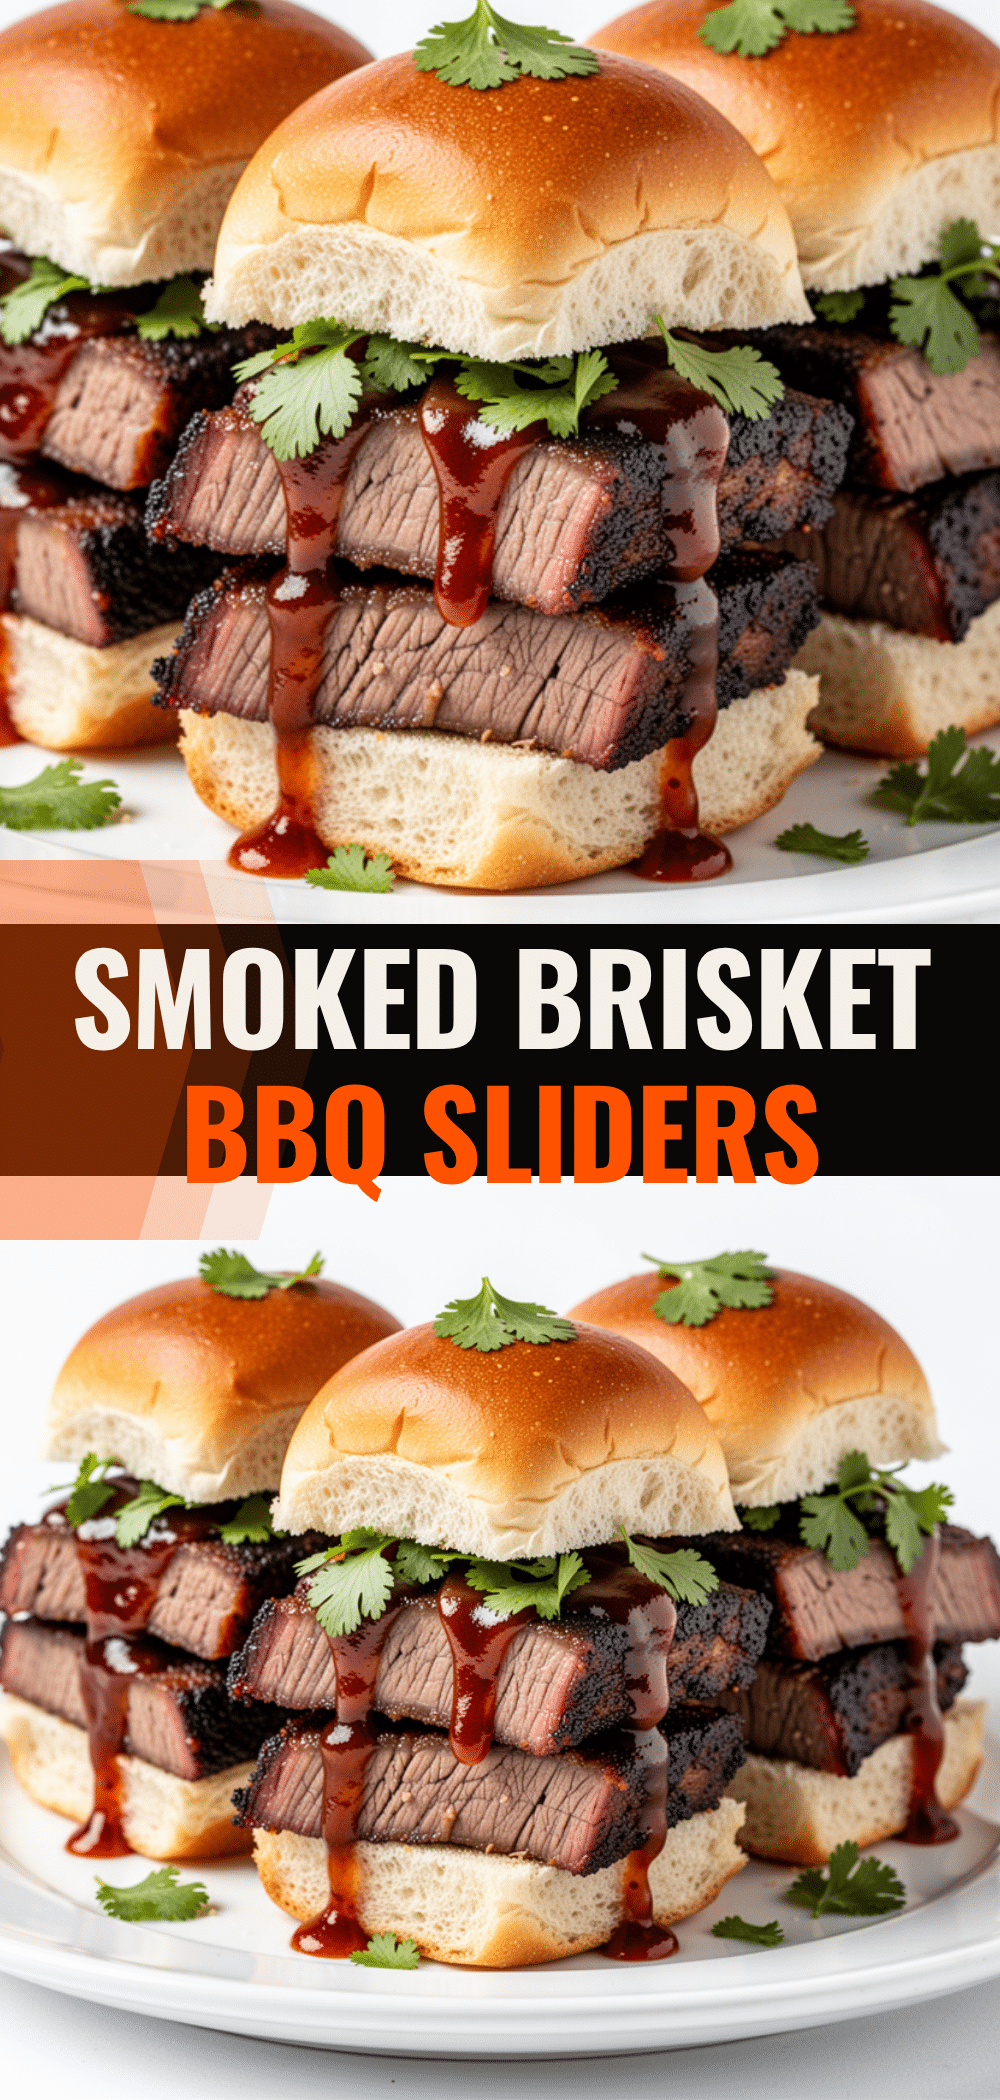
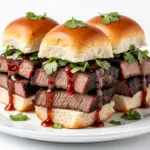
Labor Day Smoked Brisket Sliders: 5-Step Easy Recipe
- Total Time: 6 hours 45 minutes
- Yield: 12 servings 1x
Description
Tender, smoky brisket sliders made easy using an oven or pellet grill. These bite-sized sandwiches feature slow-smoked beef, sharp cheddar, quick-pickled onions, and tangy BBQ sauce on sweet Hawaiian rolls, perfect for holidays and parties.
Ingredients
- 3–4 pounds brisket (flat cut recommended)
- 1/4 cup BBQ dry rub (paprika, brown sugar, garlic powder, onion powder, salt, black pepper)
- 1 cup wood chips (hickory, mesquite, cherry, or apple)
- 1/2 cup beef broth
- 12–16 Hawaiian sweet rolls
- 4 tablespoons butter, melted
- 1 cup BBQ sauce
- 1 medium white onion, thinly sliced
- 1 cup dill pickle spears
- 1 cup sharp cheddar cheese, shredded
Instructions
- Pat the brisket dry with paper towels and coat generously with the dry rub. Let sit at room temperature for 30 minutes.
- Preheat oven to 225°F (107°C). Place wood chips in a shallow roasting pan with 1/2 cup water to create smoke. Place a rack in the pan and set the brisket on top. Cover tightly with heavy-duty aluminum foil.
- Smoke the brisket in the oven or grill until the internal temperature reaches 165°F (74°C), approximately 3-4 hours.
- Remove brisket, wrap tightly in two layers of foil with a splash of beef broth or vinegar. Return to heat and cook until internal temperature reaches 195-205°F (90-96°C), approximately 2-3 hours.
- Remove brisket from heat and let rest, wrapped in foil, for at least 1 hour.
- Unwrap brisket, reserve juices, and shred the meat using two forks. Discard large fat chunks. Mix shredded meat with BBQ sauce and reserved juices.
- Preheat oven to 350°F (175°C). Slice rolls in half horizontally and brush cut sides with melted butter.
- Place bottom halves on a baking sheet. Layer with shredded brisket, cheddar cheese, pickled onions, and pickles. Top with upper halves and brush tops with more butter.
- Bake for 10 minutes until cheese is melted and buns are golden brown.
- Serve immediately while hot.
Notes
The brisket can be smoked and shredded a day in advance for make-ahead convenience. For extra smokiness in an oven method, add a teaspoon of liquid smoke to the BBQ sauce. Ensure the brisket reaches an internal temperature of 195-205°F for tenderness. Resting for at least one hour is crucial to retain juices.
- Prep Time: 45 minutes
- Cook Time: 6 hours
- Category: Main Course
- Cuisine: American
Nutrition
- Serving Size: 1 slider
- Calories: 280
- Sugar: 8
- Sodium: 650
- Fat: 12
- Saturated Fat: 5
- Carbohydrates: 22
- Fiber: 1
- Protein: 18
Keywords: brisket sliders, smoked brisket, labor day recipes, bbq sliders, oven smoked brisket, hawaiian roll sliders, easy bbq, party food