I have a confession to make. For years, I was a “full batch” baker. If I was making brownies, I was making a 9×13 pan, which meant roughly 24 brownies. And do you know what happened to those 24 brownies? I ate three. I gave three to my neighbors. I dropped two on the floor. And then I was left with 16 brownies staring at me from the counter for the next two weeks. By week two, they were stale. By week three, they were tragic. I was buying butter, chocolate, and sugar just to waste it on a social obligation I didn’t even want.
Then, about six months ago, I had a sudden, desperate craving for something fudgy and dark at 3 PM on a Tuesday. Not a cakey, airy dessert. I wanted something dense, almost like a chocolate truffle, that I could eat with one hand while scrolling through my phone. But I didn’t want to bake a whole pan. I just wanted a few. So, I grabbed a small 8×8 pan, cut the recipe in half, and improvised with what I had.
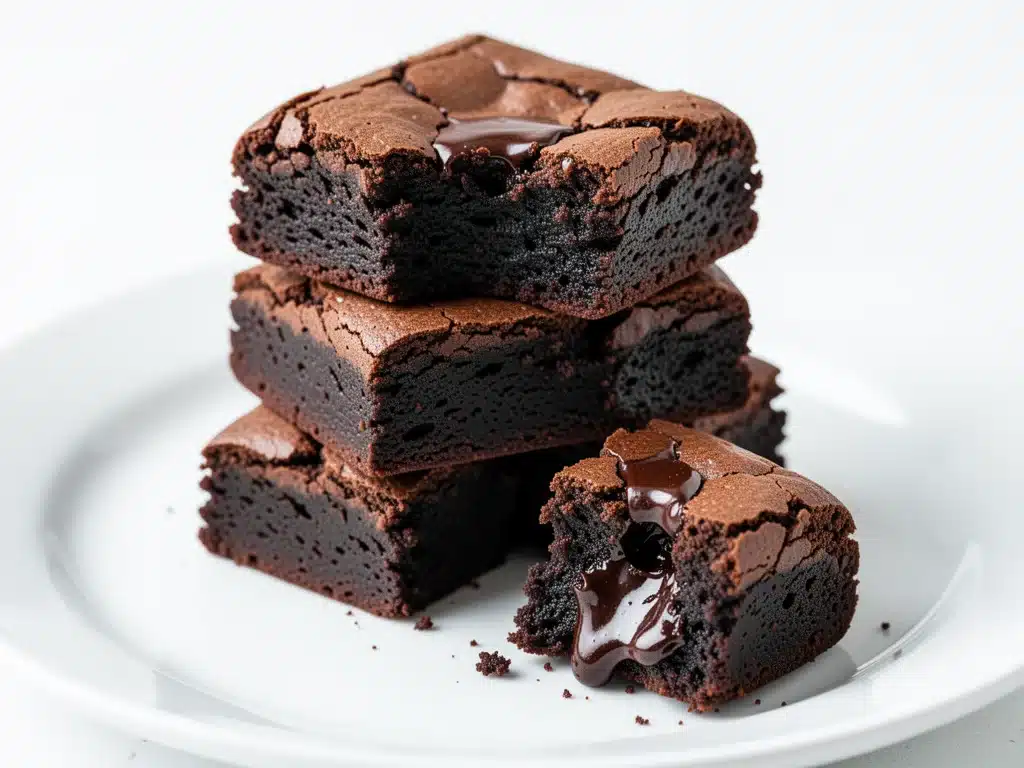
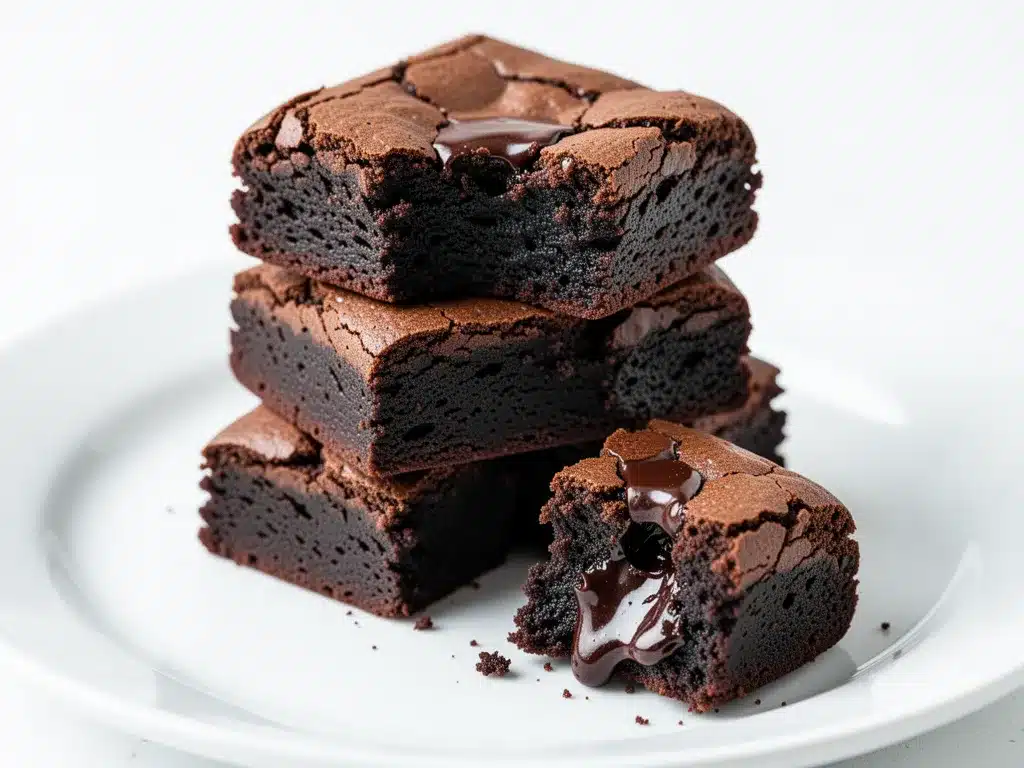
What came out of the oven wasn’t just good. It was the best brownie I have ever tasted. The edges were crisp and lacy. The center was so fudgy it was almost underbaked (in the best way possible). And because the batch was small, I ate them all within two days, when they were still fresh and glorious. No stale leftovers. No guilt. Just pure, dark chocolate joy.
That small batch fudgy brownie with dark chocolate became my secret weapon. It’s the recipe I make when I need comfort, when I have guests over and want to impress without spending hours in the kitchen, or when I just need to prove to myself that I can still bake something perfect. I’ve tested this recipe at least a dozen times, tweaking the chocolate-to-butter ratio and the baking time until it was exactly right. And I’m sharing it with you because I think you’re tired of stale brownies too.
Why You’ll Love This Small Batch Dark Chocolate Recipe
There are a lot of brownie recipes out there. But this one? It’s different. It’s not about volume; it’s about intensity. Here’s why I keep coming back to this 8×8 pan version:
- Zero Waste, Maximum Flavor — You make exactly what you’ll eat. No leftovers sitting in Tupperware for days. This is perfect for singles, couples, or anyone who doesn’t want to be responsible for a dozen brownies.
- Real Dark Chocolate Taste — We’re using high-quality dark chocolate, not just chocolate chips. This gives the brownies a sophisticated, deep cocoa flavor that isn’t just sweet. It’s rich and complex.
- Under 30 Minutes Total — From melting the chocolate to pulling the pan out of the oven, it takes about 25 minutes. Active time is less than 10 minutes. This is the definition of easy dessert.
- Perfectly Fudgy Texture — I’ve perfected the bake time so the center stays gooey and dense, while the edges get that crackly, sugary crust. It’s the texture contrast that makes these addictive.
- Pantry Staples — You probably have most of these ingredients already. Flour, sugar, butter, eggs, dark chocolate, and a pinch of salt. Simple. No weird ingredients you need to order online.
This isn’t just a recipe; it’s a mood lifter. It’s my go-to when I need a little treat that feels indulgent but doesn’t require a whole weekend. And once you try this small batch fudgy brownie with dark chocolate, you’ll probably start making it on repeat, just like I have.
Ingredients You’ll Need
Before we start, let’s talk about what goes into these brownies. I’m being very specific here because, with dark chocolate brownies, the quality of your ingredients matters more than with cakey versions. You can’t hide behind vanilla or extra sugar.
For the Brownie Base:
- Dark Chocolate (4 oz / 115g) — This is the star. I use bars with 60-70% cocoa solids. Avoid chocolate chips if you can; they have stabilizers that make them melt differently. Bars melt smoother and give you that glossy, fudgy texture. Ghirardelli or Lindt are great choices.
- Unsalted Butter (½ cup / 115g) — Don’t skimp. The butter provides the richness and the fudgy texture. Use real butter, not margarine. It makes a huge difference in flavor.
- Granulated Sugar (1 cup / 200g) — This seems like a lot, but it’s needed for that crackly top. The sugar melts into the butter and chocolate, creating that shiny crust. Don’t reduce the sugar or you’ll lose the texture.
- Eggs (2 large) — Room temperature eggs mix better into the batter. They provide structure and richness. Don’t use extra-large or jumbo; stick to large.
- All-Purpose Flour (¾ cup / 95g) — Just basic flour. Don’t use whole wheat unless you want a nutty, denser brownie. For this classic fudgy texture, all-purpose is best.
- Cocoa Powder (2 tablespoons / 10g) — I use unsweetened cocoa powder to boost the chocolate flavor. It adds depth without extra sweetness. Natural cocoa or Dutch-processed both work, but natural is more common in my pantry.
- Salt (½ teaspoon) — Salt is crucial. It balances the sweetness and makes the chocolate taste more like chocolate. Don’t skip it.
- Vanilla Extract (1 teaspoon) — Pure vanilla, not imitation. It adds a warm, aromatic note that rounds out the dark chocolate.
Optional Add-ins:
- Sea Salt Flakes — Sprinkled on top right after baking. The contrast of sweet and salty is addictive.
- Walnuts or Pecans — If you like crunch, add ½ cup of chopped nuts. I usually skip them to keep the focus on the chocolate, but they’re a classic addition.
- Chocolate Chips — A handful of dark chocolate chips folded in at the end for extra gooey pockets.
Pro Tip: I always measure my flour by spooning it into the cup and leveling it off, rather than scooping directly from the bag. Scooping packs the flour and can lead to dry brownies. We want fudgy, not dry.
Equipment Needed
You don’t need fancy gadgets for this. Here’s what I actually use:
- 8×8 Inch Baking Pan — This is the key to the small batch. If you don’t have one, a 9×9 pan works, but the brownies will be thinner and bake faster. Check them 5 minutes early.
- Microwave-Safe Bowl — For melting the chocolate and butter. A glass or ceramic bowl works best. If you don’t have a microwave, use a double boiler on the stove.
- Mixing Bowls — One medium bowl for the dry ingredients, one larger bowl for the wet.
- Whisk — For beating the eggs and sugar until pale. This step is important for the crackly top.
- Spatula — A silicone spatula is great for folding in the flour and scraping the bowl.
- Parchment Paper — I line the pan with parchment, leaving an overhang. This makes it easy to lift the brownies out once they’re cool. No one wants to dig brownies out of a greased pan.
Tool Tip: If you don’t have an 8×8 pan, you can use a loaf pan, but you’ll need to adjust the baking time. It will take longer, and the texture might be more cake-like. Stick to 8×8 if you can for the best results.
How to Make It: Step-by-Step
Alright, let’s make these small batch fudgy brownies with dark chocolate! I’m walking you through exactly how I do it, including the little tricks I’ve picked up over the years.
Step 1: Prep Your Pan and Oven (5 minutes)
Preheat your oven to 350°F (175°C). Line your 8×8 inch baking pan with parchment paper. I like to leave a little overhang on the sides so I can lift the brownies out later. Grease the parchment lightly with butter or cooking spray. This ensures nothing sticks.
Step 2: Melt the Chocolate and Butter (5 minutes)
Chop your dark chocolate into small pieces. This helps it melt evenly. Place the chopped chocolate and butter in a microwave-safe bowl. Microwave in 30-second intervals, stirring between each, until completely smooth. If you’re using a double boiler, melt them together over simmering water, stirring until smooth. Be careful not to overheat; you want smooth, not scorched.
Step 3: Mix the Wet Ingredients (3 minutes)
In a large bowl, whisk the melted chocolate and butter together until well combined. Add the sugar and whisk vigorously for about 1-2 minutes. This step is crucial! You want the mixture to look slightly glossy and the sugar to start dissolving. This creates that crackly top. Add the eggs one at a time, whisking well after each. Then add the vanilla extract. The batter should look thick and shiny.
Step 4: Add the Dry Ingredients (2 minutes)
In a separate medium bowl, whisk together the flour, cocoa powder, and salt. Now, gently fold the dry ingredients into the wet mixture using a spatula. Stop as soon as the flour disappears. Overmixing develops gluten, which makes brownies cakey. We want fudgy, so gentle hands only. If you’re adding nuts or chips, fold them in now.
Step 5: Bake (20-25 minutes)
Pour the batter into the prepared pan and spread it evenly. Bake in the preheated oven for 20-25 minutes. Here’s the trick: you want the edges to be set and the center to still look slightly soft and underbaked. Insert a toothpick into the center; it should come out with a few moist crumbs clinging to it, not clean. If it’s clean, they’re overbaked. If it’s wet batter, they need more time. Start checking at 20 minutes.
Step 6: Cool and Serve (30+ minutes)
Let the brownies cool in the pan for at least 30 minutes. This is the hardest part, I know. But cooling allows them to set and become fudgy. If you cut them while hot, they’ll be messy and lose their structure. Once cool, lift them out using the parchment overhang, cut into squares, and enjoy. Sprinkle with sea salt flakes if you’re feeling fancy.
Total Time: About 30 minutes (5 minutes prep, 25 minutes bake).
Expert Tips & Tricks
Here’s everything I’ve learned from making these dozens of times. These tips will save you from my mistakes.
- Don’t Overbake — This is the #1 mistake. Brownies continue to cook in the hot pan after you take them out of the oven. If you wait until the toothpick is clean, they’ll be dry. Aim for moist crumbs.
- Whisk the Sugar — That vigorous whisking in Step 3 isn’t optional. It dissolves the sugar into the fat, which is what creates the signature crackly top. If you skip this, you’ll get a matte, cakey top.
- Use Good Chocolate — Since there are only a few ingredients, the chocolate flavor shines through. Use chocolate you enjoy eating on its own. If you don’t like the chocolate bar, you won’t like the brownie.
- Room Temperature Eggs — Cold eggs can seize the melted chocolate, making it grainy. Let your eggs sit on the counter for 15-20 minutes before baking. Or, run them under warm water for a minute.
- Patience with Cooling — I know it’s tempting to cut into them hot. But waiting 30 minutes makes a huge difference in texture. The brownies will firm up and become fudgy instead of gooey and messy.
Pro Trick: For extra fudginess, add one extra egg yolk and reduce one whole egg. The extra fat from the yolk makes the brownies richer and denser.
Variations & Substitutions
Once you’ve nailed the basic version, here’s how you can mix it up. I’ve tried all of these.
- Peanut Butter Swirl — Drop spoonfuls of peanut butter on top of the batter before baking, then swirl with a knife. The saltiness and creaminess are amazing with dark chocolate.
- Mint Chocolate — Add ½ teaspoon of peppermint extract to the batter. Sprinkle with crushed candy canes before baking. Perfect for holidays.
- Espresso Boost — Add 1 teaspoon of instant espresso powder to the dry ingredients. It doesn’t make the brownies taste like coffee; it just intensifies the chocolate flavor. Game-changer.
- Gluten-Free — Swap the all-purpose flour for a 1:1 gluten-free flour blend. The texture will be slightly different but still delicious. Add a pinch of xanthan gum if your blend doesn’t have it.
- Vegan — Use vegan butter and dark chocolate (check the label for dairy). Replace the eggs with two flax eggs (2 tablespoons ground flaxseed mixed with 5 tablespoons water, let sit for 5 minutes). The texture will be slightly more cakey but still tasty.
Dietary Note: These brownies are naturally nut-free if you don’t add nuts. Always check your chocolate and cocoa powder for cross-contamination if you have severe allergies.
Serving & Storage
How to serve these small batch fudgy brownies with dark chocolate? I usually serve them plain, but here are some ideas:
- With Coffee — A strong black coffee or espresso is the perfect pairing. The bitterness cuts through the sweetness.
- With Ice Cream — A scoop of vanilla bean ice cream on top is classic. The cold cream contrasts with the warm, fudgy brownie.
- With Whipped Cream — A dollop of freshly whipped cream adds lightness.
- With Berries — Fresh raspberries or strawberries add a tart, fresh element that balances the richness.
Storage Instructions:
- Room Temperature: Store in an airtight container for up to 3 days. They stay fudgy at room temperature. If your kitchen is very hot, they might get soft, so refrigerate if needed.
- Refrigerator: Store in an airtight container for up to 1 week. They will firm up in the fridge, so let them sit at room temperature for 10 minutes before eating.
- Freezer: Yes, you can freeze them! Wrap individual brownies in plastic wrap, then place them in a freezer bag. They’ll last for up to 3 months. Thaw at room temperature or microwave for 10 seconds.
Pro Tip: If you’re meal-prepping, bake them on Sunday and store them in the fridge. Grab one for a snack during the week. It’s like having a little dessert ready to go.
Nutrition Information
I’m not a nutritionist, but here’s the breakdown if you’re tracking. These are estimates per brownie (assuming 9 brownies per pan).
- Calories: 180
- Protein: 2g
- Carbs: 22g
- Fiber: 1g
- Sugar: 16g
- Fat: 10g
- Saturated Fat: 6g
- Cholesterol: 35mg
- Sodium: 90mg
Look, these are brownies. They’re indulgent. But because the batch is small, it’s easier to control portions. One or two brownies is a perfect treat. If you’re watching sugar, you can reduce the sugar by 2 tablespoons, but you’ll lose some of that crackly top. It’s a trade-off.
Final Thoughts
So that’s my go-to small batch fudgy brownie with dark chocolate! I’ve probably talked your ear off at this point, but when you make a recipe this often, you have a lot to say about it. These brownies have saved my weeknight desserts. They’re my answer to “what’s for dessert?” when I want something rich and satisfying but don’t want to make a huge fuss.
Make it yours! Try the peanut butter swirl, add the espresso, or sprinkle sea salt. The best recipes are the ones you adapt to your tastes. And if you make this, drop a comment and let me know what you think! I love hearing how recipes turn out in your kitchen. And if something doesn’t work, tell me that too—I’m here to help troubleshoot.
Happy baking! And I hope your kitchen smells half as good as mine does right now.
Frequently Asked Questions
Q: Can I use milk chocolate instead of dark chocolate?
A: You can, but these brownies are designed to be rich and fudgy, which dark chocolate provides. Milk chocolate is sweeter and has less cocoa solids, so the brownies will be cakier and less intense. If you use milk chocolate, reduce the sugar by ¼ cup to balance the sweetness.
Q: Why are my brownies cakey instead of fudgy?
A: This usually happens if you overmix the batter or overbake them. Make sure you stop mixing as soon as the flour disappears. Also, check them early. If the toothpick comes out clean, they’re done too late. Aim for moist crumbs.
Q: Can I double this recipe?
A: Yes, but you’ll need a larger pan, like a 9×13 inch pan. The baking time will increase by about 5-10 minutes. Keep an eye on them to avoid overbaking. I usually stick to the small batch because I prefer the texture, but doubling works fine.
Q: Can I use chocolate chips instead of bars?
A: I recommend against it. Chocolate chips have stabilizers that prevent them from melting completely, which can leave you with pockets of unmelted chocolate and a less smooth texture. Bars melt evenly and give you that glossy, fudgy result. If you must use chips, chop them up first to help them melt.
Q: How do I get that crackly top?
A: The crackly top comes from whisking the sugar into the melted butter and chocolate vigorously. This dissolves the sugar and creates a thin layer on top that hardens into a crust. Don’t skip this step!
Q: Can I make these ahead of time?
A: Absolutely. Bake them a day ahead and store them in an airtight container at room temperature. They’ll actually taste better the next day as the flavors meld. You can also freeze them for up to 3 months.
Q: What if I don’t have an 8×8 pan?
A: You can use a 9×9 pan, but the brownies will be thinner and bake faster. Check them 5 minutes early. Or, you can use a loaf pan, but the texture will be different. The 8×8 pan is ideal for the right thickness and texture.
Pin This Recipe!
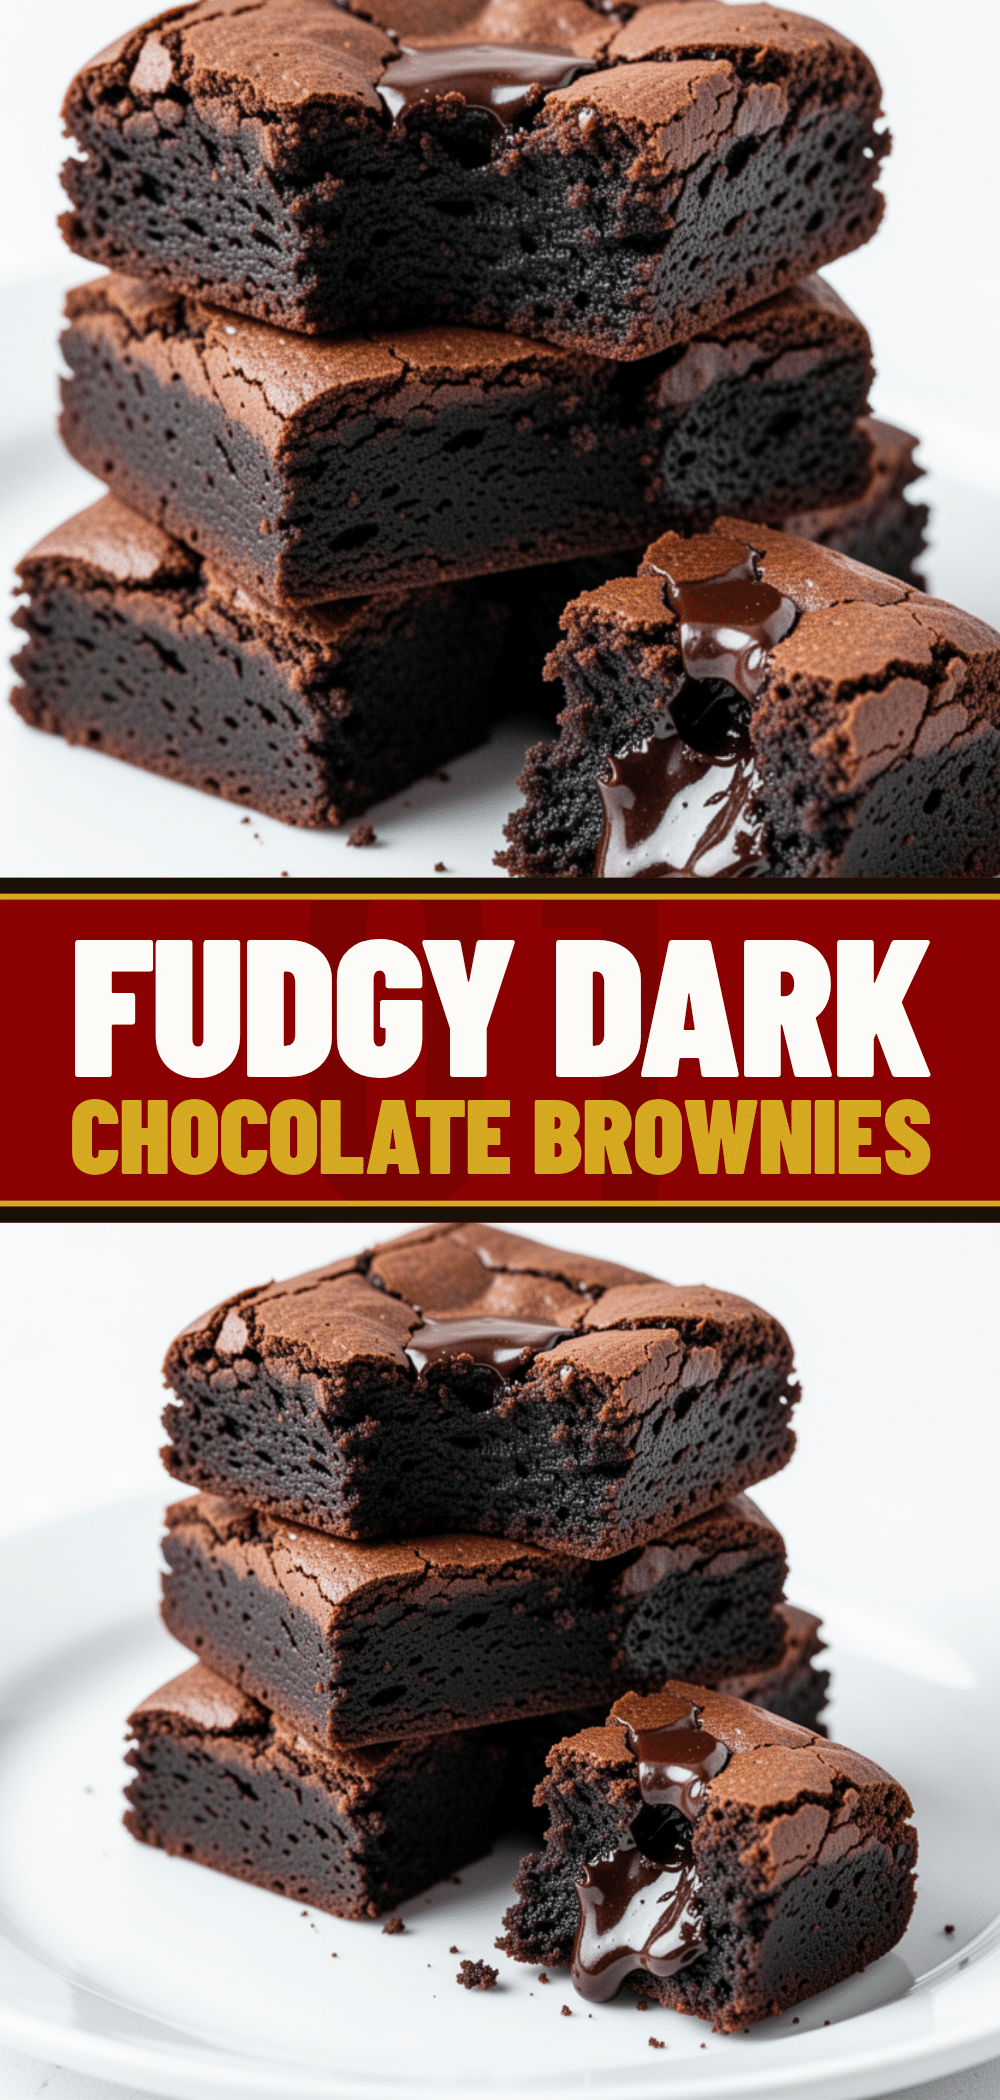
Small Batch Fudgy Brownies: Easy Dark Chocolate Recipe
- Total Time: 30 minutes
- Yield: 9 servings 1x
Description
These small batch fudgy brownies are made with high-quality dark chocolate for a rich, dense texture and a crackly top. Perfect for singles or couples, this recipe yields 9 brownies in under 30 minutes with zero waste.
Ingredients
- 4 oz (115g) dark chocolate (60-70% cocoa solids), chopped
- ½ cup (115g) unsalted butter
- 1 cup (200g) granulated sugar
- 2 large eggs, room temperature
- ¾ cup (95g) all-purpose flour
- 2 tablespoons (10g) unsweetened cocoa powder
- ½ teaspoon salt
- 1 teaspoon pure vanilla extract
- Optional: Sea salt flakes, ½ cup chopped walnuts or pecans, or dark chocolate chips
Instructions
- Preheat oven to 350°F (175°C). Line an 8×8 inch baking pan with parchment paper, leaving an overhang on the sides, and grease lightly.
- Chop dark chocolate into small pieces. In a microwave-safe bowl, combine chocolate and butter. Microwave in 30-second intervals, stirring between each, until smooth. Alternatively, melt using a double boiler.
- In a large bowl, whisk the melted chocolate and butter together. Add sugar and whisk vigorously for 1-2 minutes until glossy and sugar begins to dissolve.
- Add eggs one at a time, whisking well after each addition. Stir in vanilla extract.
- In a separate medium bowl, whisk together flour, cocoa powder, and salt.
- Gently fold the dry ingredients into the wet mixture using a spatula until just combined. Do not overmix. Fold in optional add-ins if using.
- Pour batter into the prepared pan and spread evenly.
- Bake for 20-25 minutes. The edges should be set, but the center should look slightly soft. A toothpick inserted into the center should come out with moist crumbs, not clean batter.
- Let brownies cool in the pan for at least 30 minutes to set. Lift out using parchment overhang, cut into squares, and serve.
Notes
Do not overbake; brownies continue to cook in the hot pan. Whisking the sugar vigorously is crucial for the crackly top. Use room temperature eggs to prevent seizing. For extra fudginess, add one extra egg yolk and reduce one whole egg. Store in an airtight container at room temperature for up to 3 days, or freeze for up to 3 months.
- Prep Time: 5 minutes
- Cook Time: 25 minutes
- Category: Dessert
- Cuisine: American
Nutrition
- Serving Size: 1 brownie
- Calories: 180
- Sugar: 16
- Sodium: 90
- Fat: 10
- Saturated Fat: 6
- Carbohydrates: 22
- Fiber: 1
- Protein: 2
Keywords: small batch brownies, fudgy brownies, dark chocolate brownies, easy dessert, no waste baking, 8x8 pan brownies


