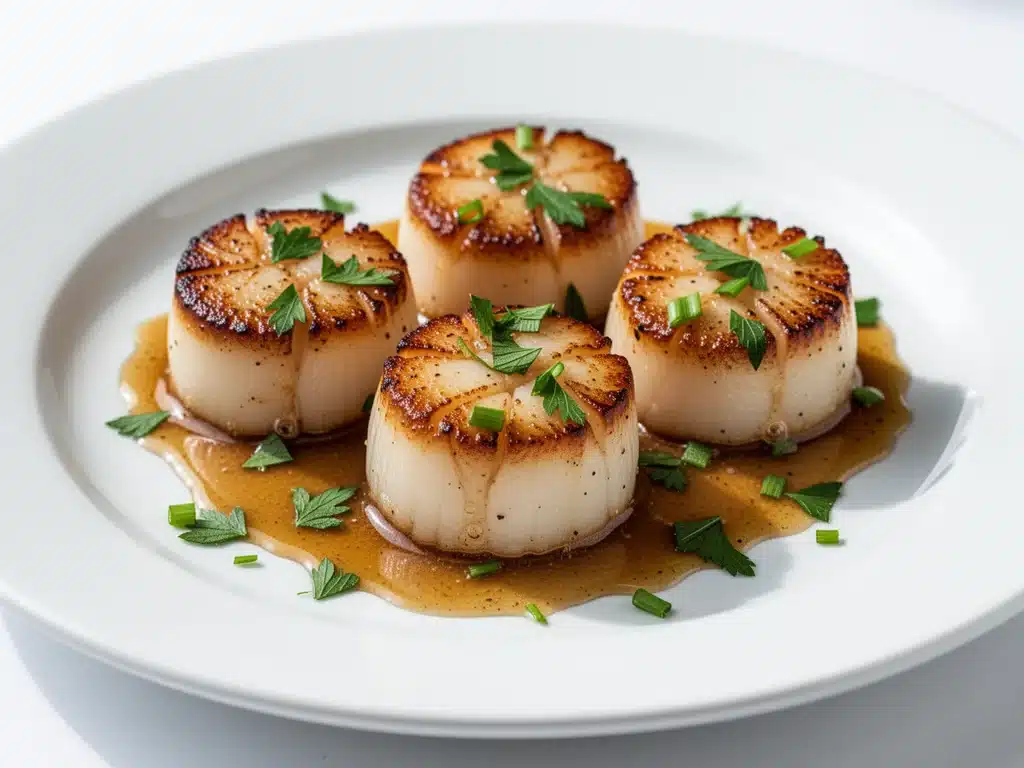
Last month, my husband came home from work looking like he’d just run a marathon. He was stressed, tired, and had that specific look that means he’s thinking about ordering Thai food. I looked at the clock, looked at the clock again, and realized we had exactly 20 minutes before the house got too quiet for my liking. I didn’t have time to marinate anything, I didn’t have time to roast vegetables, and I definitely didn’t have time to wait for a reservation at that fancy seafood place across town.
So I did what I always do when I’m trying to impress someone (or just save myself from takeout guilt): I went for the scallops.
Now, before you roll your eyes and say, “Scallops are too hard,” hear me out. I used to think searing scallops was some kind of culinary magic reserved for chefs with steady hands and expensive knives. I burned them. I steamed them. I turned them into rubbery little discs that tasted like disappointment. But after testing this cast iron seared scallops with brown butter sauce recipe about eight times in the last six months, I’ve cracked the code. It’s not magic. It’s heat management and patience.
This isn’t just “good for a weeknight.” This is restaurant-quality. Seriously. When I serve these to friends, they ask if I hired help. When I serve them to my husband on a Tuesday, he stops scrolling through his phone and actually eats his dinner. That’s the real victory.
The secret isn’t in the scallops themselves—it’s in the brown butter sauce. The nutty, golden sauce that coats those perfect golden-brown crusts? That’s the part that makes people stop and say, “Wait, you made this?” And the best part? You can do it in 15 minutes. Fifteen. That’s faster than waiting for a pizza delivery driver to find your apartment.
Why You’ll Love This Recipe
I know what you’re thinking. “Scallops are expensive.” “It’s too fancy for a normal night.” “I’ll mess it up.” Let’s bust those myths right now. This cast iron seared scallops with brown butter sauce is actually one of the most budget-friendly ways to eat like royalty. You’re not buying lobster or wagyu beef. You’re buying high-quality seafood and making it shine.
Here’s why this has become my go-to “I need to feel like a good cook” recipe:
It’s Faster Than Takeout — Seriously. By the time you call Domino’s, wait for them to answer, place the order, and wait for the driver to park, you could have already eaten. This takes 15 minutes from cold pan to full plate. I’ve timed it. It’s true.
Minimal Cleanup — We’re using one skillet. One pan. That’s it. You sear the scallops, you make the sauce in the same pan, you eat. No extra pots, no extra dishes, no scrubbing a baking sheet. My husband handles the dishes sometimes, but I like to help him by making sure there’s almost nothing left to scrub.
It Feels Fancy but Isn’t Hard — The technique is simple: get the pan hot, dry the scallops, don’t touch them, flip them, add butter. If you can follow those steps, you can make this. I’ve taught this to people who think boiling water is a challenge. They got it right the first time.
Leftovers? Not Really, But You’ll Want More — Let’s be honest, scallops don’t really work well as leftovers. They’re best hot, fresh, and right out of the pan. Which means you’ll be making this again. And again. And again. My husband has asked me to add this to our monthly rotation more than any other recipe.
Impressive Factor: 10/10 — Serve this with a simple arugula salad and some crusty bread, and you have a date night meal that costs a fraction of what you’d pay at a restaurant. I’ve served this to clients, to in-laws, and to friends who are “foodies.” They are all impressed. Even my dad, who thinks butter is a food group, was impressed.
This recipe has saved me from so many “what’s for dinner” panics. It’s reliable, it’s fast, and it makes you feel like a culinary wizard without requiring a degree in French cooking.
Ingredients You’ll Need
Here’s the thing about scallops: you get what you pay for, but you don’t need to go broke. The ingredient list is short, which means you don’t need to go to three different stores to find everything. Most of this is pantry staples you already have.
For the Scallops
Sea Scallops (1.5 pounds / 680g) — This is the most important ingredient. Do not buy “dry” scallops if you can avoid it, but honestly, “dry” scallops are better than “wet” ones. Wet scallops are treated with a solution that makes them waterlogged and prevents searing. Look for “dry” on the label. If you can’t find dry, rinse wet scallops very thoroughly and press them dry with paper towels until they’re almost bone dry. Size matters here—look for large scallops, about 10-15 per pound. Smaller ones shrink too much.
Neutral Oil (2 tablespoons) — I use avocado oil or grapeseed oil. Canola works too. Do not use olive oil here. It burns at the high heat you need for searing, and it will taste bitter. You want a high smoke point oil that doesn’t interfere with the flavor of the scallops.
Coarse Kosher Salt (1 teaspoon) — I use Diamond Crystal. If you use Morton, use half the amount because it’s denser. Salt is non-negotiable. It draws out moisture and helps form that crust.
Freshly Cracked Black Pepper (½ teaspoon) — Just a little bit. You don’t want to overpower the sweet flavor of the scallops.
For the Brown Butter Sauce
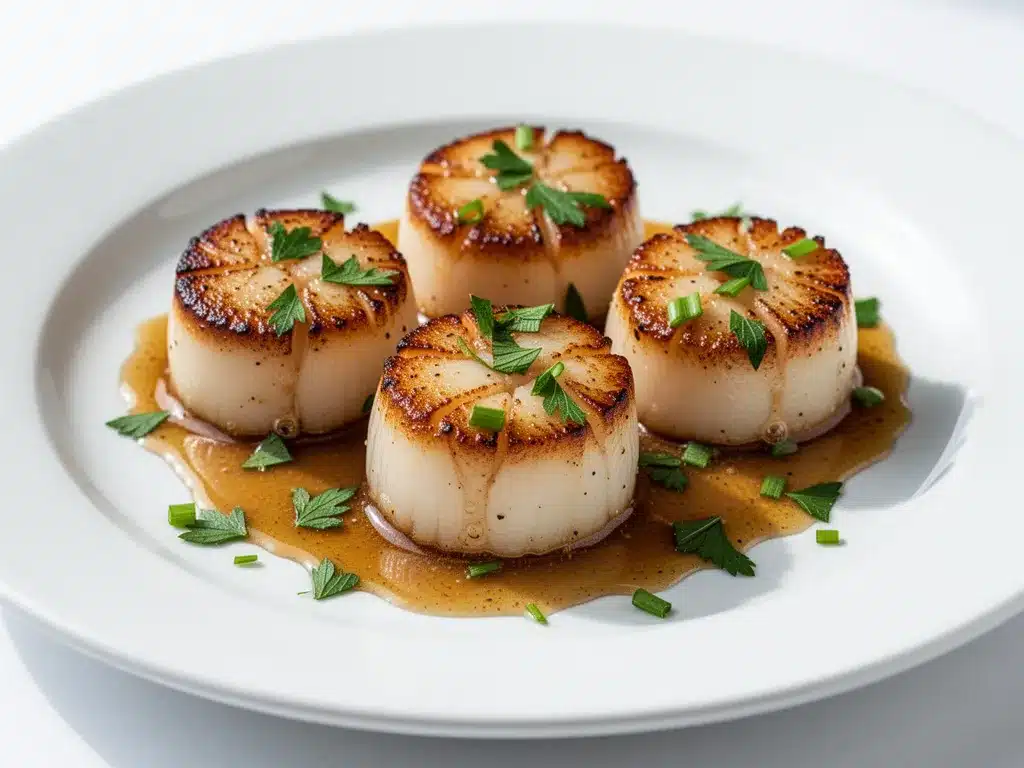
Unsalted Butter (4 tablespoons / 56g) — Good quality butter makes a huge difference here. I use Kerrygold or Plugra. Don’t use margarine. Don’t use light butter. Real butter, real fat. This is where the magic happens.
Garlic (2 cloves, minced) — Fresh only. Jarred garlic has a sulfurous taste that doesn’t work in this delicate sauce. Mince it fine so it doesn’t burn.
White Wine (2 tablespoons) — I use a dry Sauvignon Blanc or Pinot Grigio. You don’t need expensive wine, but don’t use the cooking wine from the vinegar aisle—it tastes like vinegar. If you don’t drink wine, substitute with chicken broth or just lemon juice. The acid is what matters.
Lemon Juice (1 tablespoon) — Freshly squeezed. Bottled lemon juice tastes like cleaner fluid. Squeeze it yourself. It takes 10 seconds and changes everything.
Fresh Parsley (2 tablespoons, chopped) — Flat-leaf parsley. Not the curly stuff from the salad bar. Flat-leaf has better flavor. It adds freshness and cuts through the richness of the butter.
Cayenne Pepper (a pinch) — Optional, but I always add it. Just a tiny pinch. It adds warmth without heat. It wakes up the palate.
Equipment Needed
You don’t need fancy gadgets for this. Here’s what I actually use in my kitchen:
Cast Iron Skillet — 10 or 12-inch. Cast iron holds heat better than any other material, and that consistent heat is what gives you that perfect crust. Stainless steel works too, but cast iron is my favorite. If you don’t have cast iron, a heavy-bottomed stainless steel skillet is your next best bet. Non-stick? You can use it, but you won’t get the same sear. The Maillard reaction needs direct metal contact.
Paper Towels — Lots of them. You need to dry the scallops. I know it seems silly, but wet scallops steam instead of sear. Dry scallops = golden crust. Wet scallops = gray rubber. Don’t skip this step.
Tongs — For flipping. Forks pierce the scallops and release juices. Tongs are gentler and keep the scallops intact.
Small Saucepan — Optional, but I like to make the brown butter in a small separate pan so I can control the heat better. You can do it in the same skillet, but be careful not to burn the garlic.
Wooden Spoon or Silicone Spatula — For stirring the butter as it browns.
Whisk — Optional, but helps emulsify the sauce if you want it silky smooth.
How to Make It: Step-by-Step
Alright, let’s get cooking. This is where the rubber meets the road. I’m going to walk you through exactly how I do it, including the little tricks I’ve learned so you don’t make my mistakes.
Step 1: Prep Your Scallops (5 minutes)
Take your scallops out of the package. If they have that little side muscle (the little white bit on the side), pull it off. It’s tough and chewy, and nobody wants to bite into it. It comes off easily with your fingers or a knife.
Now, the most important step: DRY THEM. Lay the scallops on a layer of paper towels. Pat them dry on all sides. Then add another layer of paper towels and pat again. They should feel almost sandpaper-dry. If they’re shiny or slick, they’re too wet. Dry them more. This takes 3-4 minutes, but it’s the difference between seared and steamed.
Season both sides generously with kosher salt and black pepper. Set them aside on a plate while you heat the pan.
Step 2: Heat the Pan (2 minutes)
Place your cast iron skillet over medium-high heat. Let it get hot. I mean really hot. About 2-3 minutes. You can test it by flicking a drop of water into the pan—if it sizzles and evaporates instantly, you’re ready. If it just sits there, it’s not ready yet.
Add the neutral oil. Swirl it around to coat the bottom. The oil should shimmer but not smoke. If it’s smoking, it’s too hot. Turn the heat down slightly.
Step 3: Sear the Scallops (3-4 minutes per side)
Lay the scallops in the pan. Do not crowd them. If you have a 12-inch skillet, you can fit about 6-8 scallops. If you have a 10-inch, do 4-5. If you overcrowd the pan, the temperature drops, and the scallops steam. You want them searing, not steaming.
Here’s the hard part: Don’t touch them. Put them in the pan and walk away for 2 minutes. You’ll hear a loud sizzle. That’s good. That’s the sound of crust forming. If you move them too early, they’ll stick and tear. Be patient.
After 2 minutes, check the bottom. It should be a deep golden brown. If it’s not brown yet, give it another 30 seconds. Once it’s golden, flip them. They should release easily from the pan. If they’re sticking, they’re not ready to flip yet.
Cook the second side for 1.5-2 minutes. You want a golden crust on both sides, and the center should be opaque but still slightly soft. Overcooked scallops are tough. Undercooked scallops are slimy. You want that perfect middle ground.
Remove the scallops to a plate. Cover them loosely with foil. They’ll stay warm while you make the sauce.
Step 4: Make the Brown Butter Sauce (3-4 minutes)
Reduce the heat to medium-low. Pour off any excess oil from the pan, leaving about a teaspoon behind. Add the butter to the skillet.
Watch the butter closely. It will melt, then foam up, then start to crackle. As it crackles, you’ll see little brown specks forming at the bottom. That’s the milk solids browning. That’s where the nutty flavor comes from.
Swirl the pan gently. The butter will turn from yellow to amber to a deep golden brown. This happens fast. Like, really fast. One minute it’s fine, the next it’s burning. When it smells nutty—like hazelnuts or toasted almonds—it’s ready. This takes about 2-3 minutes.
Immediately add the minced garlic and cayenne. Stir for 30 seconds. The garlic should be fragrant but not brown. If it starts to brown, it’s too late. You want it golden, not burnt.
Remove the pan from the heat. This is crucial. If you leave it on the heat, the butter will keep cooking and burn. Off the heat, add the white wine and lemon juice. It will sizzle violently. That’s normal. Whisk it in.
Step 5: Combine and Serve (1 minute)
Return the scallops to the pan, spooning the brown butter sauce over them. Toss gently to coat. Sprinkle with fresh chopped parsley.
Serve immediately. These don’t wait. They don’t hang out. They want to be eaten right now, hot and crispy and dripping with nutty butter sauce.
Expert Tips & Tricks
Here’s everything I’ve learned from making this dozens of times. These tips will save you from my mistakes.
Buy Dry Scallops if You Can — Dry scallops are not treated with chemicals. They sear better, taste sweeter, and don’t shrink as much. If you buy wet scallops, you must rinse them and dry them thoroughly. It’s extra work, but it’s worth it.
Don’t Skip the Drying Step — I know it’s tedious. But wet scallops = steamed scallops = sad scallops. Dry them until they’re almost uncomfortable. Use multiple layers of paper towels. Press down on them. Get all the moisture out.
Hot Pan, Cold Scallops — Your scallops should be cold when they hit the pan. This helps them sear rather than cook through too fast. Take them out of the fridge right before you’re ready to cook. Don’t let them come to room temperature first.
Watch the Butter Like a Hawk — Brown butter goes from perfect to burnt in seconds. Once you see the brown specks, you’re in the home stretch. Swirl the pan constantly. When it smells like nuts, it’s done. Remove it from the heat immediately.
Use a Light Hand with Salt — Scallops are naturally salty. You don’t need much extra salt. Taste the butter sauce before adding more. You can always add salt, but you can’t take it away.
Common Mistakes (and how to avoid them):
Mistake: Scallops are rubbery — Fix: You overcooked them. Scallops cook fast. 3-4 minutes total is usually enough. If they’re tough, you left them in too long. Next time, take them out a minute earlier.
Mistake: Scallops are gray and wet — Fix: The pan wasn’t hot enough, or the scallops were too wet. Heat the pan more, dry the scallops more. And don’t crowd the pan.
Mistake: Butter is burnt — Fix: Heat was too high. Brown butter needs medium-low heat. If you’re watching it closely, you won’t burn it. If it does burn, throw it out and start over. Burnt butter tastes awful and can’t be saved.
Variations & Substitutions
Once you’ve nailed the basic version, here’s how you can mix it up. I’ve tried all of these.
Shrimp Version — Swap scallops for large shrimp. Cook time is similar—2-3 minutes per side. The brown butter sauce works beautifully with shrimp too. I make this for my friends who don’t like scallops, and they love it.
Sunny-Side Up Eggs — Fry an egg in the same pan after the scallops are done. Runny yolk + brown butter sauce + scallops = breakfast for dinner perfection. My kids love this combo.
Spicy Kick — Add red pepper flakes to the brown butter along with the garlic. Or top with crushed red pepper after serving. Great if you like heat.
Herb-Infused Butter — Add fresh thyme or rosemary to the butter as it browns. Strain out the herbs before serving. Adds a lovely aromatic note.
Gluten-Free — This recipe is naturally gluten-free. Just make sure your wine and butter are certified gluten-free if you’re strict. Most are, but check labels.
Dairy-Free — Replace butter with olive oil or ghee. The flavor won’t be the same, but you can still sear the scallops well. Ghee has a nutty flavor that mimics brown butter somewhat.
Serving & Storage
How to Serve: I usually serve this straight from the skillet. It looks rustic and keeps warm. Pair it with a simple arugula salad with lemon vinaigrette, or some roasted asparagus. Crusty bread is mandatory for soaking up the brown butter sauce.
Side Dishes: Roasted potatoes, wild rice, or a simple green salad. Keep it light. The scallops and butter are rich, so you don’t need heavy sides.
Wine Pairing: A crisp Sauvignon Blanc or a light Chardonnay. Something acidic to cut through the butter. My wine-snob friend says a Chablis is perfect, but any dry white wine works.
Storage: Scallops don’t really store well. They’re best fresh. If you have leftovers (unlikely), store them in the fridge for up to 2 days. Reheat gently in a skillet with a splash of butter. Don’t microwave them—they’ll get rubbery.
Freezing: Do not freeze cooked scallops. They’ll turn into rubber. If you need to freeze them, freeze them raw, uncooked, and very dry. But honestly, just buy fresh and make them fresh.
Nutrition Information
I’m not a nutritionist, but here’s the breakdown if you’re tracking.
Per Serving (based on 4 servings):
| Nutrient | Amount |
|---|---|
| Calories | 320 |
| Protein | 24g |
| Carbs | 2g |
| Fiber | 0g |
| Fat | 22g |
| Saturated Fat | 12g |
| Cholesterol | 85mg |
| Sodium | 450mg |
What’s Good: High protein, low carb, keto-friendly. Scallops are a lean protein source, and this recipe doesn’t add many carbs.
What to Know: Higher in fat from the butter. If you’re watching saturated fat, use less butter or use ghee. But honestly, this is a treat meal. Enjoy it.
Final Thoughts
So that’s my cast iron seared scallops with brown butter sauce! I’ve probably talked your ear off at this point, but when you make a recipe this often, you have a lot to say about it.
This has saved weeknight dinners more times than I can count. It’s my answer to “what’s for dinner” when I want something fancy but don’t have time. My husband is happy, my friends are impressed, and I’m happy because I’m not stressed about cooking.
Make it yours! Try different herbs, add some spice, or swap the scallops for shrimp. The best recipes are the ones you adapt to your family’s tastes.
If you make this, drop a comment and let me know what you think! I love hearing how recipes turn out in your kitchen. And if something doesn’t work, tell me that too—I’m here to help troubleshoot.
Happy cooking! And I hope your kitchen smells half as good as mine does right now.
Frequently Asked Questions
Can I use frozen scallops?
You can, but they need to be thawed completely and dried thoroughly. Frozen scallops release more water, so you have to be extra diligent about drying them. Pat them dry, let them sit out for 10 minutes, pat them dry again. It’s more work, but it works. Fresh scallops are easier, though.
Why did my scallops stick to the pan?
Two reasons: the pan wasn’t hot enough, or the scallops were too wet. Make sure your pan is screaming hot before adding the oil, and make sure your scallops are bone dry. If they stick, don’t force them. They’ll release when they’re ready.
Can I make the brown butter ahead of time?
No. Brown butter continues to cook even after you remove it from the heat. If you make it ahead, it will burn. Make it fresh, right before you serve the scallops. It takes 3 minutes, so it’s not worth the risk.
What wine should I use?
Any dry white wine works. Sauvignon Blanc, Pinot Grigio, or Chardonnay. Don’t use sweet wine—it will make the sauce cloying. If you don’t drink wine, use chicken broth and extra lemon juice. The acid is what you’re after.
How do I know when scallops are done?
They should be opaque throughout but still slightly soft in the center. They’ll feel firm but not hard. If you press them and they’re mushy, they’re undercooked. If they’re hard, they’re overcooked. Aim for that sweet spot: firm but yielding.
Can I sear scallops in a non-stick pan?
You can, but you won’t get the same crust. Non-stick pans don’t get as hot as cast iron, so the scallops will steam more than sear. If you only have non-stick, use high heat and don’t crowd the pan. But cast iron is better for this recipe.
What if I don’t have white wine?
Substitute with chicken broth or just extra lemon juice. The wine adds acidity and depth, but if you’re missing it, the lemon juice will compensate. It won’t be exactly the same, but it’ll still be delicious.
Pin This Recipe!
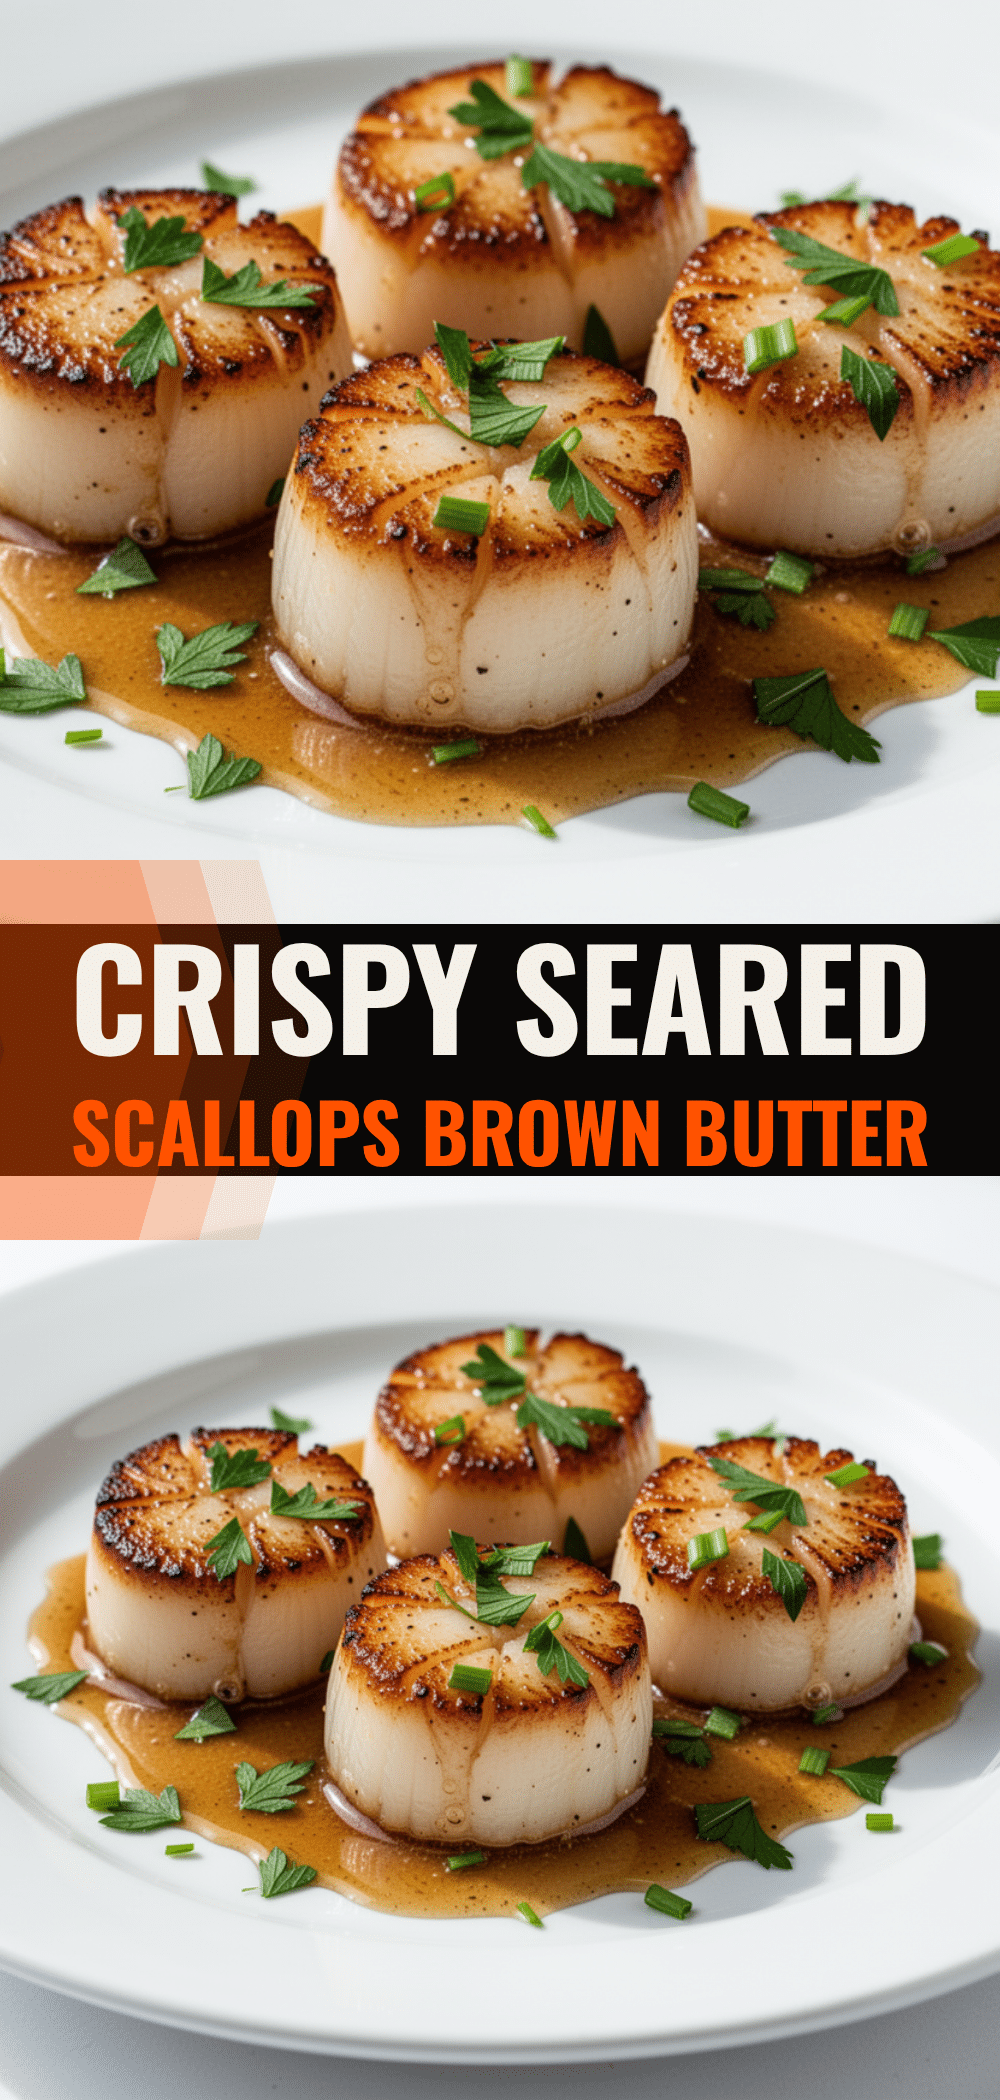
Cast Iron Seared Scallops: Easy 15-Min Recipe
- Total Time: 15 minutes
- Yield: 4 servings 1x
Description
Restaurant-quality seared scallops with a nutty brown butter sauce, ready in just 15 minutes. This easy weeknight dinner requires minimal cleanup and delivers impressive flavor.
Ingredients
- 1.5 pounds sea scallops (dry, large)
- 2 tablespoons neutral oil (avocado, grapeseed, or canola)
- 1 teaspoon coarse kosher salt
- 1/2 teaspoon freshly cracked black pepper
- 4 tablespoons unsalted butter
- 2 cloves garlic, minced
- 2 tablespoons dry white wine (Sauvignon Blanc or Pinot Grigio)
- 1 tablespoon fresh lemon juice
- 2 tablespoons fresh flat-leaf parsley, chopped
- A pinch of cayenne pepper (optional)
Instructions
- Remove the side muscle from the scallops if present.
- Pat scallops completely dry with paper towels until they feel sandpaper-dry.
- Season both sides generously with kosher salt and black pepper.
- Heat a cast iron skillet over medium-high heat for 2-3 minutes until very hot.
- Add neutral oil and swirl to coat; oil should shimmer but not smoke.
- Place scallops in the pan without crowding. Do not touch for 2 minutes to form a crust.
- Check for golden brown color, then flip and cook for 1.5-2 minutes until opaque but soft in the center.
- Remove scallops to a plate and cover loosely with foil.
- Reduce heat to medium-low. Pour off excess oil, leaving about a teaspoon.
- Add butter to the pan and swirl until it melts, foams, and turns amber with brown specks (nutty aroma).
- Add minced garlic and cayenne; stir for 30 seconds until fragrant but not brown.
- Remove pan from heat immediately. Add white wine and lemon juice, whisking to combine.
- Return scallops to the pan, spooning sauce over them.
- Sprinkle with fresh parsley and serve immediately.
Notes
Ensure scallops are bone dry to prevent steaming. Do not crowd the pan. Brown butter burns quickly, so watch it closely. Scallops are best served immediately and do not store well.
- Prep Time: 5 minutes
- Cook Time: 10 minutes
- Category: Main Course
- Cuisine: American
Nutrition
- Serving Size: Approximately 6-8 sc
- Calories: 320
- Sodium: 450
- Fat: 22
- Saturated Fat: 12
- Carbohydrates: 2
- Protein: 24
Keywords: seared scallops, brown butter sauce, cast iron recipe, quick dinner, seafood, weeknight meal, gluten-free, keto-friendly


