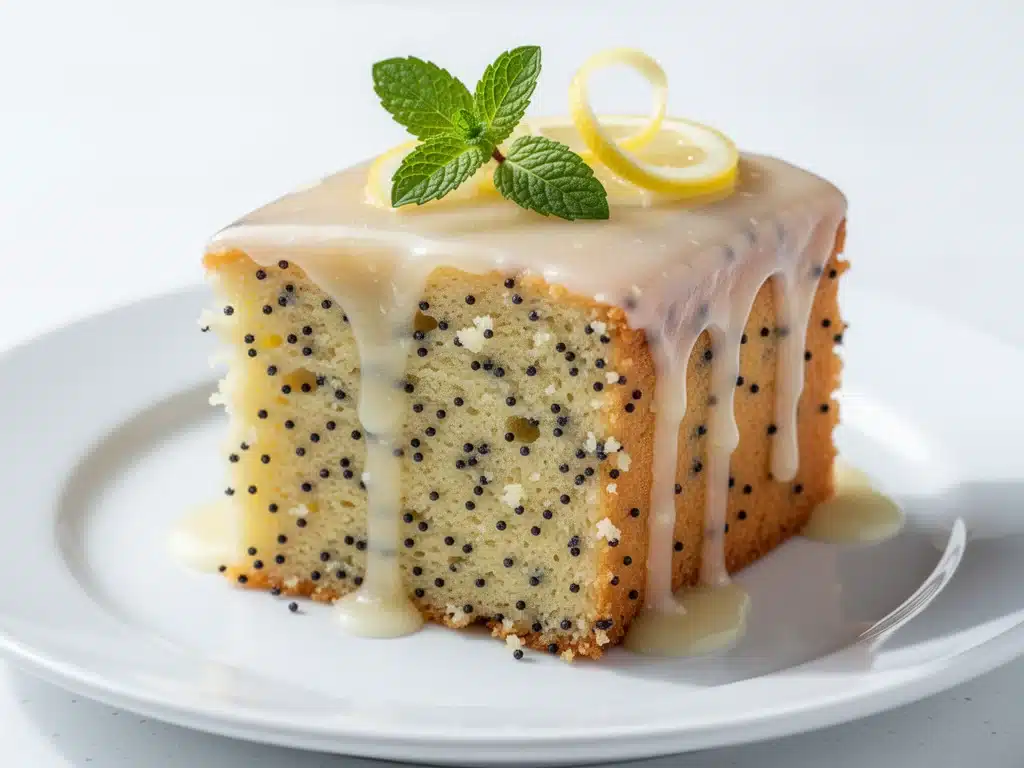
It started with a panic. I was three hours away from home for a weekend trip, and my sister-in-law, who has the palate of a professional pastry chef and the expectations of a food critic, casually mentioned she was craving “that cake.” You know the one. Not the dense, dry kind from the bakery case that tastes like cardboard with a hint of citrus. The one that melts on your tongue and makes you close your eyes for a second just to feel the brightness.
I hadn’t made it in months. I’d been lazy. I’d been buying store-bought loaves. And now, with a grocery store at my disposal and a deadline, I had to pull it together. I threw together what I thought was a standard lemon cake recipe, added a glaze, and hoped for the best. When I handed it to her, she took one bite, paused, and said, “Okay, you’re baking again.” That was it. No review. Just permission to return to the oven.
That moment stuck with me. It wasn’t just about the cake; it was about the reliability of it. Since then, I’ve made this ultra-moist lemon poppy seed cake probably fifteen times. I’ve tweaked the glaze, switched the milk, and even tried baking it in a bundt pan instead of a loaf pan. The result? It’s the only dessert I make when I want to impress without sweating. It’s simple. It’s bright. And honestly, it’s the reason I keep buying lemons even when they’re expensive.
This isn’t just a recipe; it’s my go-to comfort dessert. It’s the thing I bring to potlucks when I need to look put-together but only have twenty minutes of active time. It’s the treat I bake when I’m having a bad day and need something sweet and tangy to reset my mood. If you’ve been searching for a lemon poppy seed cake that actually stays moist for days (and I mean days), you’re in the right place. Let me show you how to make it.
Why You’ll Love This Ultra-Moist Lemon Poppy Seed Cake
There are a lot of lemon cakes out there. Some are too sweet. Some are too dense. Some dry out by Tuesday. This version? It’s different. It’s the one that gets requested by name. Here’s why it’s become a staple in my kitchen rotation.
Stupidly Moist Texture — This is the big one. I use sour cream and buttermilk in the batter. The acid breaks down the gluten slightly, keeping the crumb tender, while the fat keeps it from drying out. I’ve tested this cake over a week, and on day four, it’s still soft. Not crusty. Not dry. Just soft. This is crucial for anyone who likes to meal-prep dessert.
Bright, Not Artificial — A lot of recipes rely on lemon extract, which can taste like soap if you’re not careful. This recipe uses fresh lemon zest and fresh lemon juice. The flavor is sharp and clean. It tastes like sunshine, not a chemistry set. The glaze doubles down on this, adding a tangy finish that cuts through the sweetness perfectly.
Lightning Fast Assembly — You don’t need a stand mixer. You don’t need to cream butter and sugar for ten minutes. This is a dump-and-stir recipe. Mix the dry ingredients. Mix the wet ingredients. Combine them. Glaze it. That’s it. About 15 minutes of hands-on time. I make this after work on Tuesdays when I’m too tired to do anything complicated.
Perfect for Gifting — I wrap these in plastic wrap and give them away constantly. They travel well. They look elegant with a dusting of powdered sugar or a drizzle of glaze. I’ve given this to neighbors, coworkers, and friends, and it’s always the first thing to disappear. It’s the ultimate “I care about you but I’m also busy” gift.
Flexible Serving Style — Eat it warm with coffee? Yes. Eat it cold as a snack? Also yes. Serve it at a bridal shower? Perfect. Serve it to picky kids who hate “sour” things? They’ll never know it’s tart because the glaze balances it out. It’s versatile in a way most cakes aren’t.
This cake has saved me more times than I can count. It’s my answer to “What can I bring?” and “What should I bake for dessert?” It’s reliable, delicious, and impossible to mess up if you follow the steps. Here’s what you need to get started.
Ingredients You’ll Need for the Best Lemon Poppy Seed Cake
I’m particular about a few things here. You don’t need fancy, hard-to-find ingredients, but you do need quality basics. This lemon poppy seed cake relies on the interplay between the fat, the acid, and the fresh citrus. If you cut corners on the lemons, the flavor suffers. If you cut corners on the dairy, the texture suffers. Let’s break it down.
For the Cake Batter
Unsalted butter (½ cup / 115g, softened) — I use Kerrygold or President. Room temperature is non-negotiable here. If it’s cold, it won’t cream properly, and your cake will be dense. I leave it out for at least an hour before starting. If you’re in a rush, microwave it for 5-second bursts until it’s soft but not melted.
Granulated sugar (1 cup / 200g) — Don’t use brown sugar. You want that light, airy crumb. Brown sugar adds moisture but also density and a molasses flavor that clashes with the bright lemon. Stick to white granulated.
Eggs (2 large, room temperature) — Cold eggs can cause the batter to curdle when mixed with the butter. I take them out of the fridge while I prep the other ingredients. If you forget, soak them in warm water for 5 minutes.
Plain yogurt or sour cream (½ cup / 120g) — This is the secret weapon. I use full-fat sour cream for maximum richness, but plain Greek yogurt works too if you want it slightly lighter. The fat keeps it moist; the acid tenderizes the gluten. Either way, don’t skip it.
Buttermilk (½ cup / 120ml) — If you don’t have buttermilk, make a quick substitute: add 1 tablespoon of lemon juice or white vinegar to ½ cup of milk. Let it sit for 5 minutes. It curdles slightly, which is exactly what you want. It adds tang and tenderness.
All-purpose flour (1 ½ cups / 190g) — Spoon and level, don’t scoop. Scooping packs the flour in, leading to a dry cake. I spoon it into the cup and flatten it with a knife. I use Gold Medal or King Arthur. Both work great.
Baking powder (1 teaspoon) — Check the expiration date. Old baking powder means flat cake. I keep a fresh can in my pantry specifically for baking.
Salt (½ teaspoon) — Enhances the lemon flavor. Don’t skip it, even if you’re watching sodium.
Lemon zest (2 medium lemons, about 2 tablespoons) — Use organic lemons if you can, since you’re eating the peel. Zest before you juice. Use a fine microplane grater for the best texture. No big chunks of peel in the cake.
Fresh lemon juice (¼ cup / 60ml, about 2-3 lemons) — Bottled juice tastes metallic and flat. Fresh is mandatory. Squeeze it, strain out the pulp, and measure it.
Poppy seeds (2 tablespoons) — Adds that classic crunch and visual appeal. You can omit them if you hate texture, but I think it’s incomplete without them.
For the Lemon Glaze
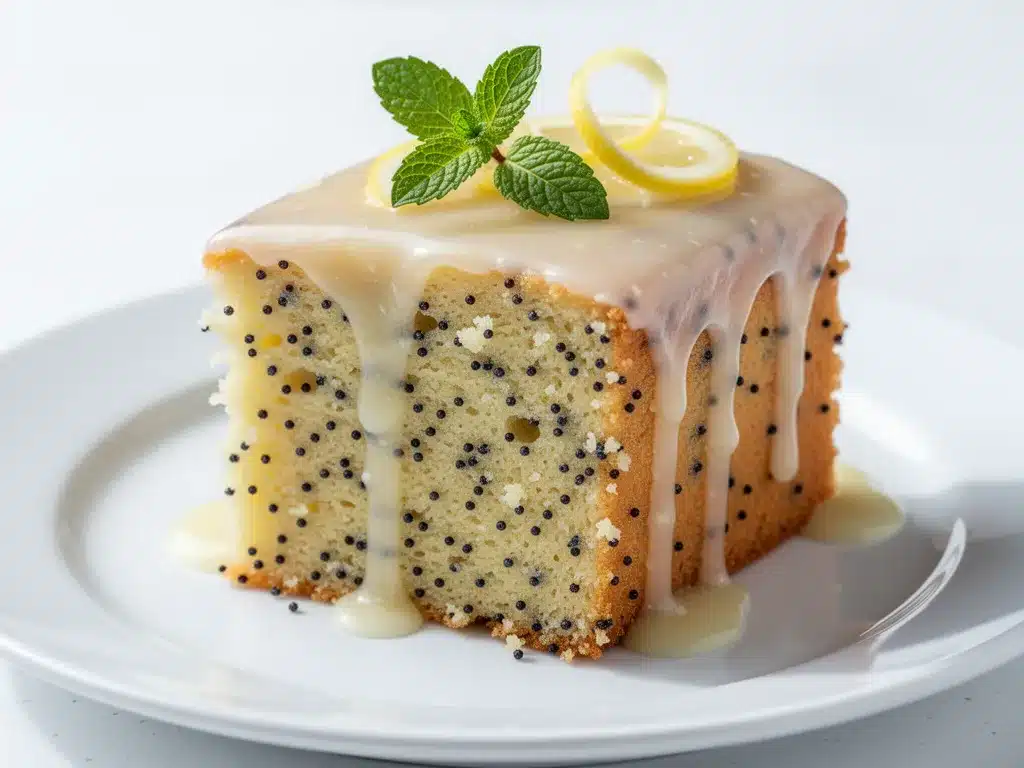
Powdered sugar (1 cup / 120g) — Sift it if it’s clumpy. You want a smooth glaze, not gritty.
Fresh lemon juice (2-3 tablespoons) — Add gradually. You want a drizzle-able consistency, not a paste.
Vanilla extract (½ teaspoon) — Optional, but it rounds out the sharp lemon flavor. I add it if the lemons are particularly tart.
Extra zest (1 teaspoon) — For garnish. Makes it look professional.
Equipment Needed
You don’t need fancy gear. Here’s what I actually use.
9×5 inch loaf pan — I use a metal pan, not glass. Metal conducts heat better for a even rise. If you only have glass, lower the oven temp by 25°F. Grease it well with butter or non-stick spray. I line the bottom with parchment paper for easy removal.
Mixing bowls — Two medium bowls. One for dry, one for wet. I like stainless steel.
Hand mixer or stand mixer — For creaming the butter and sugar. I use a hand mixer because it’s faster to clean than a stand mixer bowl. A whisk works too, but it takes arm strength.
Microplane zester — For the zest. It’s worth the $10. Grating with a regular grater gives you too much pith, which is bitter.
Cooling rack — Essential. Never let the cake cool in the pan; it’ll steam and get soggy. Transfer it immediately.
How to Make It: Step-by-Step
Alright, let’s bake this ultra-moist lemon poppy seed cake. I’m walking you through exactly how I do it, including the little tricks I’ve picked up over the years.
Step 1: Prep Everything (10 minutes)
Preheat your oven to 350°F (175°C). Grease your loaf pan and line the bottom with parchment paper. Zest your lemons now, before they get slippery. Juice them and measure out ¼ cup for the batter and 2-3 tablespoons for the glaze. Measure all your dry ingredients into a bowl. Whisk them together: flour, baking powder, and salt. Set aside.
Step 2: Cream the Butter and Sugar (3 minutes)
In a large bowl, beat the softened butter and granulated sugar together on medium-high speed for about 3-4 minutes. You want it pale and fluffy. This step incorporates air, which helps the cake rise. If you skip this, the cake will be dense. Don’t rush it.
Step 3: Add Eggs and Flavorings (2 minutes)
Add the eggs one at a time, beating well after each addition. Scrape down the sides of the bowl. Add the lemon zest and mix until combined. The mixture might look slightly curdled—that’s okay. It’ll come together.
Step 4: Combine Wet and Dry (3 minutes)
Reduce mixer speed to low. Add the dry ingredients in three additions, alternating with the buttermilk in two additions. Start and end with the dry ingredients. Mix just until combined. Do not overmix! Overmixing develops gluten, which makes the cake tough. It’s okay if there are a few streaks of flour.
Step 5: Fold in Poppy Seeds
Use a spatula to gently fold in the poppy seeds. They’ll distribute evenly. Pour the batter into the prepared loaf pan. Smooth the top with the spatula.
Step 6: Bake (45-55 minutes)
Place in the oven and bake for 45-55 minutes. The cake is done when a toothpick inserted into the center comes out clean or with just a few moist crumbs. No wet batter. If the top is browning too fast, tent it with foil after 30 minutes. My oven runs hot, so I check at 45 minutes.
Step 7: Cool Completely
Let the cake cool in the pan for 10 minutes. Then, lift it out using the parchment paper and transfer it to a cooling rack. Let it cool completely before glazing. If you glaze a warm cake, the glaze will melt and soak in, leaving you with a sticky mess and no topping.
Step 8: Make the Glaze and Finish
Whisk powdered sugar and lemon juice until smooth. It should be thick but pourable. Drizzle over the cooled cake. Sprinkle with extra zest. Slice and serve.
Expert Tips & Tricks
Here’s everything I’ve learned from making this dozens of times. These tips will save you from my mistakes.
Room Temperature Ingredients Matter — I can’t stress this enough. Cold butter, cold eggs, cold buttermilk—it all leads to a lumpy batter and uneven baking. Take everything out 30-60 minutes before you start. If you’re impatient, warm the milk and eggs in a bowl of warm water.
Don’t Overbake — Lemon cake dries out quickly. It’s better to underbake by 2 minutes than overbake by 2. The residual heat will finish cooking it. If the toothpick has wet batter, keep baking. If it has moist crumbs, it’s done.
Sift Your Powdered Sugar — For the glaze, lumps are the enemy. Sift the sugar before mixing. It makes a silky, professional-looking finish.
Adjust Glaze Consistency — Every lemon is different. Some are juicier, some are drier. Add the juice gradually. You want a glaze that sets on the cake but doesn’t run off the sides immediately. If it’s too thick, add more juice. If too thin, add more sugar.
Store Properly — This cake stays moist at room temperature for up to 3 days if covered tightly. In the fridge, it lasts up to a week, but it firms up. Bring it to room temperature before eating for the best texture.
Variations & Substitutions
Once you’ve nailed the basic version, here’s how you can mix it up. I’ve tried all of these.
Raspberry Lemon — Toss ½ cup fresh or frozen raspberries with 1 teaspoon flour and fold into the batter. The berries burst and create beautiful pockets of flavor. I do this in summer.
Blueberry Lemon — Same as raspberry, but with blueberries. They don’t bleed as much, so the cake stays yellow. Very pretty.
Coconut Lemon — Replace ½ cup of flour with shredded coconut. Add ½ cup coconut milk instead of buttermilk. It’s tropical and rich.
Gluten-Free — Use a 1:1 gluten-free flour blend. Add ½ teaspoon xanthan gum if your blend doesn’t have it. The texture is slightly different but still good.
Dairy-Free — Use coconut oil instead of butter. Use coconut yogurt and coconut milk. The flavor will be slightly coconutty, but still lemon-forward.
Serving & Storage
I usually serve this straight from the slicing board with a cup of coffee. But here are other ways I’ve enjoyed it.
Side Dishes — It pairs well with light breakfasts or brunches. Serve with scrambled eggs, bacon, or a fruit salad. It’s sweet enough to stand on its own.
Toppings Bar — When I have guests, I put out extra glaze and fresh berries. Everyone customizes their slice.
Storage — Store in an airtight container at room temperature for up to 3 days. In the fridge for up to a week. Reheat slices in the microwave for 10 seconds if you like them warm.
Freezing — This cake freezes well. Wrap the whole loaf or individual slices tightly in plastic wrap, then foil. Freeze for up to 3 months. Thaw overnight in the fridge. The glaze might crack slightly when thawing, but it still tastes great.
Nutrition Information
I’m not a nutritionist, but here’s the breakdown if you’re tracking. Per slice (1/10 of the loaf):
- Calories: 220
- Protein: 3g
- Carbs: 32g
- Fiber: 1g
- Sugar: 22g
- Fat: 9g
- Saturated Fat: 5g
- Cholesterol: 35mg
- Sodium: 180mg
Look, this is a cake. It’s sweet. It’s not a health food. But it’s homemade, so you know what’s in it. When I want to make it lighter, I reduce the sugar to ¾ cup and use Greek yogurt instead of sour cream. But usually? I just enjoy a slice and move on.
Final Thoughts
So that’s my go-to ultra-moist lemon poppy seed cake! I’ve probably talked your ear off at this point, but when you make a recipe this often, you have a lot to say about it.
This has saved me more times than I can count. It’s my answer to “What’s for dessert?” when I’m tired, don’t want takeout, and still want something that tastes really good. My family is happy, my guests are happy, and I’m happy because I’m not stressed about cooking.
Make it yours! Try different add-ins, swap in your favorite berries, adjust the glaze thickness. The best recipes are the ones you adapt to your family’s tastes. If you make this, drop a comment and let me know what you think! I love hearing how recipes turn out in your kitchen. And if something doesn’t work, tell me that too—I’m here to help troubleshoot.
Happy baking! And I hope your kitchen smells half as good as mine does right now.
Frequently Asked Questions
Can I use bottled lemon juice?
You can, but the flavor won’t be as bright. Bottled juice often has preservatives that taste metallic. For the zest, fresh is mandatory. For the juice, fresh is highly recommended. If you must use bottled, use it sparingly and add extra zest to compensate.
Why did my cake sink in the middle?
Usually means it was underbaked or the oven temp was too high. Check your oven with a thermometer. Also, don’t open the oven door during the first 30 minutes of baking. The sudden drop in temperature can cause the center to collapse.
Can I make this ahead for a party?
Absolutely. Bake the cake 1-2 days ahead. Store it wrapped tightly at room temperature. Glaze it the day of the party. It actually tastes better after a day because the flavors meld together.
Why is my glaze too runny?
You added too much lemon juice. Add more powdered sugar, a tablespoon at a time, until it thickens. If it’s too thick, add more juice, a teaspoon at a time.
Can I use muffin pans instead of a loaf pan?
Yes! Divide the batter into 12 muffin cups. Bake for 18-22 minutes. Make mini cupcakes for parties. The glaze works great on top too.
How do I reheat leftovers without it getting dry?
Microwave a slice for 10-15 seconds. It should be warm and soft. If you’re reheating the whole loaf, wrap it in foil and warm it in a 300°F oven for 10 minutes.
Can I double this recipe?
Yes, but use two loaf pans or a bundt pan. Adjust baking time slightly—check for doneness 5 minutes earlier than the original recipe. Don’t crowd the oven.
Pin This Recipe!
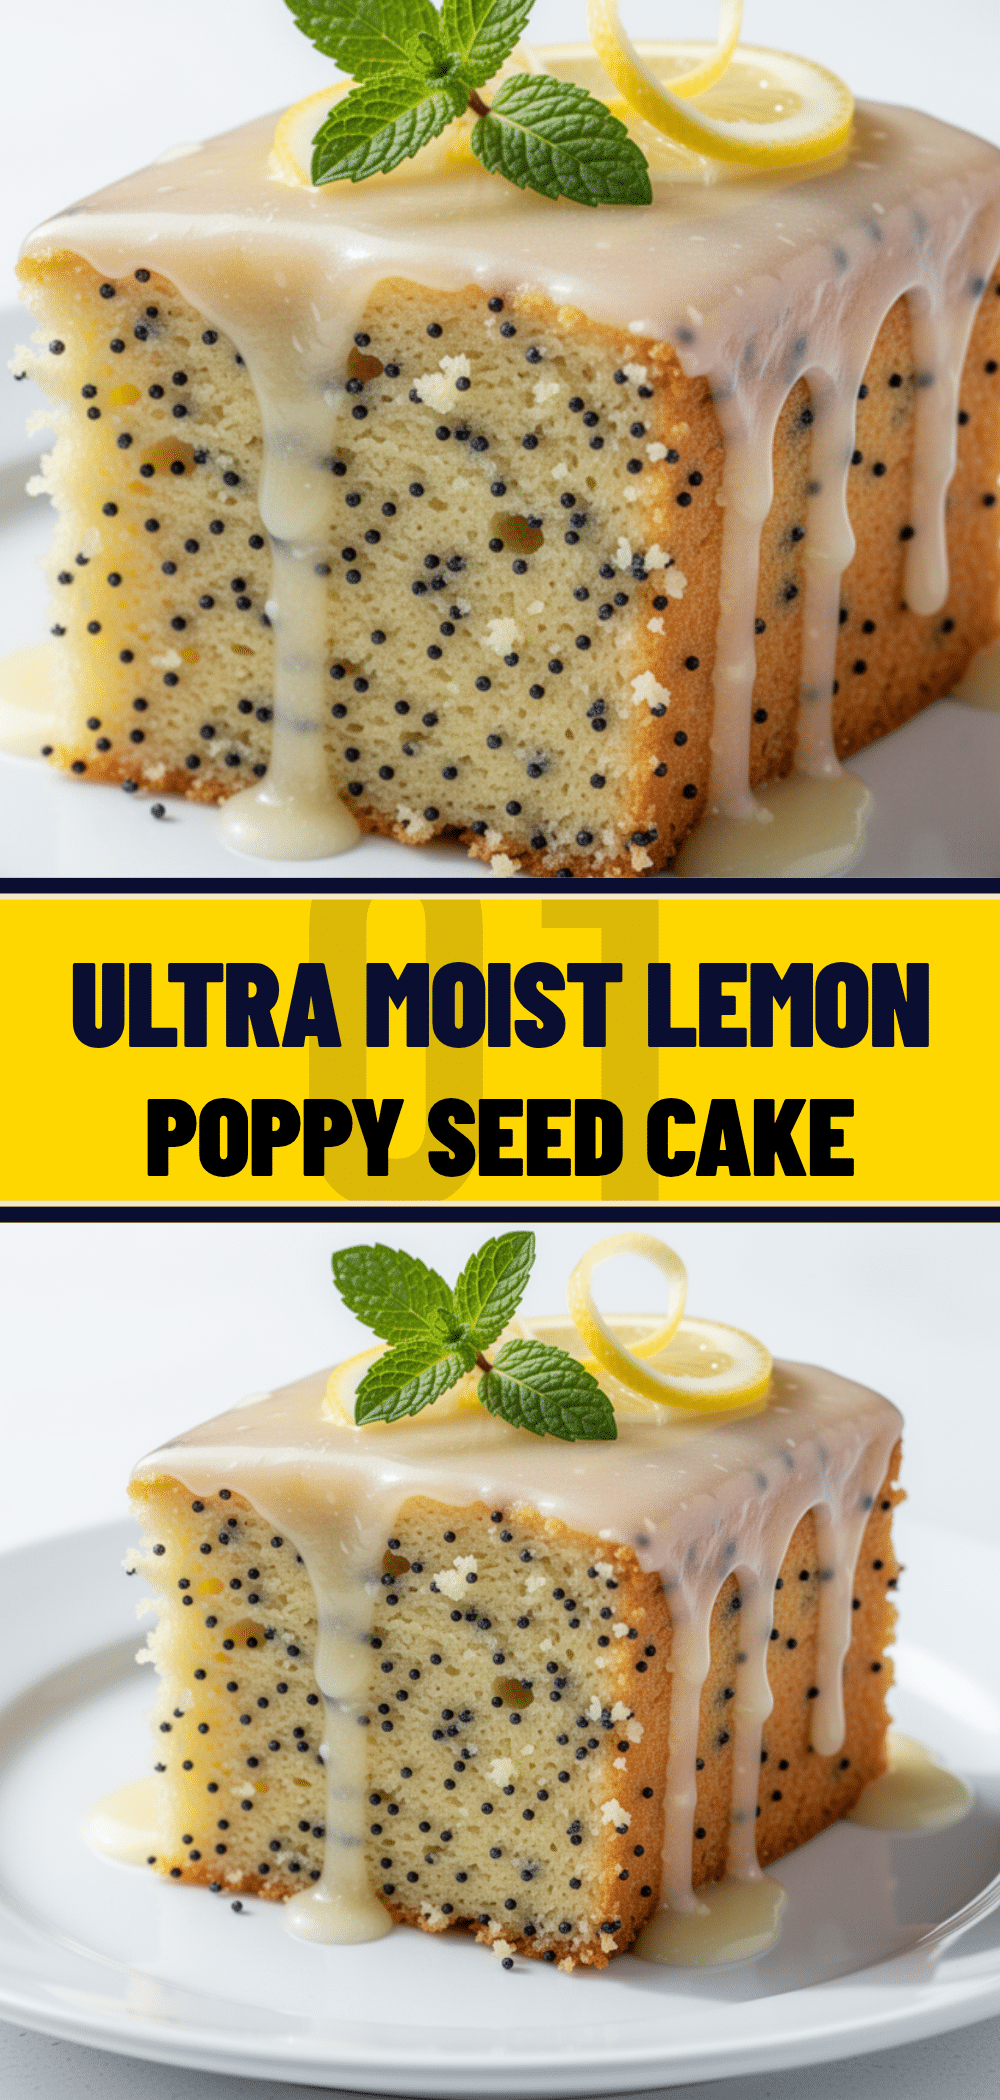
Ultra-Moist Lemon Poppy Seed Cake
- Total Time: 1 hour 10 minutes
- Yield: 10 servings 1x
Description
A reliable, ultra-moist lemon poppy seed cake that stays soft for days. This dump-and-stir recipe uses fresh lemon zest and juice for bright flavor, with a tangy glaze, making it perfect for gifting or quick weeknight baking.
Ingredients
- 1/2 cup (115g) unsalted butter, softened
- 1 cup (200g) granulated sugar
- 2 large eggs, room temperature
- 1/2 cup (120g) plain yogurt or sour cream
- 1/2 cup (120ml) buttermilk
- 1 1/2 cups (190g) all-purpose flour
- 1 teaspoon baking powder
- 1/2 teaspoon salt
- 2 medium lemons (about 2 tablespoons zest)
- 1/4 cup (60ml) fresh lemon juice
- 2 tablespoons poppy seeds
- 1 cup (120g) powdered sugar (for glaze)
- 2–3 tablespoons fresh lemon juice (for glaze)
- 1/2 teaspoon vanilla extract (optional)
- 1 teaspoon extra lemon zest (for garnish)
Instructions
- Preheat oven to 350°F (175°C). Grease a 9×5 inch loaf pan and line the bottom with parchment paper.
- Zest and juice the lemons. Measure out 1/4 cup juice for the batter and 2-3 tablespoons for the glaze.
- In a medium bowl, whisk together the flour, baking powder, and salt. Set aside.
- In a large bowl, beat the softened butter and granulated sugar on medium-high speed for 3-4 minutes until pale and fluffy.
- Add eggs one at a time, beating well after each addition. Scrape down the sides of the bowl. Add lemon zest and mix until combined.
- Reduce mixer speed to low. Add dry ingredients in three additions, alternating with buttermilk in two additions. Start and end with dry ingredients. Mix just until combined; do not overmix.
- Gently fold in poppy seeds with a spatula. Pour batter into the prepared loaf pan and smooth the top.
- Bake for 45-55 minutes, or until a toothpick inserted into the center comes out clean or with moist crumbs. Tent with foil if browning too quickly.
- Let the cake cool in the pan for 10 minutes, then transfer to a cooling rack to cool completely.
- Whisk powdered sugar and 2-3 tablespoons lemon juice until smooth. Drizzle over the cooled cake and sprinkle with extra zest.
Notes
Ensure all ingredients are at room temperature for best results. Do not overmix the batter to avoid a dense cake. The cake stays moist at room temperature for up to 3 days or in the fridge for up to a week. It can also be frozen for up to 3 months.
- Prep Time: 15 minutes
- Cook Time: 45-55 minutes
- Category: Dessert
- Cuisine: American
Nutrition
- Serving Size: 1 slice (1/10 of the
- Calories: 220
- Sugar: 22
- Sodium: 180
- Fat: 9
- Saturated Fat: 5
- Carbohydrates: 32
- Fiber: 1
- Protein: 3
Keywords: lemon poppy seed cake, moist lemon cake, homemade cake, easy dessert, gluten-free option, dairy-free option, lemon glaze, baking from scratch


