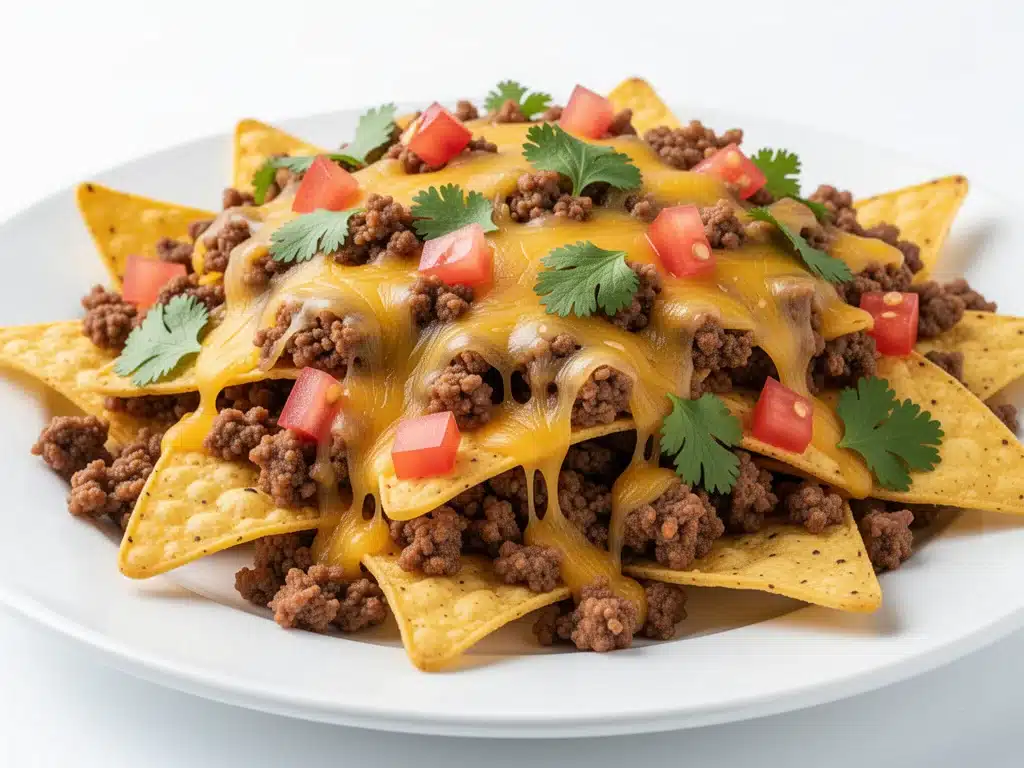
It was 7:30 PM on a Tuesday, and I was staring into the abyss of my refrigerator. You know the look. The light flickers, there’s a sad half-jar of pickles, some wilting spinach, and a package of ground beef that’s been sitting there since Sunday. My kids were already complaining about dinner, my husband was logging onto a Zoom call from the couch, and I was pretty sure my only option was to order pizza. Again.
But then I saw a bag of tortilla chips in the back of the pantry. Not the fancy kettle-cooked ones for snacking, but the cheap, sturdy kind that can actually hold weight. And suddenly, it hit me. Why am I cooking a “dinner” when I can just make dinner-flavored snacks?
I threw together what I thought would be a mediocre snack. I browned the beef, dumped on some cumin, piled on the cheese, and tossed it in the oven for five minutes. When I pulled that tray out—golden, bubbling, dripping with melted goodness—I knew I had struck gold. The kids stopped complaining. The husband paused his call just to grab a chip. We ate it straight off the baking sheet with our hands, no plates required.
That was three years ago. Since then, I’ve made this loaded nachos recipe probably fifty times. It’s not just a snack anymore; it’s my go-to weeknight dinner when I have zero energy but still want something that tastes like a celebration. People always ask for the recipe when I bring it to potlucks or game day parties. They can’t believe it’s simple, cheap, and ready in under 30 minutes.
Here’s the thing about nachos: most people get them wrong. They use thin chips that turn to dust, they under-season the meat, or they use pre-shredded cheese that refuses to melt properly. I’ve tested enough versions to know what works and what results in a soggy, disappointing mess. This version? It’s crispy on the edges, creamy in the middle, and packed with flavor. It’s the loaded nachos with ground beef that everyone always asks for, and once you make it, you’ll never order takeout again.
Why You’ll Love This Recipe
I’m not exaggerating when I say this recipe has saved my weeknight sanity. It’s the culinary equivalent of a warm hug on a cold day. Here’s why it’s become a permanent fixture in our rotation:
- Stupid Simple — Seriously, if you can boil water and open a bag of chips, you can make this. I’ve walked my teenage son through it over FaceTime while he was at college. He nailed it on the first try.
- Lightning Fast — 25 minutes from start to finish, and only 10 of those are active cooking. I make this on weeknights when I get home at 6:30 PM and am already exhausted.
- Pantry-Friendly — You probably have 80% of these ingredients already. I keep ground beef and tortilla chips stocked specifically so I can make this on a whim when life gets chaotic.
- Crowd-Pleaser — I’ve served this to my vegetarian sister (who just skips the beef), my gluten-free neighbor (who uses corn chips), and my I-only-eat-chicken dad (who secretly loved the beef version). Everyone loved it.
- Makes Amazing Leftovers — Actually tastes better the next day if you reheat it gently. I deliberately make extra for lunch throughout the week, and it’s surprisingly satisfying cold too.
- Budget-Smart — Feeds 4-6 people for under $20. That’s less than one meal at a sports bar, and way better quality.
This is my go-to when I need dinner to just work. No complicated techniques, no weird ingredients, just reliable, delicious food that makes everyone happy. It’s comfort food that doesn’t take all day.
Ingredients You’ll Need
Here’s the best part: you probably have most of this already. I’m particular about three ingredients here, and I’ll tell you exactly why. Don’t skip the tips!
For the Beef Layer
Ground beef (1 pound / 450g) — I use 80/20 fat ratio. Lean beef gets dry and crumbly. You want that richness to keep the nachos moist. If you only have 93/7, add a tablespoon of olive oil when cooking.
Yellow onion (1 medium, finely diced / about 150g) — Sweet onions work too, but yellow gives better depth. White onions are too sharp for this. Finely dice it so it distributes evenly.
Garlic (4 cloves, minced / about 2 tablespoons) — Yes, four cloves. Don’t skimp. Fresh only—no jarred garlic in this recipe. It tastes metallic and ruins the flavor profile.
Ground cumin (1 teaspoon) — This is the backbone of the flavor. Don’t skip it. If you’re out, use chili powder, but cumin is traditional and essential here.
Chili powder (1 teaspoon) — Not just cayenne! Chili powder is a blend. It adds warmth without overwhelming heat. Adjust to taste if you like it spicier.
Salt and black pepper (to taste) — Be generous. The beef needs seasoning to stand up to the cheese and chips.
For the Nacho Assembly
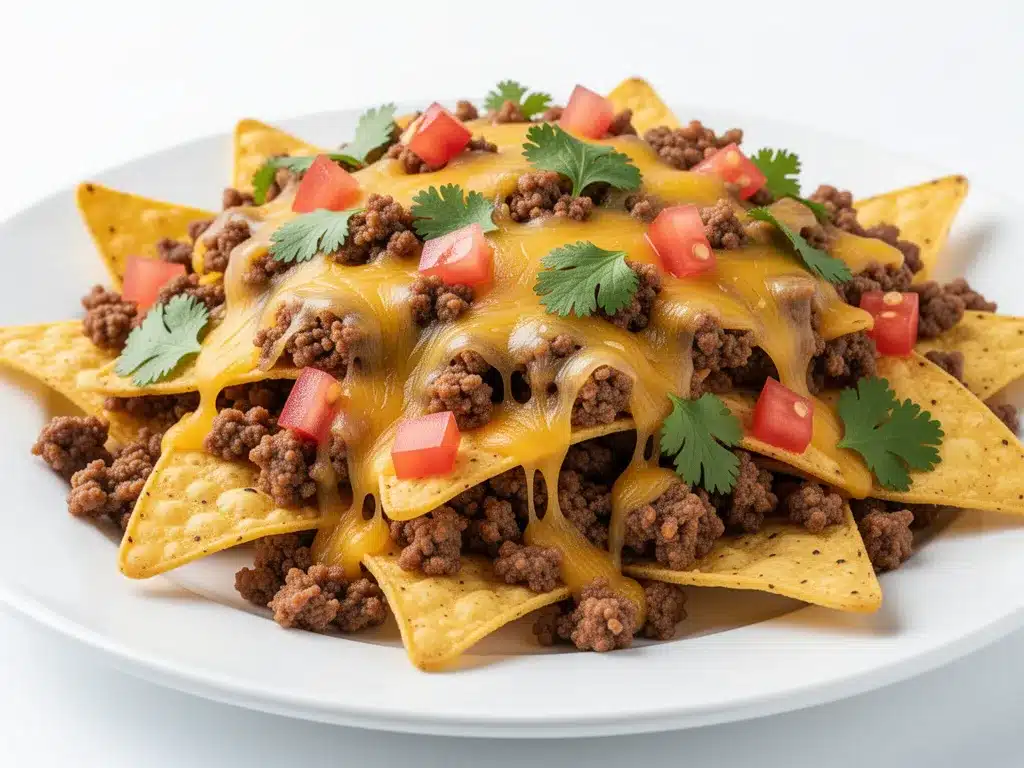
Tortilla chips (2 large bags / 12-14 oz total) — I use standard restaurant-style chips. Not the thin kettle-cooked ones (they break), and not the thick corn nuts (they don’t melt right). Look for sturdy, flat chips.
Shredded Mexican blend cheese (3 cups / 300g) — Or make your own! Buy a block of cheddar and Monterey Jack and shred it yourself. Pre-shredded cheese has anti-caking agents that prevent proper melting. I learned this the hard way with a grainy, separated mess.
Black beans (1 can / 15 oz, drained and rinsed) — Adds protein and texture. I use low-sodium and rinse them well to remove the tinny taste. If you’re short on time, use pinto beans—they’re creamier.
Corn kernels (1 cup / 150g) — Fresh, frozen, or canned. Frozen is easiest. Just thaw and drain. The sweetness balances the savory beef perfectly.
For the Toppings
Green onions (4 stalks, sliced) — Adds a fresh, oniony crunch. White parts are fine, but I use the green tops for color.
Black olives (½ cup, sliced) — Optional, but classic. I love the briny contrast. If you hate olives, skip them. No judgment.
Jalapeños (½ cup, sliced) — Fresh or pickled. Pickled adds tang; fresh adds heat. I usually do half and half.
Sour cream (½ cup) — For dolloping on top. Full-fat only. Low-fat tastes watery and sad.
Salsa (1 cup) — Use your favorite. I like a medium salsa for balance. If you want more heat, use a hot salsa.
Fresh cilantro (¼ cup, chopped) — Optional, but it brightens everything up. If you hate cilantro, skip it. I know some people think it tastes like soap, but I love it.
Equipment Needed
You don’t need fancy equipment for this. Here’s what I actually use.
Large skillet — 12-inch works best for the beef. I prefer cast iron or stainless steel, but non-stick works too. Just make sure it’s big enough to hold the beef and onions without overcrowding.
Baking sheet — A standard half-sheet pan. Line it with parchment paper for easy cleanup. I’ve tried foil, but parchment prevents sticking and makes cleanup a breeze.
Parchment paper — Essential for easy cleanup. Nachos are sticky. Trust me on this.
Colander — For draining the beans and corn. Or just use a fine-mesh sieve if you’re being precise.
Wooden spoon — For stirring the beef. Silicone works too. Don’t use metal on non-stick.
Sharp knife — For chopping onions and slicing jalapeños. Dull knives make you cry more—learned this the hard way with onions.
Grater — If you’re making your own cheese blend. Box grater or microplane. Or food processor if you’re grating lots of cheese.
Optional but nice:
- Tongs — For tossing the chips and cheese. Makes distribution easier.
- Small bowl — For holding toppings while you assemble. Keeps things organized.
How to Make It: Step-by-Step
Alright, let’s make this! I’m walking you through exactly how I do it, including the little tricks I’ve picked up.
Step 1: Prep Your Ingredients (5 minutes)
Before you start cooking, dice your onion, mince your garlic, and slice your jalapeños. Drain and rinse your beans. Measure out your cheese. I know it seems fussy, but it makes the actual cooking way less stressful. Once you start cooking, things move fast.
Step 2: Cook the Beef (8-10 minutes)
Heat a large skillet over medium-high heat. Add the ground beef and break it up with a wooden spoon. Cook for 5-6 minutes until browned. Drain excess fat if there’s too much (but leave a little for flavor). Add the diced onion and cook for 2 minutes until soft. Add the garlic, cumin, chili powder, salt, and pepper. Stir well and cook for 1 minute until fragrant. Remove from heat. The beef should be seasoned well and aromatic.
Step 3: Preheat the Oven (2 minutes)
Preheat your oven to 400°F (200°C). Line a large baking sheet with parchment paper. This ensures the chips don’t stick and makes cleanup instant. I always set out the parchment before I start cooking so I don’t forget.
Step 4: Layer the Chips and Cheese (3 minutes)
Spread half the tortilla chips in an even layer on the prepared baking sheet. Sprinkle half the shredded cheese evenly over the chips. Repeat with the remaining chips and cheese. The key is to distribute the cheese evenly so every chip gets some. Don’t pile it all in one spot!
Step 5: Bake Until Melted (5-7 minutes)
Place the baking sheet in the oven and bake for 5-7 minutes, or until the cheese is melted and bubbly. Keep an eye on it—cheese can go from melted to burnt quickly. The chips should be golden around the edges. Remove from the oven.
Step 6: Add the Beef and Beans (2 minutes)
Immediately after removing from the oven, spread the seasoned beef and black beans evenly over the hot chips. The residual heat from the cheese and chips will warm the beef and beans. Sprinkle the corn kernels on top. The heat from the cheese will slightly soften the corn, which is perfect.
Step 7: Broil for Crispiness (2-3 minutes)
Switch your oven to broil. Place the baking sheet back in the oven for 2-3 minutes, watching closely. This crisps the chips and melts any remaining cheese. The chips should be crunchy, not soggy. Remove from the oven immediately.
Step 8: Add Toppings and Serve
Top with sliced jalapeños, black olives, green onions, and fresh cilantro. Dollop with sour cream and serve with salsa on the side. Serve immediately while hot and crispy. The chips will start to soften if you let them sit too long, so dig in fast!
Total Time: About 25 minutes (10 minutes active, 15 minutes mostly hands-off)
Expert Tips & Tricks
Here’s everything I’ve learned from making this dozens of times. These tips will save you from my mistakes.
Don’t Overcrowd the Pan
This is the #1 mistake. If you pile the chips too high, the bottom ones get soggy and don’t crisp up. Spread them in a single layer, or use two baking sheets. I’ve made this error multiple times, resulting in sad, chewy chips. Now I always use two sheets if I’m feeding a crowd.
Shred Your Own Cheese
Pre-shredded cheese contains cellulose to prevent clumping, which stops it from melting smoothly. Buy blocks of cheddar and Monterey Jack and shred them yourself. It takes 3 minutes and makes a huge difference. My husband can tell when I’ve been lazy and used pre-shredded.
Season the Beef Well
Don’t under-season the beef. It’s the main protein, and it needs to stand up to the cheese. I use about 1 teaspoon of salt per pound of beef. Taste as you go. If it tastes bland on its own, it’ll taste bland on the nachos.
Broil Carefully
When you broil, stay in the kitchen. Cheese burns in seconds. Watch it like a hawk. You want it golden, not black. If your oven runs hot, broil for just 1 minute.
Room Temperature Toppings
Let your sour cream and salsa sit out for 15 minutes before serving. Cold toppings shock the hot nachos and can make them soggy. Room temperature blends better.
Common Mistakes (and how to avoid them):
- Mistake: Chips are soggy — Fix: Don’t overcrowd the pan. Use two sheets if needed. Also, ensure the beef isn’t too wet. Drain it well.
- Mistake: Cheese is grainy — Fix: You used pre-shredded cheese or heat was too high. Shred your own and melt gently.
- Mistake: Everything is too salty — Fix: Use unsalted butter (if using) and control the salt in the beef. You can always add more, can’t take it away.
Pro Tricks I’ve Learned:
- For Restaurant-Quality Finish — Add a pinch of smoked paprika to the beef. Adds a subtle smokiness that mimics restaurant nachos.
- For Extra Flavor — Toast the cumin and chili powder in the pan for 30 seconds before adding the beef. Releases more flavor.
- For Better Texture — Toss the chips with a tiny bit of olive oil before baking. Prevents them from drying out.
Variations & Substitutions
Once you’ve nailed the basic version, here’s how you can mix it up. I’ve tried all of these.
Chicken Nachos
Swap ground beef for diced cooked chicken (rotisserie works great) or shredded chicken. Season with taco seasoning instead of cumin. My kids prefer this version—less heavy.
Turkey Nachos
Use ground turkey instead of beef. It’s leaner, so add a tablespoon of olive oil when cooking. Add extra cumin to compensate for the milder flavor. A healthy-ish option.
Vegetarian Loaded Nachos
Skip the beef entirely. Add extra black beans, corn, and diced bell peppers. Sauté the peppers with the onions for extra flavor. My vegetarian sister requests this version.
Seafood Nachos
Use cooked shrimp or flaked white fish. Add a squeeze of lime juice and fresh cilantro. Top with avocado instead of sour cream. Great for summer.
Spicy Jalapeño Nachos
Add diced fresh jalapeños to the beef while cooking. Use pepper jack cheese instead of Mexican blend. Top with extra jalapeños. For those who like heat.
Breakfast Nachos
Swap ground beef for breakfast sausage. Add scrambled eggs on top after baking. Top with cheddar and green onions. Perfect for brunch.
Dietary Modifications:
- Gluten-Free — Use certified gluten-free tortilla chips. Everything else is naturally gluten-free. I’ve used Simple Mills chips and they work great.
- Dairy-Free — Replace cheese with dairy-free shreds (Violife or Miyoko’s work well). Skip sour cream or use coconut yogurt. It’s different but still tasty.
- Lower-Carb — Use baked tortilla chips or even chipped kale. Reduce chips by half and add extra veggies. I won’t lie—it’s not the same, but it works if you’re watching carbs.
Serving & Storage
How to Serve:
I usually serve this straight from the baking sheet at the dinner table—it looks rustic and stays warm. But here are other ways I’ve enjoyed it:
Side Dishes:
- Simple green salad with lime vinaigrette
- Guacamole and chips on the side
- Corn on the cob with chili powder
- Black bean soup (when I’m feeling fancy)
Toppings Bar:
When I have guests, I put out: extra sour cream, hot sauce, fresh cilantro, lime wedges, and crispy bacon bits. Everyone customizes their bowl.
Wine Pairing:
Not a wine expert, but my wine-snob friend says a crisp Sauvignon Blanc or a light Pinot Noir works great with this. For beer, a lager or IPA is perfect.
Storage Instructions:
Refrigerator: Store leftovers in an airtight container for up to 3 days. The chips will soften, which is normal.
Reheating: Best method: Spread on a baking sheet and bake at 350°F for 5-7 minutes until crispy again. Microwave method: Heat in 30-second intervals, but expect sogginess. Never works: Trying to reheat in the pan you cooked it in. It always burns on the bottom. Ask me how I know.
Freezing: Honestly, this doesn’t freeze well because the chips get soggy and the cheese separates. Make it fresh or store in the fridge for up to 3 days.
Meal Prep: Cook the beef ahead and store in the fridge. Assemble and bake when ready. Takes 10 minutes and tastes way better than fully reheated nachos.
Pro tip: If leftovers are drying out, sprinkle a few drops of water on the chips before reheating. Steam helps restore crispiness.
Nutrition Information
I’m not a nutritionist, but here’s the breakdown if you’re tracking.
| Per Serving (based on 8 servings) |
|---|
| Calories: 450 |
| Protein: 22g |
| Carbs: 38g |
| Fiber: 3g |
| Sugar: 2g |
| Fat: 24g |
| Saturated Fat: 10g |
| Cholesterol: 55mg |
| Sodium: 680mg |
| Calcium: 200mg |
What’s Good:
- Decent protein from beef and cheese
- Calcium from the cheese
- Can add vegetables to boost nutrition
- More filling than it looks
What to Know:
- Higher in calories from cheese and chips
- Contains dairy and gluten
- Moderate sodium (use low-sodium beans to reduce)
My Take:
Look, this is comfort food with cheese and chips. It’s not a diet recipe. But it’s way better than takeout, costs less, and I know exactly what’s in it. When I want to make it lighter, I use the turkey version and load up on vegetables. But usually? I just eat a reasonable portion and enjoy it.
Dietary Notes:
- Contains: gluten, dairy
- Can be made: gluten-free, vegetarian
- Not suitable for: vegan (without modifications), dairy-free (without modifications)
Final Thoughts
So that’s my loaded nachos with ground beef! I’ve probably talked your ear off at this point, but when you make a recipe this often, you have a lot to say about it.
This has saved weeknight dinners more times than I can count. It’s my answer to ‘what’s for dinner’ when I’m tired, don’t want takeout, and still want something that tastes really good. My kids are happy, my husband’s happy, and I’m happy because I’m not stressed about cooking.
Make it yours! Try different add-ins, swap in your favorite vegetables, adjust the spice level. The best recipes are the ones you adapt to your family’s tastes. If you’re looking for other easy weeknight meals, check out my crispy garlic chicken for a lighter option, or try one-pot pasta when you want minimal cleanup.
If you make this, drop a comment and let me know what you think! I love hearing how recipes turn out in your kitchen. And if something doesn’t work, tell me that too—I’m here to help troubleshoot.
Happy cooking! And I hope your kitchen smells half as good as mine does right now.
Frequently Asked Questions
Can I use ground turkey instead of beef?
Yes, absolutely. Use 93/7 lean ground turkey for better texture. Add a tablespoon of olive oil when cooking since turkey is leaner. Season it well with cumin and chili powder to mimic the beef flavor. It’s a great lighter option.
Why did my nachos get soggy?
Usually means you overcrowded the pan, used too much wet topping, or didn’t bake them long enough. Spread chips in a single layer, drain the beans well, and ensure the cheese is fully melted before adding toppings. Broiling at the end helps crisp them up.
Can I make this ahead for a party?
Sort of. Cook the beef ahead and store in the fridge. Assemble and bake right before serving. If you make them ahead, the chips will soften. I always bake them fresh for best texture. I do this all the time for parties.
Why did my cheese get grainy?
The heat was too high or you used pre-shredded cheese. Pre-shredded has anti-caking agents that prevent smooth melting. Shred your own cheese from blocks and melt it gently over medium heat. If it’s already grainy, try whisking in a splash of warm milk—sometimes you can save it.
Can I use jarred salsa?
You can, but fresh salsa tastes so much better in this recipe. Jarred salsa can be watery and salty. If you must use it, drain it well to remove excess liquid. Fresh salsa adds brightness and texture.
How do I reheat leftovers without them getting dry?
Add a splash of water to a baking sheet, spread the nachos, and bake at 350°F for 5-7 minutes. The steam helps restore crispiness. Microwave sort of works but tends to make them soggy. If you do microwave, definitely add a splash of water first and heat in short bursts.
Can I double this recipe?
Absolutely! Double everything and use two baking sheets. The cooking times stay the same. I do this when I’m feeding a crowd. Just make sure your oven has room for two sheets, or rotate them halfway through.
Pin This Recipe!
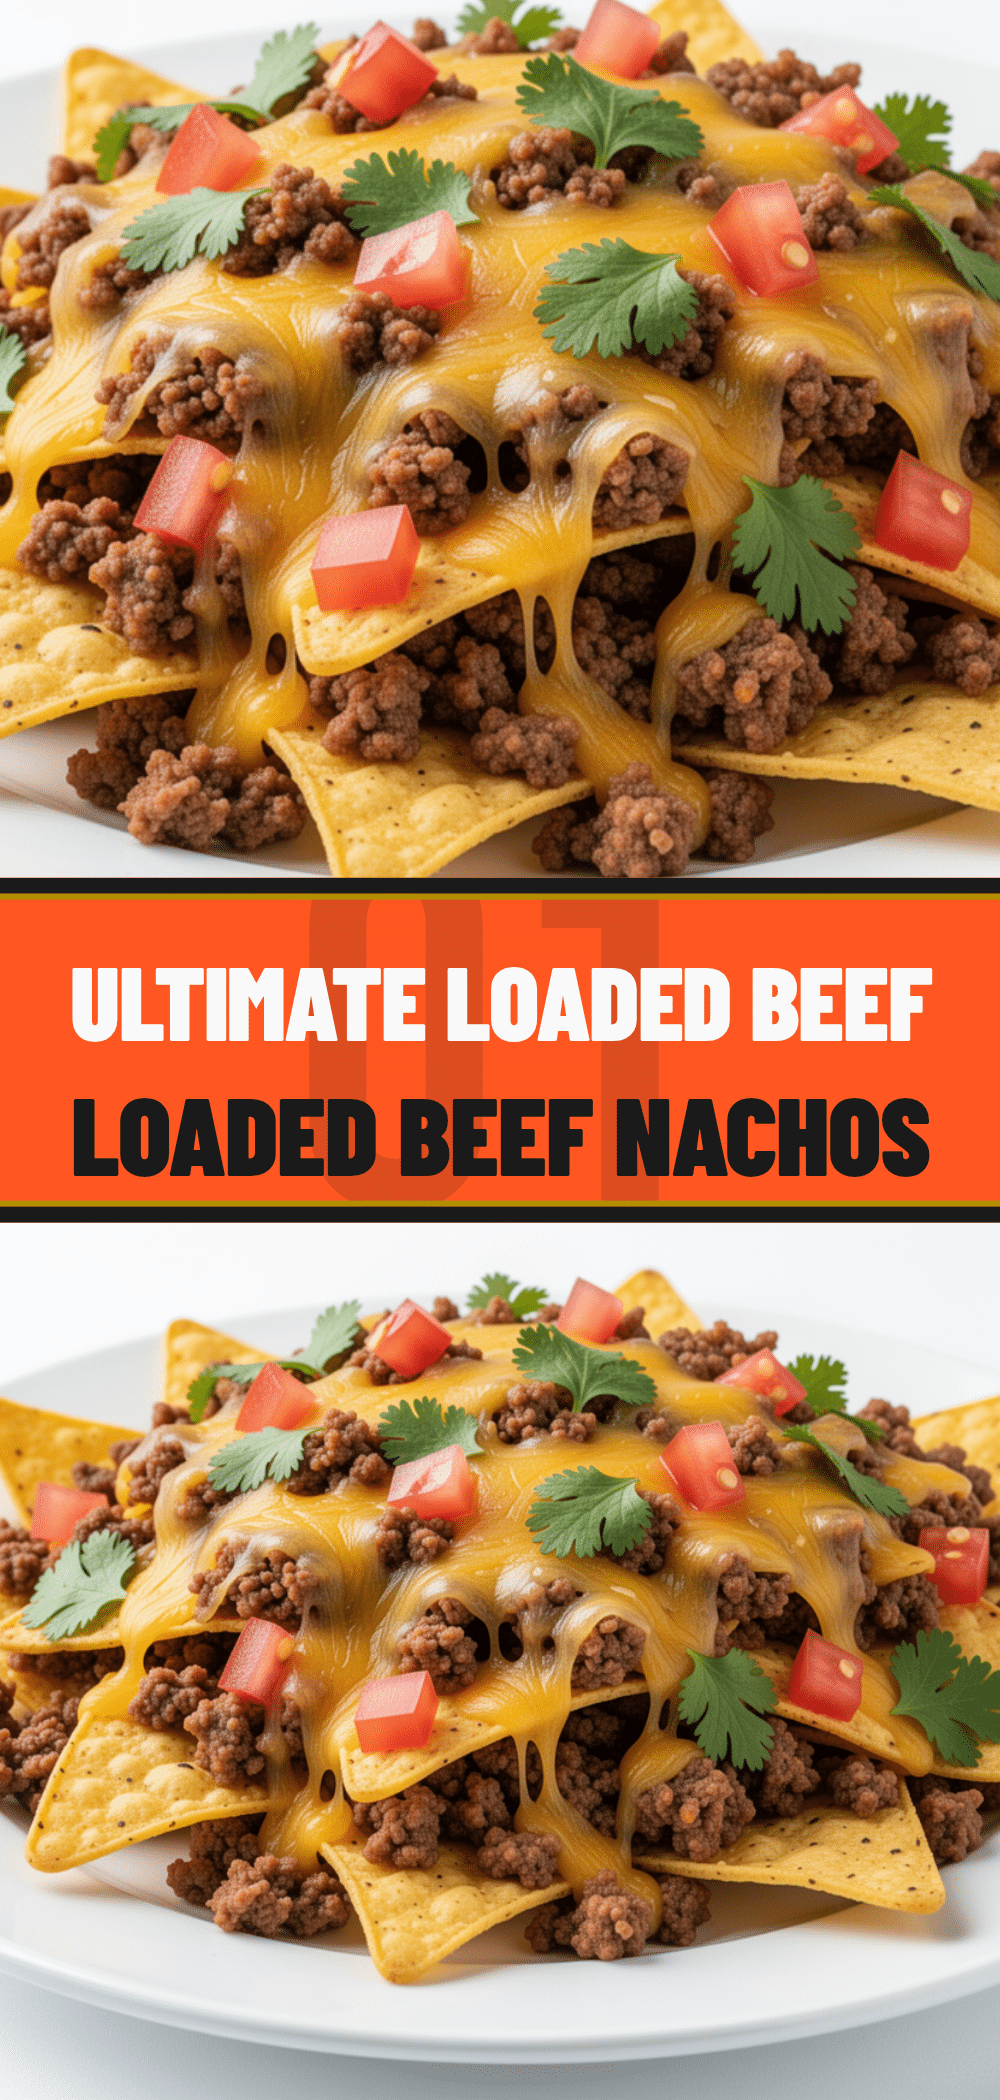

Loaded Nachos with Ground Beef: 10-Min Easy Dinner
- Total Time: 25 minutes
- Yield: 8 servings 1x
Description
A quick, crowd-pleasing weeknight dinner featuring crispy tortilla chips, seasoned ground beef, melted cheese, and classic toppings. Ready in under 30 minutes with minimal active cooking time.
Ingredients
- 1 pound ground beef (80/20 fat ratio)
- 1 medium yellow onion, finely diced
- 4 cloves garlic, minced
- 1 teaspoon ground cumin
- 1 teaspoon chili powder
- Salt and black pepper to taste
- 2 large bags tortilla chips (12–14 oz total)
- 3 cups shredded Mexican blend cheese (or cheddar and Monterey Jack)
- 1 can (15 oz) black beans, drained and rinsed
- 1 cup corn kernels
- 4 stalks green onions, sliced
- ½ cup black olives, sliced
- ½ cup jalapeños, sliced (fresh or pickled)
- ½ cup sour cream
- 1 cup salsa
- ¼ cup fresh cilantro, chopped
Instructions
- Preheat oven to 400°F (200°C). Line a large baking sheet with parchment paper.
- Dice onion, mince garlic, and slice jalapeños. Drain and rinse beans.
- Heat a large skillet over medium-high heat. Add ground beef and break it up with a wooden spoon. Cook for 5-6 minutes until browned. Drain excess fat if necessary.
- Add diced onion to the skillet and cook for 2 minutes until soft.
- Add garlic, cumin, chili powder, salt, and pepper. Stir well and cook for 1 minute until fragrant. Remove from heat.
- Spread half the tortilla chips in an even layer on the prepared baking sheet. Sprinkle half the shredded cheese evenly over the chips. Repeat with remaining chips and cheese.
- Bake for 5-7 minutes until cheese is melted and bubbly and chips are golden around the edges.
- Remove from oven. Immediately spread the seasoned beef and black beans evenly over the hot chips. Sprinkle corn kernels on top.
- Switch oven to broil. Place baking sheet back in oven for 2-3 minutes, watching closely, until chips are crispy and cheese is golden.
- Remove from oven. Top with jalapeños, black olives, green onions, and cilantro. Dollop with sour cream and serve with salsa on the side.
Notes
Do not overcrowd the pan to prevent soggy chips. Shred your own cheese for better melting. Broil carefully as cheese burns quickly. For leftovers, reheat in the oven at 350°F to restore crispiness.
- Prep Time: 10 minutes
- Cook Time: 15 minutes
- Category: Main Course
- Cuisine: Mexican
Nutrition
- Serving Size: 1 serving (approx. 1
- Calories: 450
- Sugar: 2
- Sodium: 680
- Fat: 24
- Saturated Fat: 10
- Carbohydrates: 38
- Fiber: 3
- Protein: 22
Keywords: loaded nachos, ground beef nachos, easy dinner, weeknight meals, mexican food, party food, quick recipes, comfort food


