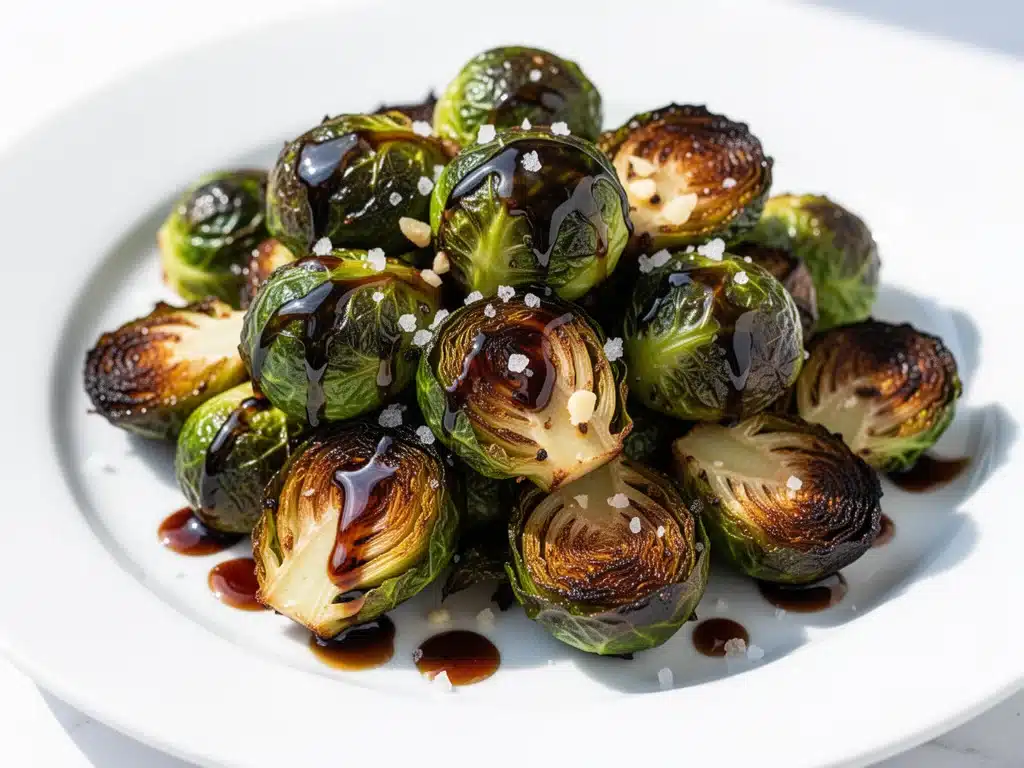
I have a confession to make. For about fifteen years, I actively avoided Brussels sprouts. Not just avoided them—I actively looked for ways to order around them at restaurants. If they were on the menu, I’d ask for a substitution. I thought they were bitter, mushy, and smelled like sulfur when boiled. I thought I hated them. I was wrong. I just hated bad Brussels sprouts.
The turning point happened on a rainy Tuesday last November. I was tired, my air fryer was sitting on my counter gathering dust, and I had a bag of those little green cabbages in my crisper drawer that I’d been meaning to cook for a week. I decided to stop overthinking it. I tossed them with oil, salted them heavily, and threw them in the air fryer at 400°F. Ten minutes later, I opened the basket and was hit with this incredible smell—nutty, caramelized, slightly sweet. They were crispy on the outside, tender on the inside, and completely devoid of that sulfurous smell I dreaded.
But here’s the secret sauce: the balsamic glaze. I drizzled it on right before serving, and suddenly, these humble vegetables felt like they belonged on a high-end appetizer menu at a trendy bistro. They were better than takeout. Actually, they were better than takeout, because I knew exactly what went into them, and they cost me less than $5 to make.
Since that Tuesday, these Air Fryer Brussels Sprouts with Balsamic Glaze have become my go-to side dish. I make them for weeknight dinners, for Sunday brunch with mimosas, and even for potlucks where I usually bring something safe like potato salad. Every single time, people ask for the recipe. “How do you make them so crispy?” they ask. “Are they bitter?” I tell them the same thing every time: it’s not magic, it’s just the right temperature and a good balsamic reduction.
If you’ve been on the fence about Brussels sprouts, or if you’ve tried making them in the oven and ended up with sad, steamed leaves, this method is going to change your life. It’s fast, it’s forgiving, and it turns one of the most divisive vegetables into the most requested dish at your table.
Why You’ll Love This Air Fryer Brussels Sprouts Recipe
There are a few reasons I keep coming back to this specific way of cooking Brussels sprouts, but let’s be real—it’s mostly because they taste incredible and require almost zero effort. Here’s why this recipe has earned a permanent spot in my weekly rotation:
- Actually Crispy — This is the big one. When you roast Brussels sprouts in a conventional oven, they often steam in their own moisture unless you overcrowd the pan. The air fryer circulates hot air rapidly, which crisps the edges without drying out the center. You get that bacon-like crunch without needing bacon.
- Lightning Fast — From start to finish, you’re looking at about 20 minutes. That includes chopping and making the glaze. If you’re hungry and tired, this is the side dish that doesn’t make you wait forever. It’s perfect for those nights when you’re staring at the clock wondering if dinner will be ready before the kids lose their minds.
- Better Than Takeout — I’ve ordered crispy Brussels sprouts at restaurants for $14. They were usually drenched in syrup and lacked texture. These are balanced, savory, and have that perfect bitter-sweet profile. Plus, you don’t have to wait for delivery or pay a tip.
- Pantry-Friendly Glaze — The balsamic glaze doesn’t require special ingredients. You just need balsamic vinegar, a little honey or maple syrup, and maybe a pinch of garlic powder if you’re feeling fancy. You probably have everything you need right now.
- Healthy (But Doesn’t Taste Like Diet Food) — Brussels sprouts are packed with vitamins K and C, fiber, and antioxidants. But because they’re roasted in oil and glazed with balsamic, they taste indulgent. It’s a great way to get your kids (or skeptical partners) to eat vegetables without them realizing it.
This recipe is my answer to “what’s for dinner” when I want something that feels special but doesn’t require a trip to the grocery store. It’s reliable, delicious, and surprisingly elegant.
Ingredients You’ll Need
Here’s the best part: you probably have most of this already. The beauty of this recipe is how few ingredients you need to get restaurant-quality results. I’m particular about a couple of things here, so pay attention to the details.
For the Sprouts
Brussels sprouts (1.5 pounds / 680g) — Look for firm, bright green sprouts. Avoid ones that are yellowing or have loose leaves. Size matters here; if they’re huge, you might want to quarter them instead of halving. I buy them in bags from the grocery store, but farmers market bundles work great too.
Extra virgin olive oil (3 tablespoons / 45ml) — You need enough oil to coat them well for crisping. Don’t skimp. I use a good quality olive oil because you can taste it in the finish. If you’re out, avocado oil works too, but olive oil adds a nice fruitiness.
Kosher salt (1.5 teaspoons) — I use kosher salt because it’s easier to control. Table salt is finer and can make things too salty quickly. If you only have table salt, use half the amount. Seasoning generously is key to balancing the natural bitterness.
Black pepper (½ teaspoon) — Freshly cracked is best. It adds a little heat that complements the sweet glaze.
For the Balsamic Glaze
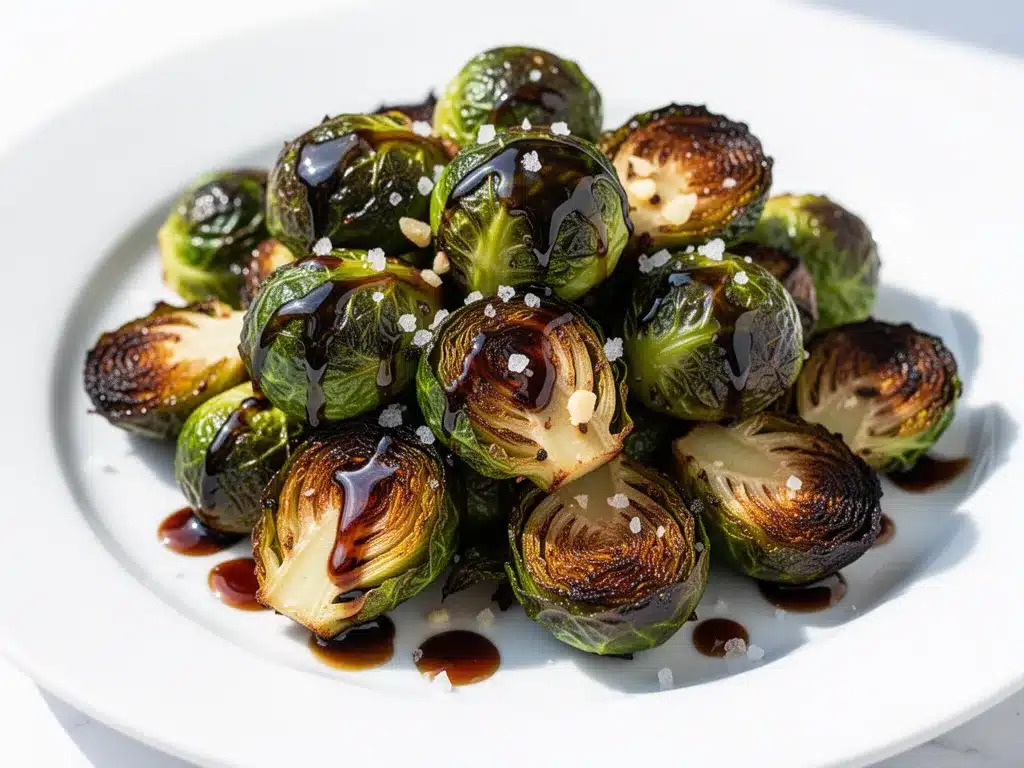
Balsamic vinegar (½ cup / 120ml) — This is the star. Don’t use the cheap, watery stuff from the salad dressing aisle. Look for a balsamic vinegar of Modena IGP. It’s thicker, sweeter, and has a complex flavor. If you can find an aged balsamic, even better, but standard Modena works perfectly.
Honey (2 tablespoons / 30ml) — Or maple syrup if you want to keep it vegan. Honey helps caramelize the glaze and balances the acidity of the vinegar. I prefer honey for its floral notes.
Garlic powder (½ teaspoon) — Optional, but I highly recommend it. It adds a savory depth that pairs perfectly with the balsamic. If you have fresh garlic, you can use 1 minced clove, but powder distributes more evenly in the glaze.
Butter (1 tablespoon) — This is my secret weapon. Adding a knob of cold butter at the end of reducing the glaze makes it glossy, rich, and restaurant-quality. It’s not traditional, but it’s a game-changer.
Red pepper flakes (¼ teaspoon) — Just a pinch. It adds a tiny kick that cuts through the sweetness. If you’re making this for kids, you can skip this.
Optional Add-ins
Bacon bits — Crispy crumbled bacon adds a smoky, salty crunch that is absolutely divine with the sweet glaze. I use this when I want to impress guests.
Parmesan cheese — Grated Parmesan sprinkled on top adds a salty, umami punch. It’s a bit unconventional but works surprisingly well.
Fresh thyme — A few leaves of fresh thyme added at the end adds an earthy, aromatic note. Great for fall dinners.
Equipment Needed
You don’t need fancy equipment for this. Here’s what I actually use, and what you can substitute.
Air Fryer — Obviously. I use a 5.8-quart basket style air fryer. It fits 1.5 pounds of sprouts in a single layer, which is crucial for crisping. If you have a smaller air fryer, you might need to cook in two batches. Don’t overcrowd the basket, or they’ll steam instead of crisp.
Sharp Chef’s Knife — For trimming and halving the sprouts. A dull knife will make this task miserable. I use my Wüsthof, but any sharp knife works.
Cutting Board — Any size. I use a plastic one for easier cleanup.
Small Saucepan — For reducing the balsamic glaze. A non-stick 8-inch skillet works well, too. I use a saucepan because it concentrates the heat and reduces faster.
Spatula — Silicone is best for stirring the glaze so it doesn’t scratch the pan.
Measuring Cups and Spoons — For the glaze. Precision matters here for the sweet-to-sour balance.
Tongs — For tossing the sprouts in oil and for flipping them in the air fryer. Tongs are much easier than a spoon.
Whisk — Optional, but helpful for emulsifying the glaze with the butter at the end.
How to Make It: Step-by-Step
Alright, let’s make this! I’m walking you through exactly how I do it, including the little tricks I’ve picked up over dozens of batches.
Step 1: Prep the Brussels Sprouts (10 minutes)
First, rinse the Brussels sprouts under cold water and pat them completely dry. Moisture is the enemy of crispiness. Trim off the woody stem at the bottom. If the sprouts are small (about the size of a walnut), you can leave them whole. If they’re medium to large, cut them in half from top to bottom. If they’re huge, quarter them. Uniform size ensures even cooking.
Transfer the sprouts to a large bowl. Drizzle with olive oil and sprinkle with kosher salt and black pepper. Toss thoroughly with your hands or tongs until every single piece is coated. I know it looks like a lot of oil, but trust me—it’s what creates that crispy exterior. Don’t be shy with the seasoning.
Step 2: Air Fry (12-15 minutes)
Preheat your air fryer to 400°F (200°C) for 3 minutes. This step is optional but helps get the cooking started immediately. Once preheated, add the sprouts to the basket in a single layer. Do not overcrowd. If your basket is small, cook in two batches. Overcrowding leads to steaming, and we want crisping.
Cook for 12-15 minutes, shaking the basket or tossing the sprouts with tongs halfway through. You’re looking for tender interiors and deeply browned, crispy edges. Some leaves will curl up and turn into little crispy chips—that’s the best part. Remove them from the air fryer and set aside on a plate. They’ll continue to crisp slightly as they cool.
Step 3: Make the Balsamic Glaze (5-7 minutes)
While the sprouts are cooking, make the glaze. Pour the balsamic vinegar into a small saucepan over medium-high heat. Bring it to a simmer. Once simmering, reduce the heat to medium-low and let it bubble gently. This is where patience pays off.
Let the vinegar reduce for about 5-7 minutes. You’re looking for it to reduce by half. It should coat the back of a spoon and be syrupy, not watery. It will continue to thicken as it cools, so don’t reduce it too much or it’ll become a hard candy. Stir occasionally to prevent burning.
Once reduced, remove from heat. Whisk in the honey (or maple syrup), garlic powder, and red pepper flakes. Finally, whisk in the cold butter, a tablespoon at a time, until the glaze is glossy and smooth. Taste it. It should be a perfect balance of sweet and tart. If it’s too sour, add a little more honey. If it’s too sweet, add a splash more vinegar.
Step 4: Combine and Serve (2 minutes)
Transfer the hot Brussels sprouts to a serving bowl. Drizzle the warm balsamic glaze over them. Toss gently to coat. Serve immediately while they’re still hot and crispy. The glaze will cling to the crispy edges and create little pools of sweetness on the plate.
Top with optional bacon bits, Parmesan, or fresh thyme if you’re feeling fancy. Dig in!
Expert Tips & Tricks
Here’s everything I’ve learned from making this dozens of times. These tips will save you from my mistakes.
Don’t Skip the Dry Step
I can’t stress this enough: pat the sprouts dry. If they’re wet, they’ll steam. Wet sprouts = sad sprouts. I usually dry them with paper towels, and it makes a huge difference.
Uniform Cuts Are Key
If you cut some sprouts in half and leave others whole, the halves will cook faster and burn before the whole ones are tender. Try to keep them all the same size. If you’re in a hurry, just halve everything, even the small ones.
Shake the Basket
Halfway through cooking, give the basket a good shake or toss the sprouts with tongs. This ensures all sides get exposed to the hot air. Uneven shaking leads to uneven browning.
Reduce the Glaze Properly
Don’t rush the glaze. If you pull it off too early, it’ll be thin and runny. It needs to reduce enough to coat the spoon. Remember, it thickens as it cools, so stop when it’s slightly thinner than you want the final consistency to be.
Add Butter at the End
This is the restaurant secret. Adding cold butter off the heat creates an emulsion that makes the glaze shiny and rich. It’s not just for flavor; it’s for texture.
Common Mistakes
- Mistake: Sprouts are soggy. Fix: You overcrowded the basket or didn’t dry them enough. Cook in batches and pat dry.
- Mistake: Glaze is too thin. Fix: Simmer longer. It should reduce by half.
- Mistake: Glaze is burnt. Fix: Heat was too high. Keep it at a gentle simmer and stir often.
- Mistake: Sprouts are burnt. Fix: Air fryer runs hot. Check at 10 minutes. Some air fryers vary.
Variations & Substitutions
Once you’ve nailed the basic version, here’s how you can mix it up. I’ve tried all of these.
Bacon Lover’s Version
Add 4 slices of crispy crumbled bacon to the sprouts before serving. The saltiness of the bacon pairs perfectly with the sweet balsamic. This is my husband’s favorite version.
Parmesan Crunch
Sprinkle ½ cup of grated Parmesan cheese over the sprouts in the last 2 minutes of air frying. It gets crispy and salty. Great for a more Italian profile.
Maple Tahini Drizzle
Skip the balsamic glaze and drizzle with a mixture of tahini, maple syrup, and lemon juice. It’s nutty, creamy, and totally different. Great for a Middle Eastern twist.
Spicy Sriracha Glaze
Replace the balsamic vinegar with soy sauce and mix in sriracha and honey. It’s sweet, salty, and spicy. Good with fried rice.
Dietary Modifications
- Vegan: Use maple syrup instead of honey and skip the butter in the glaze (or use vegan butter). The rest is naturally vegan.
- Gluten-Free: This recipe is naturally gluten-free. Just ensure your balsamic vinegar is certified GF (most are, but check labels).
- Keto/Low-Carb: Skip the honey in the glaze or use a keto-friendly sweetener like erythritol. The sprouts themselves are low-carb.
Serving & Storage
How to Serve:
I usually serve these straight from the air fryer basket or a large serving bowl. They look rustic and stay warm. Great sides include roasted chicken, grilled steak, or fish. They’re also fantastic as an appetizer with a dipping sauce.
Leftovers:
Store leftovers in an airtight container in the fridge for up to 3 days. The sprouts will lose some crispiness, but they’re still good.
Reheating:
Don’t microwave them. They’ll get soggy. Reheat in the air fryer at 375°F for 3-4 minutes to restore crispiness. Or reheat in a skillet over medium heat with a little oil.
Freezing:
I don’t recommend freezing these. The texture changes too much. The sprouts become mushy, and the glaze separates. Make them fresh whenever you can.
Nutrition Information
I’m not a nutritionist, but here’s the breakdown if you’re tracking. This is per serving (based on 4 servings).
| Nutrient | Amount |
|---|---|
| Calories | 180 |
| Protein | 6g |
| Carbs | 22g |
| Fiber | 5g |
| Sugar | 14g |
| Fat | 9g |
| Saturated Fat | 2g |
| Sodium | 320mg |
What’s Good: High in fiber and vitamins. Brussels sprouts are a nutrient powerhouse.
What to Know: The sugar content comes from the balsamic glaze and honey. If you’re watching sugar, reduce the honey or skip it. The fat comes from olive oil and butter, which are healthy fats in moderation.
Final Thoughts
So that’s my go-to Air Fryer Brussels Sprouts with Balsamic Glaze! I’ve probably talked your ear off at this point, but when you make a recipe this often, you have a lot to say about it.
This has saved weeknight dinners more times than I can count. It’s my answer to “what’s for dinner” when I’m tired, don’t want takeout, and still want something that tastes really good. My kids are happy, my husband’s happy, and I’m happy because I’m not stressed about cooking.
Make it yours! Try different add-ins, swap in your favorite vegetables, adjust the glaze sweetness. The best recipes are the ones you adapt to your family’s tastes.
If you make this, drop a comment and let me know what you think! I love hearing how recipes turn out in your kitchen. And if something doesn’t work, tell me that too—I’m here to help troubleshoot.
Happy cooking! And I hope your kitchen smells half as good as mine does right now.
Frequently Asked Questions
Can I cook these in the oven instead?
Yes, but the texture will be different. Roast at 425°F on a baking sheet for 20-25 minutes, flipping halfway. They won’t get as crispy as air frying, but they’ll still be delicious. Just watch them closely so they don’t burn.
Why are my Brussels sprouts bitter?
All Brussels sprouts have some natural bitterness. The balsamic glaze and honey help balance it. If they’re very bitter, make sure you’re salting them well before cooking. Salt helps draw out bitterness. Also, don’t overcook them—they should be tender-crisp, not mushy.
Can I make the glaze ahead of time?
Absolutely. Make the glaze up to 3 days ahead and store in the fridge. Reheat gently in a saucepan or microwave before drizzling. It might thicken in the fridge, so add a splash of water to loosen it up.
Why did my glaze turn into hard candy?
You reduced it too much. Balsamic vinegar reduces quickly. Remember, it continues to thicken as it cools. Pull it off the heat when it’s still slightly runny. It will thicken to the perfect consistency in about 2 minutes.
Can I use pre-cut Brussels sprouts?
Yes, but they tend to cook faster and can burn easily. Reduce the air fry time by 2-3 minutes and check them early. Fresh sprouts give you better control over the texture.
Is balsamic glaze the same as balsamic vinegar?
No. Balsamic vinegar is thin and acidic. Balsamic glaze (or reduction) is thickened and sweeter. You can make glaze at home by reducing vinegar with honey, which is what this recipe does. Store-bought glaze works too, but it’s often full of thickeners and sugar.
How do I know when the sprouts are done?
Pierce one with a fork. It should go in easily but meet a little resistance. The edges should be browned and crispy. If they’re still hard, cook for 2 more minutes.
Pin This Recipe!
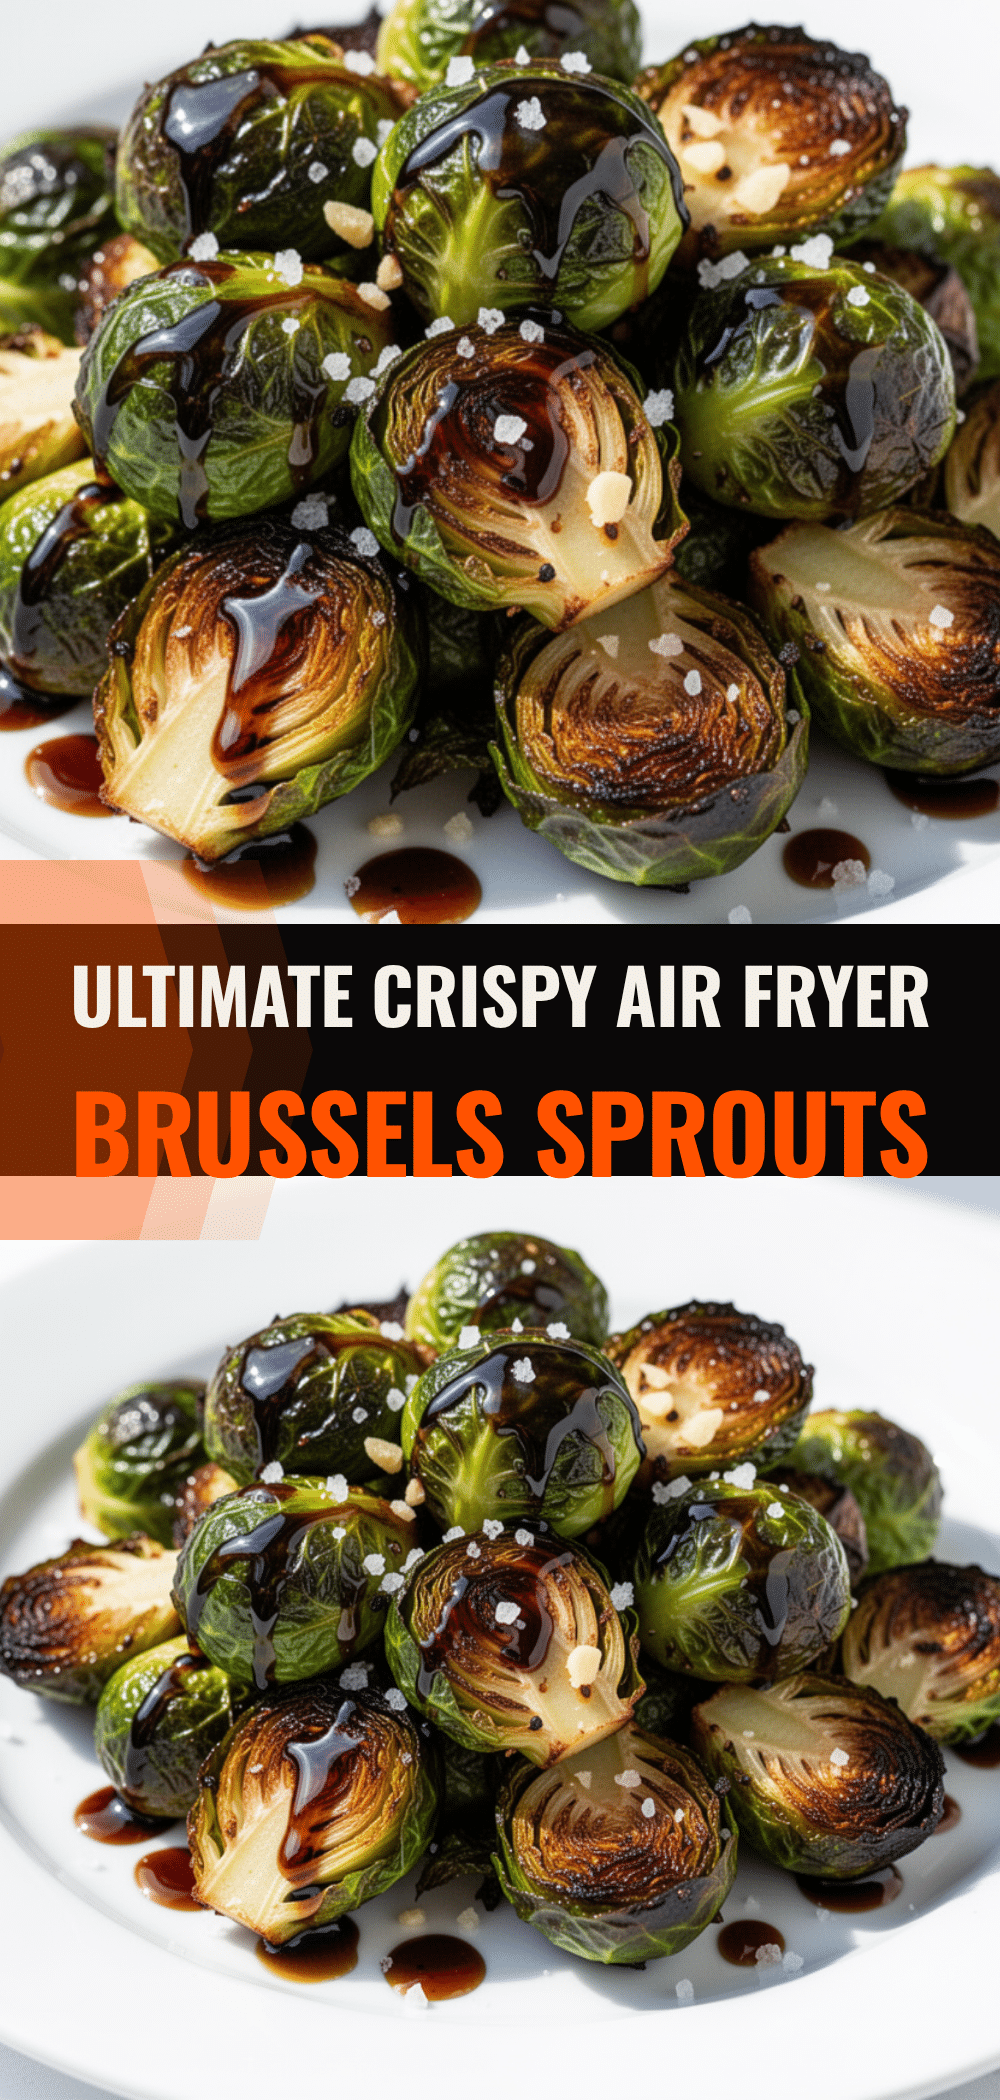
Air Fryer Brussels Sprouts: Best Balsamic Recipe
- Total Time: 20 minutes
- Yield: 4 servings 1x
Description
Crispy, tender Brussels sprouts cooked in an air fryer and finished with a rich, sweet-and-tart balsamic glaze. This quick side dish is better than takeout and ready in about 20 minutes.
Ingredients
- 1.5 pounds Brussels sprouts, trimmed and halved or quartered
- 3 tablespoons extra virgin olive oil
- 1.5 teaspoons kosher salt
- 0.5 teaspoon black pepper
- 0.5 cup balsamic vinegar
- 2 tablespoons honey
- 0.5 teaspoon garlic powder
- 1 tablespoon cold butter
- 0.25 teaspoon red pepper flakes
Instructions
- Rinse Brussels sprouts and pat them completely dry with paper towels. Trim woody stems and cut sprouts in half or quarters for uniform size.
- Place sprouts in a large bowl, drizzle with olive oil, and sprinkle with kosher salt and black pepper. Toss thoroughly to coat evenly.
- Preheat air fryer to 400°F (200°C) for 3 minutes.
- Arrange sprouts in the air fryer basket in a single layer, ensuring not to overcrowd. Cook for 12-15 minutes, shaking the basket or tossing with tongs halfway through, until tender and crispy.
- While sprouts cook, pour balsamic vinegar into a small saucepan over medium-high heat. Bring to a simmer, then reduce heat to medium-low.
- Simmer vinegar for 5-7 minutes until reduced by half and syrupy enough to coat the back of a spoon.
- Remove saucepan from heat. Whisk in honey, garlic powder, and red pepper flakes.
- Whisk in cold butter, one tablespoon at a time, until the glaze is glossy and smooth.
- Transfer hot sprouts to a serving bowl and drizzle with warm balsamic glaze. Toss gently to coat.
- Serve immediately, optionally topped with bacon bits, Parmesan cheese, or fresh thyme.
Notes
Patting sprouts dry is crucial for crispiness. Do not overcrowd the air fryer basket; cook in batches if necessary. The glaze will thicken as it cools, so stop reducing when it is slightly thinner than desired. For a vegan version, substitute honey with maple syrup and use vegan butter or omit the butter.
- Prep Time: 10 minutes
- Cook Time: 12-15 minutes
- Category: Side Dish
- Cuisine: American
Nutrition
- Serving Size: Approximately 1/4 of
- Calories: 180
- Sugar: 14
- Sodium: 320
- Fat: 9
- Saturated Fat: 2
- Carbohydrates: 22
- Fiber: 5
- Protein: 6
Keywords: air fryer brussels sprouts, balsamic glaze, crispy vegetables, healthy side dish, quick dinner, vegetarian recipe


