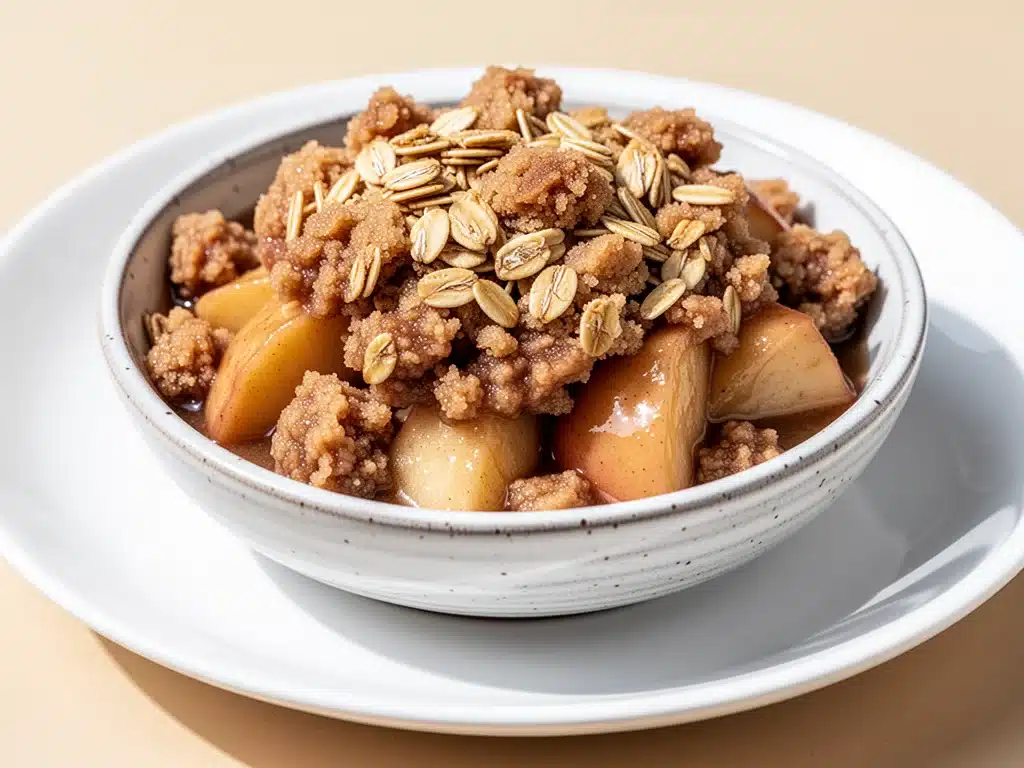
I still remember the smell of my kitchen on that crisp October afternoon. It wasn’t just the rain hitting the windowpanes or the way the light was fading early; it was the scent of caramelizing apples and toasted oats drifting through the hallway. I had just moved into my first apartment—a tiny, drafty studio with a stove that didn’t work half the time—and I was terrified. My then-boyfriend (now husband) was coming over for dinner, and I wanted to impress him. Not with fancy techniques or expensive ingredients, but with something that felt like home.
I had never made an apple crisp before. I’d seen the ones in grocery store freezers, those sad, soggy rectangles that tasted more like syrup than fruit. I didn’t want that. I wanted something with crunch. Something with soul. So I raided the pantry, grabbed the bruised apples from the bottom of the fridge, and threw together what I thought would be a disaster. I used way too much cinnamon. I dumped in the whole stick of butter. I sprinkled brown sugar like it was going out of style.
When he walked in, he didn’t even look at me. He walked straight to the oven, opened the door, and inhaled. “What is that?” he asked. “It smells like autumn,” I said, feeling ridiculous. He took one bite—still warm, still bubbling—and his eyes closed. “This is the best thing I’ve ever eaten,” he said. And it was. It was messy, it was sweet, and it was perfect. That was ten years ago. Since then, I’ve made this brown sugar cinnamon apple crisp at least once a month. It’s become our tradition. It’s the dessert I make when I need comfort, when I’m hosting friends, or when I just need to fill my house with that smell that says, “You’re safe here.”
This isn’t just a recipe. It’s a hug in a bowl. And I’m going to show you exactly how to make it so it works every single time, no matter what apples you have or what kind of day you’ve had.
Why You’ll Love This Brown Sugar Cinnamon Apple Crisp
There are a lot of apple desserts out there. You’ve got pies with their tricky crusts, cobblers that can turn out doughy if you’re not careful, and tarts that demand perfection. But this brown sugar cinnamon apple crisp? It’s the dessert that just works. It’s forgiving. It’s flavorful. And it’s incredibly easy to make. Here’s why it’s become my go-to:
Zero Fuss, Maximum Flavor
Let’s be real: making a pie crust is a lot of work. You have to keep the butter cold, measure everything precisely, and hope it doesn’t crack. With this crisp, you just chop apples, toss them with spices, and dump a crumbly topping on top. That’s it. If you can chop an apple and mix flour with butter, you can make this. I’ve made it while holding a baby. I’ve made it while on a phone call. It’s that simple.
It Uses What You Have
You probably already have most of the ingredients in your pantry. Flour, sugar, butter, cinnamon, oats. The only thing you need to buy is apples. And honestly, any apple will do. You don’t need perfect Gala or Honeycrisp from the fancy organic store. The bruised ones? The ones that are a little soft? They’re actually perfect for baking because they break down into that delicious, jammy texture. This recipe is pantry-friendly and budget-smart.
Perfect for Any Season
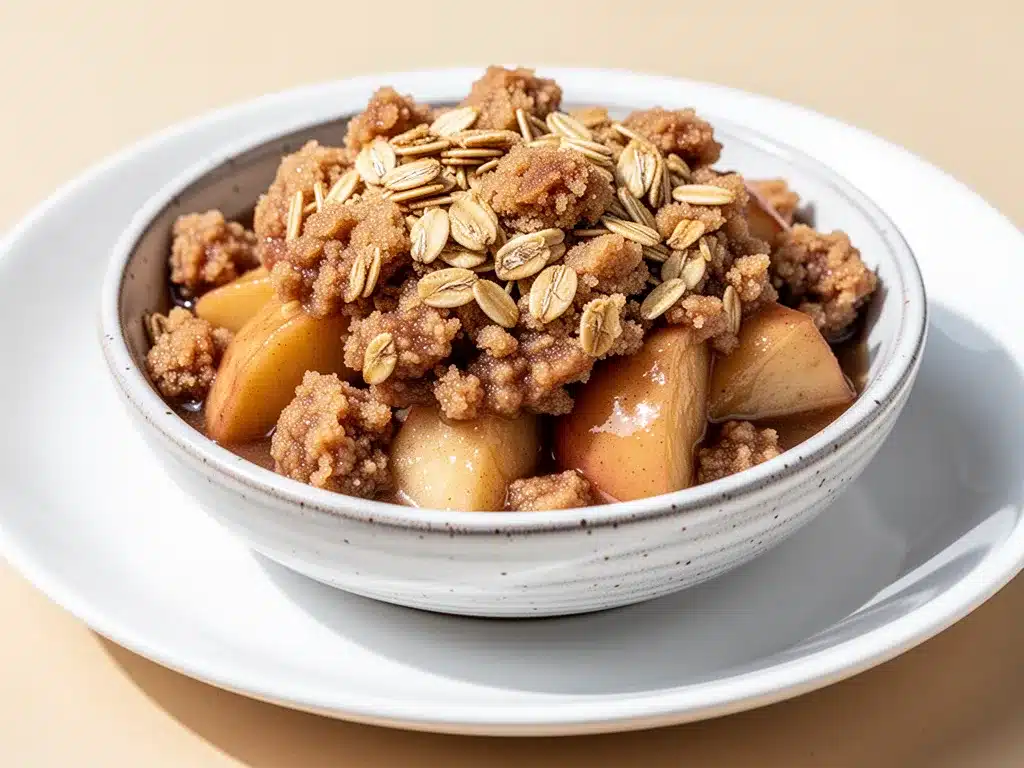
Some people think apple crisp is just a fall thing. I disagree. I make this in January when the snow is piled high and I need something warm. I make it in July when the farmers’ market is overflowing with late-season apples. It’s versatile. It’s comforting. It tastes like home, no matter what’s happening outside.
Makes Amazing Leftovers
Here’s the truth: apple crisp actually tastes better the next day. The flavors meld together, the topping gets even crunchier (if you store it right), and the apples soften into something close to compote. I deliberately make extra so I can have it for breakfast with a dollop of Greek yogurt. Or for lunch. Or for a midnight snack. It’s that good.
This is my answer to “what’s for dessert?” when I don’t have energy but still want something that feels special. It’s reliable. It’s delicious. And it always brings people together.
Ingredients You’ll Need for the Best Apple Crisp
Before we get to the mixing, let’s talk about what goes into this. I’m particular about three things here: the apples, the butter, and the cinnamon. Get these right, and you’ll have a crisp that rivals any bakery version. Here’s what you need:
For the Filling:
Apples (6-7 medium, about 3 lbs / 1.4 kg) — This is the star. I recommend a mix of tart and sweet. Granny Smiths hold their shape and add acidity. Honeycrisps or Fuji add sweetness and softness. Don’t peel them! The skins add texture and nutrients. Just wash them well and core them. If you use all Granny Smiths, it’ll be tangier. All Honeycrisps, sweeter. A mix is best.
Granulated Sugar (½ cup / 100g) — This helps draw out the juices from the apples and balances the tartness. Don’t skip it, even if you’re watching sugar. You can reduce it slightly, but the apples need it to caramelize.
Lemon Juice (1 tablespoon / 15ml) — This keeps the apples from browning and adds a bright note that cuts through the sweetness. Fresh is best. Bottled works in a pinch.
Cinnamon (1 teaspoon / 2g) — Ground cinnamon. Not cinnamon sticks. You want that warm, spicy flavor distributed evenly. I use Ceylon cinnamon if I can find it—it’s milder and more complex. But regular cassia works fine too.
Vanilla Extract (1 teaspoon / 5ml) — Pure vanilla, not imitation. It adds depth that cinnamon alone can’t provide. This is one place where I won’t compromise.
Flour (2 tablespoons / 16g) — Just a little flour helps thicken the juices so you don’t end up with a soupy bottom. Cornstarch works too, but flour adds a nice texture.
For the Topping:
Old-Fashioned Rolled Oats (1 cup / 90g) — These give the crisp its signature chew and crunch. Quick oats will make it mushy. Steel-cut oats are too hard. Stick with rolled oats. I buy the big canister because I always have them.
All-Purpose Flour (1 cup / 125g) — The base of the crumble. It binds everything together. Don’t use whole wheat unless you want a nuttier, denser topping. All-purpose gives that classic texture.
Brown Sugar (1 cup / 200g, packed) — This is the “brown sugar” part of the title. It adds molasses flavor and moisture. Light or dark brown sugar both work. Dark has more molasses, so it’s richer. I usually use dark for that deeper caramel note.
Cinnamon (1 teaspoon / 2g) — Yes, more cinnamon. The topping needs its own spice punch. Don’t be shy.
Nutmeg (¼ teaspoon / 0.5g) — Just a pinch. It adds warmth and complexity. Too much will overpower the cinnamon. A little goes a long way.
Butter (½ cup / 113g, cold and cubed) — This is crucial. Cold butter, cut into small cubes. When it hits the hot oven, the cold bits melt slowly, creating pockets of flakiness and crunch. If you use melted butter, it’ll be more like a cake. If you use room temp, it’ll be greasy. Cold is key. I cut it straight from the fridge.
Salt (¼ teaspoon / 1.5g) — A pinch of salt balances the sweetness. It’s not optional. Trust me.
Optional Add-ins:
Chopped Walnuts or Pecans (½ cup / 60g) — For extra crunch and nuttiness. I love pecans in this. They pair beautifully with the cinnamon. If you have tree nuts allergies, skip this or use sunflower seeds.
Chopped Dark Chocolate (½ cup / 85g) — Stir this into the topping before baking. It melts into pockets of chocolatey goodness. My kids go crazy for this version.
Equipment Needed
You don’t need fancy gadgets for this. Here’s what I actually use:
9×13 Inch Baking Dish — Glass or ceramic works best because it heats evenly. Metal can get hot spots. I use a Pyrex dish because I can see the bubbling edges. A deep dish is better than a shallow one because the apples release juice.
Mixing Bowls — Two medium bowls. One for the apples, one for the topping. I use glass bowls because they’re easy to clean.
Peeler and Corer — I use a Y-peeler because it’s faster. For coring, I use an apple corer if I have it, but a knife works fine. Just cut around the core.
Chef’s Knife — Sharp knife for slicing apples into even pieces. Uniform slices cook evenly.
Fork or Pastry Cutter — To cut the butter into the flour/oat mixture. A fork works, but a pastry cutter is easier. Or just use your fingers if you don’t mind getting messy.
Measuring Cups and Spoons — Standard stuff. Dollar store versions work fine.
How to Make It: Step-by-Step
Alright, let’s make this! I’m walking you through exactly how I do it, including the little tricks I’ve picked up over the years.
Step 1: Prep Your Oven and Dish (5 minutes)
Preheat your oven to 350°F (175°C). This is important. If the oven isn’t hot enough, the topping won’t crisp up. Grease your 9×13 baking dish with a little butter or non-stick spray. I use butter because it adds flavor. Set it aside.
Step 2: Prep the Apples (10 minutes)
Wash the apples. Peel them if you prefer a smoother texture, but I leave the skins on for color and texture. Core them and slice them into ¼-inch thick wedges. Uniformity matters here. If some slices are thick and some are thin, the thin ones will turn to mush before the thick ones are tender. Toss the sliced apples in a large bowl with the granulated sugar, lemon juice, cinnamon, vanilla, and flour. Mix well until every slice is coated. Let them sit for 10 minutes while you make the topping. This draws out the juices.
Step 3: Make the Topping (5 minutes)
In a separate bowl, combine the rolled oats, all-purpose flour, brown sugar, cinnamon, nutmeg, and salt. If you’re adding nuts or chocolate, stir them in now. Take your cold, cubed butter and add it to the dry ingredients. Use a fork, a pastry cutter, or your fingers to work the butter into the mixture. You’re looking for coarse crumbs with some pea-sized chunks. Don’t overmix it. You want texture, not a paste. If it looks too dry, add a tablespoon of cold water. If it’s too wet, add a bit more flour.
Step 4: Assemble (2 minutes)
Transfer the apple mixture to the prepared baking dish. Spread it out evenly. Pour the topping over the apples. Don’t press it down. Let it sit loosely on top. This allows the heat to circulate and crisp up the oats. If you have extra nuts or chocolate, sprinkle them on top now.
Step 5: Bake (45-55 minutes)
Place the dish in the preheated oven. Bake for 45-55 minutes. You’ll know it’s done when the topping is golden brown and the juices are bubbling up around the edges. If the topping starts browning too quickly, loosely tent it with aluminum foil after 30 minutes. I usually check at 45 minutes. If the apples are tender (test with a knife) and the topping is crisp, it’s done. If not, give it another 5-10 minutes.
Step 6: Cool and Serve (15 minutes)
Remove from the oven and let it cool for at least 15 minutes. This is hard because it smells amazing, but cooling allows the juices to thicken slightly. If you cut into it immediately, it’ll be runny. Serve warm with vanilla ice cream, whipped cream, or a slice of sharp cheddar cheese (yes, really. It’s a classic pairing).
Total Time: About 1 hour (15 minutes active, 45 minutes baking)
Expert Tips & Tricks
Here’s everything I’ve learned from making this dozens of times. These tips will save you from my mistakes.
Use Cold Butter
I can’t stress this enough. Cold butter creates steam pockets as it melts, which makes the topping light and crunchy. If you use melted butter, you get a dense, cake-like crust. If you use room temp butter, you get a greasy, soggy topping. Cut the butter straight from the fridge and work quickly.
Don’t Skip the Rest Time
Letting the apples sit with the sugar and lemon juice for 10 minutes before baking is crucial. It draws out the juices, which means less water in the final dish. If you skip this, you’ll have a watery bottom. Patience pays off.
Test for Doneness
The visual cues are important, but the knife test is better. Stick a knife into the center of the apples. If it slides in easily, they’re done. If it’s resistant, keep baking. The topping should be deep golden brown, not pale. Pale topping means it needs more time.
Storage Matters
If you’re not serving it immediately, let it cool completely before covering. Covering it while warm creates steam, which makes the topping soggy. Store at room temperature for up to 2 days, or in the fridge for up to 5 days. Reheat in the oven at 350°F for 10-15 minutes to restore the crunch. Microwave heating works but makes the topping soft.
Common Mistakes (and how to avoid them)
Mistake: Soggy topping
Fix: Your oven wasn’t hot enough, or you covered it too soon. Make sure the oven is fully preheated. Don’t cover until completely cool.
Mistake: Runny filling
Fix: You didn’t use enough thickener, or you didn’t let the apples rest. Add an extra tablespoon of flour or cornstarch. Always let the apples sit with the sugar.
Mistake: Burnt topping
Fix: Your oven runs hot, or you baked it too long. Tent with foil if it’s browning too fast. Check at 45 minutes.
Variations & Substitutions
Once you’ve nailed the basic version, here’s how you can mix it up. I’ve tried all of these.
Pear Crisp
Swap apples for pears. Pears are softer, so reduce the baking time by 5-10 minutes. Add a teaspoon of cardamom for a lovely twist.
Berry Crisp
Use mixed berries (blueberries, raspberries, blackberries) instead of apples. You’ll need less sugar because berries are sweeter. Add a tablespoon of cornstarch to thicken the juices. Bake for 35-40 minutes.
Gluten-Free
Use gluten-free oats and gluten-free all-purpose flour blend. Make sure your oats are certified gluten-free. Everything else is naturally gluten-free.
Dairy-Free
Replace butter with cold coconut oil or dairy-free butter sticks. Coconut oil works well but adds a slight coconut flavor. Vegan butter sticks work just like dairy butter.
Lower Sugar
Reduce the brown sugar to ¾ cup and the granulated sugar to ¼ cup. Use stevia or monk fruit if you prefer. The apples will still be sweet enough, but the topping will be less sweet.
Spiced Variations
Add a pinch of ginger, allspice, or cloves to the topping. Cardamom pairs beautifully with apples. Try ½ teaspoon of cardamom for a Scandinavian twist.
Serving & Storage
How to Serve
I usually serve this straight from the baking dish at the dinner table—it looks rustic and stays warm. But here are other ways I’ve enjoyed it:
Classic: A scoop of vanilla bean ice cream. The hot crisp and cold ice cream is a textural dream.
Light: A dollop of Greek yogurt with a drizzle of honey. Adds protein and tang.
Decadent: Whipped cream and a drizzle of caramel sauce. For special occasions.
Savory: A slice of sharp cheddar cheese. This is a traditional pairing in the UK and Midwest. The saltiness cuts the sweetness perfectly.
Storage Instructions
Refrigerator: Store in an airtight container or cover tightly with plastic wrap for up to 5 days. The topping will soften in the fridge, which is normal.
Reheating: Best method: Oven or toaster oven at 350°F for 10-15 minutes. This restores the crunch. Microwave method: Heat in 30-second intervals, but expect a softer topping. Add a splash of water if it’s dry.
Freezing: This doesn’t freeze well because the apples release water when thawed, making the texture mushy. I recommend freezing the topping separately and baking it fresh with new apples.
Meal Prep: Make the topping ahead and store in the fridge. Slice the apples and store in a bowl of lemon water. Assemble and bake when ready. Saves time during busy weeks.
Nutrition Information
I’m not a nutritionist, but here’s the breakdown if you’re tracking. Per serving (based on 8 servings):
| Nutrient | Amount |
|---|---|
| Calories | 320 |
| Protein | 3g |
| Carbs | 52g |
| Fiber | 4g |
| Sugar | 32g |
| Fat | 12g |
| Saturated Fat | 7g |
| Cholesterol | 30mg |
| Sodium | 120mg |
What’s Good: High in fiber from the oats and apples. Contains antioxidants from the cinnamon and apples. A reasonable dessert portion.
What to Know: Higher in sugar due to the brown sugar and fruit. Contains gluten and dairy. Moderate calories.
My Take: Look, this is a dessert. It’s sweet and comforting. It’s not a health food. But it’s made with real ingredients, and a small portion goes a long way. When I want to make it lighter, I use less sugar and add more nuts for healthy fats. But usually? I just enjoy a small bowl and savor it.
Final Thoughts
So that’s my brown sugar cinnamon apple crisp! I’ve probably talked your ear off at this point, but when you make a recipe this often, you have a lot to say about it. This has saved weeknight desserts more times than I can count. It’s my answer to “what’s for dessert?” when I’m tired, don’t want to bake a cake, and still want something that tastes really good. My kids are happy, my husband’s happy, and I’m happy because I’m not stressed about cooking.
Make it yours! Try different apples, swap in your favorite nuts, adjust the spices. The best recipes are the ones you adapt to your family’s tastes. If you make this, drop a comment and let me know what you think! I love hearing how recipes turn out in your kitchen. And if something doesn’t work, tell me that too—I’m here to help troubleshoot.
Happy baking! And I hope your kitchen smells half as good as mine does right now.
Frequently Asked Questions
Can I use apple pie filling instead of fresh apples?
You can, but it’s not recommended. Canned apple pie filling is already cooked and sweetened, so it will be mushy and overly sweet. Plus, it lacks the fresh apple flavor. If you’re short on time, you can use pre-sliced apples from the store, but avoid the pre-peeled ones if possible—they’re often treated with preservatives that affect taste. Fresh is always best.
Why did my topping turn out soggy?
This usually happens for two reasons: either the butter wasn’t cold enough, or you covered the crisp while it was still warm. Cold butter creates steam pockets that make the topping crunchy. If you use melted or room temp butter, it soaks into the flour and oats, making it dense. Also, never cover a hot crisp. The steam gets trapped and softens the topping. Let it cool completely before covering.
Can I make this ahead of time?
Yes! You can assemble the crisp up to 24 hours ahead. Store it in the fridge, covered. When you’re ready to bake, take it out and let it sit at room temperature for 30 minutes while you preheat the oven. You may need to add 5-10 minutes to the baking time since the apples start cold. This is great for dinner parties.
What’s the best apple for apple crisp?
I recommend a mix of Granny Smith and Honeycrisp. Granny Smiths provide structure and tartness, while Honeycrisps add sweetness and softness. Other good options include Jonagold, Braeburn, or Pink Lady. Avoid Red Delicious—they turn mealy and don’t hold up well to baking.
Can I freeze leftover apple crisp?
It’s not ideal. The apples release water when frozen and thawed, making the texture mushy. If you must freeze it, wrap it tightly in plastic and foil, and freeze for up to 1 month. Thaw in the fridge and reheat in the oven to try to restore some texture. But honestly, it’s best enjoyed fresh or stored in the fridge for a few days.
Can I use gluten-free flour?
Yes! Use a 1-to-1 gluten-free all-purpose flour blend. Make sure your oats are certified gluten-free. The texture might be slightly different, but it will still be delicious. I’ve used Bob’s Red Mill 1-to-1 blend with great results.
Why did my apples turn out watery?
This usually means you didn’t use enough thickener or you didn’t let the apples rest with the sugar before baking. The resting time draws out juices, which then evaporate during baking. If you skip this step, the juices stay in the dish. Next time, let the apples sit for 10-15 minutes before adding the topping. You can also add an extra tablespoon of flour or cornstarch.
Pin This Recipe!
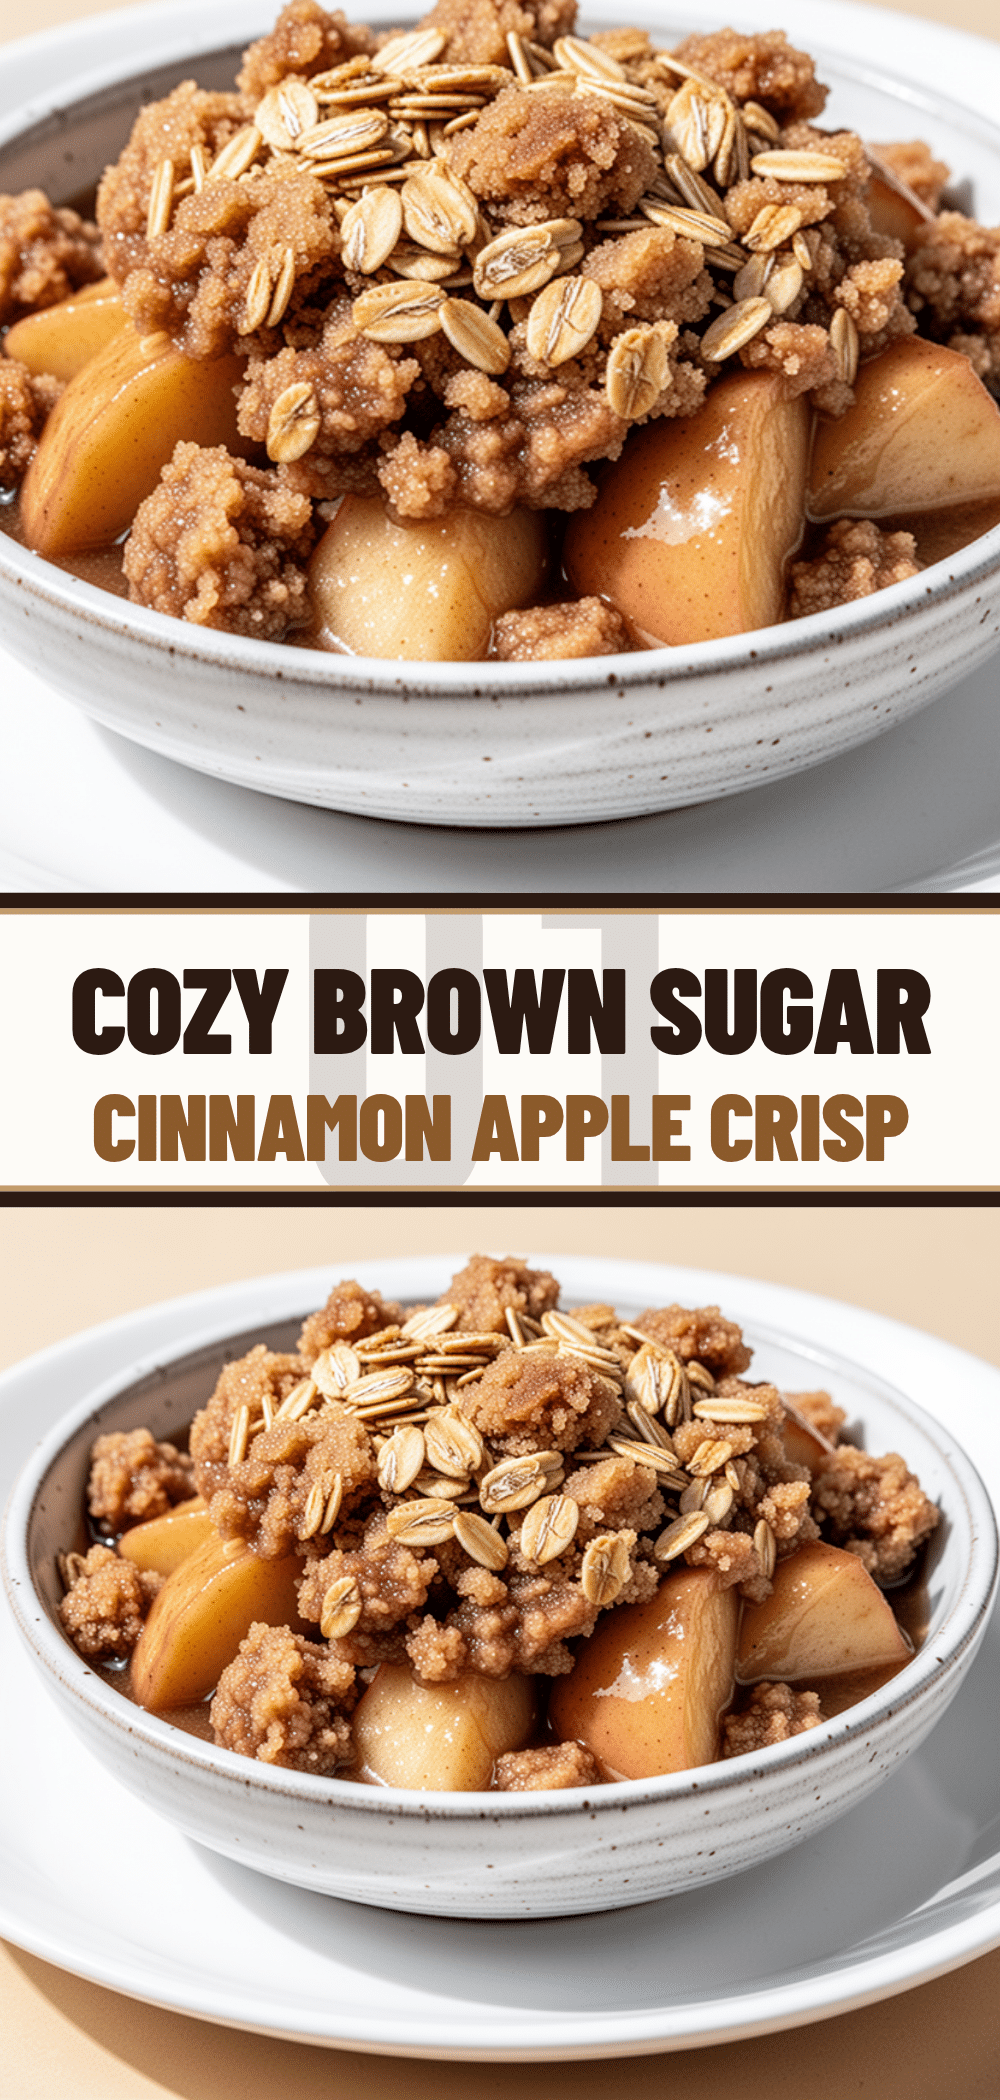

Brown Sugar Cinnamon Apple Crisp: Best Easy Dessert
- Total Time: 1 hour
- Yield: 8 servings 1x
Description
A forgiving, flavorful, and incredibly easy apple crisp that uses pantry staples. This recipe features a mix of tart and sweet apples topped with a crunchy, buttery oat and brown sugar crumble.
Ingredients
- 6–7 medium apples (about 3 lbs / 1.4 kg), mixed tart and sweet (e.g., Granny Smith and Honeycrisp), cored and sliced into ¼-inch wedges
- ½ cup granulated sugar (100g)
- 1 tablespoon lemon juice (15ml)
- 1 teaspoon ground cinnamon (2g)
- 1 teaspoon vanilla extract (5ml)
- 2 tablespoons all-purpose flour (16g)
- 1 cup old-fashioned rolled oats (90g)
- 1 cup all-purpose flour (125g)
- 1 cup packed brown sugar (200g)
- 1 teaspoon ground cinnamon (2g)
- ¼ teaspoon nutmeg (0.5g)
- ½ cup cold butter, cubed (113g)
- ¼ teaspoon salt (1.5g)
- Optional: ½ cup chopped walnuts or pecans
- Optional: ½ cup chopped dark chocolate
Instructions
- Preheat oven to 350°F (175°C). Grease a 9×13 inch baking dish with butter or non-stick spray.
- In a large bowl, toss sliced apples with granulated sugar, lemon juice, 1 teaspoon cinnamon, vanilla extract, and 2 tablespoons flour. Mix well to coat and let sit for 10 minutes to draw out juices.
- In a separate bowl, combine rolled oats, 1 cup all-purpose flour, brown sugar, 1 teaspoon cinnamon, nutmeg, and salt. If using nuts or chocolate, stir them in now.
- Add the cold, cubed butter to the dry topping ingredients. Use a fork, pastry cutter, or fingers to work the butter into the mixture until it resembles coarse crumbs with pea-sized chunks.
- Transfer the apple mixture to the prepared baking dish and spread evenly. Pour the topping over the apples, letting it sit loosely on top.
- Bake for 45-55 minutes, or until the topping is golden brown and juices are bubbling around the edges. If the topping browns too quickly, tent with foil after 30 minutes.
- Remove from oven and let cool for at least 15 minutes before serving to allow juices to thicken.
- Serve warm with vanilla ice cream, whipped cream, or sharp cheddar cheese.
Notes
Use cold butter for a crunchy topping. Letting the apples rest with sugar for 10 minutes prevents a watery bottom. The crisp tastes better the next day as flavors meld. Store covered at room temperature for 2 days or in the fridge for 5 days. Reheat in the oven to restore crunch.
- Prep Time: 15 minutes
- Cook Time: 45-55 minutes
- Category: Dessert
- Cuisine: American
Nutrition
- Serving Size: 1 slice
- Calories: 320
- Sugar: 32
- Sodium: 120
- Fat: 12
- Saturated Fat: 7
- Carbohydrates: 52
- Fiber: 4
- Protein: 3
Keywords: apple crisp, brown sugar cinnamon, easy dessert, fall baking, comfort food, gluten-free option, dairy-free option


