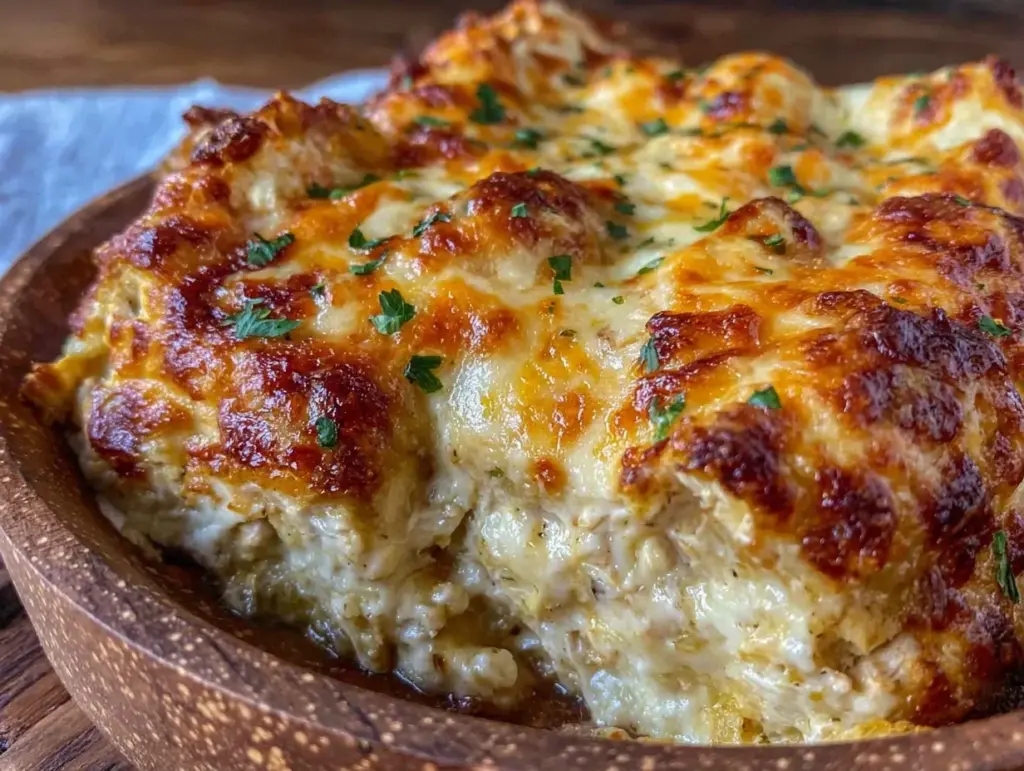
Three years ago, I was standing in my kitchen at 6:45 PM, staring at a rotisserie chicken I’d bought on impulse and a can of green chiles that had been sitting in my pantry since the Obama administration. I was exhausted. My kids were hungry. The house was a mess. I didn’t want to cook, but I also didn’t want to order takeout again.
So, I threw everything into a casserole dish. Tortillas, cheese, chicken, sauce. I popped it in the oven and went to change into sweatpants. When I pulled it out twenty minutes later, I made the classic mistake: I tried to serve it immediately. The tortillas were soggy. The layers had collapsed into a cheesy mush. It tasted fine, sure, but it felt like a failure. It looked like a failure.
But here’s the thing about cooking: you learn more from the disasters than the wins. That night, I realized I was missing the one secret that turns a “meh” casserole into something you’ll crave all week. It wasn’t more cheese. It wasn’t hotter spice. It was crispy layers.
Since that soggy disaster, I’ve tested this Easy Green Chile Chicken Enchilada Casserole probably thirty times. I’ve tweaked the ratios, swapped the cheeses, and argued with my husband about whether to use corn or flour tortillas (flour, always flour, for structure). The result is a dish that holds its shape, offers a satisfying crunch with every forkful, and tastes like it came from a high-end Mexican restaurant. It’s comforting, it’s spicy, and it’s surprisingly simple. If you’re tired of wet, floppy enchiladas, this is your fix. Let’s get into why this method changes everything.
Why You’ll Love This Easy Green Chile Chicken Enchilada Casserole
Look, I get it. You have a limited amount of energy for weeknight dinners. You don’t want to spend an hour rolling individual enchiladas. You don’t want to buy seven different ingredients you’ll only use once. This Easy Green Chile Chicken Enchilada Casserole is designed for real life. It’s built for the days when you’re running on caffeine and good intentions.
Here’s why this recipe has earned a permanent spot in my weekly rotation:
- Structural Integrity — Unlike traditional rolled enchiladas that get soggy in the middle, this casserole method keeps the layers distinct. By toasting the tortillas slightly before assembly, we create a barrier that soaks up sauce without falling apart. It’s the difference between a messy plate and a perfect square.
- 15-Minute Prep Time — I’m not kidding. From pulling out the ingredients to putting it in the oven, it takes me about 15 minutes. I usually do this while the chicken is still warm from being shredded. It’s the kind of meal that lets you sit down at the table while your kids are still in their pajamas.
- Pantry-Friendly Protein — You don’t need to raw cook chicken breasts or thighs for this. I use rotisserie chicken, canned chicken, or even leftover grilled chicken. This Easy Green Chile Chicken Enchilada Casserole is your best friend for clearing out leftovers. It also works if you swap in shredded pork or even black beans for a vegetarian version (check out my vegan black bean and sweet potato enchiladas if you want to go fully plant-based).
- Customizable Heat Level — Some nights I want mild. Some nights I want “drink water” spicy. Because the sauce is a mix of green chiles and crema, you control the kick. Add more jalapeño if you’re feeling brave, or stick to the mild chiles for kid-friendly vibes.
- Freezer-Proof — This is the ultimate meal prep hack. I make two of these on Sunday. One goes in the fridge for Wednesday, and one goes in the freezer. When I need it, I just thaw it overnight and bake. It reheats beautifully, retaining that crispy edge I worked so hard for.
This is my go-to when dinner needs to just work. It’s hearty enough for hungry teenagers but simple enough for a lazy Tuesday. And honestly? The smell of baking cheese and cumin is the best part of coming home.
Key Ingredients for Perfect Layers
Let’s talk about what goes into this Easy Green Chile Chicken Enchilada Casserole. You don’t need fancy ingredients, but you do need the right ones. Quality matters, especially when the recipe is this simple.
Flour Tortillas (8 large, 10-inch / 25 cm) — This is non-negotiable. Corn tortillas will crack and crumble in a casserole setting. You need the flexibility and starch of flour tortillas to hold the layers together. I use Mission brand because they’re soft out of the package but hold up well to baking. Do not skip this step: toast them briefly. See the tips section for why.
Rotisserie Chicken (3 cups shredded / ~450g) — Save time. Use a store-bought rotisserie chicken. Shred it with two forks. If you’re using leftover roast chicken, that works too. Just make sure it’s shredded into bite-sized pieces, not chunks. You want even distribution in every bite.
Diced Green Chiles (2 cans, 4 oz each / 113g each) — I use Ro*Tel or Ortega. The key here is to drain them. If you dump the liquid in, your casserole will be soupy. We want flavor, not water. If you can find roasted green chiles (like Hatch chiles), use those for a deeper, smokier flavor, but the canned diced kind is the standard for a reason: it’s consistent and available.
Monterey Jack Cheese (3 cups shredded / ~340g) — This is your melting cheese. It’s mild, creamy, and melts smoothly. Buy a block and shred it yourself. Pre-shredded cheese is coated in potato starch to prevent clumping, which means it won’t melt as well. It’s worth the five minutes of shredding.
Sharp Cheddar Cheese (1 cup shredded / ~115g) — Monterey Jack is boring on its own. Cheddar adds the sharp, tangy punch that cuts through the richness of the cream. Use a block of extra-sharp cheddar. Grate it fine so it distributes evenly.
Sour Cream or Mexican Crema (1 cup / 240ml) — This creates the sauce base. Sour cream is tangy and thick; crema is milder and thinner. I often use a 50/50 mix. If you’re dairy-free, you can substitute with full-fat coconut cream, though the flavor will shift slightly. For a lighter option, Greek yogurt works, but add it at the very end to prevent curdling.
Cumin and Garlic Powder (1 tsp each) — These are your aromatics. Cumin is the soul of Mexican cuisine. Don’t skimp on it. Fresh garlic is nice, but in a casserole, the powder infuses the sauce more evenly. I use McCormick because it’s fresh enough.
Cilantro (1/4 cup chopped / ~15g) — Fresh cilantro added at the end brightens up the heavy cheese and cream. It’s not optional if you want that fresh, restaurant-quality taste.
Tools Needed
You don’t need fancy equipment. Here’s what I use to make this Easy Green Chile Chicken Enchilada Casserole efficiently.
9×13-inch Baking Dish — A standard glass or ceramic dish works best. Glass heats evenly and lets you see the bottom browning. I use a Pyrex dish that I’ve had since college. It’s stained, but it’s reliable.
Large Skillet — I use a 12-inch cast iron skillet to warm up the tortillas. Cast iron holds heat well, which is perfect for that quick toast. A non-stick skillet works too, just be gentle.
Two Forks — The classic tool for shredding chicken. They separate the meat cleanly without mashing it.
Box Grater — For shredding your cheese blocks. It’s faster than a knife and gives you consistent strands.
How to Make Easy Green Chile Chicken Enchilada Casserole
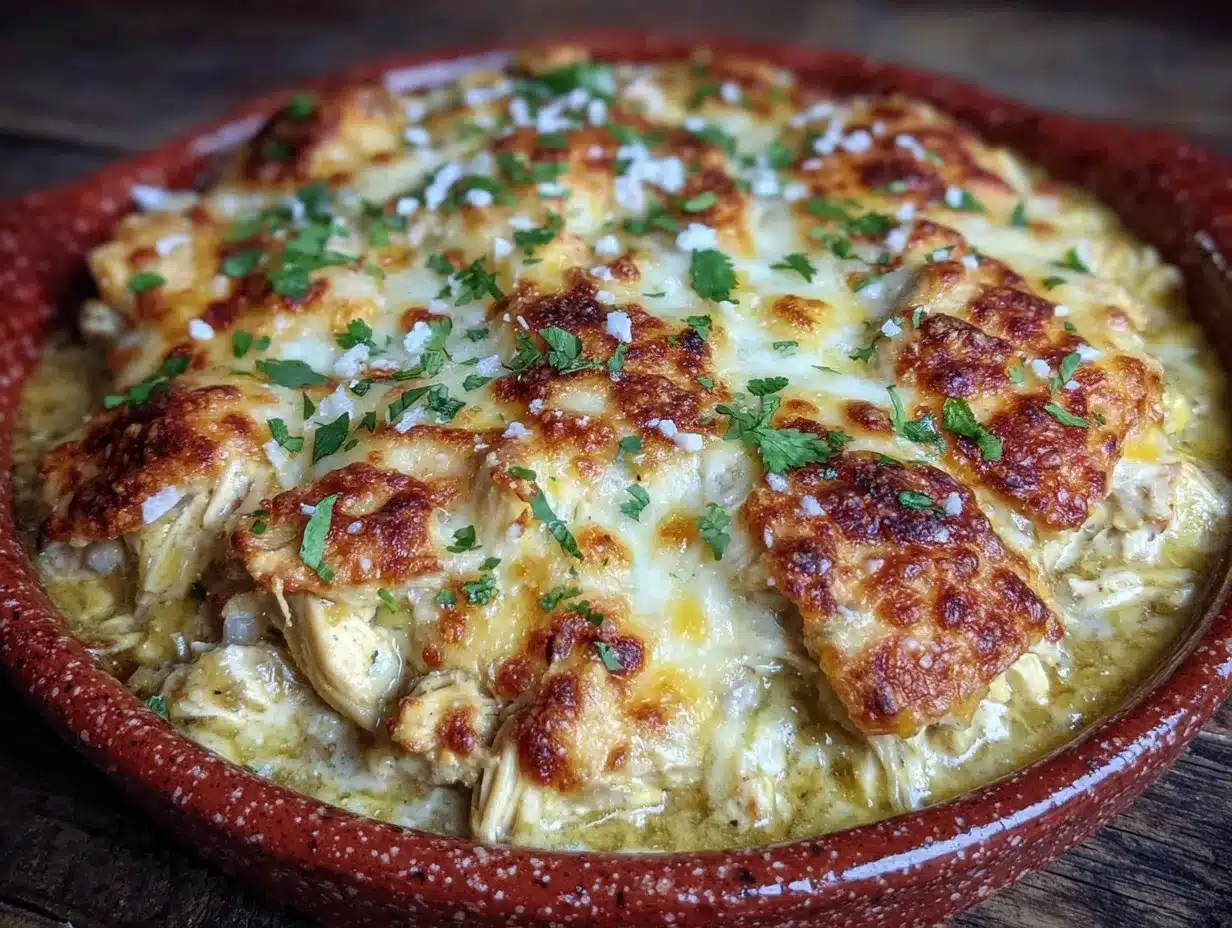
Let’s walk through the steps. I’ve broken this down so you know exactly what to expect. The secret is in the assembly.
Step 1: Prep the Chicken and Sauce (5 minutes)
Preheat your oven to 375°F (190°C). Grease your 9×13 baking dish with a little cooking spray or butter. In a large bowl, combine the shredded chicken, drained green chiles, half of the sour cream (1/2 cup), cumin, garlic powder, salt, and pepper. Mix it all together. The chicken should be coated in a creamy, green mixture. Taste it now. Does it need more salt? More cumin? Adjust it here, because once it’s in the oven, you can’t fix it.
Step 2: Toast the Tortillas (3 minutes)
This is the game-changer. Heat your skillet over medium heat. No oil needed. Lay one tortilla flat in the dry skillet. Cook for about 30-45 seconds on each side, until you see light brown spots. It shouldn’t be crispy like a chip, just pliable and slightly warmed. This removes excess moisture and creates a starch barrier. Stack them on a plate as you go. Do this for all 8 tortillas. It sounds tedious, but it takes less time than you think.
Step 3: Assemble the Layers (5 minutes)
Here’s how we layer. First, spread a thin layer of the chicken mixture on the bottom of the baking dish. This prevents the tortillas from sticking. Then, place two toasted tortillas side-by-side to cover the bottom. You might need to trim them slightly to fit. Sprinkle a generous handful of the cheese mix (half Jack, half Cheddar) over the tortillas. Top with another layer of chicken mixture. Repeat this process: Tortillas → Cheese → Chicken. You should end with a layer of chicken on top.
Here’s the critical part: Pour the remaining 1/2 cup of sour cream over the top chicken layer. Spread it evenly like frosting. Then, sprinkle the remaining cheese over the sour cream. This top layer of cheese will melt and brown, creating that crispy crust we’re after.
Step 4: Bake Until Golden (20-25 minutes)
Place the dish in the preheated oven. Bake for 20-25 minutes. You’re looking for two things: the cheese should be fully melted and bubbling around the edges, and the top should have golden brown spots. If you want more browning, switch to broil for the last 1-2 minutes, but watch it like a hawk. Cheese burns in seconds.
Step 5: Rest and Serve (10 minutes)
Take it out of the oven. Do not cut it immediately. Let it rest for at least 10 minutes. This allows the layers to set. If you cut it right away, everything slides apart. After 10 minutes, the casserole will hold its shape perfectly. Garnish with fresh cilantro and maybe some sliced jalapeños if you like heat.
Total time: About 45 minutes from start to finish. Breakdown: 5 min prep, 3 min toasting, 5 min assembly, 25 min bake, 10 min rest.
Expert Tips from a Kitchen Nerd
Here’s everything I learned from making this too many times. These are the little details that separate a good casserole from a great one.
The Toasting Step is Non-Negotiable
I know it’s an extra step. I’ve skipped it. I’ve made the mistake of using cold, soft tortillas straight from the package. The result? A soggy, structural nightmare. The tortias absorb the moisture from the chicken and cream too quickly. Toasting gelatinizes the surface starch, creating a hydrophobic layer. It’s science, but also just common sense. Give them that quick kiss of heat in the skillet.
Don’t Overfill the Layers
It’s tempting to pile on the chicken. But if you make the layers too thick, the tortillas won’t cook through evenly, and the casserole will be unstable. Keep the chicken layer to about 1/4 inch thick. It should be a flavor accent, not the main event. The tortilla and cheese are the stars here.
Use a Mix of Cheeses
Monterey Jack is creamy but mild. Cheddar is flavorful but can be oily when melted. Using a 3:1 ratio of Jack to Cheddar gives you the best of both worlds. Creamy melt with sharp flavor. If you only have one type, Jack is safer for meltability, but you’ll miss that tang.
Drain the Chiles Thoroughly
I cannot stress this enough. Wet green chiles = watery casserole. Squeeze them in a paper towel or let them sit in a colander for a few minutes. You want the flavor, not the brine.
Resting is Key
I see people cutting into hot casseroles all the time. It’s a tragedy. The heat keeps the fats liquid and the structure loose. Letting it rest for 10 minutes allows the fats to solidify slightly and the starches to set. You’ll get clean, distinct squares instead of a triangle of mush.
Recipe Variations
Once you’ve nailed the basic version, here’s how to mix it up. This Easy Green Chile Chicken Enchilada Casserole is a template, not a rulebook.
Spicy Jalapeño Version
Add 1-2 diced fresh jalapeños to the chicken mixture. For more heat, include the seeds. This is for when you want to feel the burn. Pair with cool avocado slices.
Smoky Chipotle Twist
Swap half the green chiles for canned chipotle peppers in adobo sauce, finely minced. Add a teaspoon of the adobo sauce to the chicken mix. This adds a deep, smoky heat that pairs beautifully with the cumin.
Vegetarian Swap
Replace the chicken with 1 can of drained black beans and 1 cup of cooked rice. Or use roasted cauliflower florets. My vegan black bean and sweet potato enchiladas use a similar concept, but this casserole works great with beans too. Just add a little extra cumin.
Corn Tortilla Crust
If you’re gluten-free, you can use corn tortillas, but you must use smaller ones (6-inch) and layer more of them. Or, make a crust at the bottom using crushed tortilla chips mixed with butter. It adds a nice crunch.
Taco Style
Add a layer of seasoned ground beef or turkey between the chicken and cheese layers. Turn it into a “deconstructed taco” casserole. It’s hearty and satisfying.
Serving & Storage
Serving:
I serve this with a big side of Mexican rice and black beans. A simple green salad with lime vinaigrette cuts through the richness. Top with sliced avocado, sour cream, and fresh cilantro. It’s colorful and delicious.
Storage:
This Easy Green Chile Chicken Enchilada Casserole keeps well in the fridge for up to 4 days. Store it in an airtight container or cover the dish tightly with foil. It reheats beautifully in the microwave or in a 350°F oven until warmed through.
Freezing:
Yes, it freezes well! Assemble the casserole but don’t bake it. Wrap it tightly in plastic wrap and then foil. Freeze for up to 3 months. To bake, thaw overnight in the fridge, then bake as directed, adding 10-15 minutes to the cook time since it’s cold. You can also bake and freeze leftovers. Just reheat gently to avoid drying out the cheese.
Nutrition Information
I’m not a nutritionist, but here’s the breakdown per serving (assuming 9 servings).
| Nutrient | Amount |
|---|---|
| Calories | 420 kcal |
| Protein | 28g |
| Carbohydrates | 32g |
| Fiber | 2g |
| Fat | 22g |
| Sodium | 650mg |
My Take: This is comfort food. It has cheese, cream, and carbs. It’s not “diet food.” But it’s better than takeout, and I know exactly what’s in it. The protein from the chicken helps balance the meal. If you’re watching calories, use light sour cream and less cheese, but you’ll sacrifice some of that crispy joy. Worth it?
Final Thoughts
This Easy Green Chile Chicken Enchilada Casserole isn’t just a recipe; it’s a solution. It’s for the busy nights, the leftover hunts, and the craving for something spicy and cheesy. The secret is in the layers. Toast the tortillas. Drain the chiles. Let it rest. Do those three things, and you’ll never make a soggy enchilada again.
If you make this, drop a comment! I love hearing how it turns out in your kitchen. Did you add extra heat? Did you use rotisserie chicken? Let me know. And if you need another quick dinner idea, check out my sheet pan cajun shrimp and sausage for a seafood twist.
Happy cooking!
FAQs
Can I use corn tortillas instead of flour?
Technically yes, but it’s harder. Corn tortillas are brittle. You’ll need to layer them more densely, and they may crack. For a casserole, flour tortillas provide the structural integrity needed for clean slices. If you’re gluten-free, use corn tortillas but be prepared for a more rustic, less structured cut.
How do I prevent the casserole from being watery?
Two reasons: wet chiles and wet cheese. Always drain the canned green chiles thoroughly. Squeeze them in a paper towel. Also, shred your own cheese. Pre-shredded cheese contains anti-caking agents that can sometimes affect melting, but more importantly, block cheese has no added moisture. If your chicken is wet, pat it dry with paper towels before mixing.
Can I make this ahead of time?
Absolutely. Assemble the casserole up to 24 hours in advance. Cover it and keep it in the fridge. When you’re ready to eat, take it out 30 minutes before baking to take the chill off, then bake as directed. You may need to add 5-10 minutes to the bake time if it’s very cold.
What if I don’t have sour cream?
You can use Greek yogurt (full fat) or Mexican crema. If you’re out of all of those, you can make a quick sauce with milk and cornstarch, but the texture won’t be the same. The sour cream provides tang and thickness. Without it, the casserole will be looser. I don’t recommend skipping it entirely.
Is this recipe spicy?
It’s mildly spicy. The green chiles provide a gentle kick, and the cumin adds warmth. If you’re sensitive to heat, use mild green chiles and omit any extra peppers. If you want it hot, add diced jalapeños or a dash of cayenne pepper to the chicken mix.
Pin This Recipe!
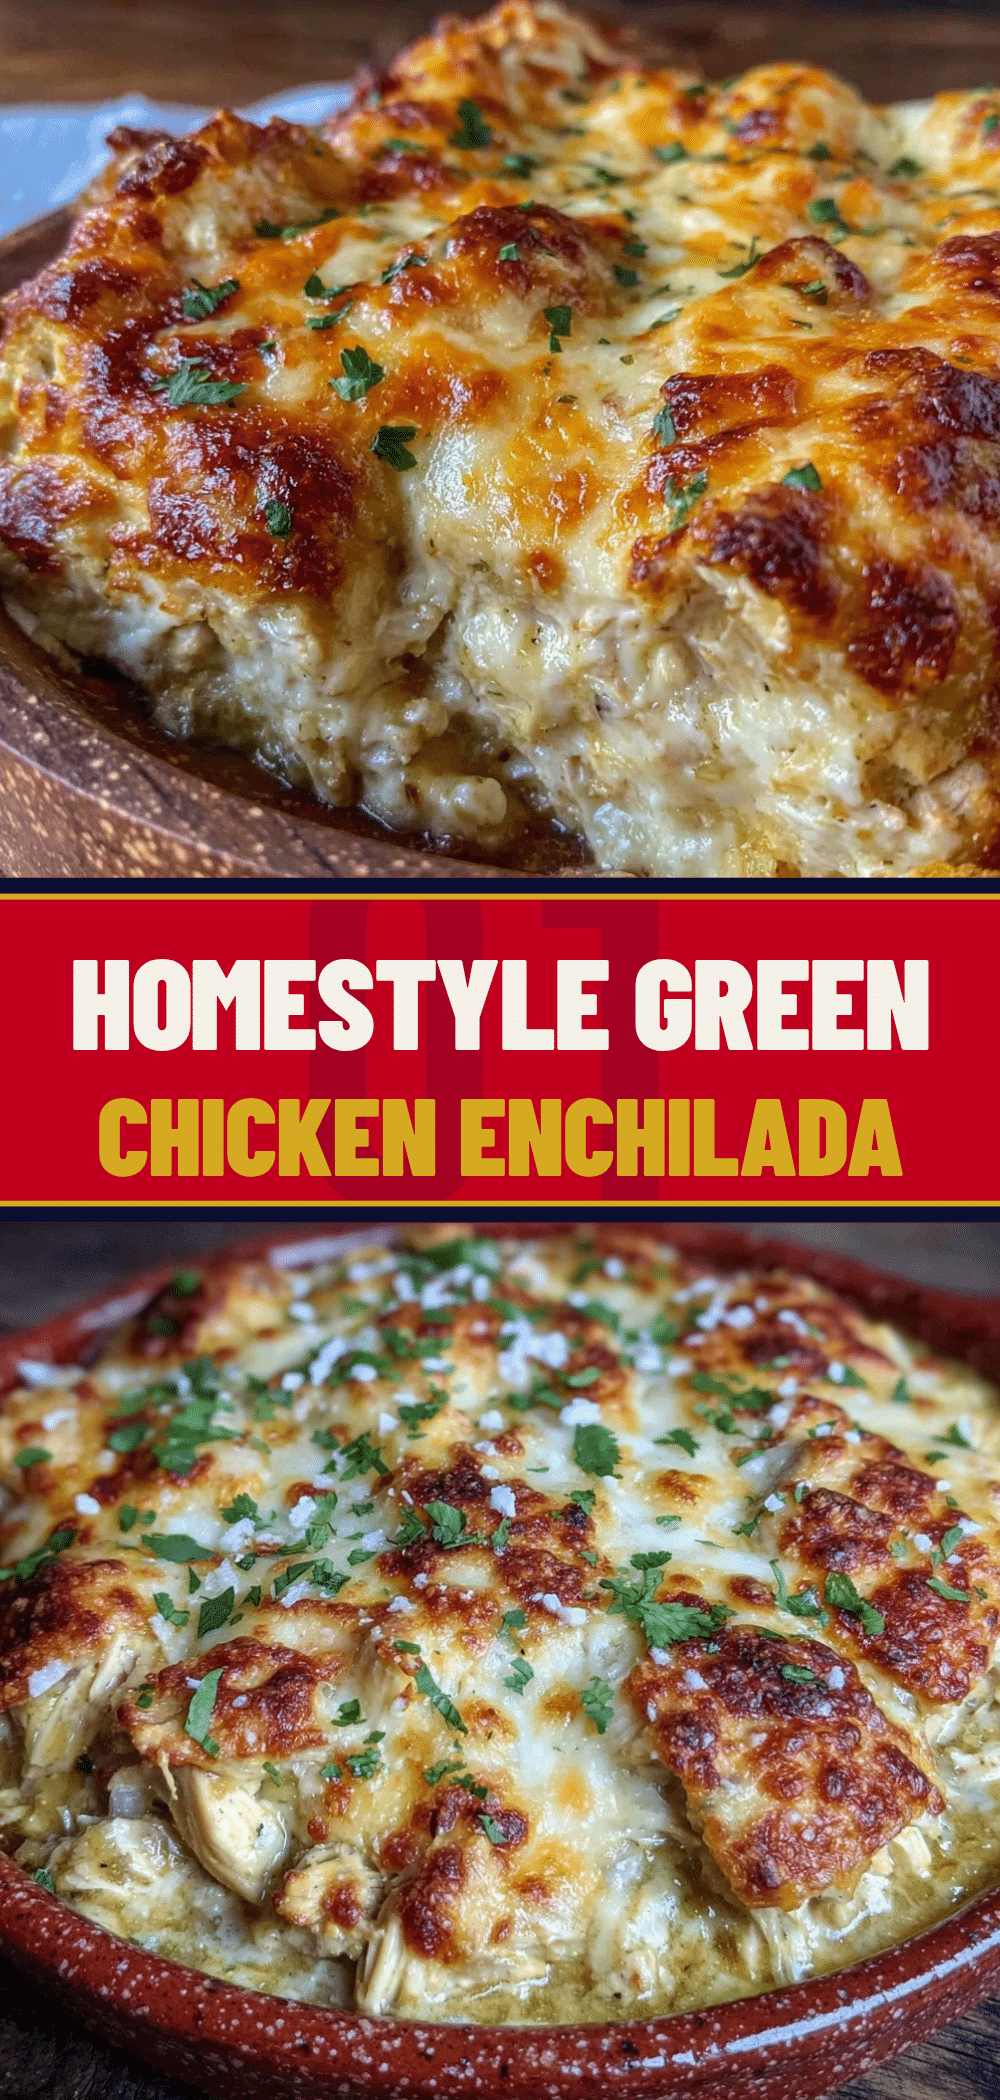

Easy Green Chile Chicken Enchilada Casserole
- Total Time: 45 minutes
- Yield: 9 servings 1x
Description
A simple, weeknight-friendly casserole featuring crispy, toasted flour tortillas layered with rotisserie chicken, green chiles, and a creamy cheese sauce. The secret to perfect layers is toasting the tortillas and letting the dish rest before serving.
Ingredients
- 8 large flour tortillas (10-inch)
- 3 cups shredded rotisserie chicken
- 2 cans (4 oz each) diced green chiles, drained
- 3 cups shredded Monterey Jack cheese
- 1 cup shredded sharp Cheddar cheese
- 1 cup sour cream or Mexican crema
- 1 tsp cumin
- 1 tsp garlic powder
- Salt and pepper to taste
- 1/4 cup chopped fresh cilantro
Instructions
- Preheat oven to 375°F (190°C) and grease a 9×13-inch baking dish.
- In a large bowl, combine shredded chicken, drained green chiles, 1/2 cup sour cream, cumin, garlic powder, salt, and pepper. Mix well.
- Toast tortillas in a dry skillet over medium heat for 30-45 seconds per side until pliable with light brown spots. Stack them.
- Spread a thin layer of chicken mixture on the bottom of the baking dish.
- Place two toasted tortillas side-by-side to cover the bottom. Sprinkle with cheese, then another layer of chicken mixture.
- Repeat the layering process (Tortillas → Cheese → Chicken) until ingredients are used, ending with a chicken layer.
- Pour remaining 1/2 cup sour cream over the top chicken layer and spread evenly. Sprinkle remaining cheese on top.
- Bake for 20-25 minutes until cheese is melted, bubbling, and golden brown.
- Let rest for 10 minutes before cutting to allow layers to set.
- Garnish with fresh cilantro and serve.
Notes
Toast the tortillas to create a moisture barrier and prevent sogginess. Drain green chiles thoroughly to avoid a watery casserole. Let the casserole rest for 10 minutes after baking to ensure clean slices. Can be frozen unbaked for up to 3 months.
- Prep Time: 15 minutes
- Cook Time: 25 minutes
- Category: Main Course
- Cuisine: Mexican
Nutrition
- Serving Size: 1 square slice
- Calories: 420
- Sugar: 4
- Sodium: 650
- Fat: 22
- Saturated Fat: 10
- Carbohydrates: 32
- Fiber: 2
- Protein: 28
Keywords: green chile chicken enchilada casserole, easy weeknight dinner, rotisserie chicken recipes, crispy enchilada casserole, mexican comfort food


