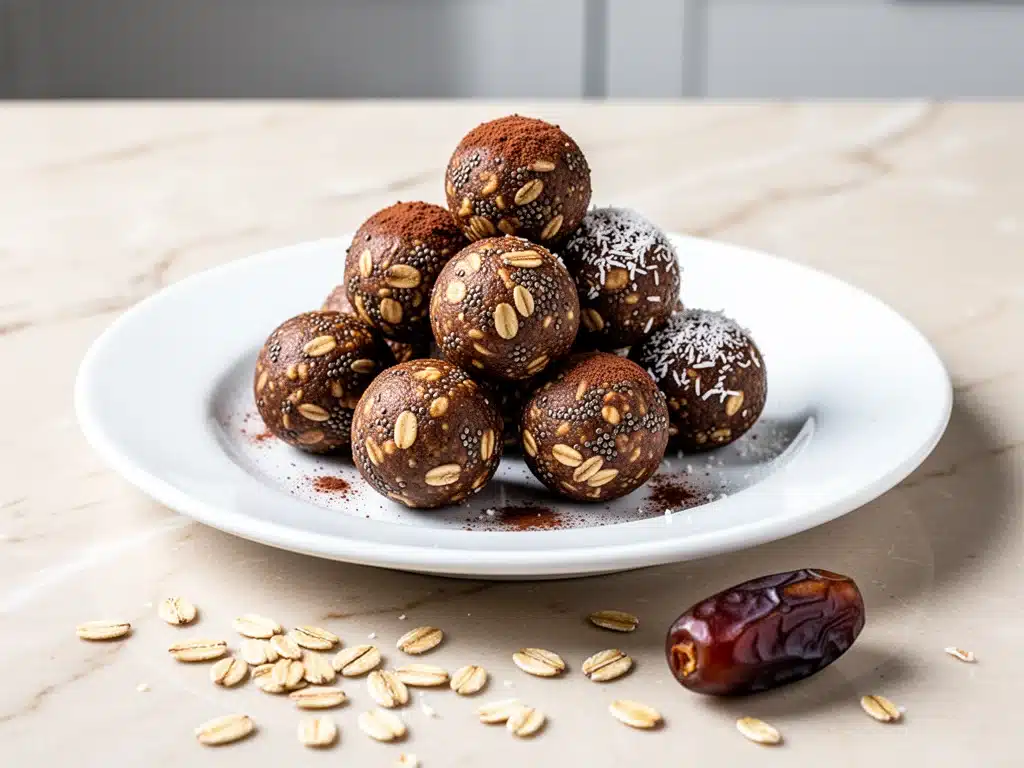
There was a period in my life—roughly three years ago—when I was living out of a small apartment with a kitchen that barely fit a microwave and a toaster. I was working late, running on caffeine and sheer panic, and my idea of “meal prep” was buying five bags of granola bars from the gas station. They were sweet, they were convenient, and they tasted like cardboard dusted with sugar. I felt sluggish, my energy crashed by 3 PM every single day, and I was spending way too much money on snacks that provided zero nutrition.
Then, one Tuesday evening, I came home exhausted, hungry, and completely out of options. I had half a jar of peanut butter, some oats that were starting to go stale, a few overripe bananas, and a handful of dates that had stuck together in the fridge. I didn’t have the energy to bake, and I definitely didn’t have the patience to cook anything. So, I threw it all in a bowl, mashed it up with a fork, rolled it into balls, and stuck them in the freezer.
I ate one while waiting for my laundry to finish. And honestly? It was a game-changer. It wasn’t just a snack; it was fuel. It was sweet without being sugary, chewy but not sticky, and it actually kept me full until dinner. That one lazy Tuesday night led to me making vegan no-bake oatmeal energy balls with dates every single week for the next six months. They became my secret weapon for busy weeknights, my go-to for lunchbox additions, and the only thing keeping me sane during deadline weeks.
I’ve since tested this recipe dozens of times, tweaking the ratios, swapping in different nut butters, and experimenting with add-ins. I’ve learned exactly how to get the texture right so they aren’t too dry or too sticky. I’ve figured out how to make them in under five minutes of active time. And I’m here to tell you: once you make these, you’ll never buy those processed bars again. They’re healthier, cheaper, and honestly, just taste better.
Why You’ll Love This Vegan No-Bake Oatmeal Energy Balls with Dates Recipe
So, why do I keep coming back to this simple mix? It’s not just because it saves me money (though it does). It’s because it solves real problems that busy people face every day. Here’s what makes these vegan no-bake oatmeal energy balls with dates the ultimate snack hero:
- Zero Baking Required — Seriously. No oven, no preheating, no waiting for cookies to cool. If you can mash a banana and roll a ball, you can make this. I’ve made these while holding my phone to my ear, answering work emails. It’s that simple.
- 5-Minute Active Time — The actual hands-on time is about 5 minutes. The rest is just chilling in the fridge. This is perfect for those weeknights when you come home at 7 PM, you’re starving, and you need something fast. No stress, no mess.
- Whole Food Ingredients — No refined sugar, no weird preservatives, no mystery ingredients you can’t pronounce. Just oats, nuts, seeds, fruit, and natural sweeteners. It tastes like dessert but fuels like a balanced meal. My kids think they’re getting a treat, and I feel good knowing they’re getting fiber and protein.
- Meal Prep Friendly — I make a big batch on Sunday, store them in the fridge, and grab two every day for the rest of the week. They stay fresh for up to two weeks. That means I never have to think about snacks again. It’s one less decision to make when I’m tired.
- Customizable to Your Cravings — Love chocolate? Add chips. Love coconut? Toast it and mix it in. Hate nuts? Use sunflower seed butter. This recipe is a base, not a rulebook. I change it up based on what I have in my pantry, and every version turns out delicious.
- Packed with Sustained Energy — Unlike those sugary energy bars that give you a spike and a crash, these give you steady energy. The oats provide complex carbs, the nut butter gives you healthy fats and protein, and the dates offer natural sweetness and quick energy. It’s the perfect afternoon pick-me-up.
This is my go-to when I need a snack that actually works. No complicated techniques, no weird ingredients you have to hunt for, just reliable, delicious food that keeps you going. It’s the kind of recipe that makes your life easier, not harder.
Ingredients You’ll Need
Here’s the best part: you probably have most of these ingredients already. This isn’t a recipe that requires a special trip to the store. It’s built around pantry staples. I’m particular about a few things here, and I’ll tell you exactly why, but for the most part, this is flexible.
The Base
Rolled Oats (2 cups / 160g) — I use old-fashioned rolled oats, not instant or steel-cut. Instant oats turn into mush, and steel-cut are too hard. Rolled oats give that perfect chewy texture. If you’re gluten-sensitive, make sure you buy certified gluten-free oats, as regular oats are often processed in facilities with wheat.
Peanut Butter (½ cup / 128g) — I use natural creamy peanut butter. The kind where the oil separates is fine, but give it a good stir first. You want it smooth so it binds everything together. Almond butter works too, but it’s more expensive. Sunflower seed butter is a great nut-free alternative, though it can turn the balls a bit green (harmless, but looks weird).
Medjool Dates (1 cup, pitted / about 150g) — These are the secret weapon. They provide natural sweetness and act as the “glue” that holds the balls together. If your dates are dry or hard, soak them in warm water for 10 minutes first, then drain well. Soft dates blend easier. If you can’t find Medjool, Deglet Noor dates work, but they’re smaller and less sweet, so you might need more.
Chia Seeds (2 tablespoons / 24g) — These add a bit of omega-3s and help bind the mixture. They also add a nice subtle crunch. Flax seeds work too, but I prefer the texture of chia. Ground flax is fine, but whole flax adds more fiber.
The Flavor Boosters
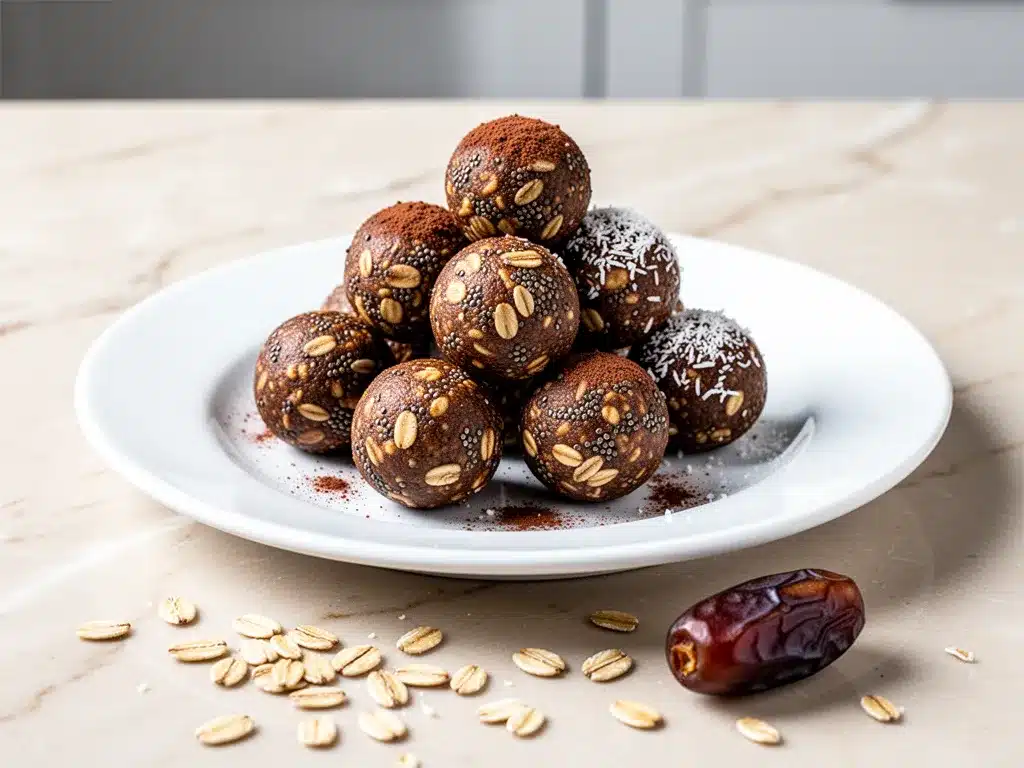
Vanilla Extract (1 teaspoon) — Pure vanilla extract, not imitation. It makes a huge difference in how “dessert-like” these taste. Just a little goes a long way.
Sea Salt (½ teaspoon) — This is non-negotiable. Salt balances the sweetness of the dates and brings out the flavor of the nut butter. Don’t skip it. I use fine sea salt, but kosher salt works if you crush it a bit first.
Cinnamon (½ teaspoon) — Optional, but I love the warm spice. It makes these taste almost like cookie dough. If you’re not a fan of cinnamon, you can skip it or swap it for nutmeg.
Add-Ins (The Fun Part)
Dark Chocolate Chips (½ cup / 85g) — Vegan dark chocolate chips are my favorite addition. They melt slightly in your mouth and make these taste like cookies. I use Lily’s or Hu Chocolate, which are low-sugar options, but regular vegan chips work too.
Shredded Coconut (¼ cup / 20g) — Toasted coconut adds a nice texture and tropical flavor. I buy unsweetened coconut flakes and toast them in a dry pan for 2-3 minutes before adding. It’s worth the extra minute.
Dried Cranberries or Raisins (¼ cup / 40g) — For extra chewiness and tartness. I like the contrast with the sweet dates. Cranberries are my go-to because they add a bit of brightness.
Pro Tip: I always keep a bag of oats and a jar of peanut butter in my pantry specifically for this recipe. If you’re ever stuck with no snacks, you can grab these two items and make this in minutes. It’s my ultimate backup plan.
Equipment Needed
You don’t need fancy equipment for this. Here’s what I actually use. If you don’t have these exact items, don’t worry—there are easy alternatives.
Food Processor — This is the easiest tool for this recipe. It pulses the oats and dates together quickly and evenly. A blender works too, but you have to be careful not to over-process, or it turns into a paste. I use my Cuisinart 8-cup processor, but any standard food processor will do.
Large Mixing Bowl — If you don’t have a food processor, you can mash the dates by hand and mix everything in a large bowl. It takes more elbow grease, but it works. I use a big stainless steel bowl because it’s easy to clean.
Parchment Paper — I line a baking sheet with parchment paper to chill the balls. It keeps them from sticking and makes cleanup a breeze. Wax paper works in a pinch, but parchment is better for non-stick.
Measuring Cups and Spoons — Pretty standard stuff. I use nested measuring cups for dry ingredients and spoons for smaller amounts. Dollar store versions work fine, but I like having a set that doesn’t wobble.
Airtight Container — For storing the finished balls. I use a glass container with a snap-lock lid. Plastic works too, but glass doesn’t retain odors and is easier to see what’s inside.
Optional but Nice:
- Silicone Baking Mat — If you don’t have parchment paper, a silicone mat works great and is reusable.
- Small Ice Cream Scoop — This helps you portion the balls evenly. I use a 1-tablespoon scoop to make uniform balls. It saves time and makes them look professional.
How to Make It: Step-by-Step
Alright, let’s make this! I’m walking you through exactly how I do it, including the little tricks I’ve picked up over the years. It’s straightforward, but there are a few key steps to get the texture right.
Step 1: Prep Your Oats (2 minutes)
If you’re using large rolled oats, you might want to pulse them in the food processor for 10-15 seconds to break them down slightly. This helps them bind better and makes the texture less chewy. I don’t always do this, but if you prefer a smoother ball, do it. If you like a chunkier texture, skip this step. Just be consistent with your choice.
Step 2: Process the Dates and Nuts (3 minutes)
Add the pitted dates and peanut butter to the food processor. Pulse until the dates are broken down and the mixture starts to come together. It should look like a thick, sticky paste. If it’s too dry and not sticking, add a teaspoon of water at a time until it binds. If it’s too wet, add a few more oats. You’re looking for a consistency that holds its shape when you squeeze it in your hand.
Step 3: Add the Dry Ingredients (1 minute)
Add the oats, chia seeds, vanilla extract, sea salt, and cinnamon to the food processor. Pulse until everything is evenly combined. The mixture should look like crumbly cookie dough. If it’s too dry, add a little more peanut butter or water. If it’s too sticky, add a few more oats. The goal is a mixture that’s manageable to roll but not messy.
Step 4: Mix in Add-Ins (1 minute)
If you’re adding chocolate chips, coconut, or dried fruit, fold them in by hand now. I find it easier to mix them in a bowl with a spatula rather than trying to pulse them in the food processor, which can crush them. Just stir until they’re evenly distributed.
Step 5: Roll the Balls (5 minutes)
Using your hands or a small ice cream scoop, portion the mixture into 1-inch balls. Roll them between your palms until smooth. If the mixture is too sticky, wet your hands slightly with water. This prevents sticking and makes rolling easier. Place the balls on a parchment-lined baking sheet. Try to keep them uniform in size so they chill evenly.
Step 6: Chill (30 minutes)
Place the baking sheet in the refrigerator for at least 30 minutes. This step is crucial. It firms up the peanut butter and oats, making the balls easier to handle and store. If you’re in a hurry, you can freeze them for 15 minutes, but the fridge gives a better texture. Don’t skip this step—it makes a huge difference.
Step 7: Store and Serve
Once chilled, transfer the balls to an airtight container. They’ll keep in the fridge for up to two weeks or in the freezer for up to three months. I usually grab two or three at a time for a quick snack. They’re ready to eat straight from the container.
Total Time: About 10 minutes active, plus 30 minutes chilling.
Troubleshooting Tips:
- Mixture too dry? Add more peanut butter or a teaspoon of water at a time.
- Mixture too wet? Add more oats until it holds its shape.
- Balls falling apart? You probably didn’t process the dates enough, or the peanut butter was too dry. Try adding a bit more binder.
Expert Tips & Tricks
Here’s everything I’ve learned from making these dozens of times. These tips will save you from my mistakes.
Use Soft Dates
The most common mistake is using hard, dry dates. If your dates are stiff, soak them in warm water for 10 minutes, then drain and pat them dry. Soft dates blend easier and create a smoother texture. This is the #1 tip I give to beginners.
Don’t Over-Process
If you pulse the mixture too long, it can turn into a paste or a ball that sticks to the processor blade. Pulse in short bursts and check the consistency often. You want it to look like coarse crumbs, not a smooth dough.
Chill Before Rolling
If your mixture feels too sticky to roll, chill it in the fridge for 15 minutes before rolling. Cold mixture is easier to handle. I’ve wasted so much time trying to roll warm, sticky balls. Just give it a quick chill.
Wet Your Hands
If the mixture is still sticky, wet your hands slightly with water before rolling. This prevents sticking and makes the process much smoother. Don’t use oil, as it can make the balls greasy.
Uniform Size
Use a small ice cream scoop or measuring spoon to portion the mixture. This ensures all the balls are the same size, which makes them look professional and chill evenly. It also helps with portion control if you’re tracking calories.
Storage Matters
Store the balls in an airtight container to prevent them from drying out. If you’re freezing them, wrap them in plastic wrap or parchment paper before putting them in the container to prevent freezer burn. They thaw quickly, so you can grab them straight from the freezer.
Variations & Substitutions
Once you’ve nailed the basic version, here’s how you can mix it up. I’ve tried all of these, and they’re all delicious.
Chocolate Lover’s
Add ½ cup of vegan dark chocolate chips to the mixture. I also like to dip half of each ball in melted dark chocolate for a fancy touch. Let the chocolate set in the fridge before eating. This is my favorite variation for when I want something extra sweet.
Coconut Lime
Add ¼ cup of toasted coconut flakes and the zest of one lime. Skip the cinnamon and vanilla. This gives a tropical, bright flavor that’s perfect for summer. I love this version with green tea.
Protein Power
Add 1 scoop of unflavored or vanilla protein powder to the mixture. You might need to add a little more water or peanut butter to compensate for the dryness. This is great for post-workout snacks. I use plant-based protein powder to keep it vegan.
Nut-Free
Swap the peanut butter for sunflower seed butter or soy nut butter. Use sunflower seeds instead of nuts. This is perfect for school lunches or for people with nut allergies. The flavor is slightly different, but still delicious.
Spiced Pumpkin
Add 2 tablespoons of pumpkin puree and 1 teaspoon of pumpkin pie spice. Reduce the peanut butter by 1 tablespoon to balance the moisture. This tastes like pumpkin pie in ball form. Great for fall.
Dietary Modifications
Soy-Free: Use almond butter or cashew butter instead of peanut butter. Make sure your chocolate chips are soy-free.
Low-Sugar: Use unsweetened chocolate chips and reduce the amount of dates slightly. Add a bit more cinnamon to compensate for the sweetness.
High-Protein: Add hemp seeds or extra protein powder. Use almond butter, which has slightly more protein than peanut butter.
Serving & Storage
How to Serve:
I usually eat these straight from the container as a snack. But here are other ways I’ve enjoyed them:
- With Coffee: A couple of balls with my morning coffee is a perfect breakfast on the go.
- After Dinner: They satisfy my sweet tooth without being too heavy. I often have one or two after a light dinner.
- Post-Workout: The carbs and protein make them a great recovery snack. I eat one within 30 minutes of finishing a workout.
- With Yogurt: Crumble one over vegan yogurt for a parfait-style snack.
Storage Instructions:
Refrigerator: Store in an airtight container for up to 2 weeks. They stay fresh and firm. If they start to get too soft, put them back in the fridge for 10 minutes.
Freezer: Store in an airtight container or freezer bag for up to 3 months. They thaw quickly, so you can eat them frozen or let them sit for 5 minutes. I keep a batch in the freezer for emergencies.
Reheating: You don’t need to reheat these. Eat them cold or at room temperature. If they’re too hard from the fridge, let them sit for 5 minutes before eating.
Pro Tip: If you’re meal prepping, make a double batch and freeze half. That way, you always have a fresh batch in the fridge and a backup in the freezer. It’s the ultimate convenience hack.
Nutrition Information
I’m not a nutritionist, but here’s the breakdown if you’re tracking. These are approximate values per ball (makes about 20 balls).
| Nutrient | Per Ball |
|---|---|
| Calories | 110 |
| Protein | 4g |
| Carbs | 14g |
| Fiber | 2g |
| Sugar | 9g |
| Fat | 5g |
| Saturated Fat | 1g |
What’s Good:
- Good source of fiber from oats and chia seeds
- Healthy fats from peanut butter
- Protein from nuts and seeds
- Natural sweetness from dates, no refined sugar
What to Know:
- Higher in calories due to nuts and oats
- Contains nuts (use sunflower seed butter for nut-free)
- Gluten-free if using certified gluten-free oats
My Take:
Look, these are energy balls. They’re meant to give you energy. They’re not a diet food, but they’re way better than processed bars. When I want to make them lighter, I reduce the peanut butter and add more oats. But usually? I just eat a reasonable portion and enjoy them as a healthy treat.
Final Thoughts
So that’s my go-to vegan no-bake oatmeal energy balls with dates! I’ve probably talked your ear off at this point, but when you make a recipe this often, you have a lot to say about it.
This has saved my weeknights more times than I can count. It’s my answer to “what’s for a snack” when I’m tired, don’t want to cook, and still want something that tastes really good. My kids are happy, my husband’s happy, and I’m happy because I’m not stressed about finding a healthy option.
Make it yours! Try different add-ins, swap in your favorite nut butter, adjust the sweetness to your liking. The best recipes are the ones you adapt to your family’s tastes. If you make this, drop a comment and let me know what you think! I love hearing how recipes turn out in your kitchen. And if something doesn’t work, tell me that too—I’m here to help troubleshoot.
Happy cooking! And I hope your kitchen smells half as good as mine does right now.
Frequently Asked Questions
Q: Can I use steel-cut oats instead of rolled oats?
A: I don’t recommend it. Steel-cut oats are too hard and don’t bind well. They’ll make the balls gritty and difficult to chew. If you must use them, pulse them in the food processor until they’re fine, but rolled oats are much better for this recipe.
Q: My mixture is too sticky to roll—what do I do?
A: This usually means there’s too much peanut butter or the dates were too wet. Add a few more oats, a tablespoon at a time, until the mixture is manageable. If it’s still sticky, wet your hands with water before rolling. Chilling the mixture for 15 minutes also helps firm it up.
Q: How long do these last in the fridge?
A: They last up to 2 weeks in an airtight container in the fridge. If you notice them getting too soft or sticky, they might be nearing the end of their shelf life. They’re best eaten within the first week for optimal texture.
Q: Can I freeze these energy balls?
A: Absolutely! They freeze beautifully for up to 3 months. Store them in an airtight container or freezer bag. You can eat them frozen (they’re like little energy bites) or let them thaw for 5-10 minutes before eating. I keep a batch in the freezer for emergencies.
Q: Can I use almond butter instead of peanut butter?
A: Yes, almond butter works great. It has a slightly milder flavor and is more expensive. Cashew butter is another good option. Just make sure you use a natural, creamy butter without added sugars or oils. The texture might be slightly softer, so you might need a bit more oats.
Q: Are these gluten-free?
A: Yes, as long as you use certified gluten-free oats. Oats are naturally gluten-free, but they’re often processed in facilities with wheat, so cross-contamination is a risk. If you’re gluten-sensitive, always check the label. All other ingredients are naturally gluten-free.
Q: Can I make these with honey instead of dates?
A: No, because this is a vegan recipe. Honey is not vegan. If you’re not vegan, you can use honey, but you’ll need to adjust the ratio. Dates provide both sweetness and binding, so replacing them with liquid honey might make the mixture too wet. I stick with dates for the best texture.
Pin This Recipe!
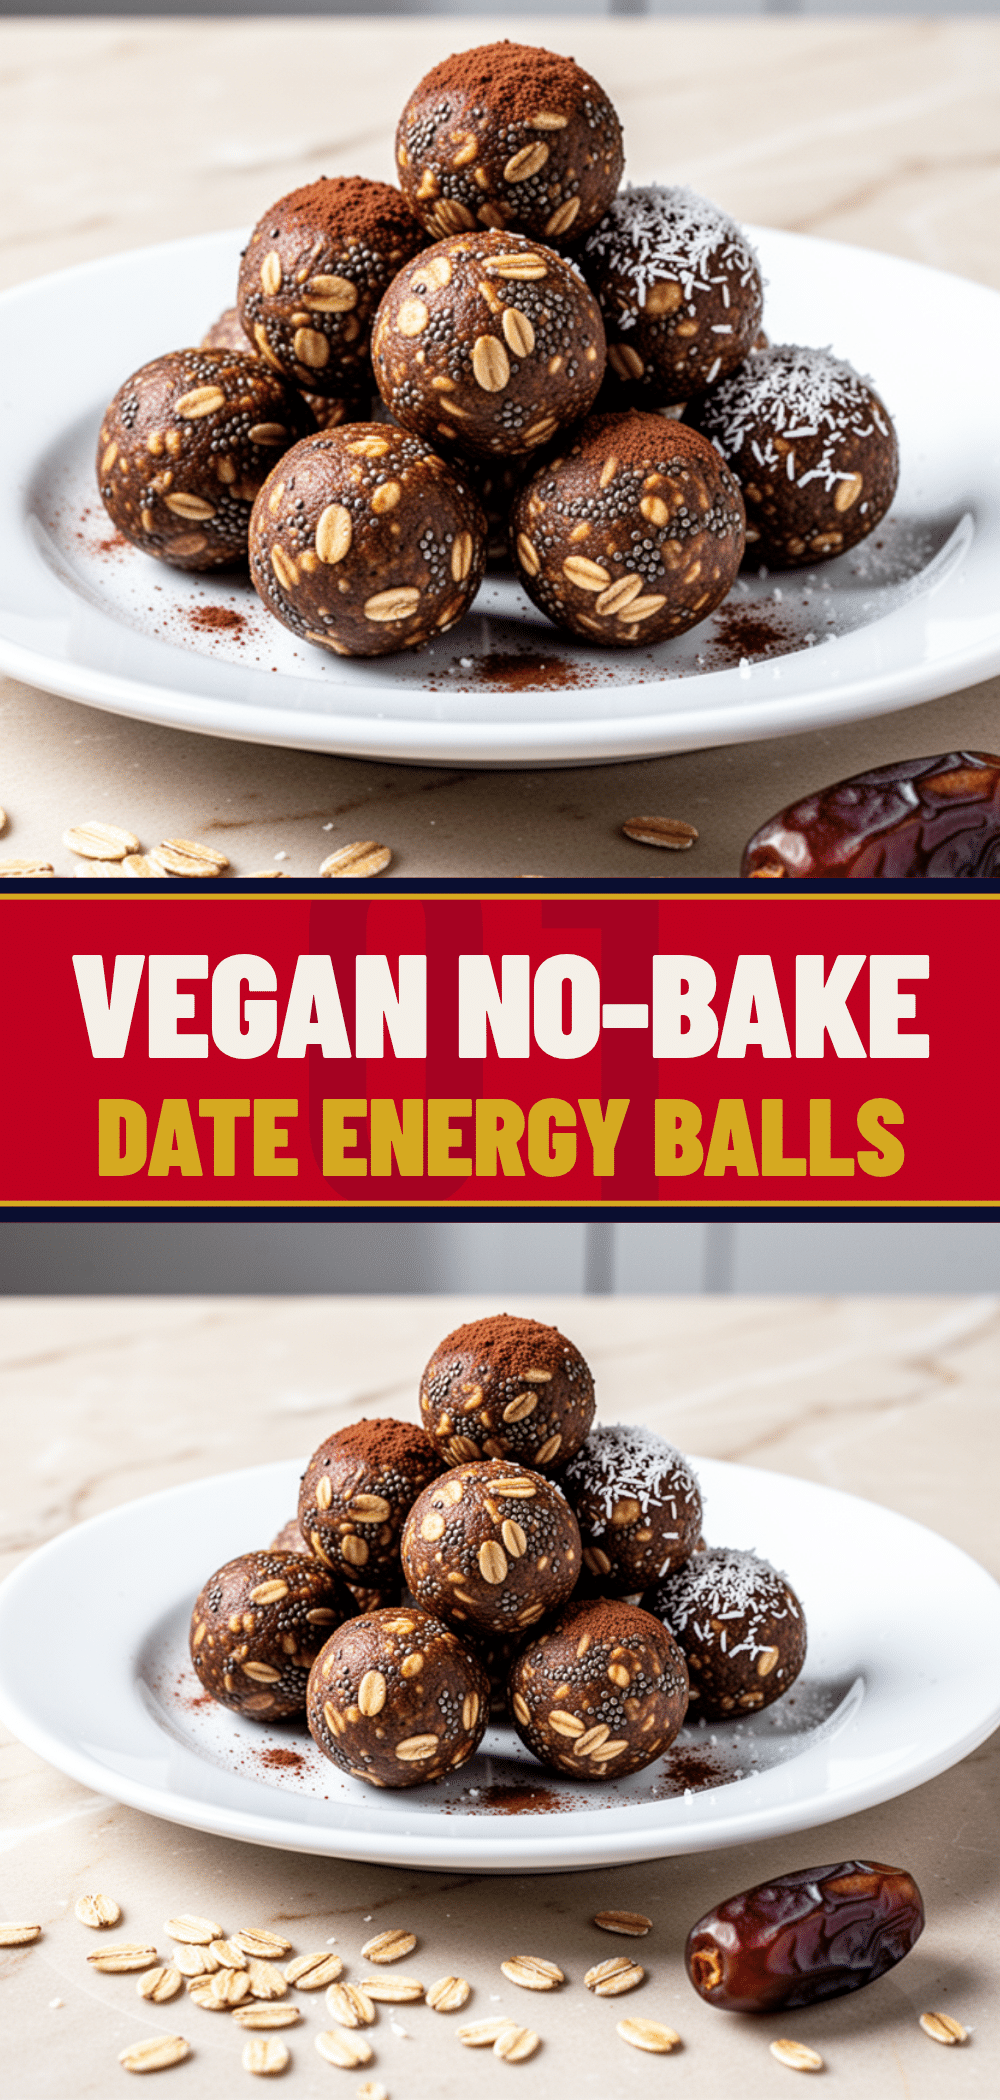

Vegan No-Bake Oatmeal Energy Balls with Dates
- Total Time: 40 minutes
- Yield: 20 servings 1x
Description
A quick, healthy, and customizable snack made with pantry staples like oats, peanut butter, and dates. These no-bake energy balls provide sustained energy without refined sugar and can be prepared in under 5 minutes of active time.
Ingredients
- 2 cups (160g) old-fashioned rolled oats
- ½ cup (128g) natural creamy peanut butter
- 1 cup (150g) Medjool dates, pitted
- 2 tablespoons (24g) chia seeds
- 1 teaspoon pure vanilla extract
- ½ teaspoon sea salt
- ½ teaspoon cinnamon (optional)
- ½ cup (85g) vegan dark chocolate chips (optional add-in)
- ¼ cup (20g) toasted shredded coconut (optional add-in)
- ¼ cup (40g) dried cranberries or raisins (optional add-in)
Instructions
- Prep the oats: If using large rolled oats, pulse them in a food processor for 10-15 seconds to break them down slightly for better binding.
- Process dates and nut butter: Add pitted dates and peanut butter to the food processor. Pulse until the dates are broken down and the mixture forms a thick, sticky paste. If too dry, add water 1 teaspoon at a time; if too wet, add more oats.
- Add dry ingredients: Add oats, chia seeds, vanilla extract, sea salt, and cinnamon to the processor. Pulse until evenly combined into a crumbly cookie dough consistency.
- Mix in add-ins: If using chocolate chips, coconut, or dried fruit, fold them into the mixture by hand using a spatula to avoid crushing them.
- Roll the balls: Portion the mixture into 1-inch balls using your hands or a small ice cream scoop. Roll between palms until smooth. If sticky, wet hands slightly with water.
- Chill: Place balls on a parchment-lined baking sheet and refrigerate for at least 30 minutes to firm up. Alternatively, freeze for 15 minutes.
- Store and serve: Transfer chilled balls to an airtight container. Store in the fridge for up to 2 weeks or freezer for up to 3 months.
Notes
Ensure dates are soft; soak in warm water for 10 minutes if hard. Do not over-process the mixture or it will turn into a paste. Wet hands slightly if the mixture is sticky while rolling. For nut-free version, substitute peanut butter with sunflower seed butter.
- Prep Time: 10 minutes
- Cook Time: 0 minutes
- Category: Snack
- Cuisine: American
Nutrition
- Serving Size: 1 energy ball
- Calories: 110
- Sugar: 9
- Fat: 5
- Saturated Fat: 1
- Carbohydrates: 14
- Fiber: 2
- Protein: 4
Keywords: vegan, no-bake, energy balls, oatmeal, healthy snack, gluten-free, peanut butter, dates, meal prep, quick snack


